Model 3D textures quickly with Normal maps
Master the basics of Normal map modelling with these quick tips.
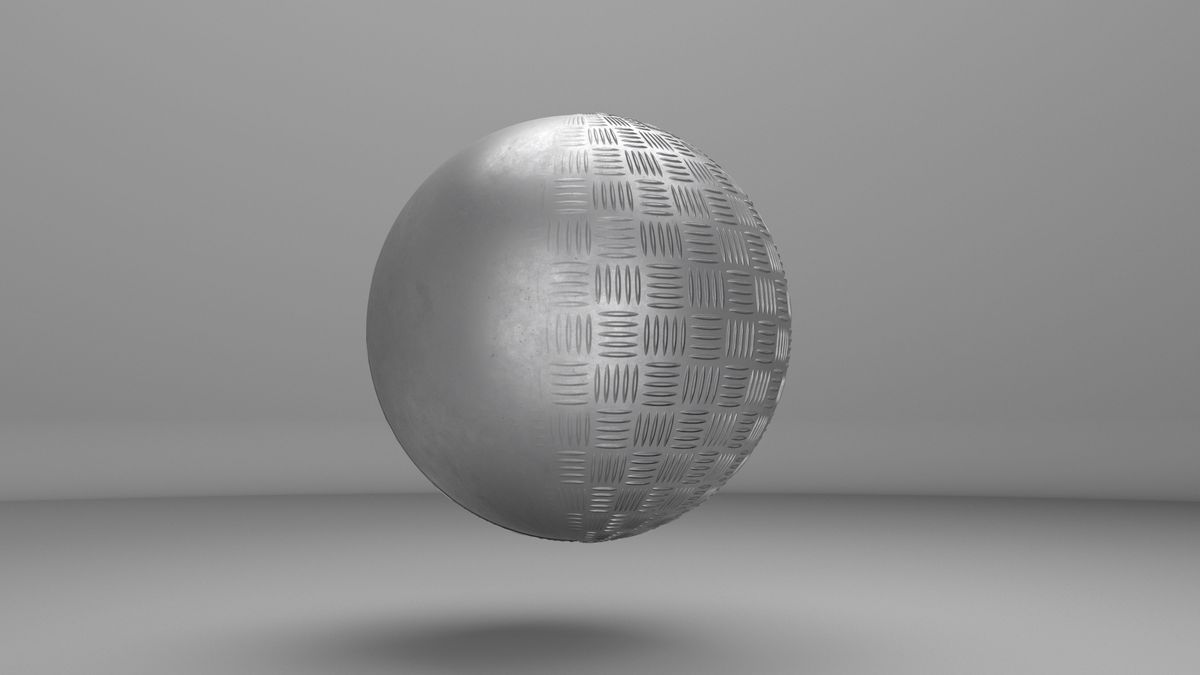
If you’re new to the world of 3D art and CGI in particular, you may feel that there are far too many tools to choose from. In my articles I aim to break everything down to the very basics, so that every artist can be armed with the knowledge of which tool is best. With that in mind, let’s explore materials and shaders by looking at Normal maps.
One of the hardest things to do when starting to learn 3D is to model lots of details. There are many reasons for this. First of all, creating the detail is time-consuming, as is adding detail while making sure the polygon integrity of the model is maintained. And importantly, lots of detail can slow down application viewports or may not be eligible for game engines, and the workarounds, of course, consume more time.
Thankfully though, these processes can all be sped up. There is a type of specialised image map called a Normal map, which can be used to add detail to a model without adding any extra geometry. A Normal map does this by taking three RGB colours which a 3D application then converts into height data.
Normal maps are easier to export across 3D applications, rather than assets that depend on native modelling tools
Mike Griggs
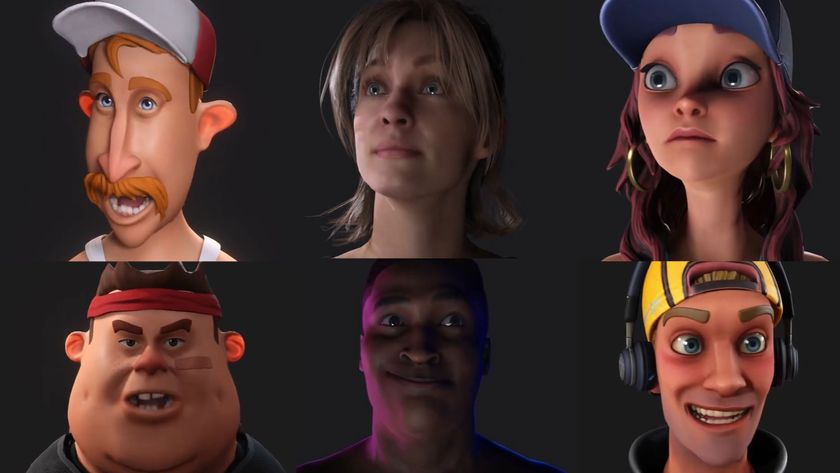
This is incredibly powerful and has been used for years by game manufacturers as a way of adding extra detail into game assets. Of course this does not mean that Normal maps are exclusive to game developers – they can be a useful tool for all 3D artists. Complex sculpted geometry such as skin pore detail can be added by Normal maps to an animated model, without disrupting the polygon flow of the model, which has been optimised for animation.
Normal maps can also be used in hard-surface modelling for adding items such as screws and rivets to models, to give the appearance of highly complex surface details without adding geometry that will slow down an artist’s viewport speed.
Normal maps can be projected from a high-polygon mesh to an optimised mesh by most 3D software, to create highly optimised surface detail which looks identical at render time. As Normal maps are image-based, assets that have been optimised with Normal maps are easier to export across 3D applications, rather than assets that depend on native modelling tools.
01. What is a normal map?
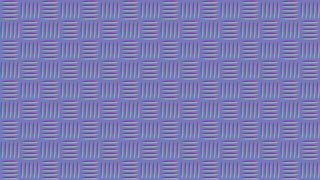
A Normal map is nothing more than an image map that contains the relief data for a material. While there are other types of image maps that can aid in adding details to models such as Bump maps, Height maps and Displacement maps, Normal maps are easily distinguished by their usually pink/purple hue. This is because the colours of a Normal map represent a Height, Width and Depth value, which a 3D application can use to apply relief detail to a mesh where there is none.
Get the Creative Bloq Newsletter
Daily design news, reviews, how-tos and more, as picked by the editors.
02. Bake meshes
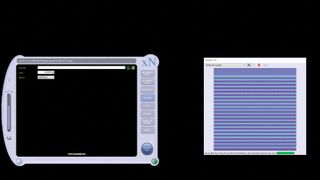
One of the main uses for Normal maps is to replicate high-resolution detail from a sculpted or scanned asset and ‘bake’ that onto a lower-resolution model. This model can then be used more readily as an asset in a scene as it has less overhead, or it can be more easily animated. Many applications allow baking of high-resolution meshes, so check to see if your chosen software can do this. If not, there are applications available such as the free xNormal that can.
03. Add details
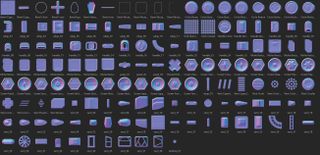
There are a range of methods for adding details to Normal maps, from screw heads to skin pore details. There are also 3D painting applications that come with normal objects already available as assets, or alternatively existing details in a Normal map can be simply copied and pasted in a 2D editing application. This can be a much quicker way to add surface geometry than by modelling, as well as adding less overhead to the geometry of the model.
04. Normal maps from photos
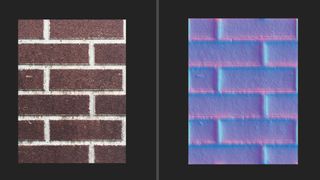
There are a range of applications out there, from free tools such as xNormal to products within the Allegorithmic texturing suite, that can create Normal maps from photographs. While this method is potentially not as accurate as an actual 3D scan, these tools can create realistic relief details very quickly and easily and can serve to add an extra layer of reality to any texture set. Suddenly your smartphone can become a 3D texture creator.
This article originally appeared in issue 236 of 3D World, the world's leading magazine for 3D artists. Buy issue 236 or subscribe here.
Related articles:

Thank you for reading 5 articles this month* Join now for unlimited access
Enjoy your first month for just £1 / $1 / €1
*Read 5 free articles per month without a subscription

Join now for unlimited access
Try first month for just £1 / $1 / €1
Mike Griggs is a veteran digital content creator and technical writer. For nearly 30 years, Mike has been creating digital artwork, animations and VR elements for multi-national companies and world-class museums. Mike has been a writer for 3D World Magazine and Creative Bloq for over 10 years, where he has shared his passion for demystifying the process of digital content creation.
