10 surprising Apple Mac tips and tricks
From amazing apps to hidden hacks: these Mac tips and tricks will transform your process.
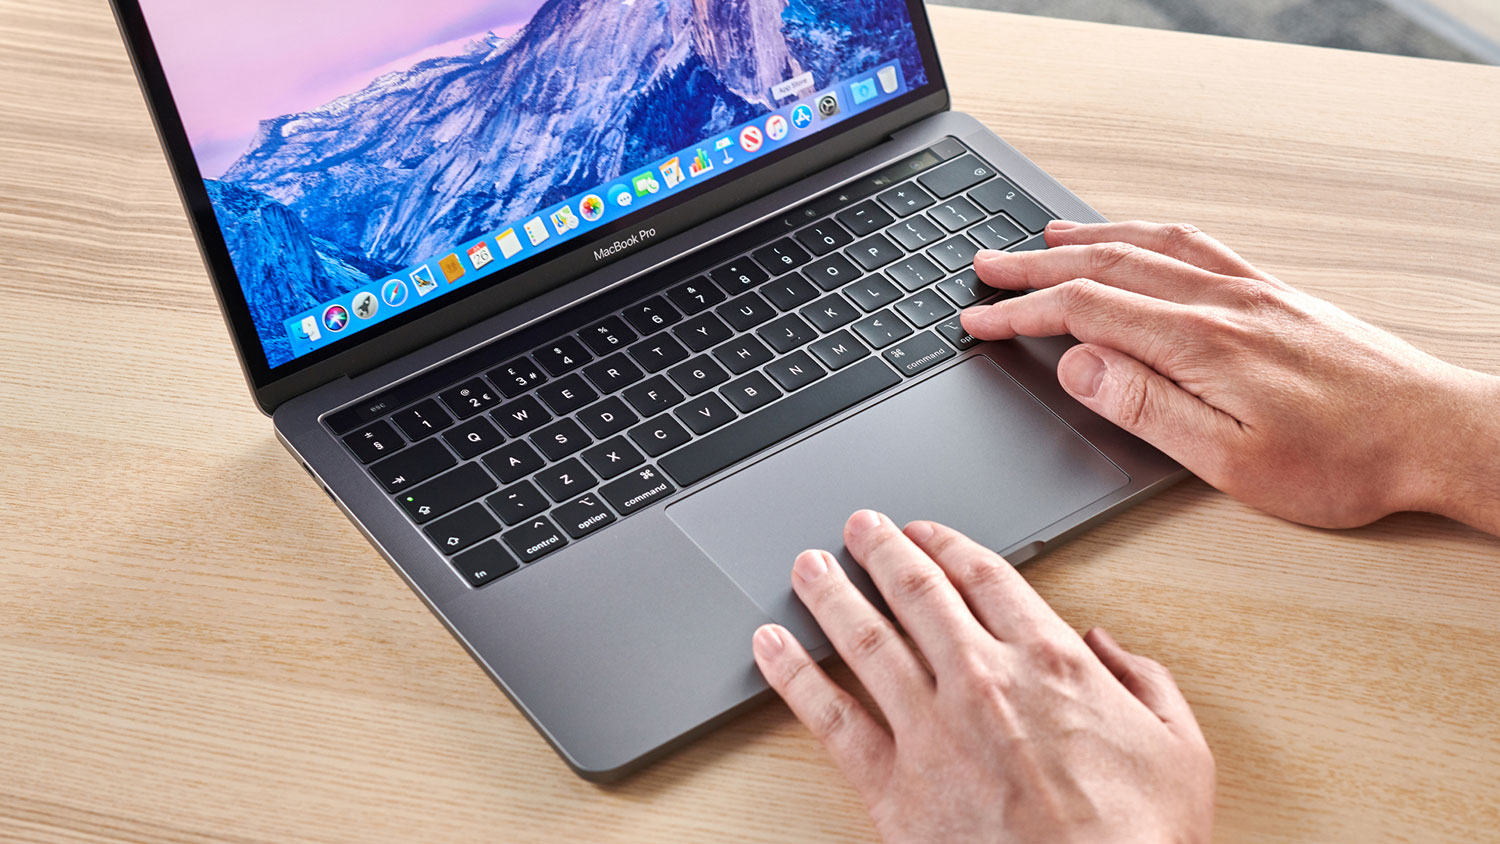
Looking for some cool Apple Mac tips and tricks? This is the place to be. One of the best things about the Mac is how packed the device is with possibilities. There isn't a day that passes when we don't discover something new our Apple devices can do, whether it's a cool feature baked into the operating system, an app that opens a new world, or a toggle that can turn off some of life's irritations.
Whether you have an iMac, Mac mini or a MacBook Pro or Air, there'll always be something new to find. Here are some of our favourite surprising features – and if it inspires you to grab some new kit, check out the best Apple deals. And be sure to load it up with our pick of the best digital art software, too.
10 surprising Mac tips and tricks
01. See your music

In the Music app (or iTunes on older macOS versions), you can display a psychedelic light show which reacts to the music as it plays. Press Command+T to start and the Shift+/ to display the keyboard controls: M changes display mode, A and S add and subtract bits to or from the light show and I shows or hides the track info. If you want to keep it old-school, select Window > Visualiser Settings > Classic Visualiser and you can see the visualiser from the original iTunes. It’s the same menu option to go back to the modern visualiser, but this time just choose Visualiser.
02. Do more with Spotlight
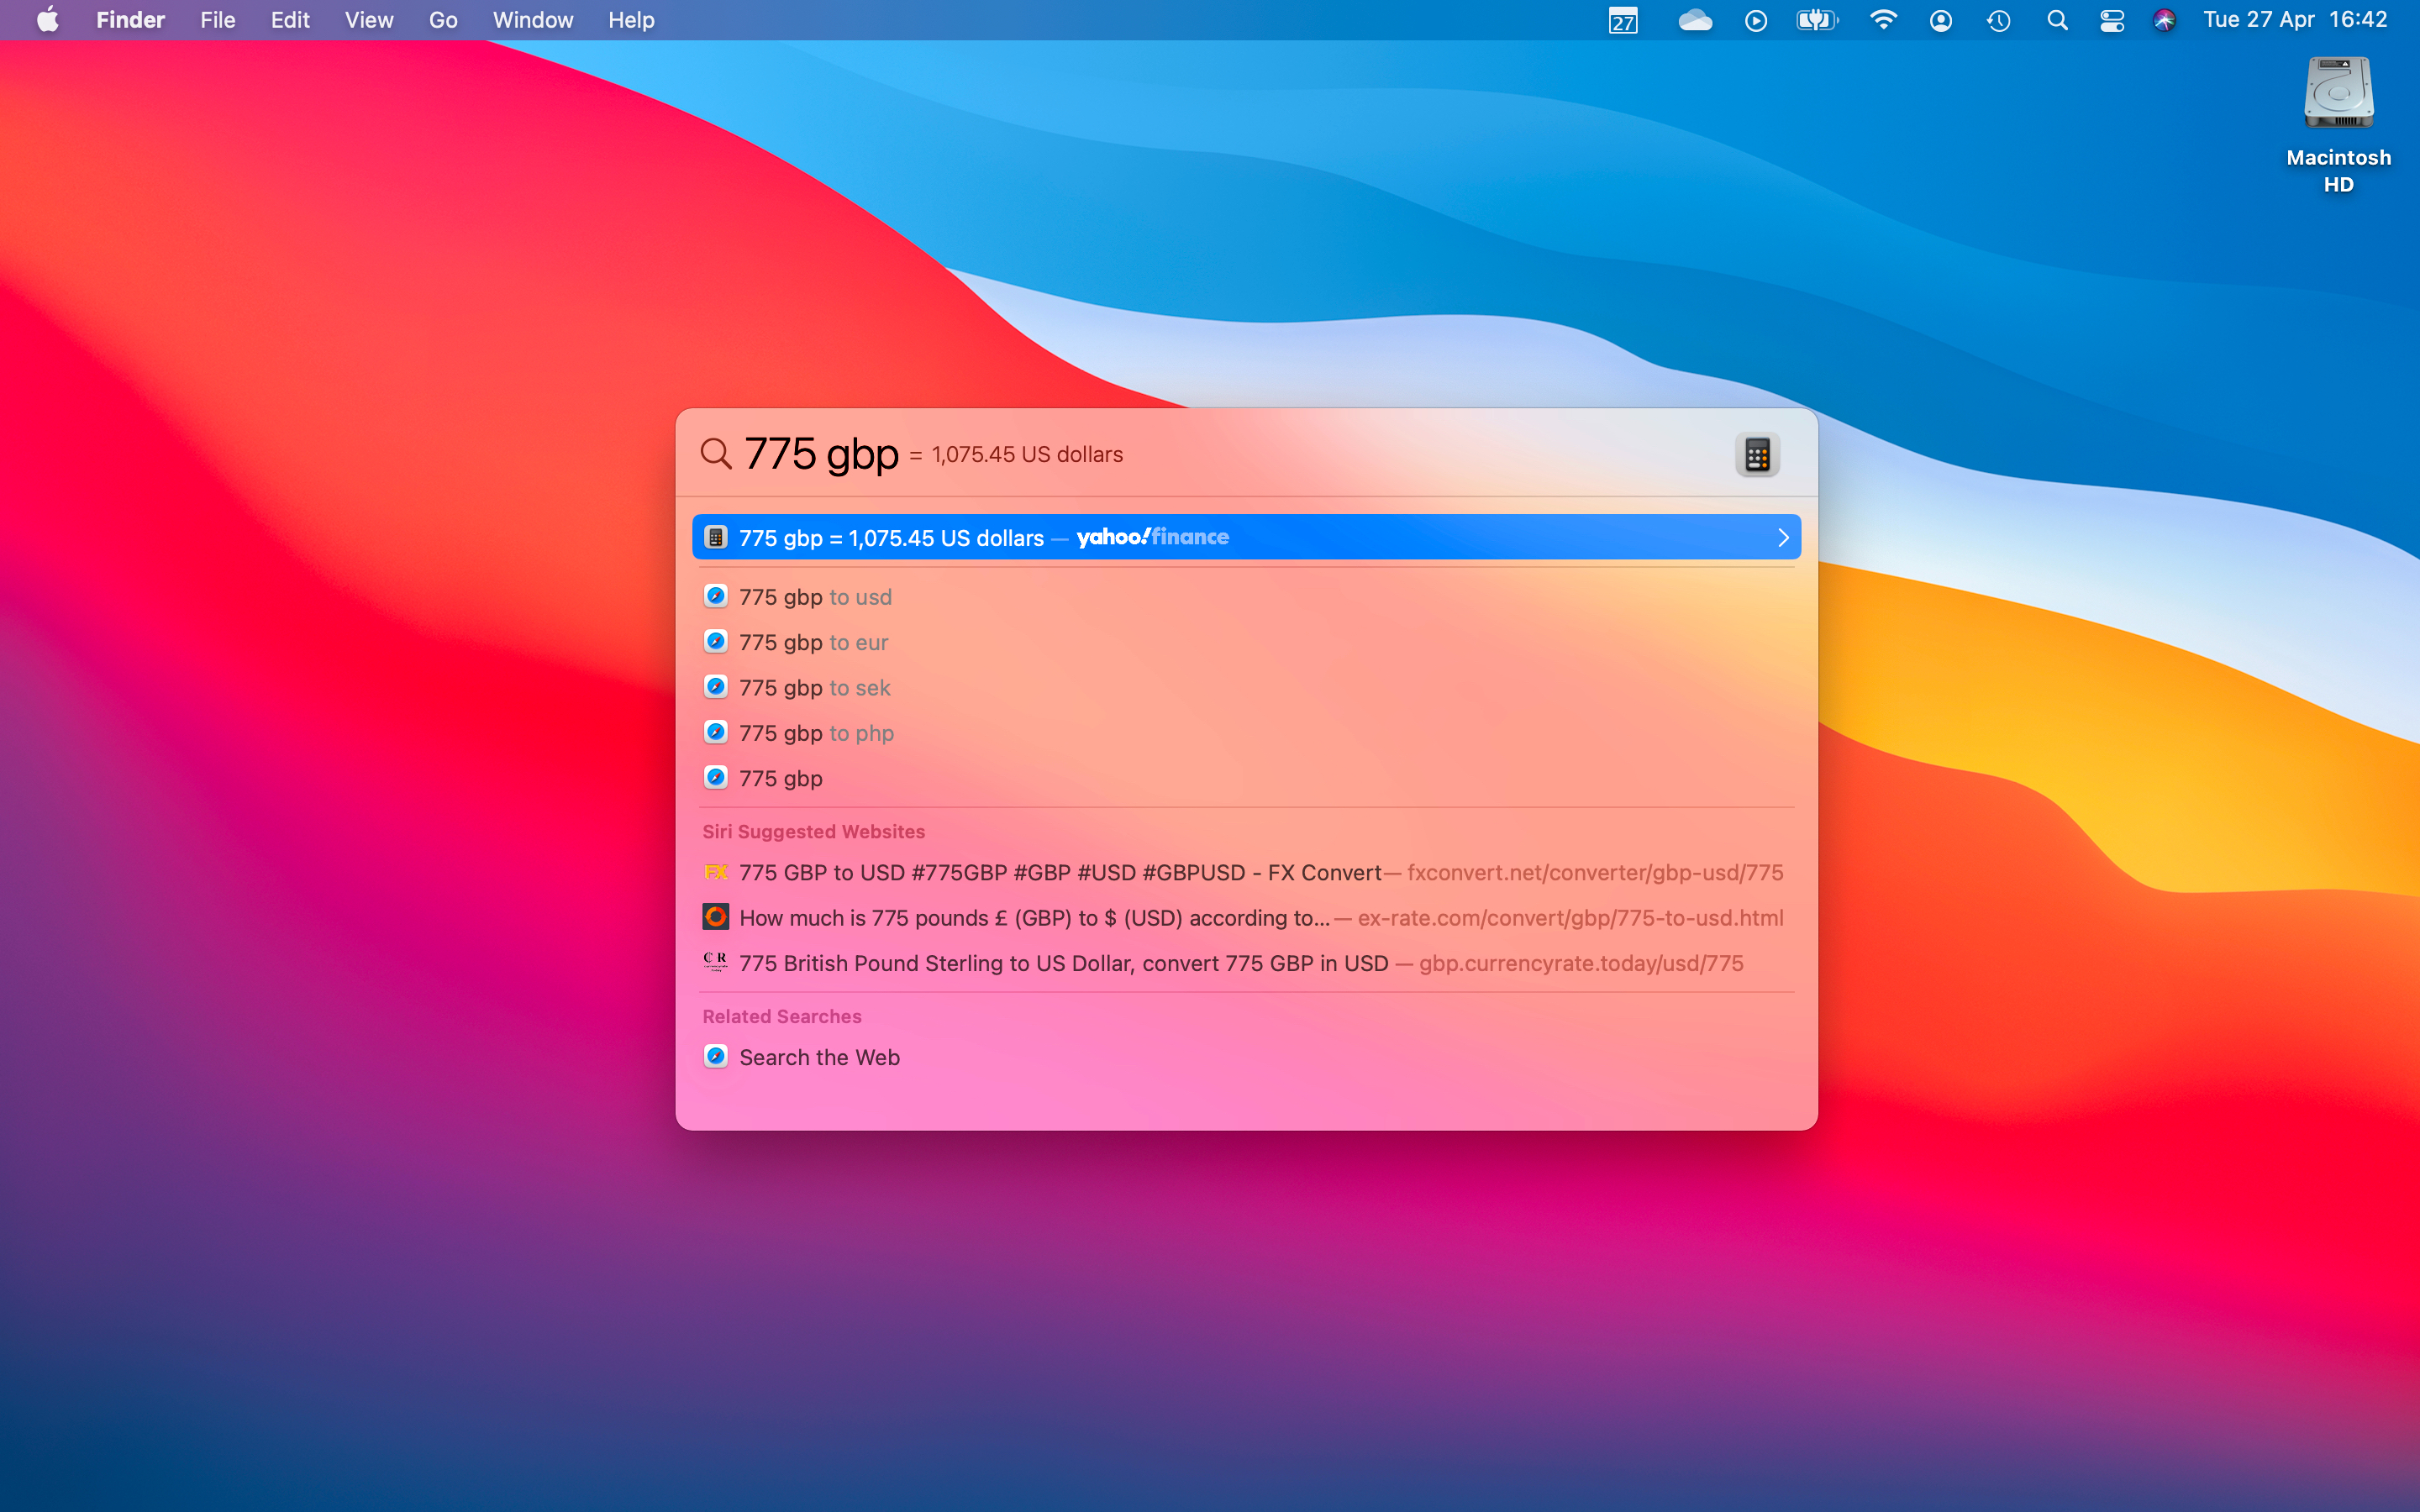
Spotlight isn’t just there to find files and launch apps. It can also save you from opening Safari when you need to perform a quick calculation or conversion. For example, if you press Command+Spacebar and then type ‘999 USD in GBP’, it’ll do the currency calculation for you; if you type ‘68F’, it’ll convert it to Celsius; and if you type ‘1249/36’, it’ll work out the monthly cost of buying a new 24-inch iMac over a three-year period.
Spotlight also enables you to search with specific criteria, such as ‘kind: PDF’, to get definitions by using the keyword ‘define’, to get the weather for a location by typing ‘weather London’ or get football scores with ‘Man United scores’.
03. Sign your name
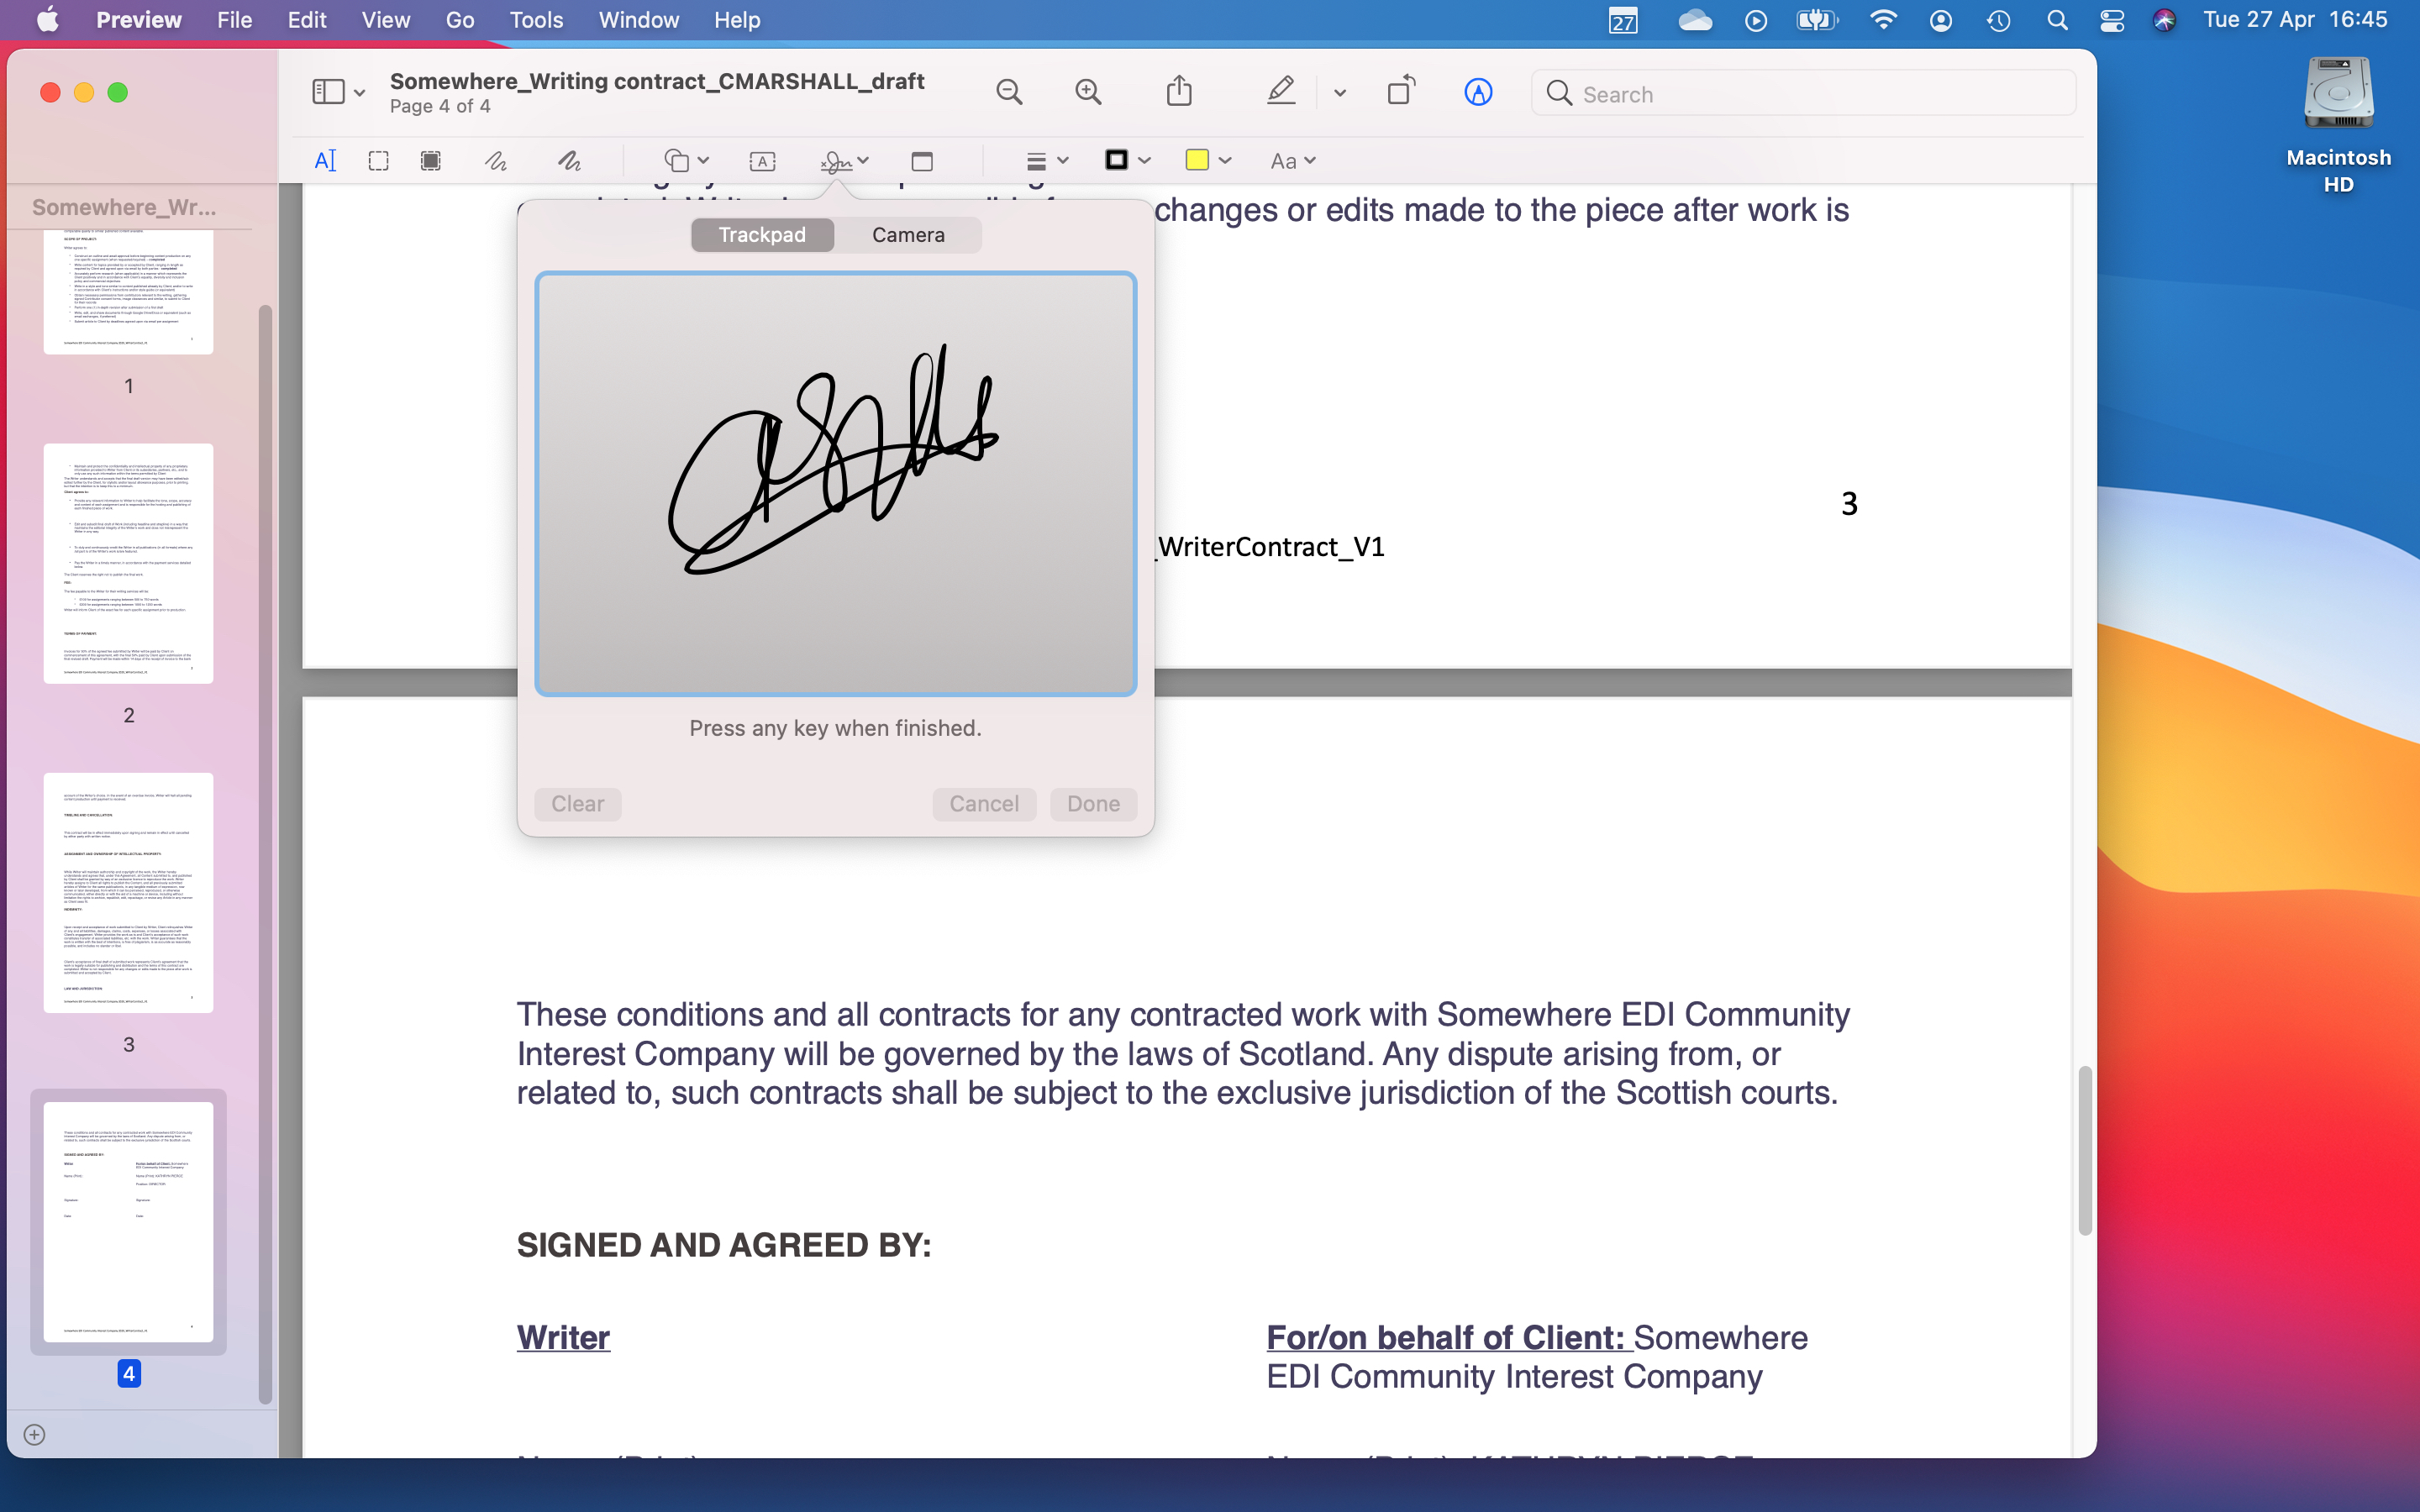
Need to sign a document? No problem: if you have a Mac laptop or a Magic Trackpad you can handwrite on the trackpad to sign PDFs. Simply open the document in Preview, click on the Markup logo next to the Search box and then look for the Signature icon. Select Create Signature and you can now sign with your finger. pdf sign. For more options, see our guide to the best e-signature software.
04. Make secret notes
Keychain is a great password manager, but it’s also a great place to keep secure notes that nobody else can access. Launch Keychain Access (it’s in Applications > Utilities) and then click on File > New Secure Note Item. Once saved, the note will be password-protected so only the title is visible.
Get the Creative Bloq Newsletter
Daily design news, reviews, how-tos and more, as picked by the editors.
05. Ask it to read to you
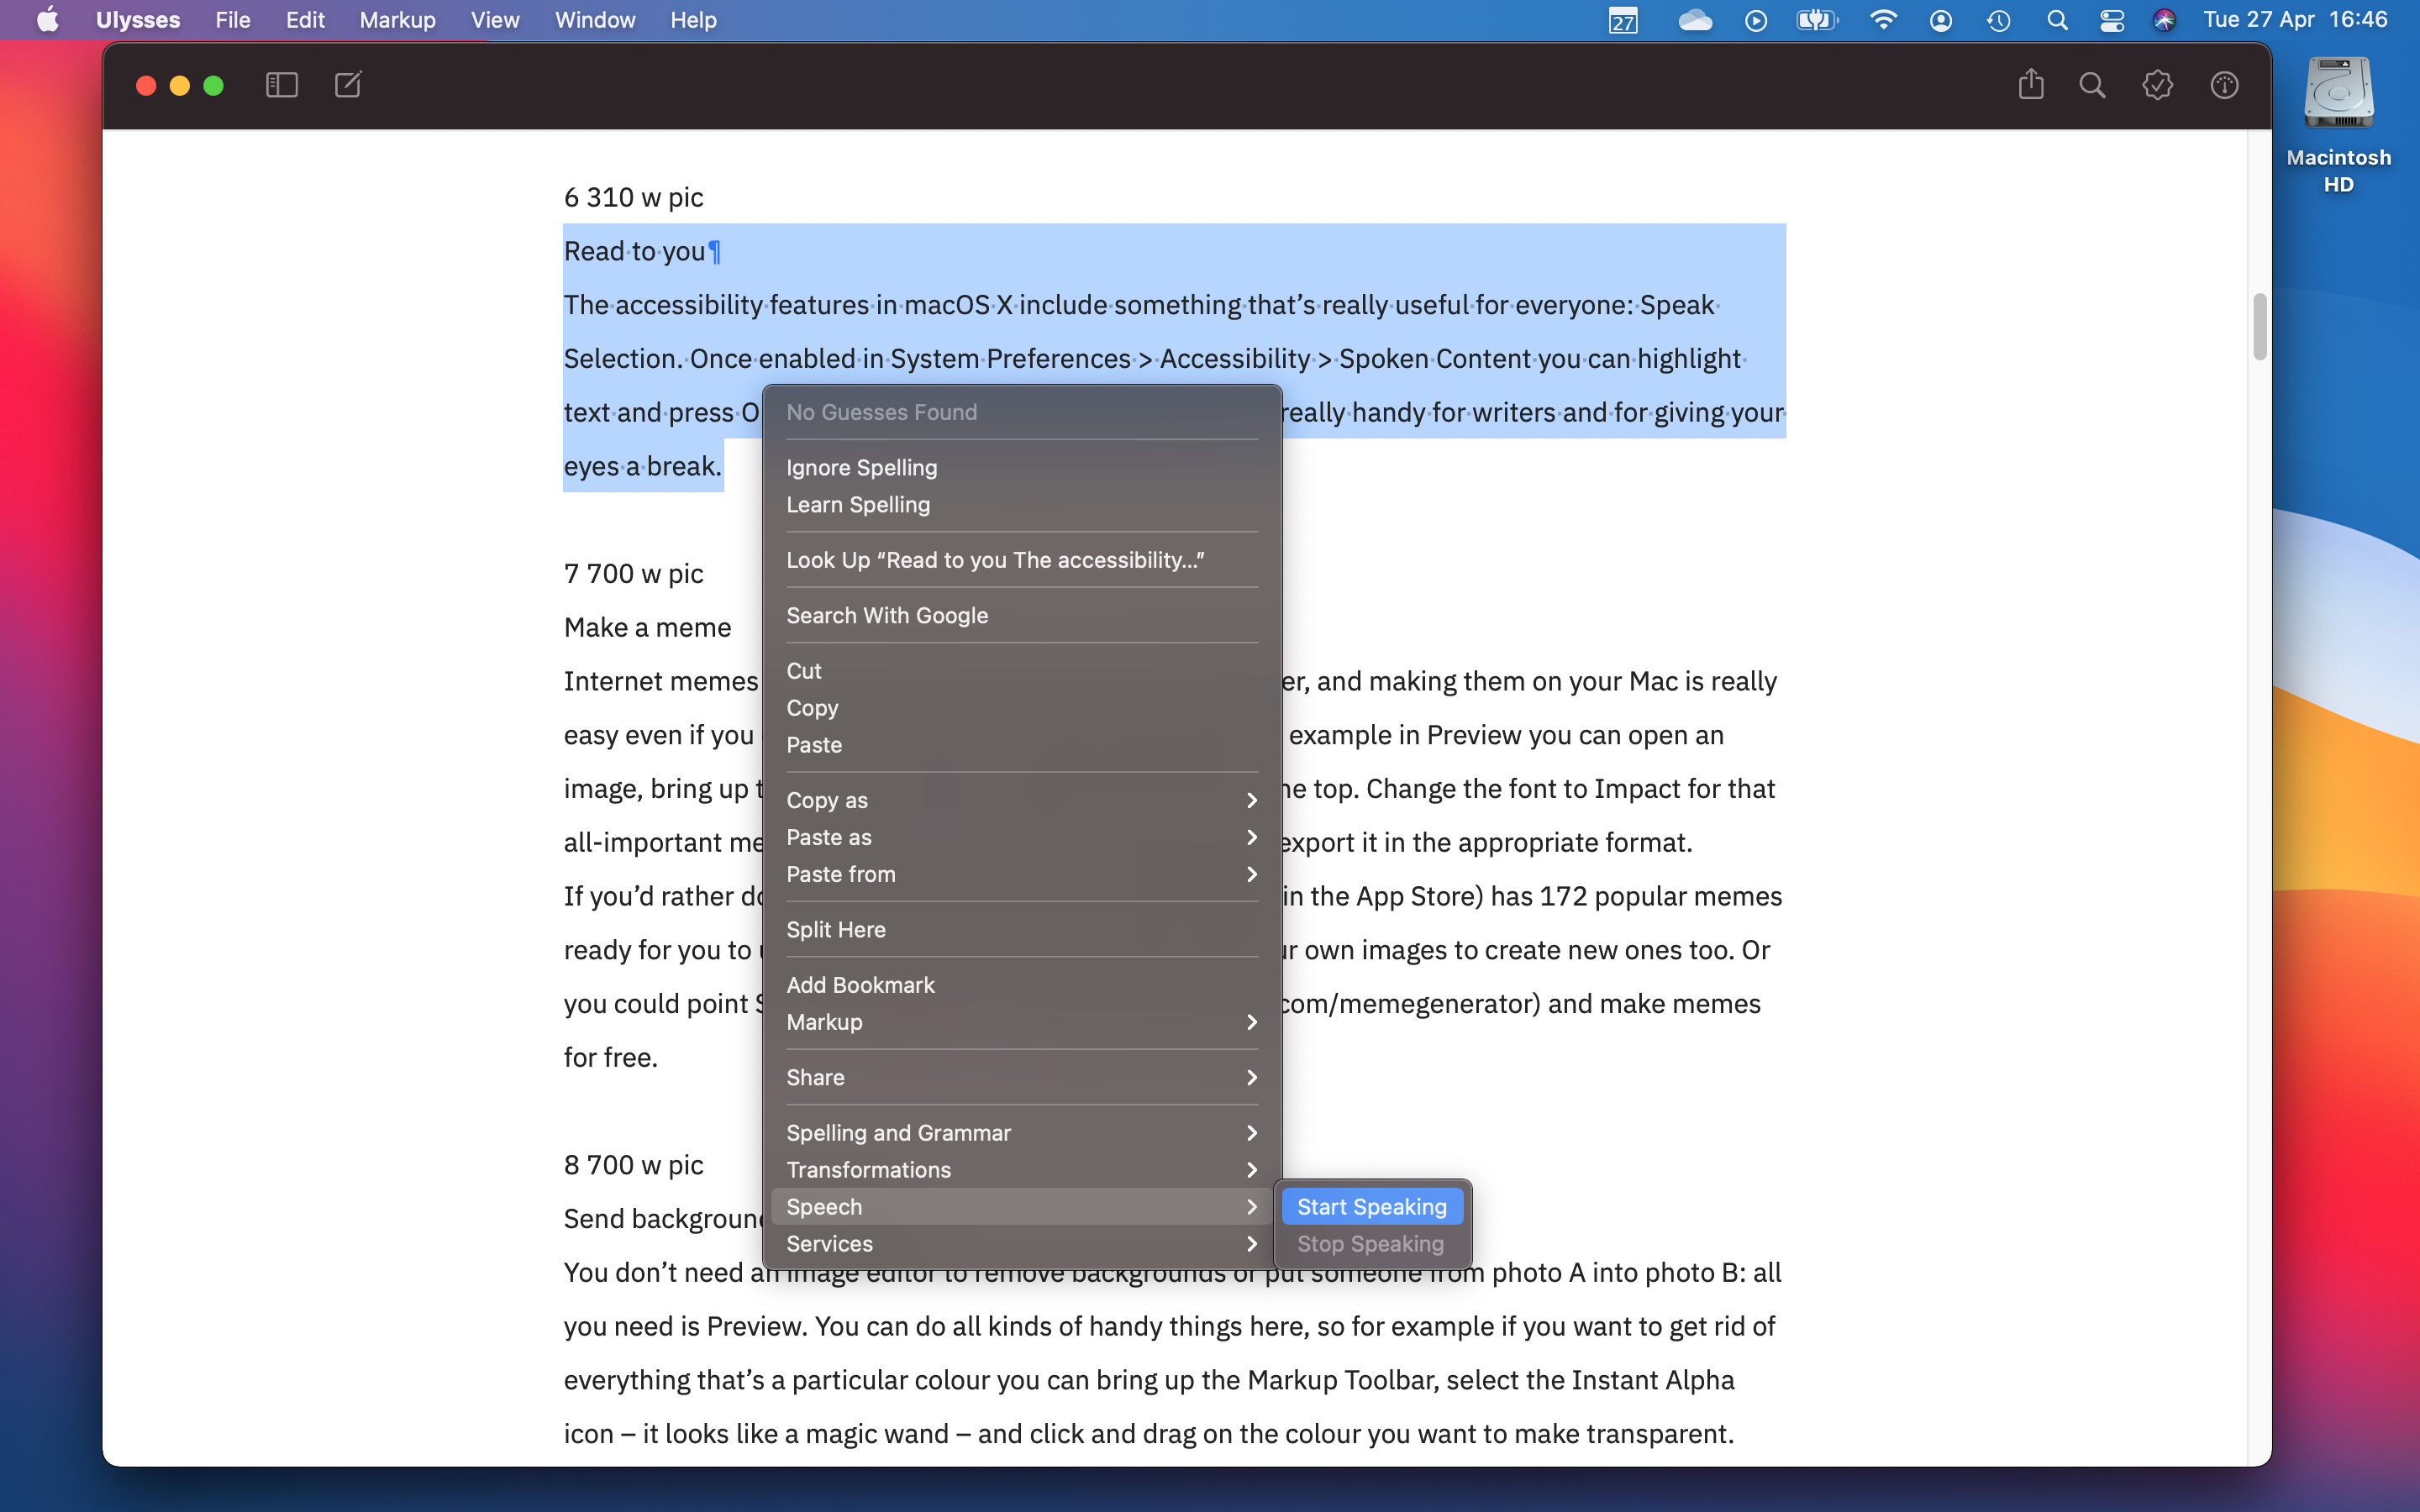
The accessibility features in macOS include something that’s really useful for everyone: Speak Selection. Once enabled in System Prefs > Accessibility > Spoken Content, you can highlight text and press å+œ to have your Mac read it out. It’s really handy for writers and for giving your eyes a break.
06. Make a meme
Internet memes are visual dad jokes for every age and gender, and making them on your Mac is really easy even if you don’t have a photo editing app installed. For example, in Preview you can open an image, bring up the Markup toolbar and then add text over the top. Change the font to Impact for that all-important meme look and then either save the image or export it in the appropriate format.
07. Send backgrounds to the bin

You don’t need an image editor to remove backgrounds or put someone from photo A into photo B: all you need is Preview. You can do all kinds of handy things here. For example, if you want to get rid of everything that’s a particular colour, you can bring up the Markup Toolbar, select the Instant Alpha icon – it looks like a magic wand – and simply click and drag on the colour that you want to make transparent.
If you want to copy a person or object from one photo to another, change the selection tool in the Markup toolbar to Smart Lasso, then trace the person or thing you want to copy. You don’t need to worry about being accurate; Preview analyses the image to find the object or person’s outline.
08. Use your other devices as cameras or scanners

Since the release of Mojave and iOS 12, your Mac has been able to use a brilliant feature called Continuity Camera. This enables you to use the camera in your iPhone, iPod touch or iPad directly from your Mac: you can take a photo and add it to your Keynote presentation, or scan a document and embed it in Pages. The feature is available in Pages, Numbers, Finder, Mail, Messages and many third-party apps too.
You’ll need the appropriate iOS or iPadOS device to be using the same Apple ID as your Mac, and both it and your Mac will need to have Bluetooth and Wi-Fi on. Control-click anywhere in your document (in Finder, Control-click on the desktop or Finder window) and select Import From iPhone or iPad. In some apps the option will say Insert rather than Import, but it’s the same thing.
You should now see a list of the available iOS or iPadOS devices, so for example, when we do it our iPhone and iPad both appear. Now all you need to do is choose what you want to do: take a photo, scan a document or add a sketch.
09. Put multiple files in one PDF
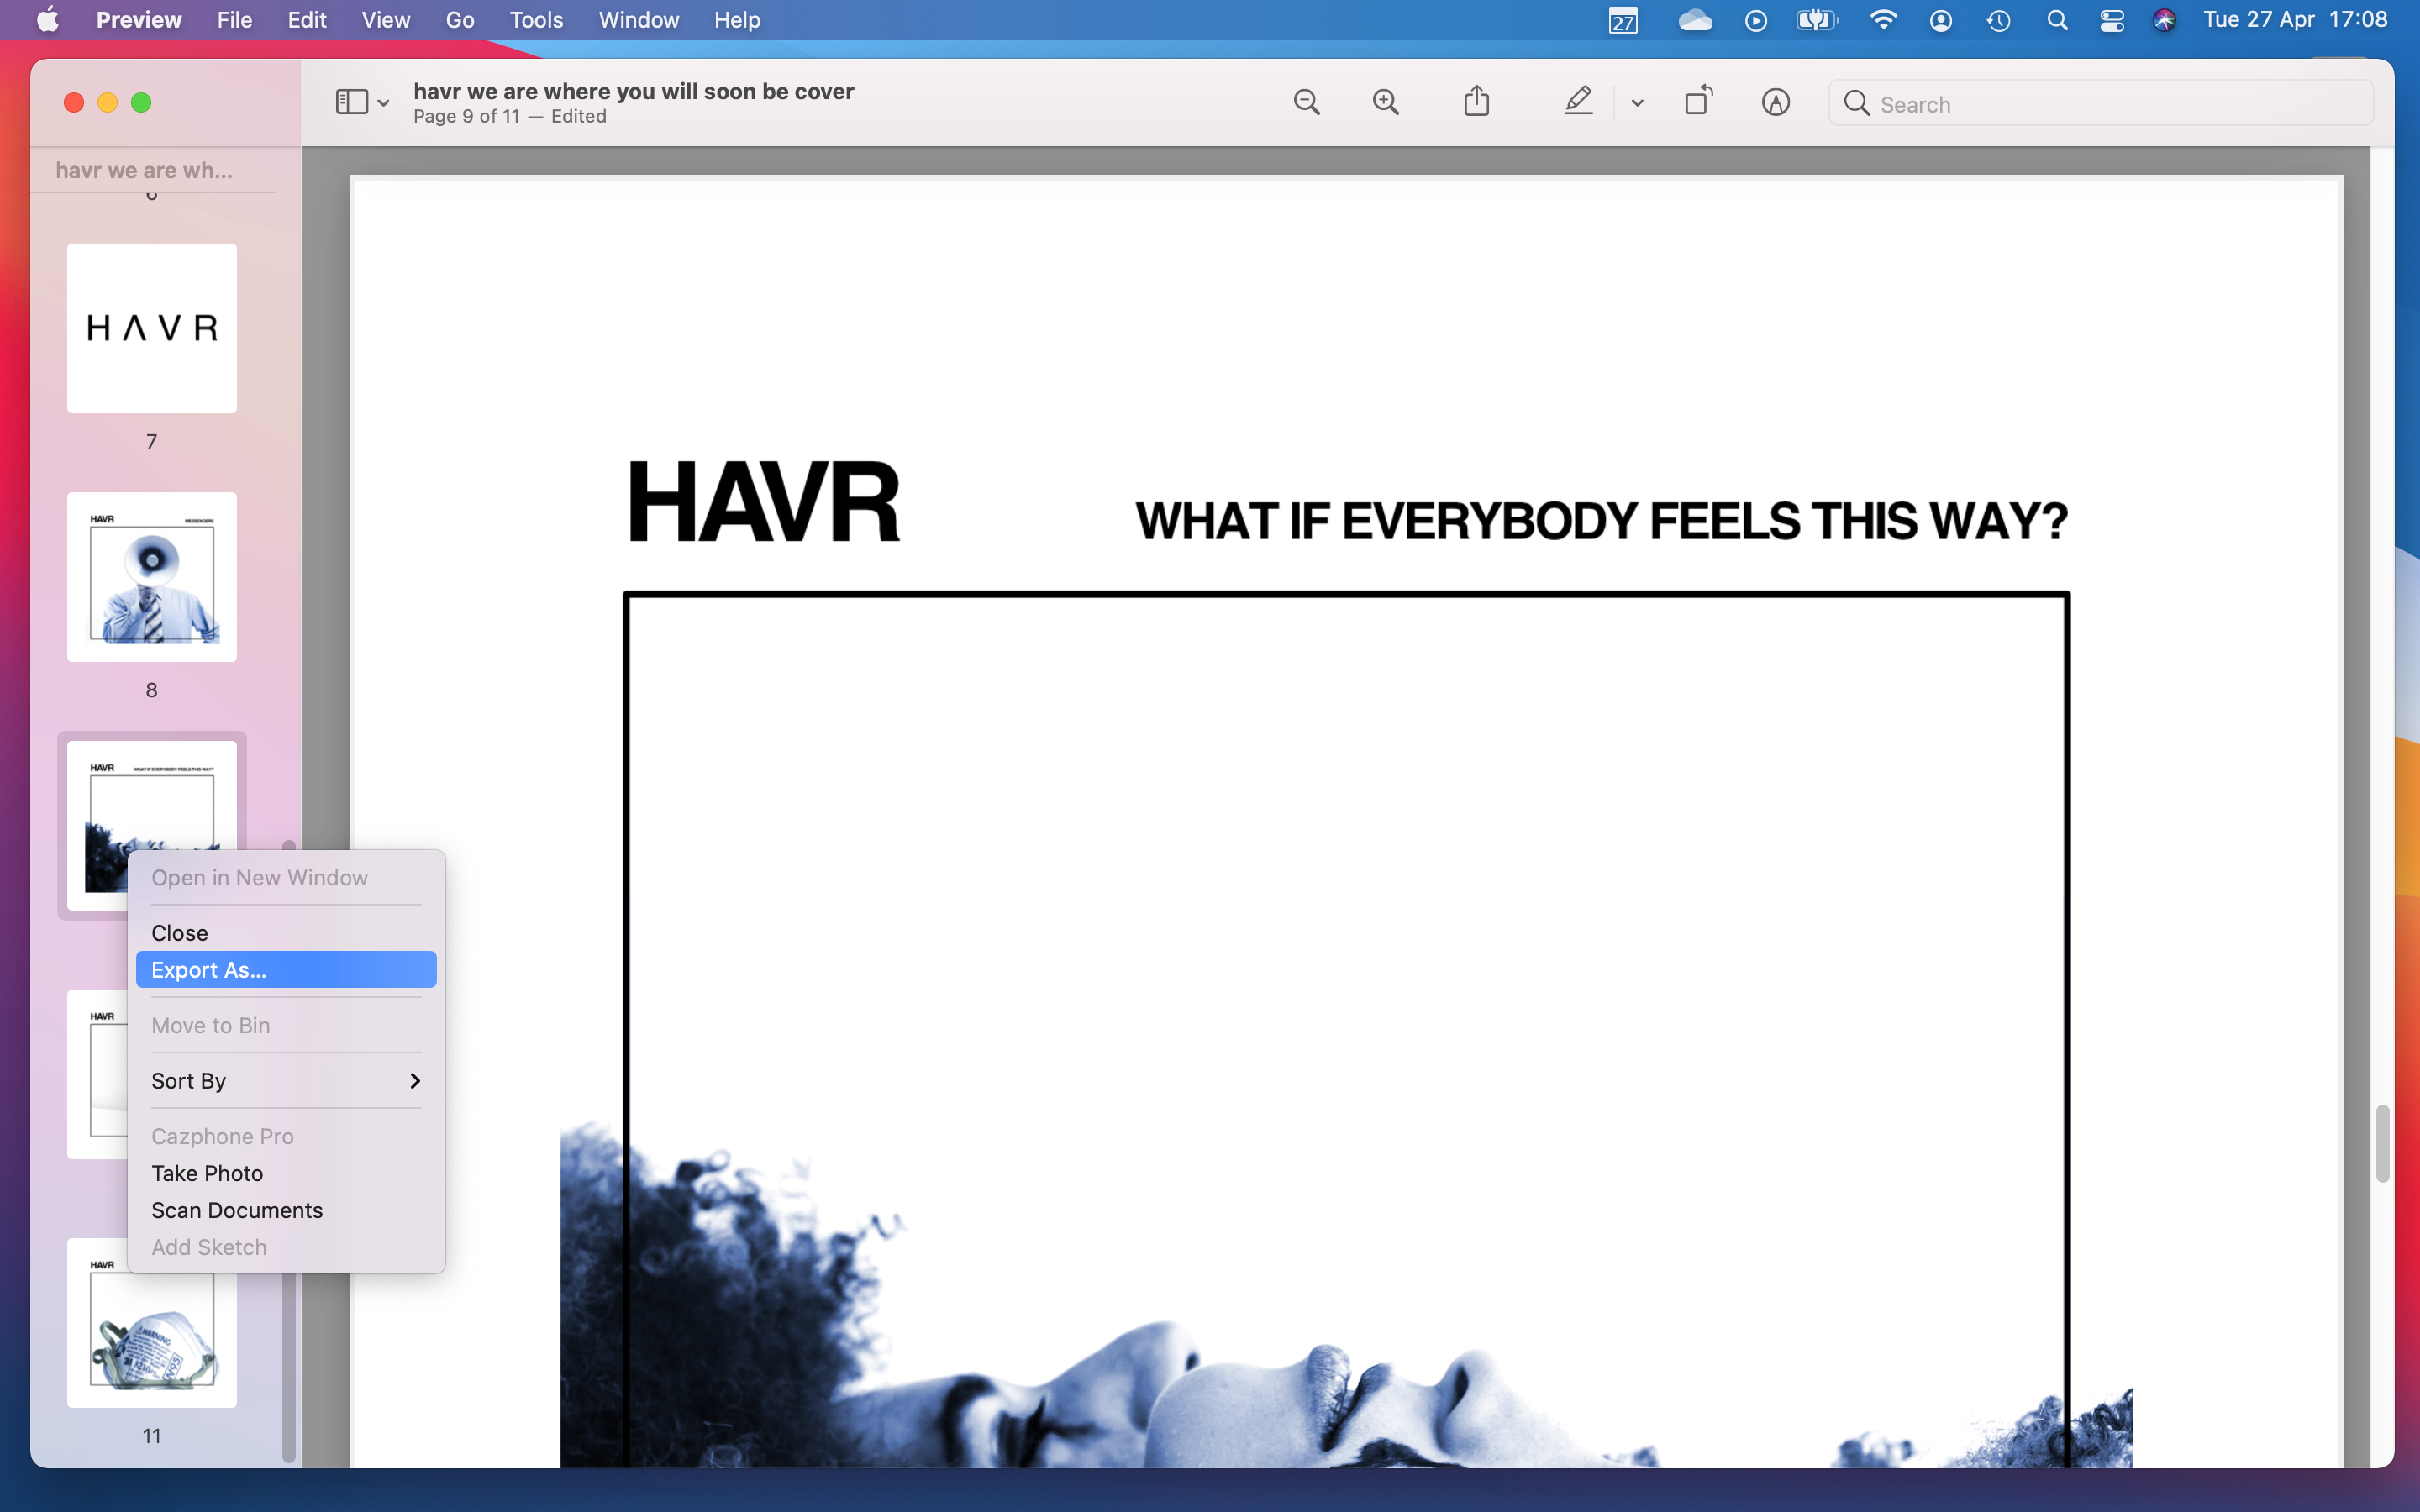
You can send a collection of images or PDFs as a single PDF. Open one of the files, press Command+Shift+Option+S for the Save As dialog box, and save it as a PDF. Now go to Edit > Insert > Page From File to bring in the other PDFs or images. You can reorder them in the thumbnails sidebar, and if you want to annotate your pages it’s just a matter of bringing up the Markup toolbar and scribbling or adding text boxes. When you’re finished, save your doc and use the Share icon to send it to your desired recipient. You can also extract individual pages from PDFs. Control-click the page thumbnail and select Export As. You can now export that page as a PDF or image file.
10. Copy between devices
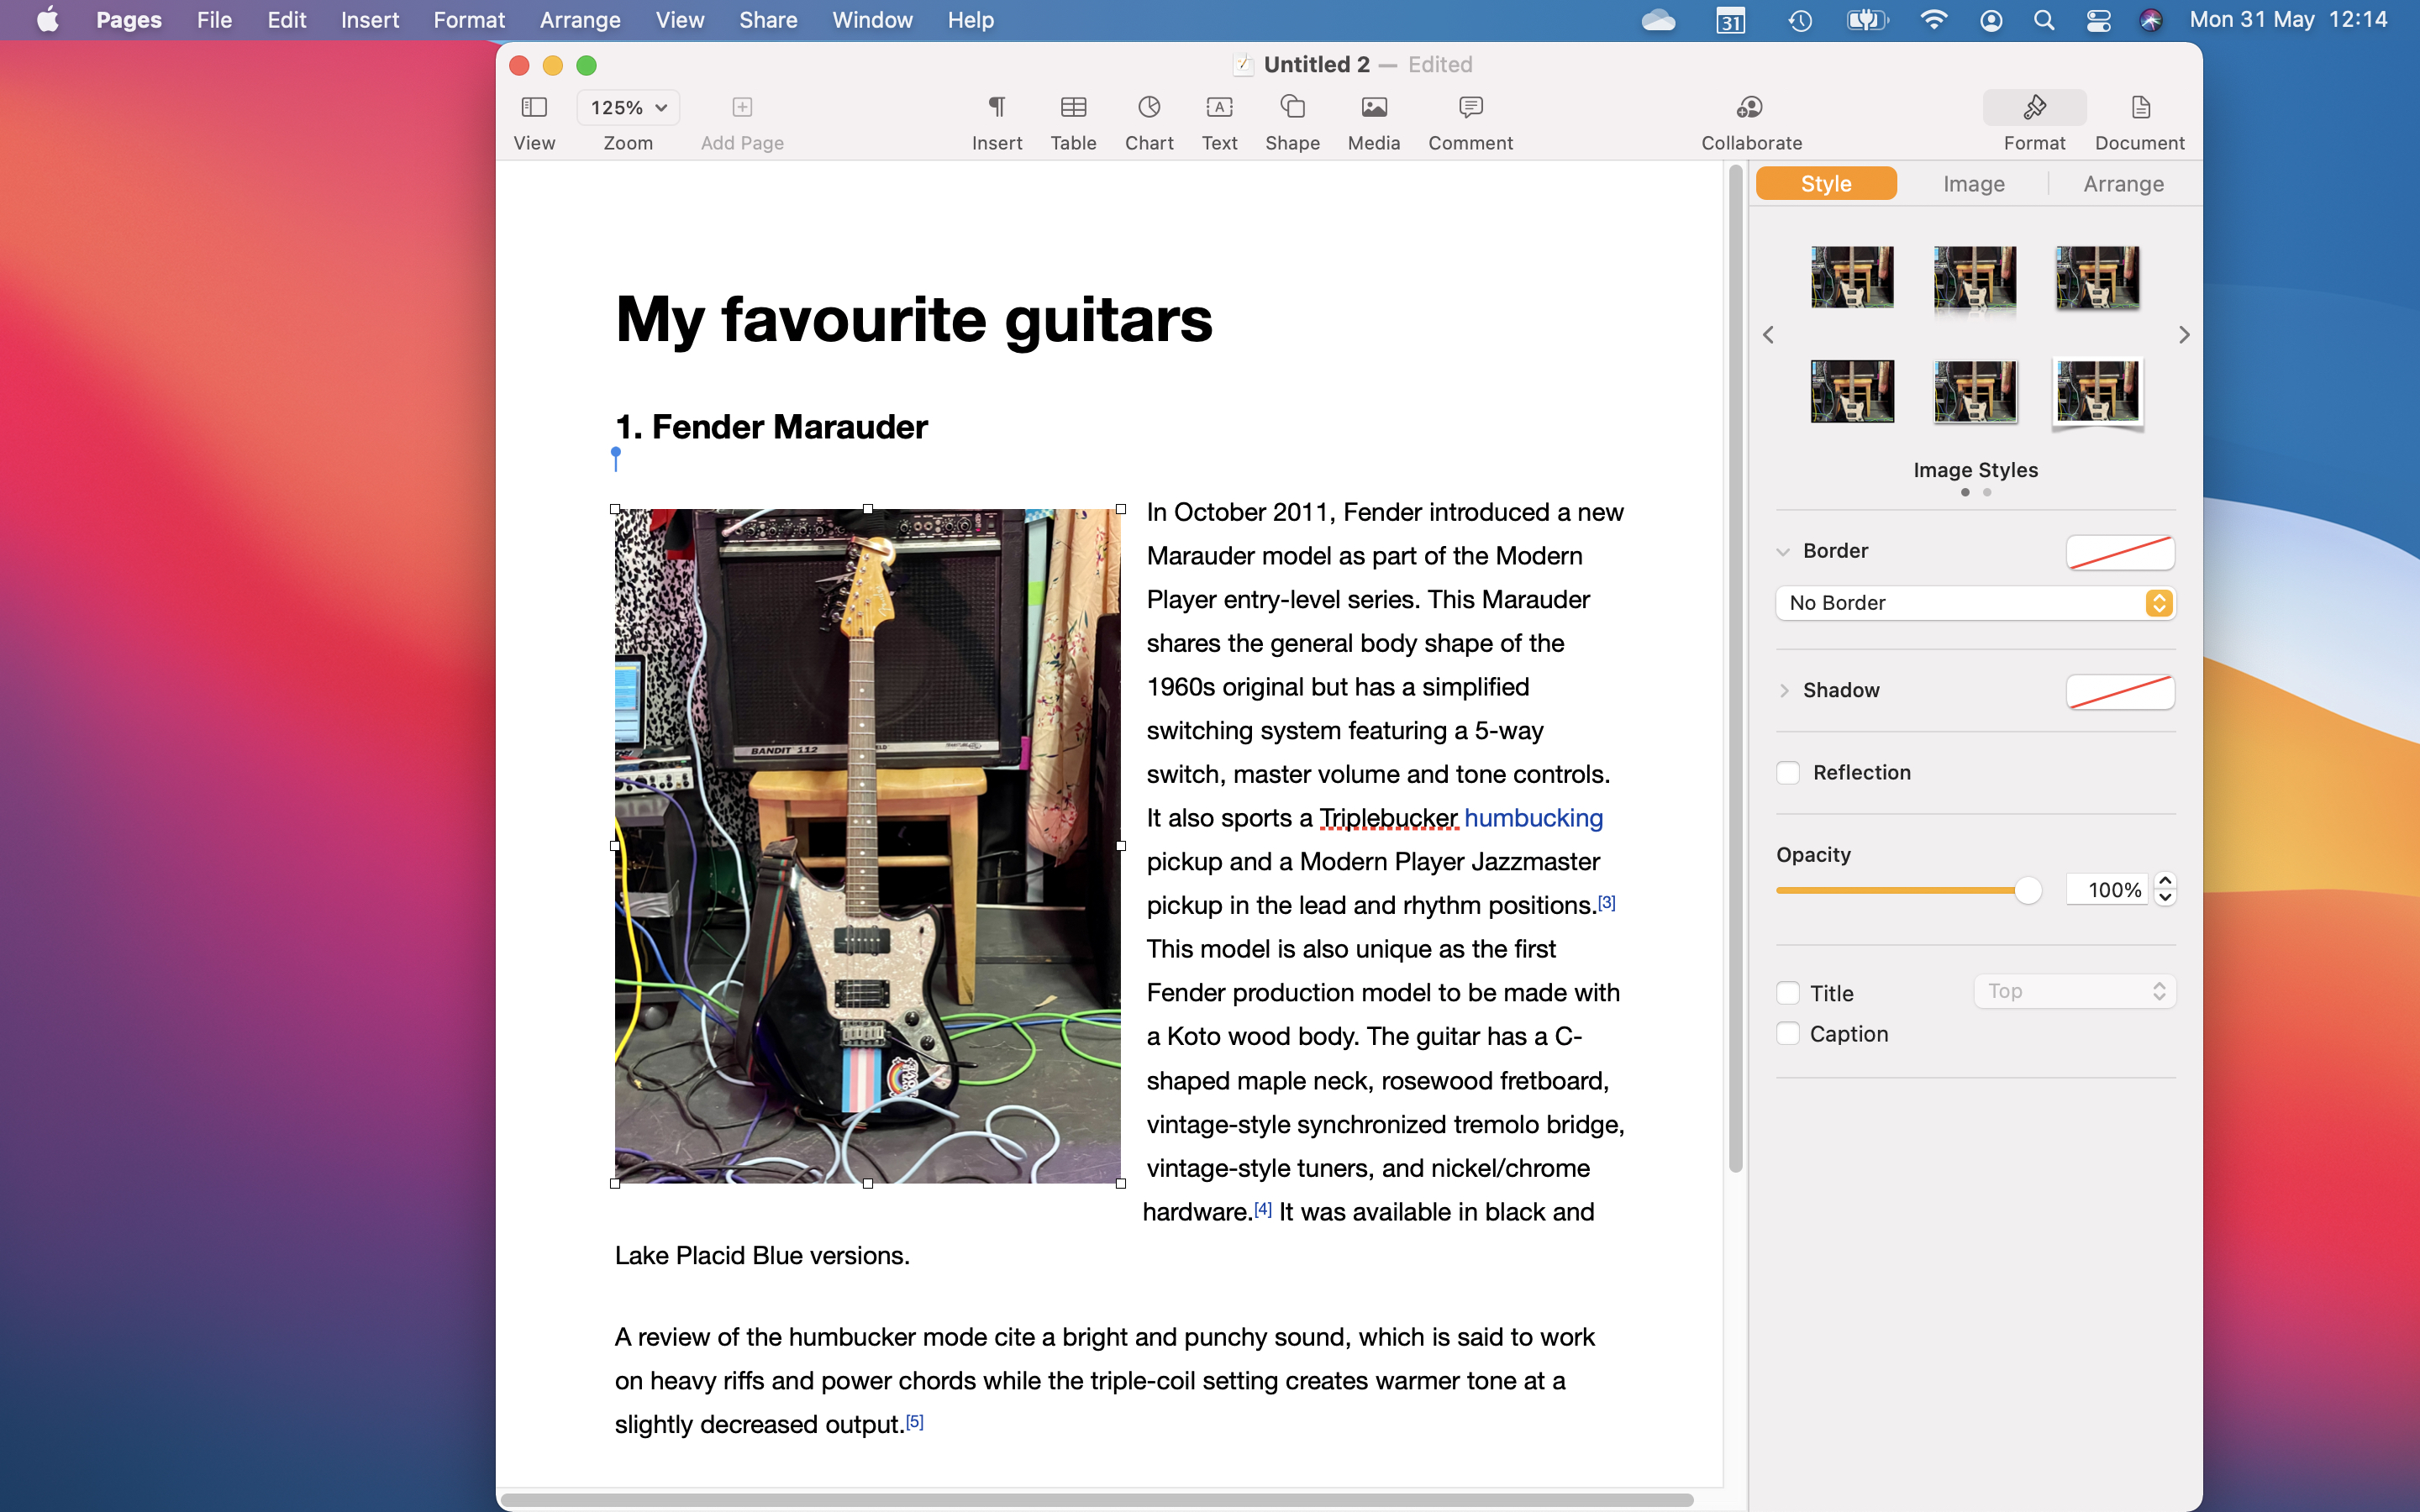
Universal Clipboard copies from your iPhone/iPad/iPod touch to your Mac or vice-versa. Provided both devices share the same Apple ID it’s just a matter of copying on one and immediately pasting on the other, such as copying a link or text from Safari on your phone and pasting it into Pages in your Mac.
This article was originally published in issue 367 of MacFormat. Buy issue 367 or subscribe to MacFormat.
Read more:
- Best Photoshop plugins: Speed up your workflow
- Best graphic design software: The powerful software you need
- iMac vs Mac mini: Which Mac is right for you?

Thank you for reading 5 articles this month* Join now for unlimited access
Enjoy your first month for just £1 / $1 / €1
*Read 5 free articles per month without a subscription

Join now for unlimited access
Try first month for just £1 / $1 / €1

Carrie Marshall is a journalist, copywriter, ghostwriter, broadcaster and musician from Glasgow, where she lives with her two children, a greyhound and more guitars than are strictly necessary. A professional writer since 1998, Carrie is particularly interested in how technology can help us live our best lives and has written thousands of features, columns, reviews and news stories for a huge range of magazines, newspapers, websites and trade publications including T3, Techradar, MacFormat, BBC, Sunday Post and People’s Friend.
