9 ways to shoot better iPhone video
How to use different shooting modes in the Camera app.
With the introduction of the iPhone 14 you can now shoot videos in Action mode, but that’s not the only type of video your iPhone can capture. In this tutorial, we’re going to explore all of the video recording modes available to your iPhone’s camera (no matter which iPhone model you own), explaining what they are, how they work and how you can make the most of them.
We’ll be covering Action mode, shooting in HD, 4K and the amazing Cinematic mode. Plus, we’ll take a look at quasi-video modes such as Slo-Mo, Time-Lapse and Live Photo to expand your video shooting repertoire.
We’ll also show you how to turn on the Apple ProRes format on Pro model iPhones. ProRes enables you to capture HDR (High Dynamic Range) clips that have a wider range of colours and tones than standard HD or 4K clips. HDR clips take up a huge amount of storage space, so we’d only recommend shooting in Apple ProRes if you need to edit and share clips to be viewed on HDR-compatible devices such as an iPhone 14 Pro.
Once you've taken your footage, check out our best video editing apps and video editing software to take it to the next level.
1. Set your file format
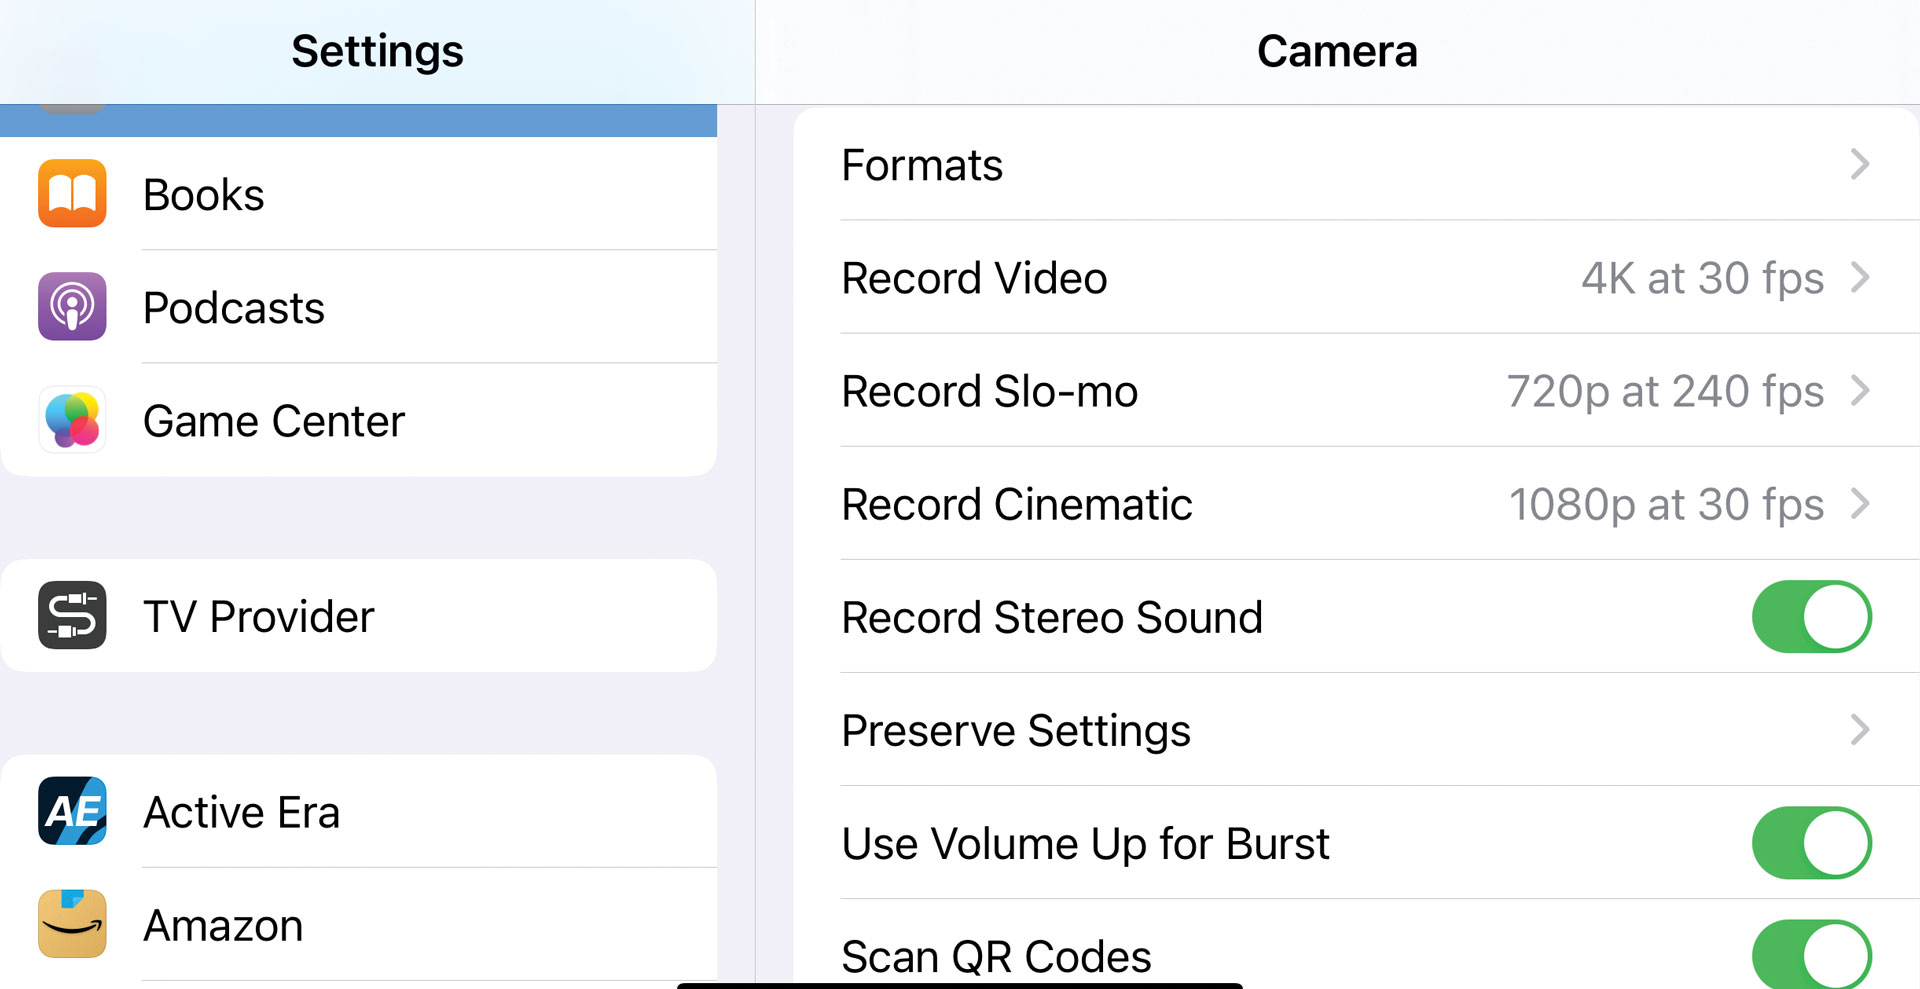
Go to Settings > Camera. Here you can choose default video file sizes and frame rates for the Camera app, such as shooting 4K footage at 30fps. You can also change file sizes and frames rates from within the Camera app.
2. Choose HD or 4K
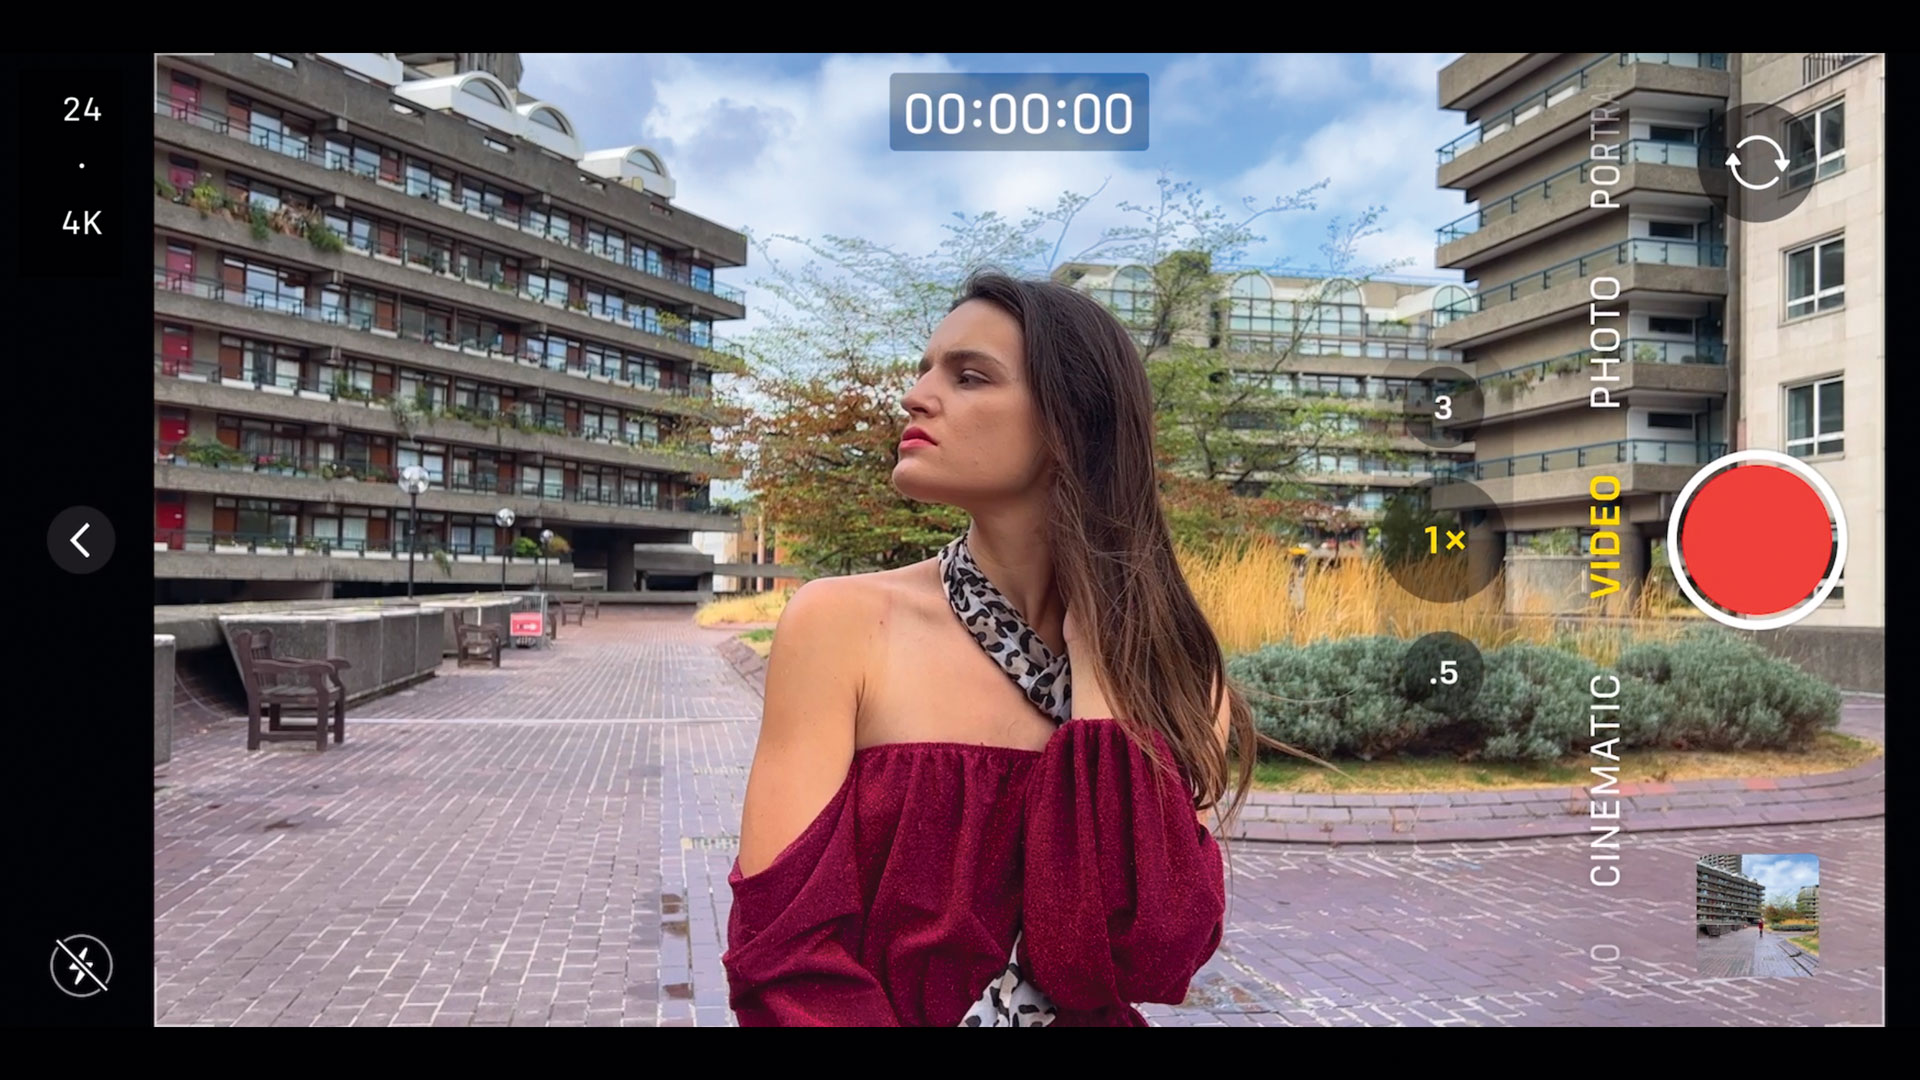
In the Camera app, swipe to Video mode. Tap top-left to toggle the resolution between HD and 4K. Tap to change the frame rate. 30fps is good for sharing HD files online; 24fps gives a more cinematic look on a 4K TV.
3. Use Cinematic mode
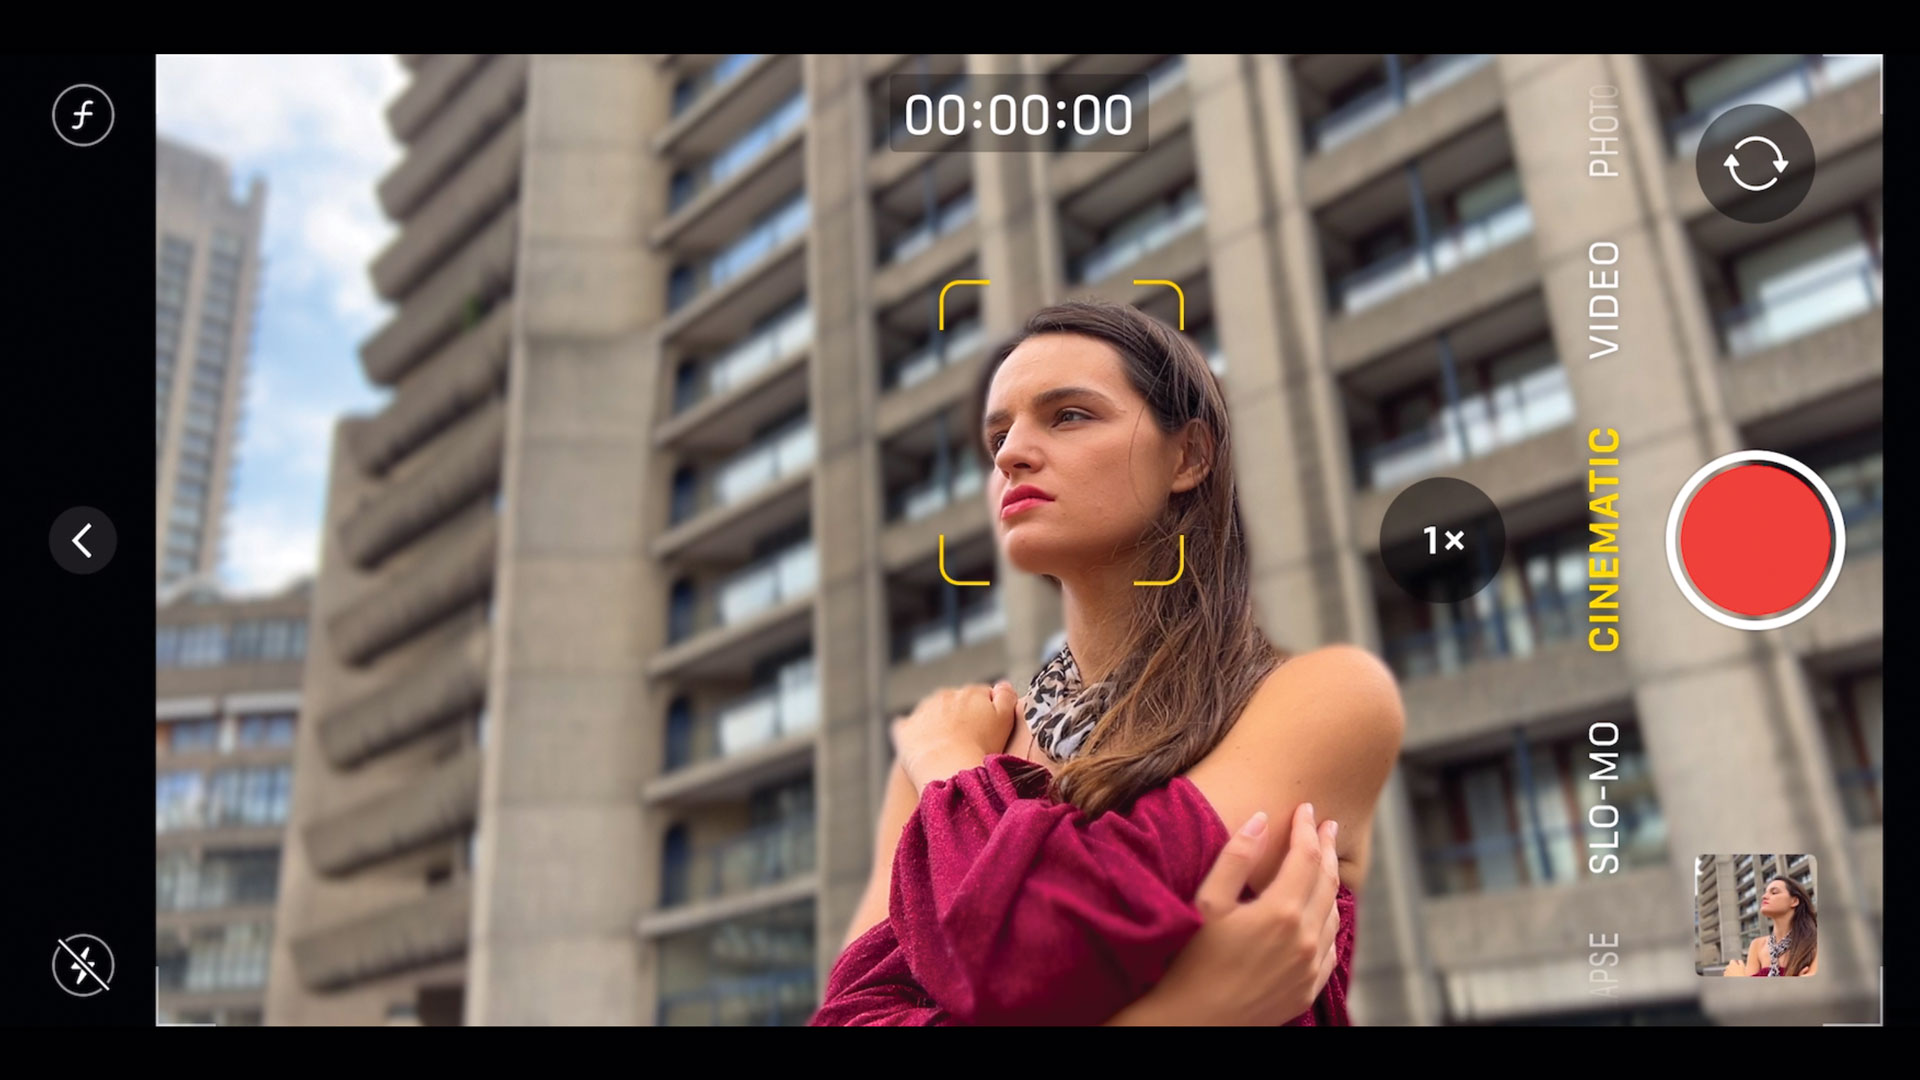
To give your footage a Hollywood look, swipe to Cinematic mode. This mode is similar to the Portrait mode in that it digitally blurs the video clip’s background while keeping the main subject looking nice and sharp.
4. Pull focus
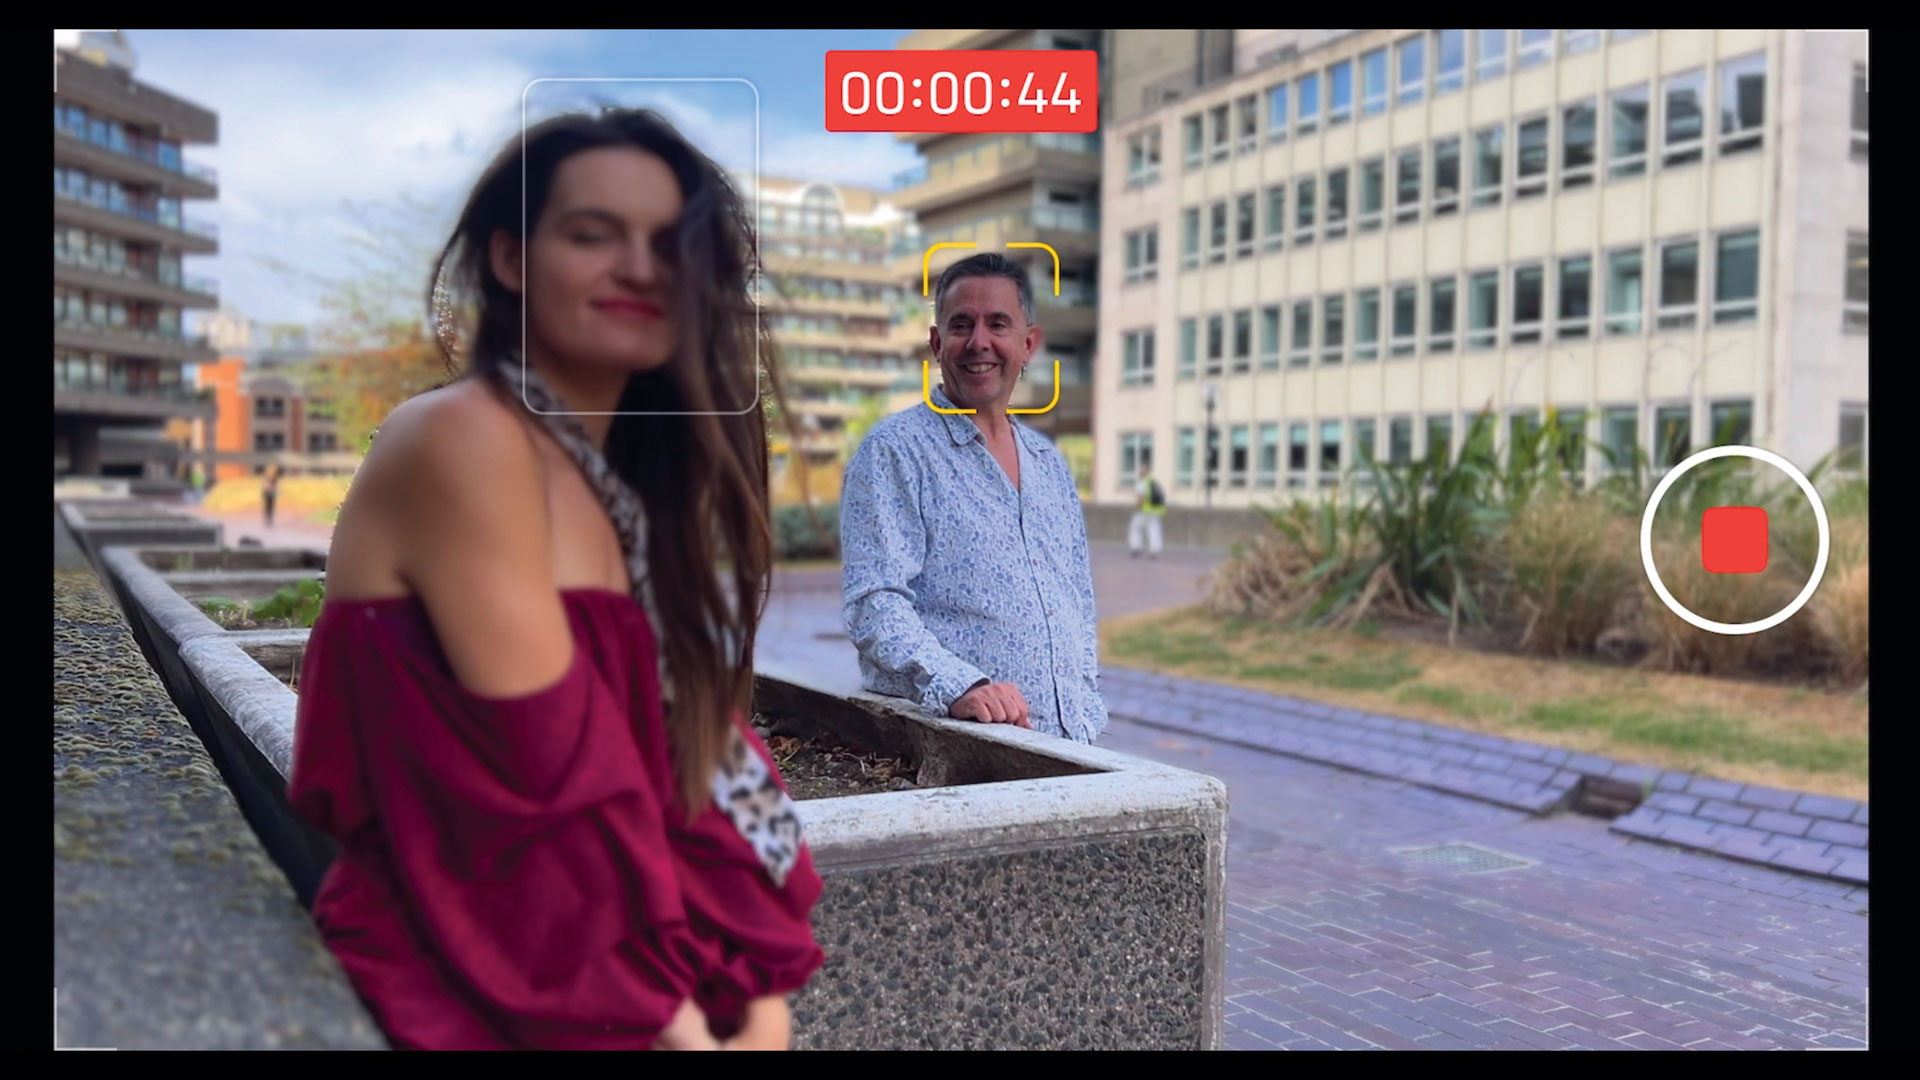
While shooting in Cinematic mode, the camera will usually focus on the person closest to the lens. You can tap on a background person (or object) to make them become sharp. A yellow box indicates the focal point.
5. Go slow
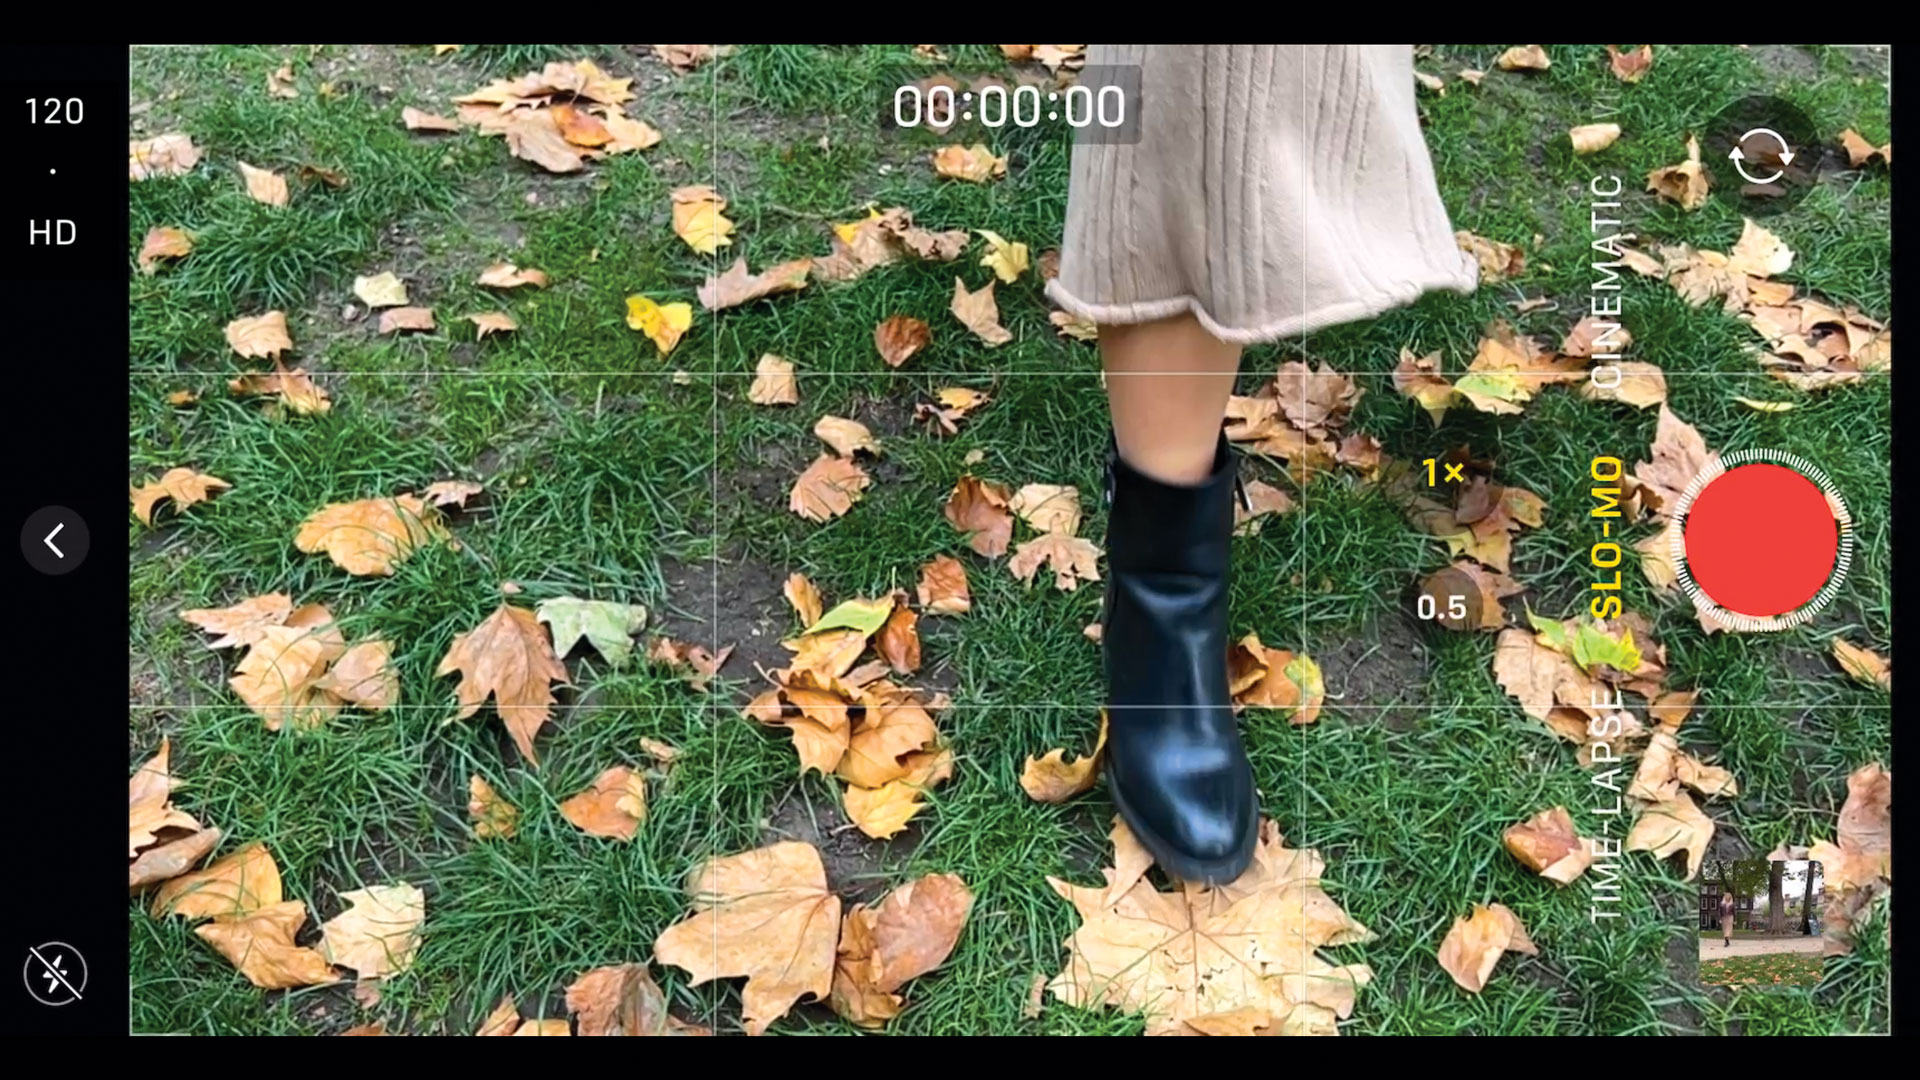
Swipe to Slo-mo. Tap top-left to shoot at 720P with a slow frame rate of 240fps to create a small (low-resolution) file. For higher-quality choose HD 120. Tap the red button to record a slow-motion clip.
6. Use Time-Lapse mode
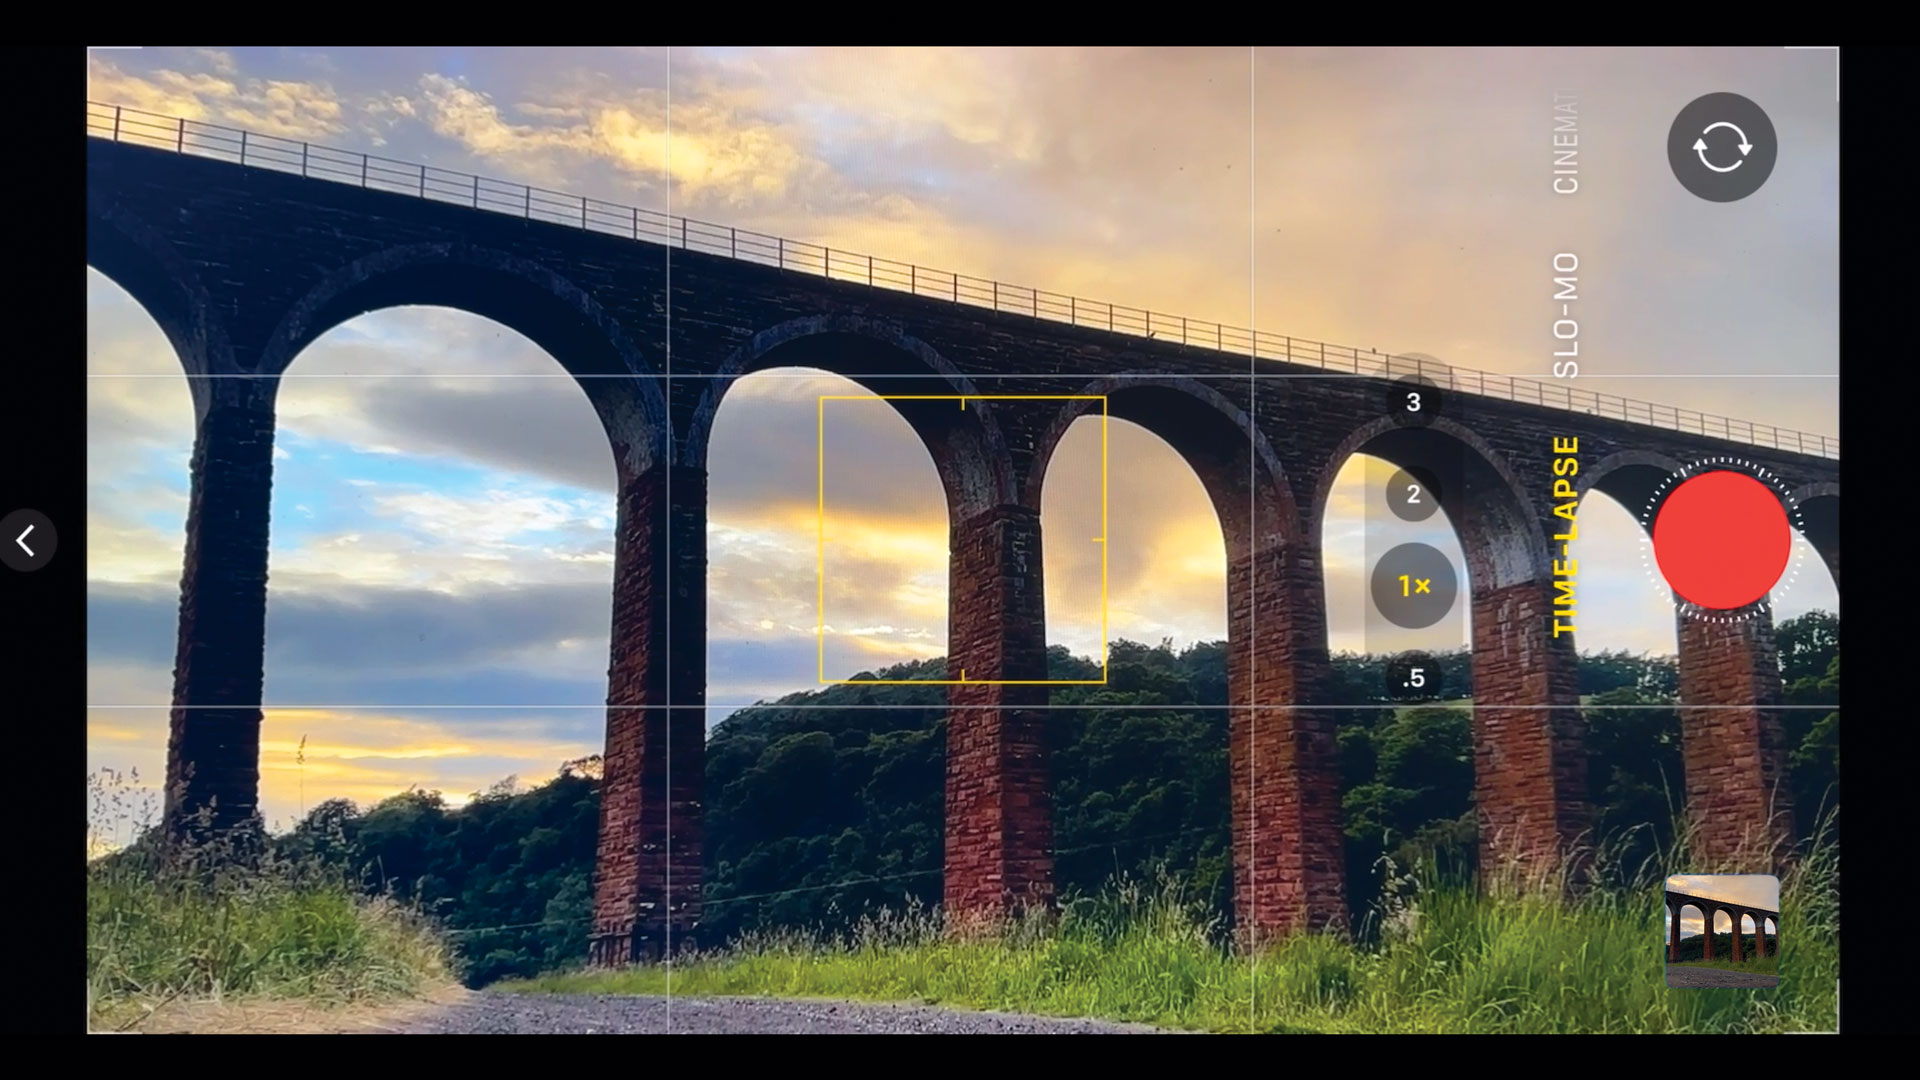
To view the world in a creative and dynamic way, swipe to Time-Lapse mode. This causes the iPhone to capture approximately two frames per second. When you play the clip, subjects such as clouds move at high speed.
7. Explore Action mode
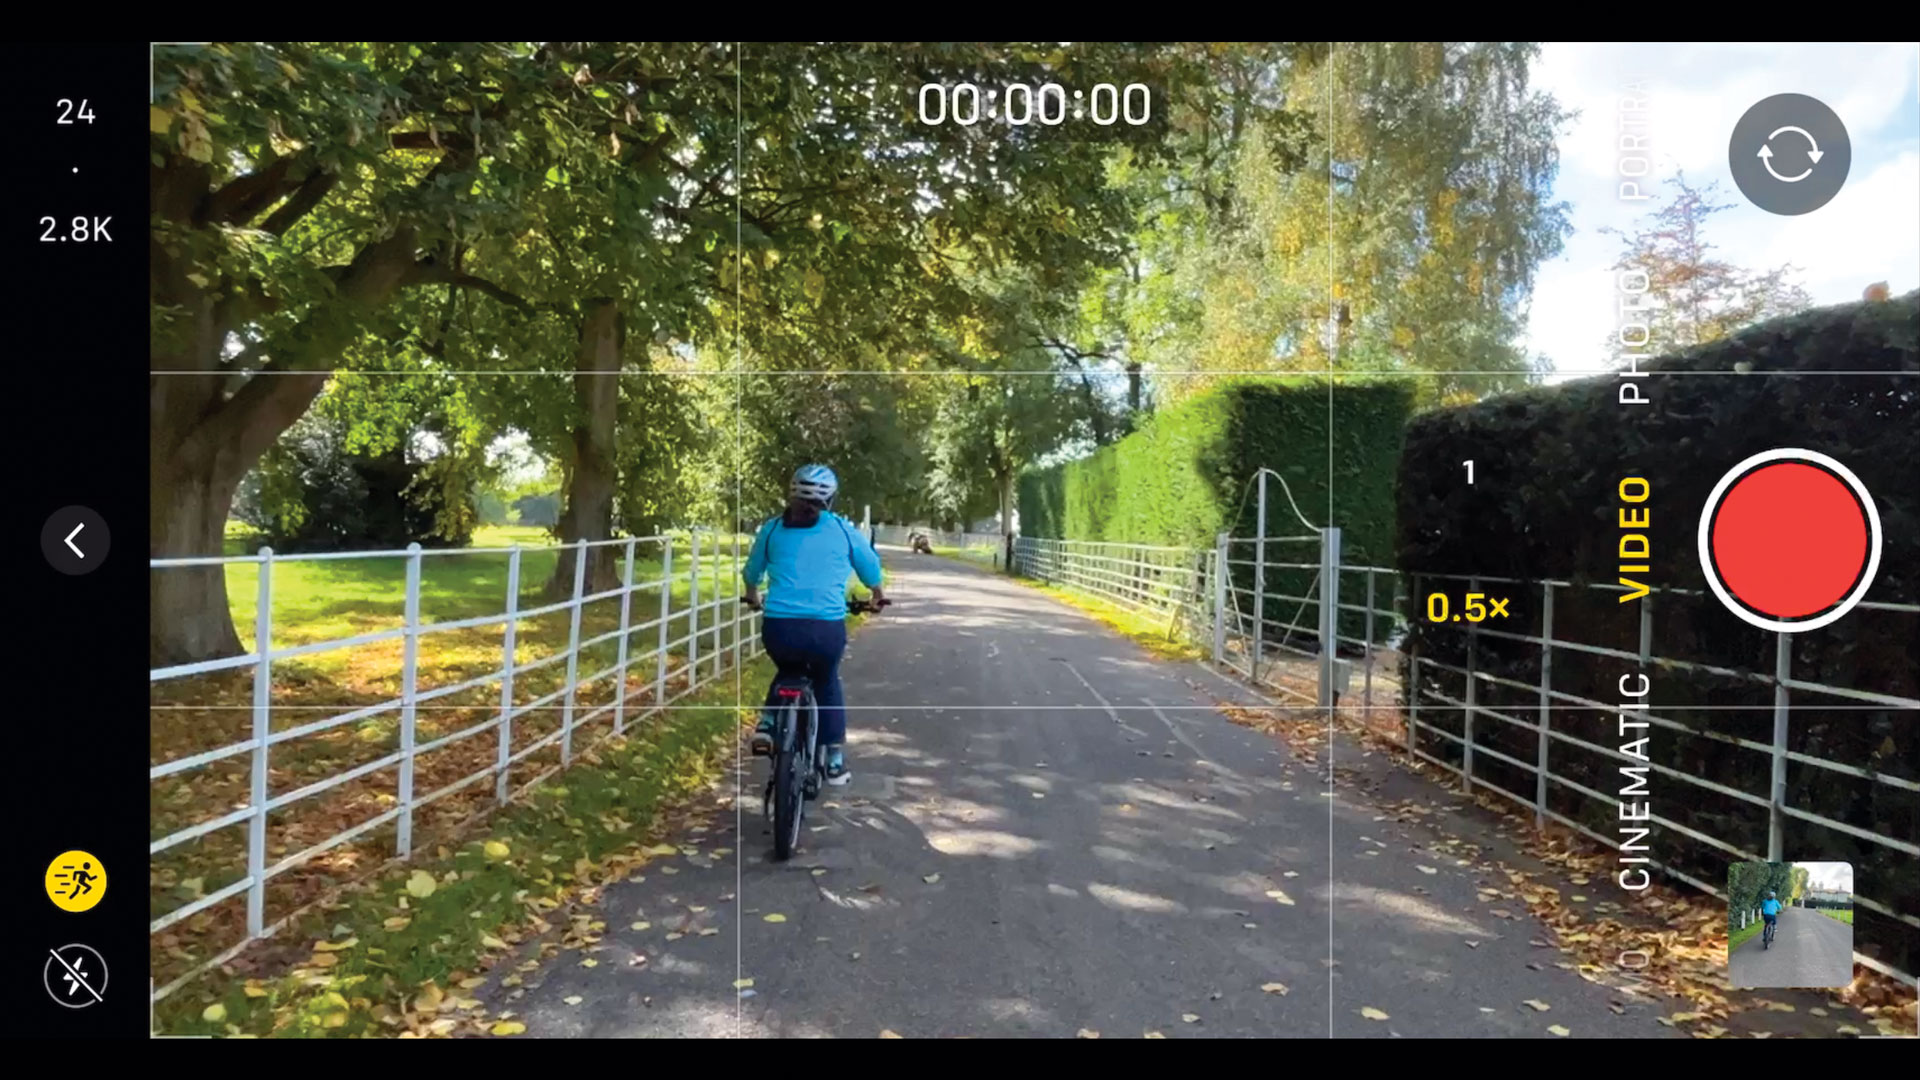
The iPhone 12 and 13’s sensor-shift optical image stabilisation system reduces camera shake. When shooting video on the iPhone 14 range, tap the Action mode icon to capture even smoother handheld clips (up to 2.8K).
8. Use Live Photo
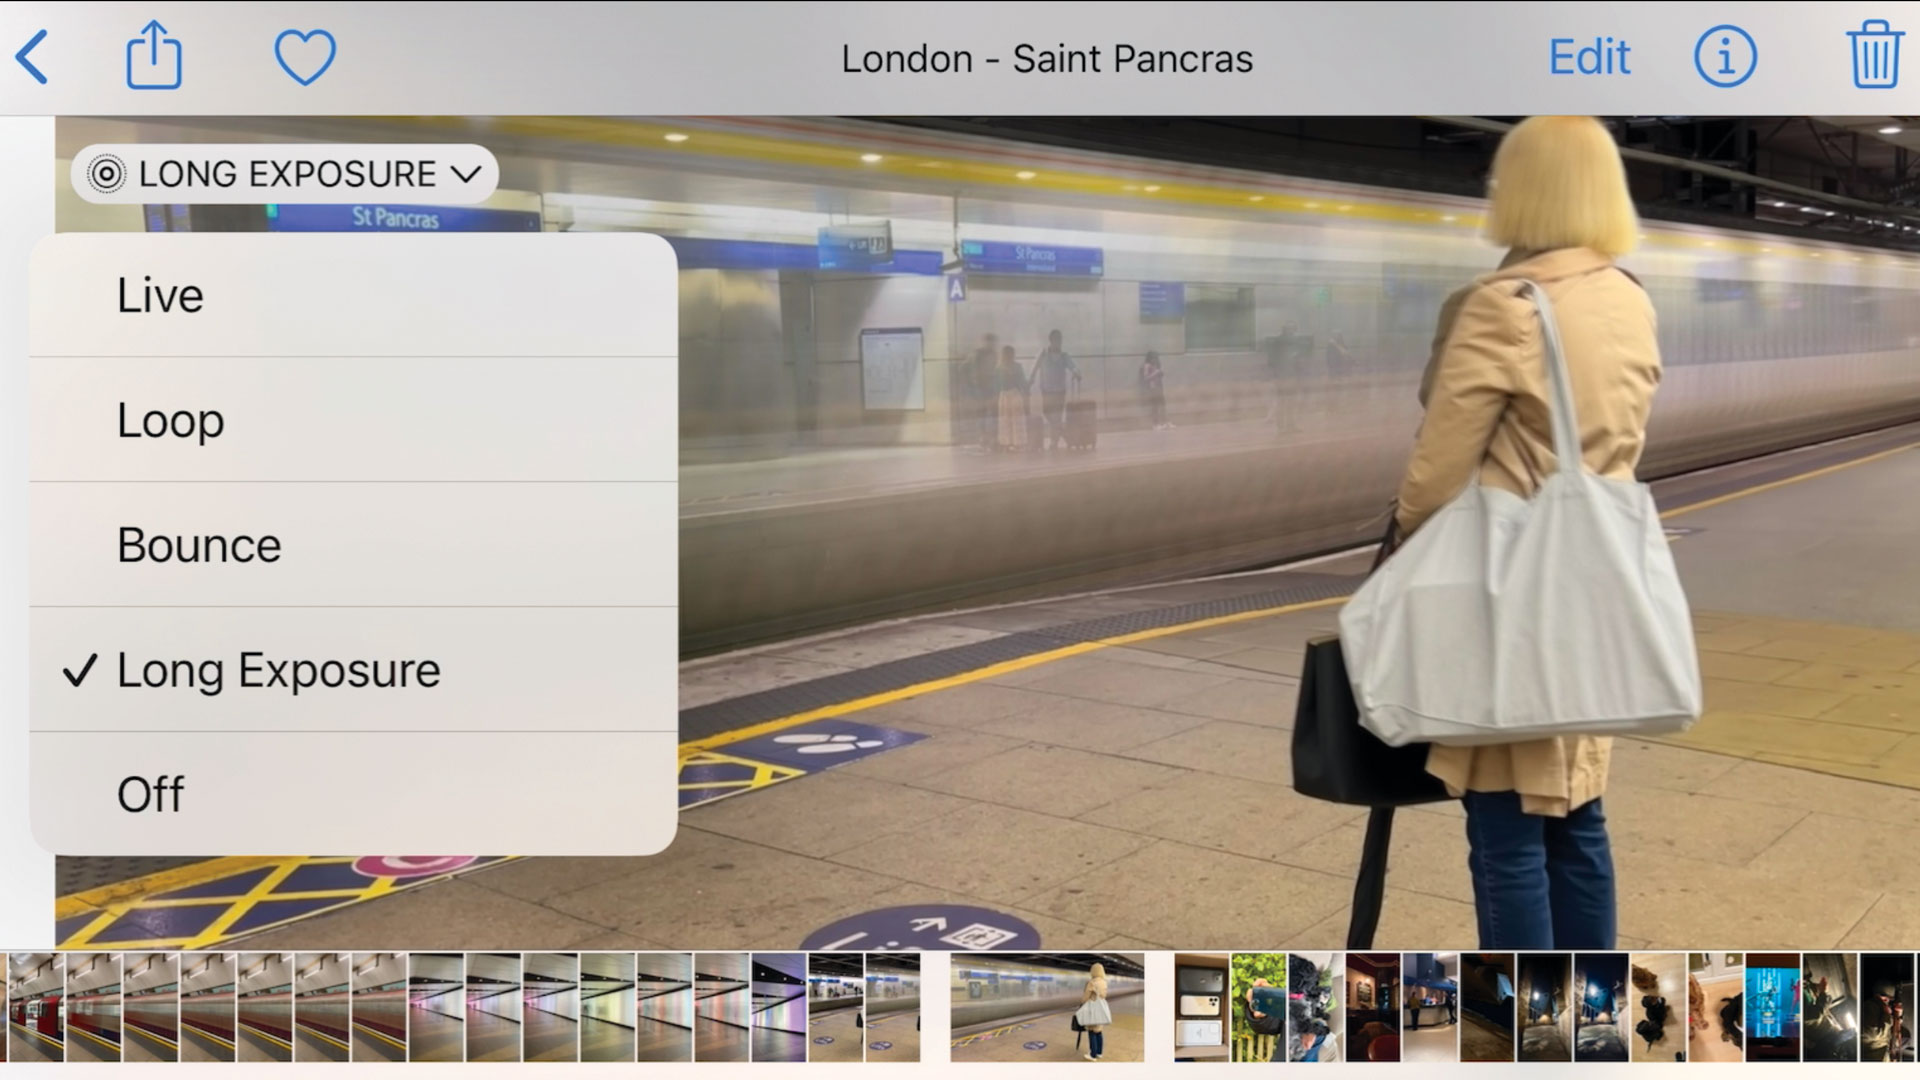
Live Photo mode captures a short video sequence that you can use in creative ways. In Photos, tap the top-left menu and choose Long Exposure. Moving objects become blurred (as if you’d shot using a slow shutter speed).
9. Go Pro
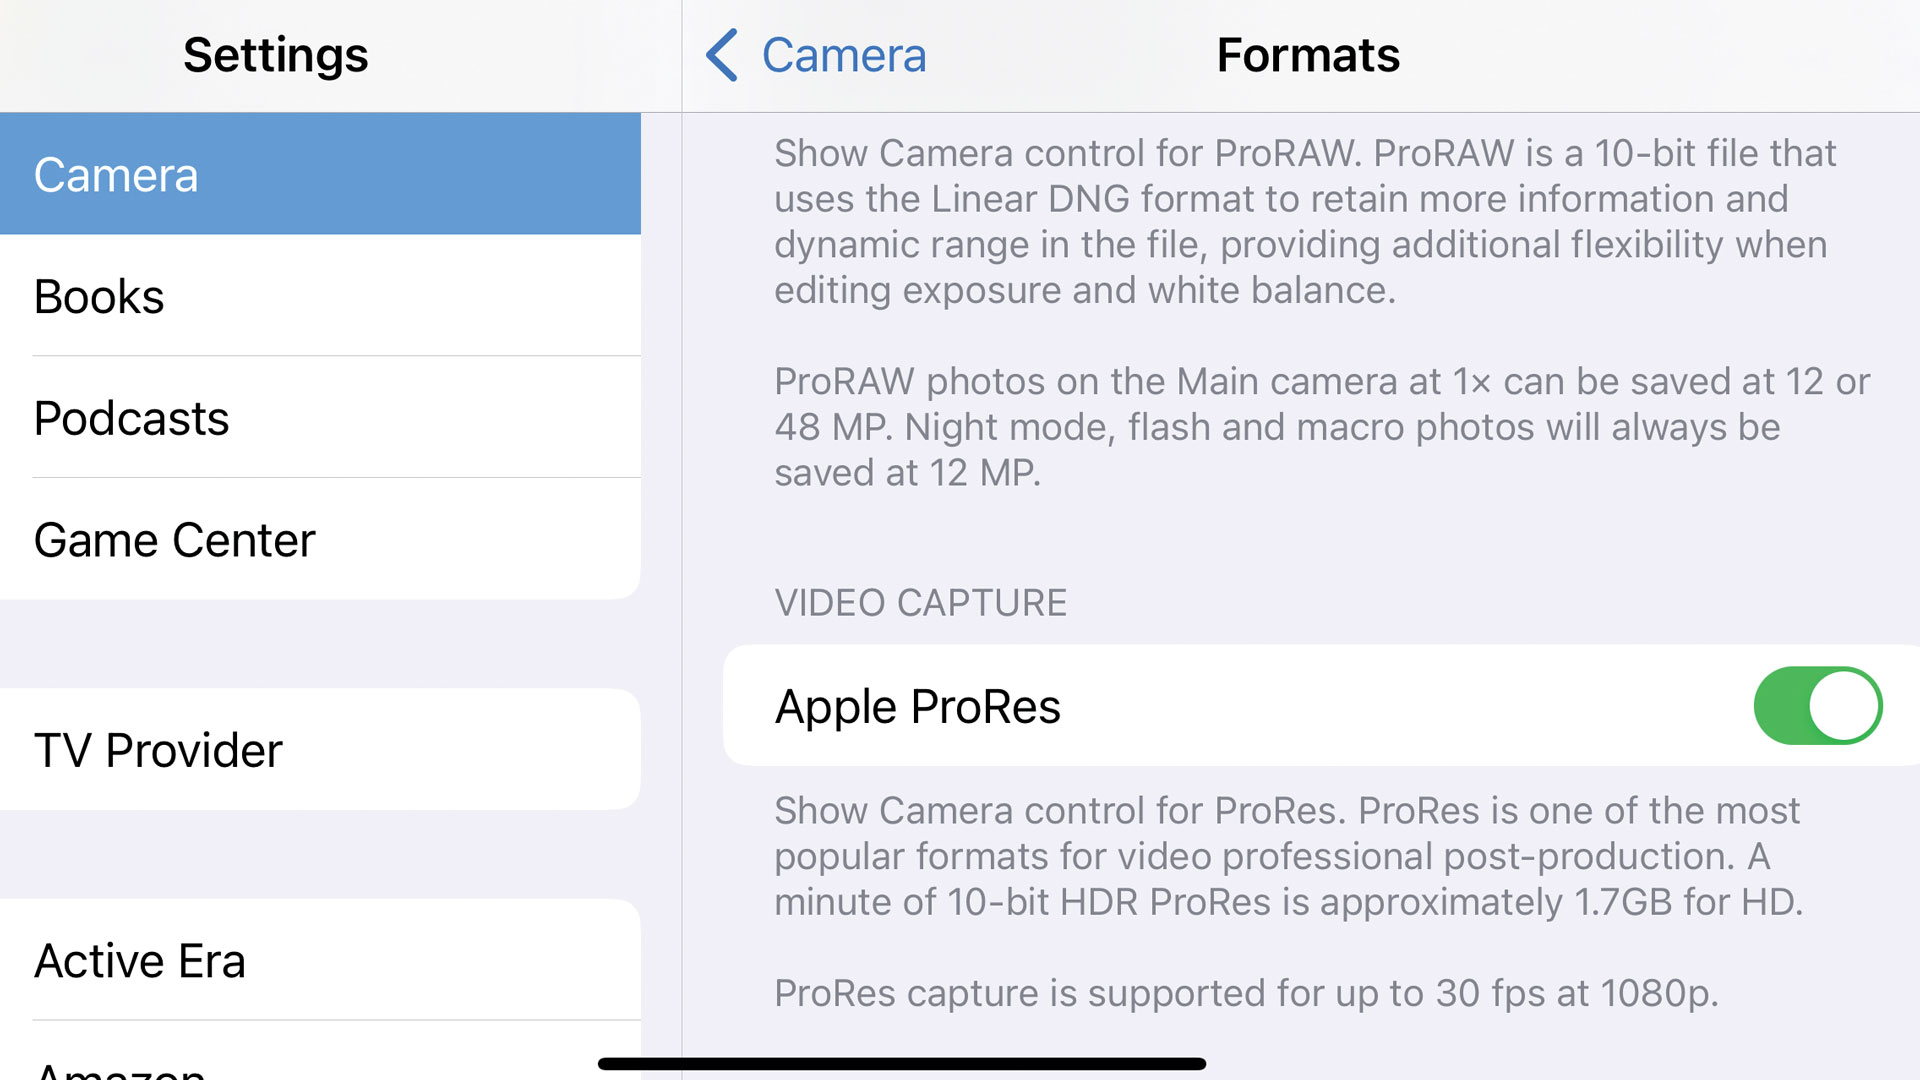
On Pro iPhones, choose Settings > Camera > Formats. In the Video Capture section choose Apple ProRes. In the Camera app, tap to turn ProRes on or off. You can edit ProRes clips in iMovie on iPhone to preserve their HDR quality.
This article originally appeared in MacFormat. Subscribe to MacFormat at Magazines Direct.
Get the Creative Bloq Newsletter
Daily design news, reviews, how-tos and more, as picked by the editors.

Thank you for reading 5 articles this month* Join now for unlimited access
Enjoy your first month for just £1 / $1 / €1
*Read 5 free articles per month without a subscription

Join now for unlimited access
Try first month for just £1 / $1 / €1
