Get into DIY marketing with the PixMax badge maker
Discover how you can combine your design skills to create some bespoke marketing material.
As the maker movement continues to grow, attracting people across a host of different disciplines, the first question many designers now ask when faced with a production challenge is ‘Can I make it myself?’. This could manifest itself in t-shirt design, poster printing, additive manufacturing, or the internet of things, but whatever the medium, there’s an increasing desire to take more ownership when it comes to producing products that will reflect on you and your business.
We faced this challenge recently when we decided to create badges for attendees at the London Generate event, presented by Creative Bloq and net magazine. It didn’t feel right to have these things outsourced to a third-party, and we wanted to press each attendee badge ourselves (call us weird, and you may well do that when you discover how long it took).
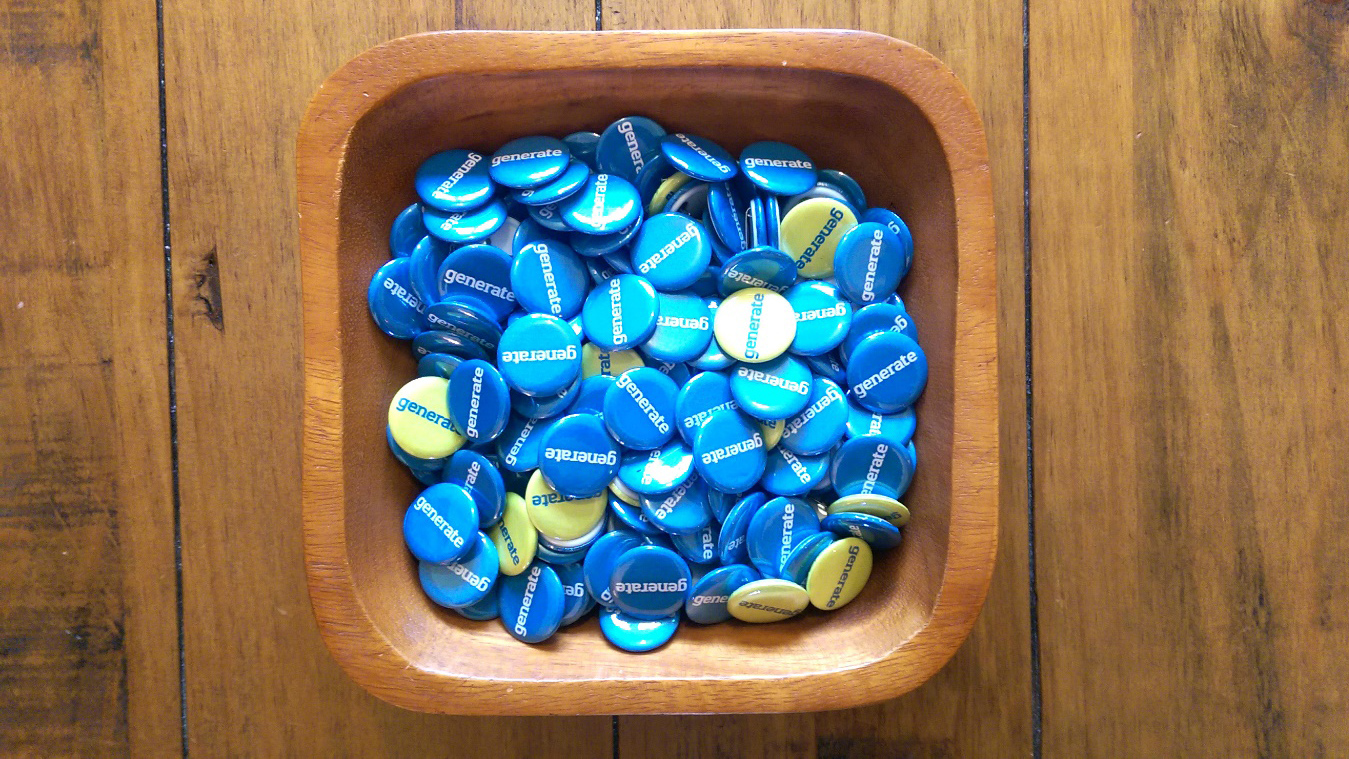
Following a quick search around the web, we discovered that you could pick up a badge making machine at a relatively low cost. For £136 via Monster Shop, we found a heavy-duty badge press, badge cutter, and all the components that we would need for 260 badges. And what a brilliant bit of kit it is.
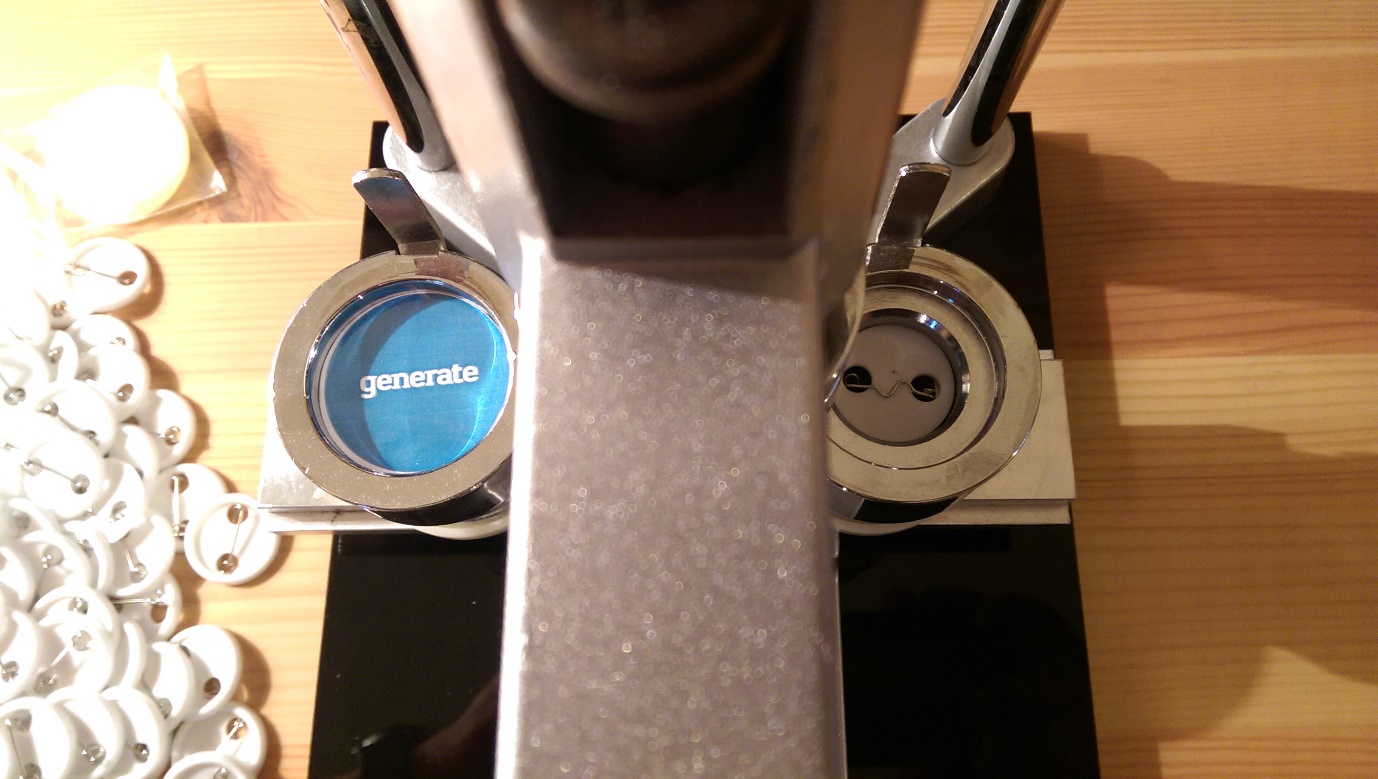
From the moment you pull it out of the box, you know you’re using something that’s built to last, and we couldn’t resist pressing a test badge before we’d even created a template or design. Operating the press was a cinch, with the badge front, badge design, and a transparent Mylar/plastic disc being placed in a ‘raised’ mould on the left, and the badge back being placed in a ‘lowered’ mould on the right-hand side.
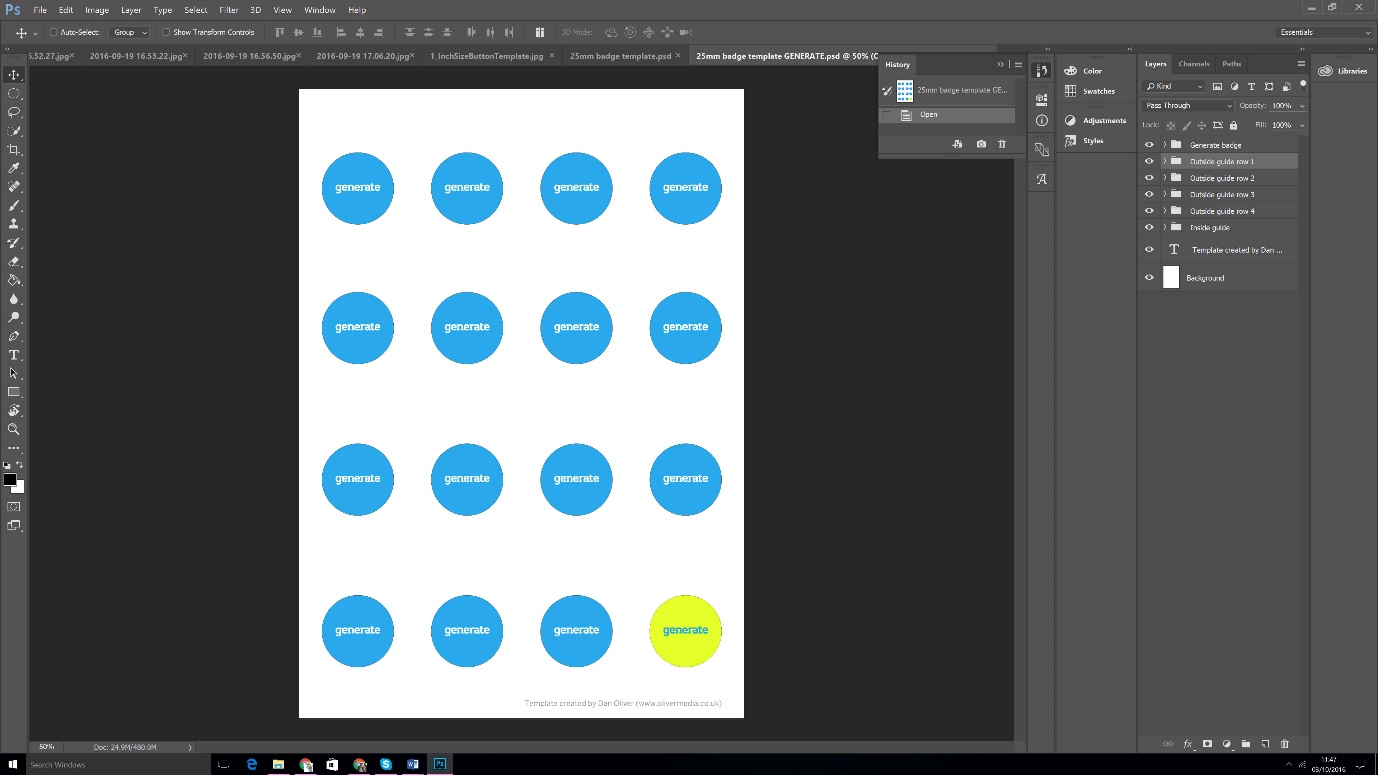
Before we could dive in proper, though, we needed to design a badge template. Because our badges were 25mm buttons, we had to create a temple that had a ‘live’ and ‘bleed’ area for each badge, as a part of the design is pushed around the side of the badge when it’s pressed. To make life as easy as possible (and we’ve provided the template here so that you can use it for your own designs), we created a Photoshop document with layer masks for each badge, so that you don’t have to size badge images perfectly. The supplied PSD file has a few layer folders, so we’ll go through them in order to explain what each does:
- Inside guide: This layer includes a faint ‘live’ area for each of your badges, so when you’re placing your badge images within each Layer Mask (see below), you know what will appear within the live area, and what will wrap around the side of each badge. This is only a positional guide, though, so make sure you deselect this folder before printing. 
- Outside guide row 1, 2, 3, 4: In these folders you will find outside guides for the four rows of badges in your template. Each badge has its own ‘outline’ Layer, with an associated Layer Mask, into which you can paste an image of your choosing (the Layer Mask means you don’t have to worry about sizing every badge). However, be sure to ‘Select Pixels’ when making a selection to paste into each Badge Mask, or you’ll simply create a new layer each time you paste (and the Mask won’t be applied).
Once you have your designs nailed, and have printed out enough sheets to cover your run, you will need to cut them into strips, so you can easily run them through the badge cutter. We decided to cut our paper into ¼ strips, and to save some time we cut through multiple sheets at a time (the maximum was between 5-10 sheets).
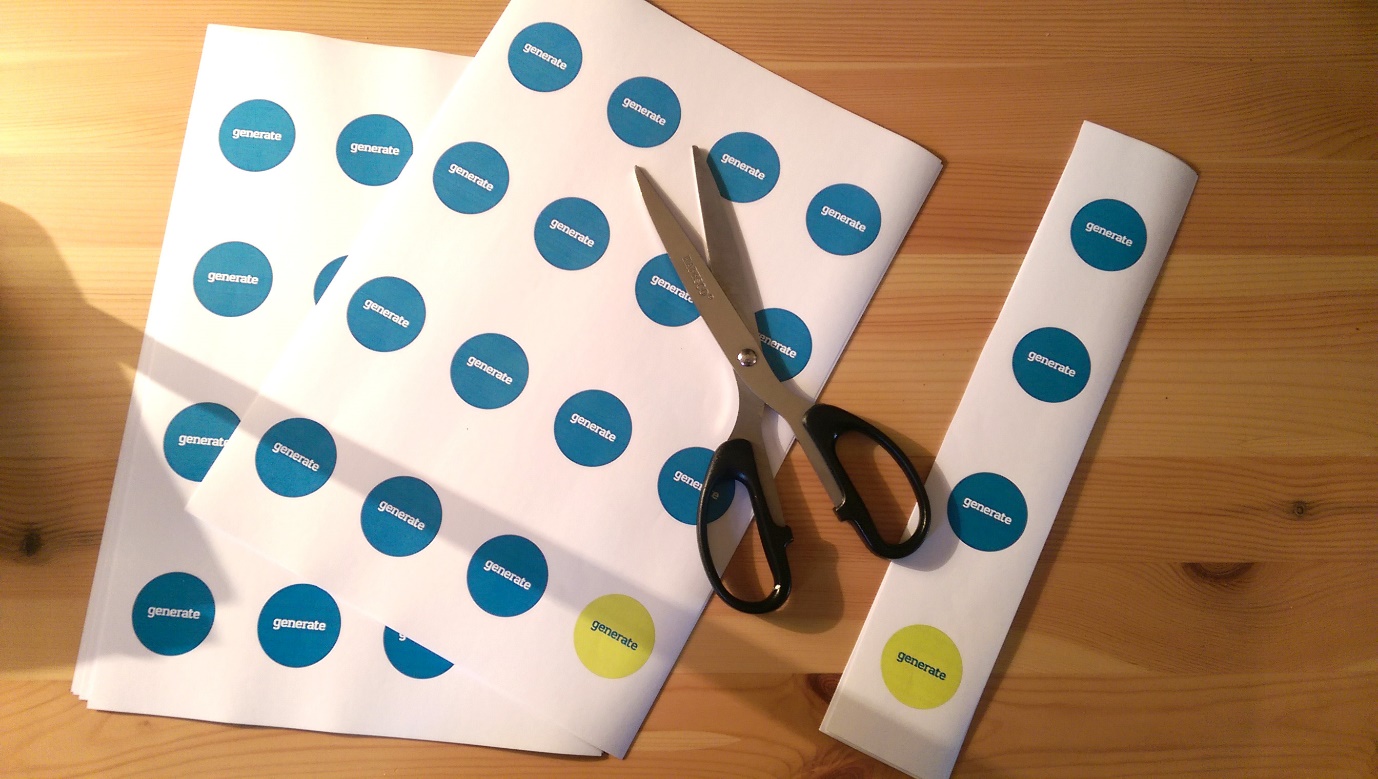
Once we had our strips, we ran them through the PixMax badge cutter, which comes as part of the badge making kit, and again we decided that — for both sanity and speed — we would run a number of sheets through the cutter at once. There was some trial and error here, as the more sheets you add, the less accurate the cutting is, but again we found 5-10 sheets was a good rule of thumb.
Get the Creative Bloq Newsletter
Daily design news, reviews, how-tos and more, as picked by the editors.
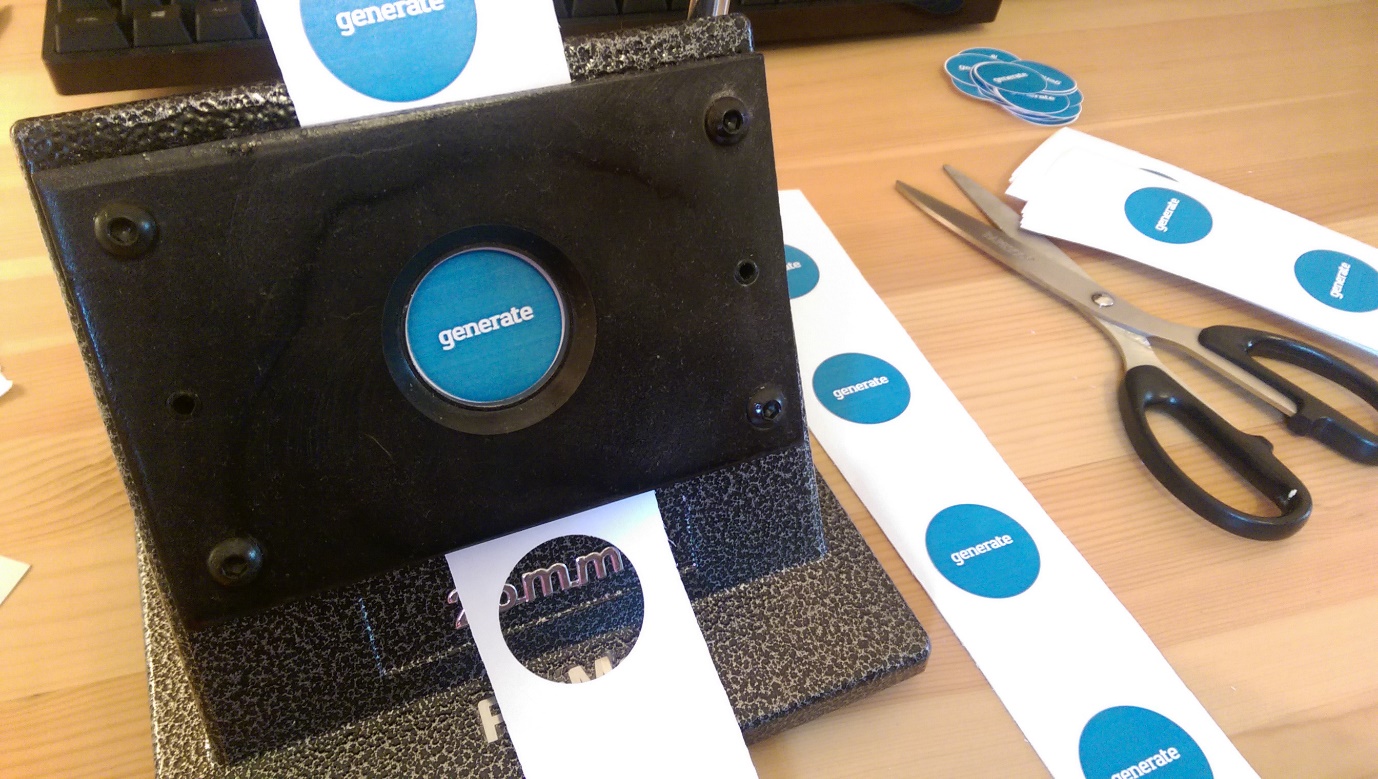
Having cut out all the badges, it's them time to get pressing. At this point please ensure that you have prepared all your badge elements before pressing. For us, this meant thread over 200 pins through the plastic badge backs, and stacking up our badge cut-outs so they were ready to go.
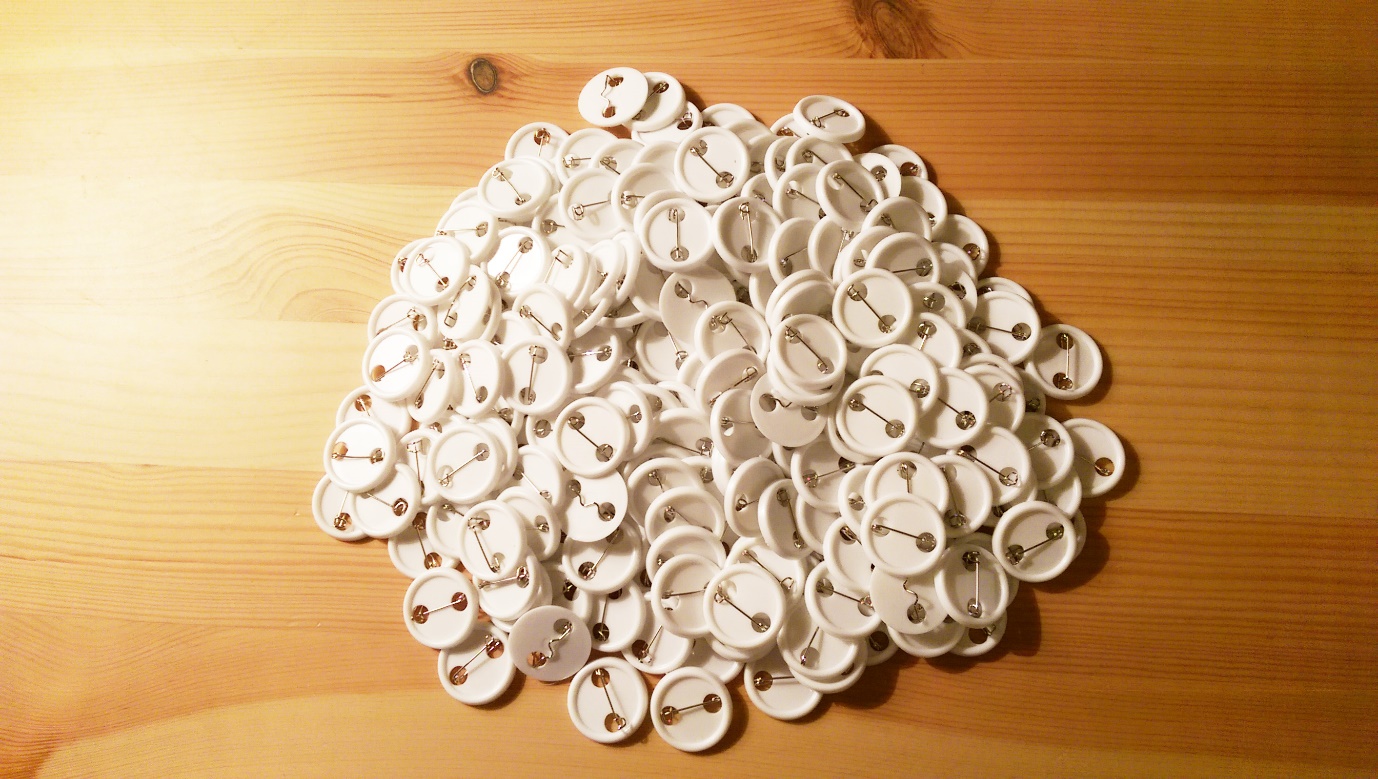
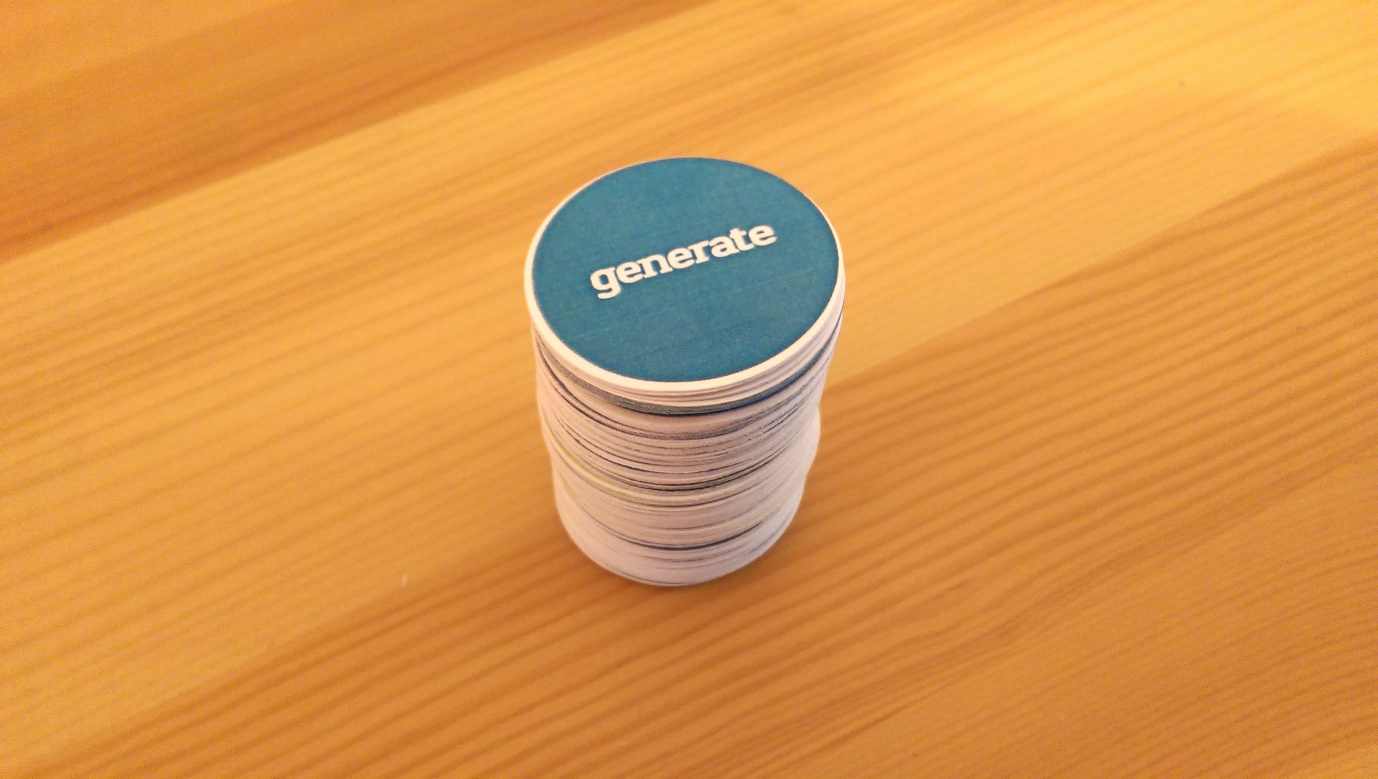
At this point, we have one final piece of advice: pour yourself a stiff drink, because the pressing is going to take an hour or so. But if you have prepared all of your elements beforehand, and you don’t mind repetitive tasks, you get the hang of it in no time at all. And, if you have the kind of personality that lends itself to this kind of thing, you may even find yourself enjoying it (we did, but as we say, YMMV).
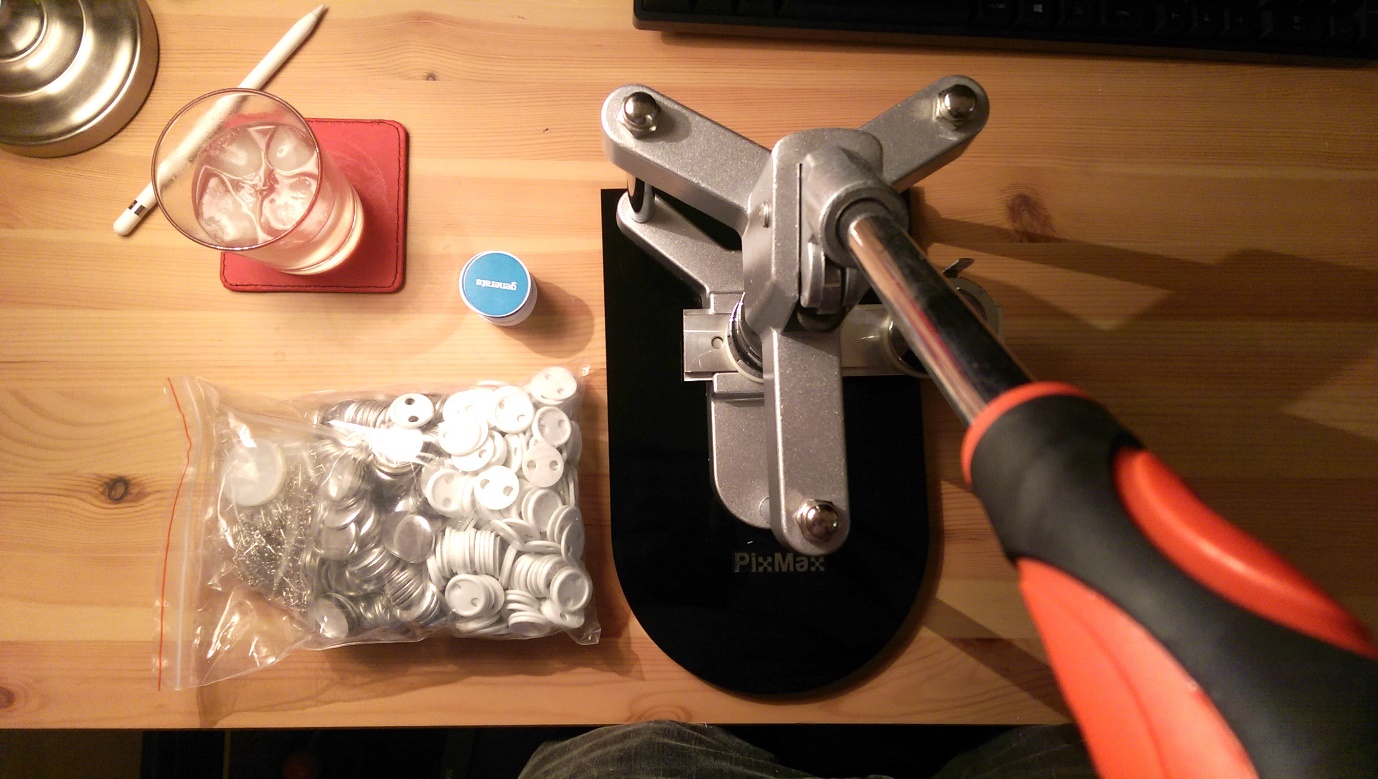
Within a few hours we were able to design, prep and print over 200 badges for those people attending the most recent Generate conference in London. And though you’d probably want to use a third party service if you started going north of 1000 badges, this is a fantastic device for events up to 1,000 people. And when it comes to self-promotional tools, badges are a fantastic and low cost way of giving your clients and customers a little something.
And you can get £5 off your first order via MonsterShop.co.uk by using the code CRB5.

Thank you for reading 5 articles this month* Join now for unlimited access
Enjoy your first month for just £1 / $1 / €1
*Read 5 free articles per month without a subscription

Join now for unlimited access
Try first month for just £1 / $1 / €1

Over the last 20 years, Dan has edited a number of print magazines and websites, including Computer Arts, 3D World and ImagineFX, and has written for publications including the Sunday Times, the Guardian, the Manchester Evening News, Manchester United Magazine, T3, and many more. He has also worked as the digital editor of Creative Bloq's sister magazine, Wallpaper*.
