The best Lightroom presets
We’ve gathered the best Lightroom presets for photo editing, including free Lightroom presets and paid-for options.
The best Lightroom presets can save a lot of time when you're editing photos, allowing you to get closer to the look you want without as much tweaking on each individual photo. Although every photo's different, and you'll normally still want to make some finer adjustments, a good preset can give you a huge head start.
Lightroom comes with a big bundle of presets includes, but you can expand your options by installing more. There are lots of paid-for and free Lightroom presets out there that can take some of the repetition out of post-processing, allowing you to create a desired look or mood without having to go through adjusting every slider from scratch. They work in both the mobile version of Lightroom as well as Lightroom classic, and they live there in the dedicated panel in the Develop module, so you always have them at your fingertips.
Presets are just one of the ways that Lightroom streamlines the process of photo editing and organisation. See our guide to how to download Lightroom if you don't yet have the software, or read about why we include it in our pick of the best photo editing software. In the meantime, here are some of the best Lightroom presets we've tested. We'll start with the paid-for options but you can scroll down to the best free Lightroom presets if you're on a very tight budget. In the FAQs at the bottom, we'll look at how to import them and how you can create your own presets.
Download a 7-day free trial of Lightoom for PC or Mac
Try the latest release of Lightroom for free with a seven-day trial from Adobe. If you like it you can convert to a paid subscription during the trial or after it’s expired. You don't have to buy the software, but make sure you cancel if you don't want to keep it.
The best Lightroom presets to add to your collection
Paid-for Lightroom presets
01. Master Collection: Landscape Preset Pack
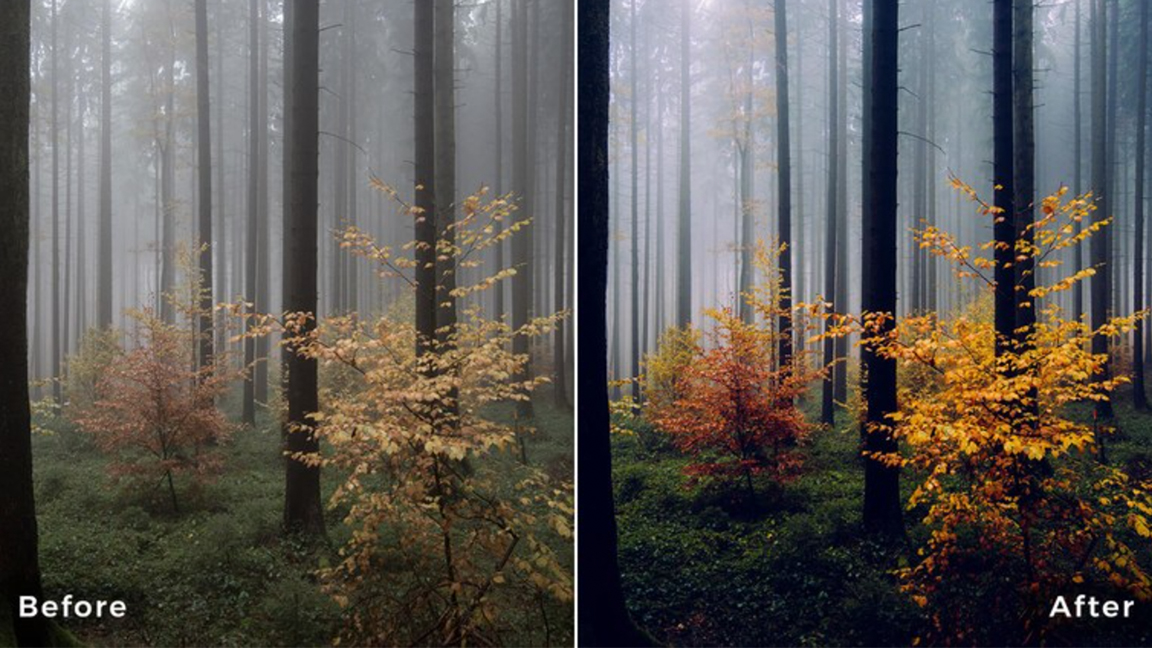
Many of the best Lightroom presets come in bundles, which is handy because you're unlikely to want to use exactly the same preset on all of your photos. Preset packs may seem expensive initially, but they can be good value if you get a lot of presets included, and that's the case with the Master Collection from fine art photographer Jan Erik Waider.
This Lightroom presets pack includes eight presets covers a great range of options for landscape photography, especially if you're looking to create a lot of moody drama. The collection includes Black & White, Cinematic and Forest Landscape presets. he Master Collection also offers any new additions and updates for free.
02. 10 Indie Film Lightroom Presets
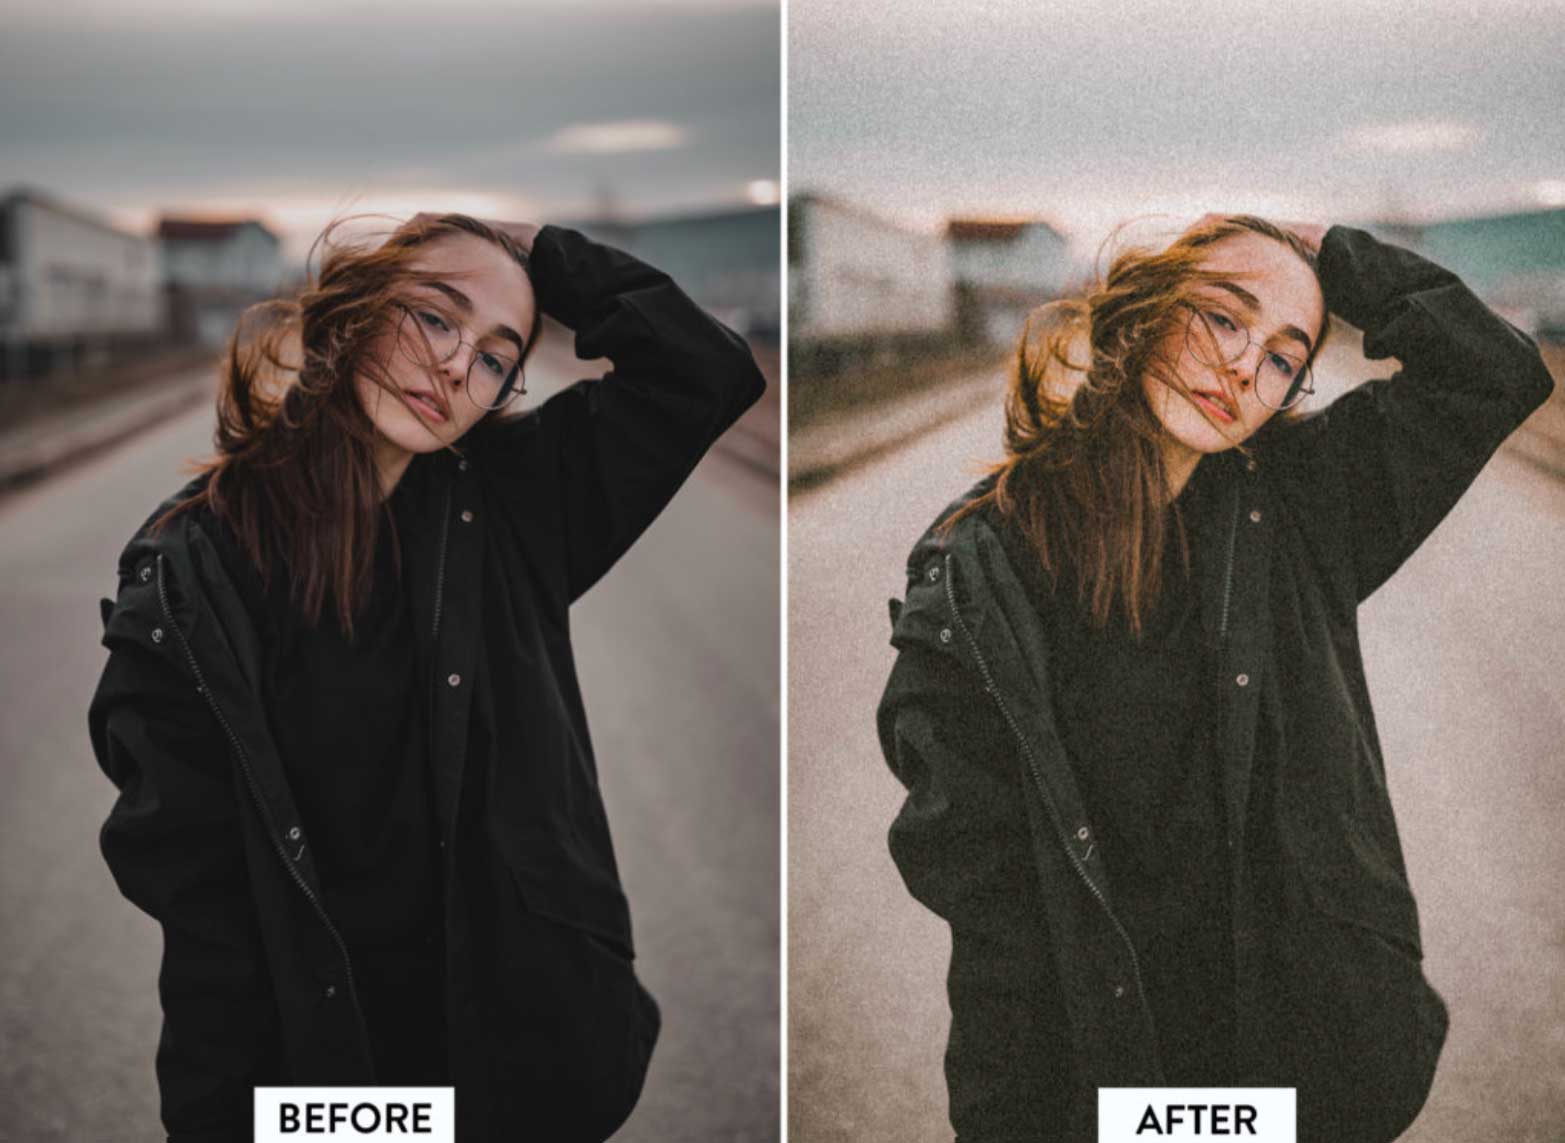
If you're looking for an indie filmmaker atmosphere, this collection of ten presets from Filtergrade could be just what you need. With subtle brightening and warming aspects and a good dose of grain, these presets are great for darker photographs. Available for use on Lightroom desktop and mobile, they can add an attractive analogue look.
03. Presets.io Cinematic Light Lightroom presets
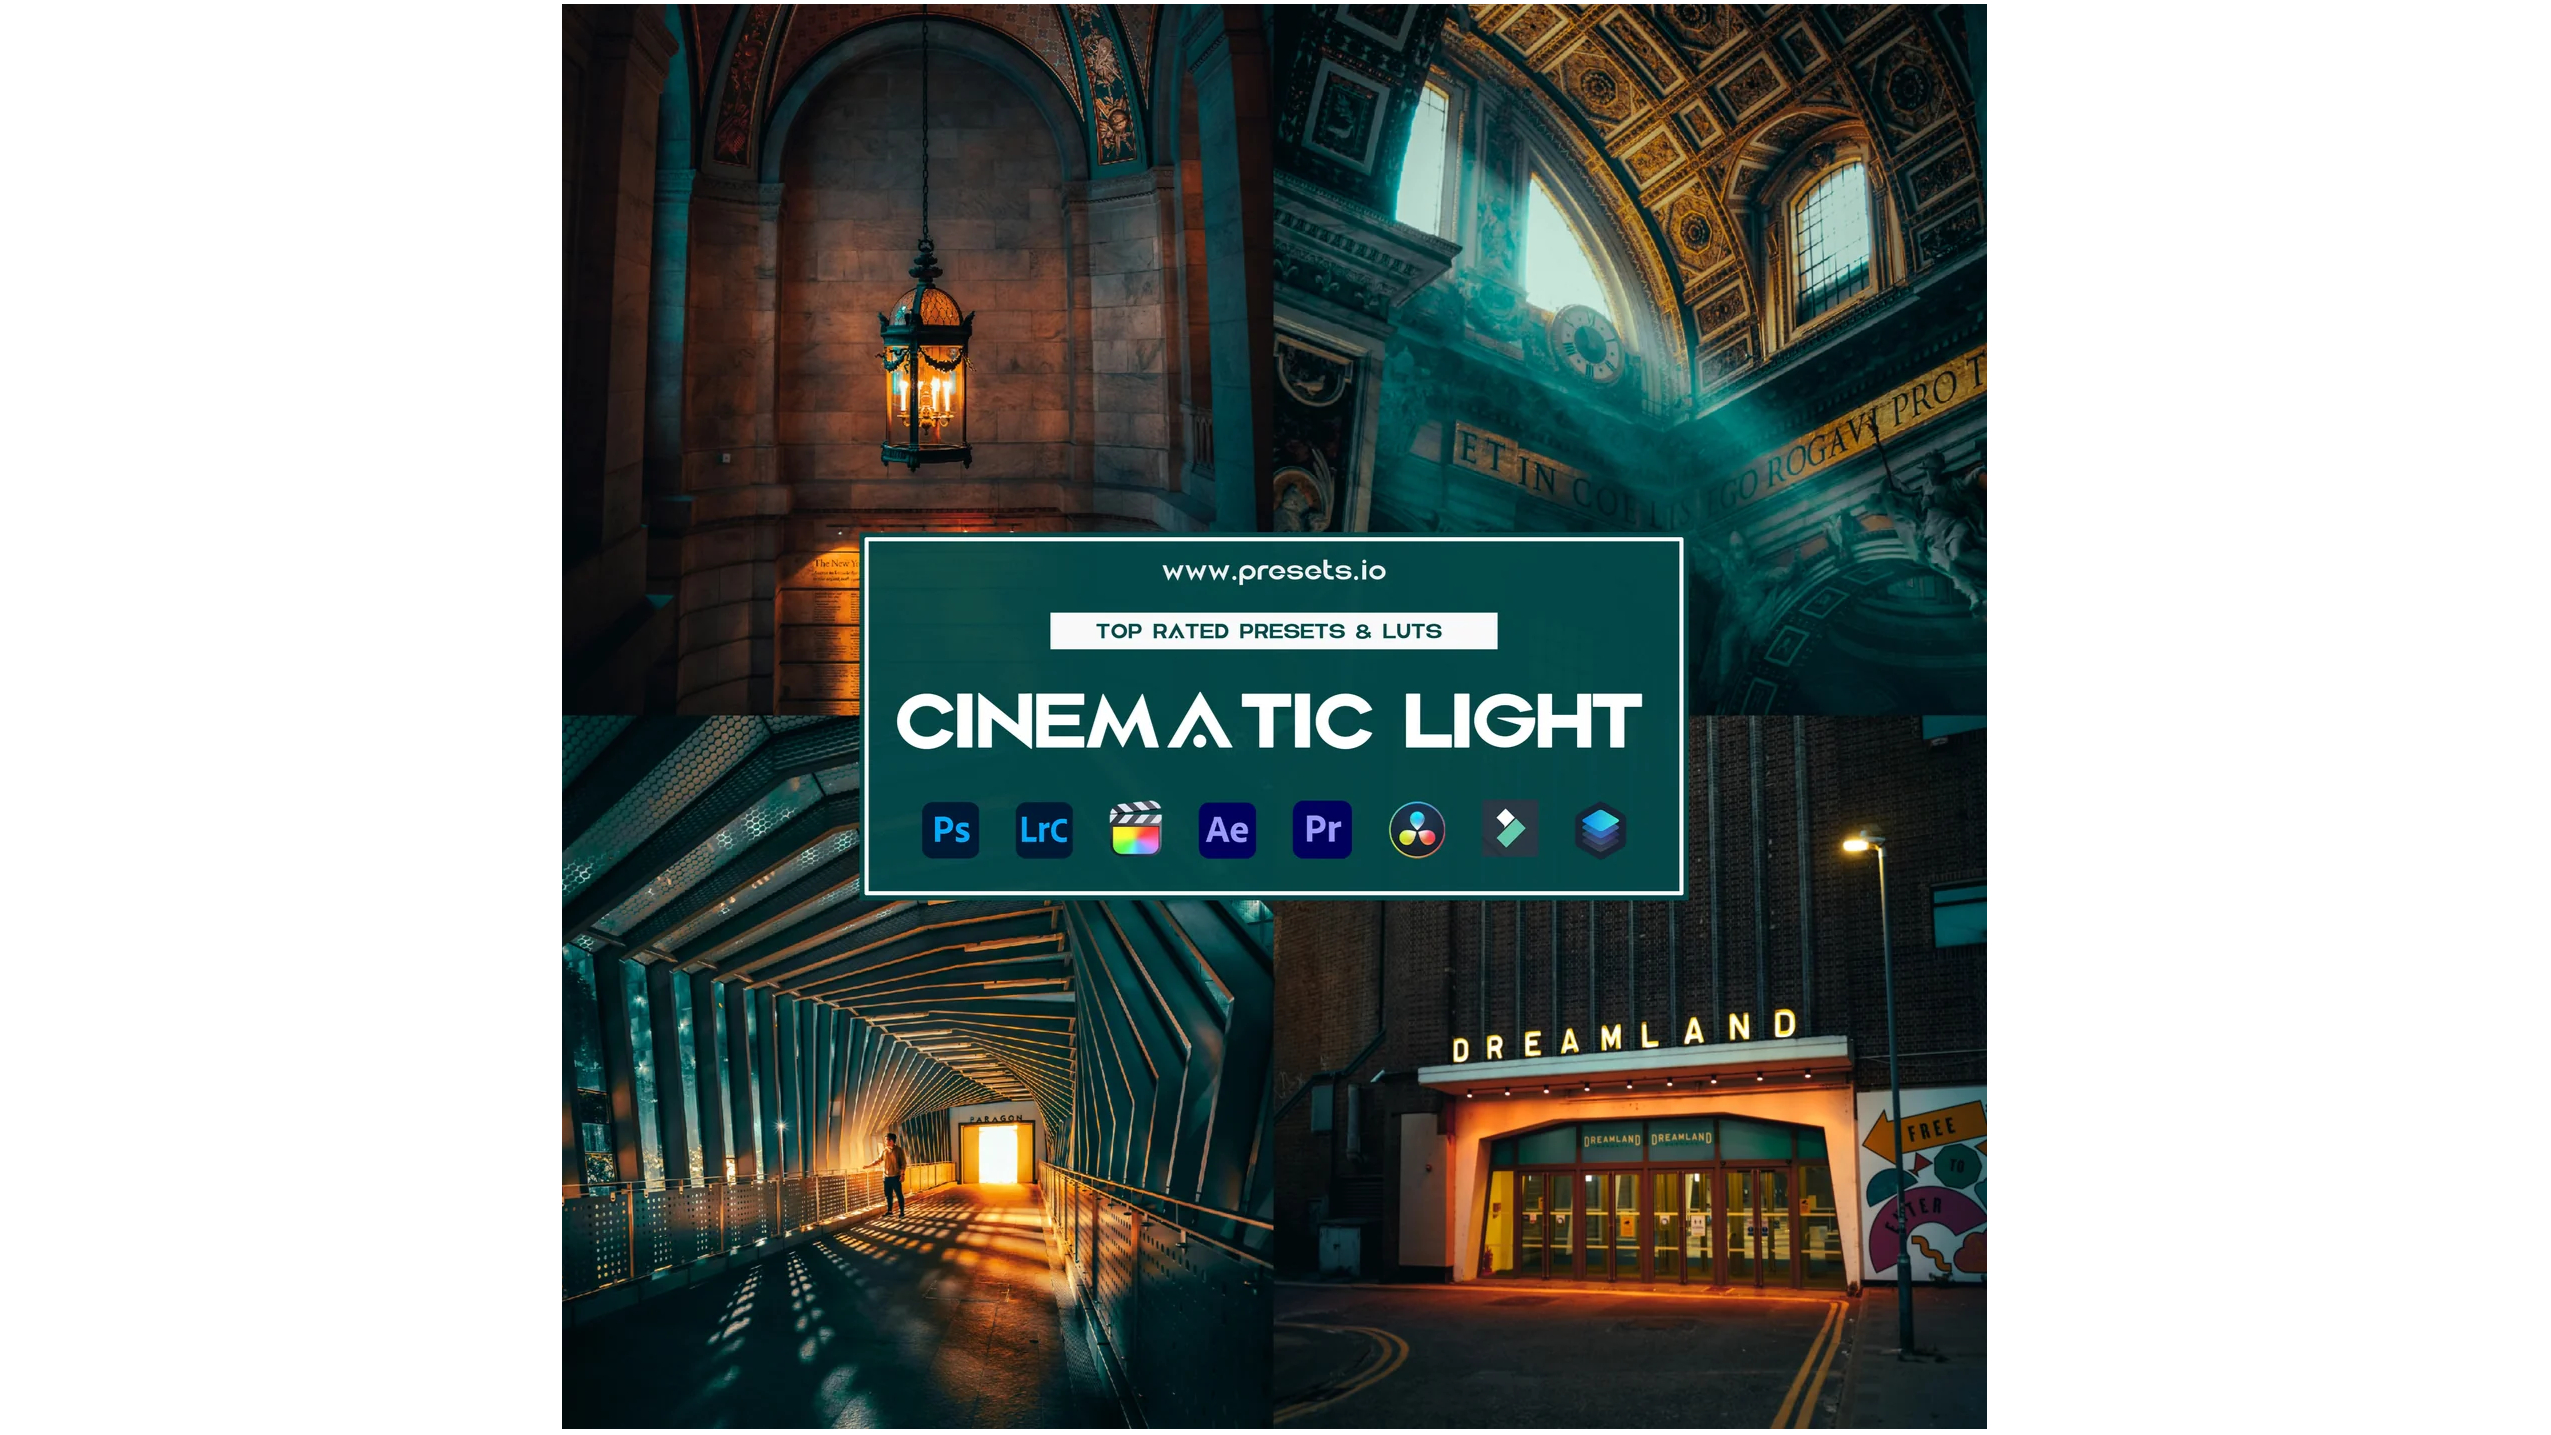
Looking for that cinematic orange and teal look that's so popular. This pack of 12 Cinematic Light Presets from Presets.io might be just what you're after if you don't want to spend hours tinkering with HSL yourself. As a bonus, it includes video LUTS as well as Lightroom presets, so you can get the same look for your photos and for video editing. If you like the look of the pack, you might want to take advantage of an offer and go for one of the larger bundles, such as the Cinematic Bundle.
Sign up to Creative Bloq's daily newsletter, which brings you the latest news and inspiration from the worlds of art, design and technology.
04. FilterGrade Lightroom Preset Starter Kit
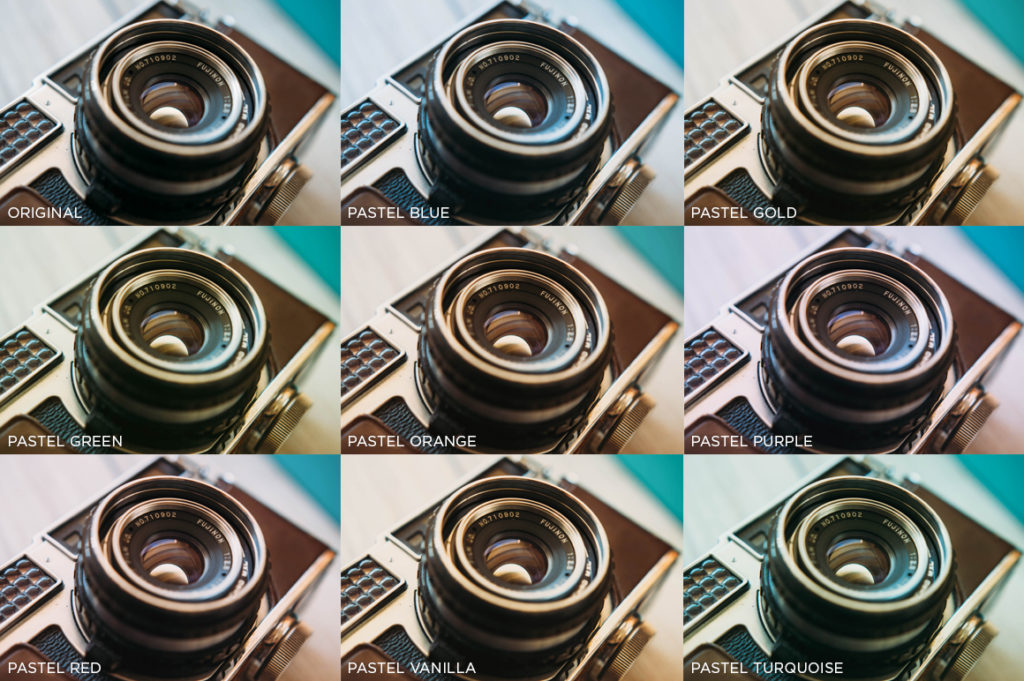
There are absolutely loads of preset options on FilterGrade. While the initial asking price of $37 is higher than many other options, you do get 25 presets in one bundle. These include realistic tweaks to tones and colours, and also more stylised options like the eight pastel colour shades for giving images a distinctive hue.
05. 10 Analog Film Lightroom presets
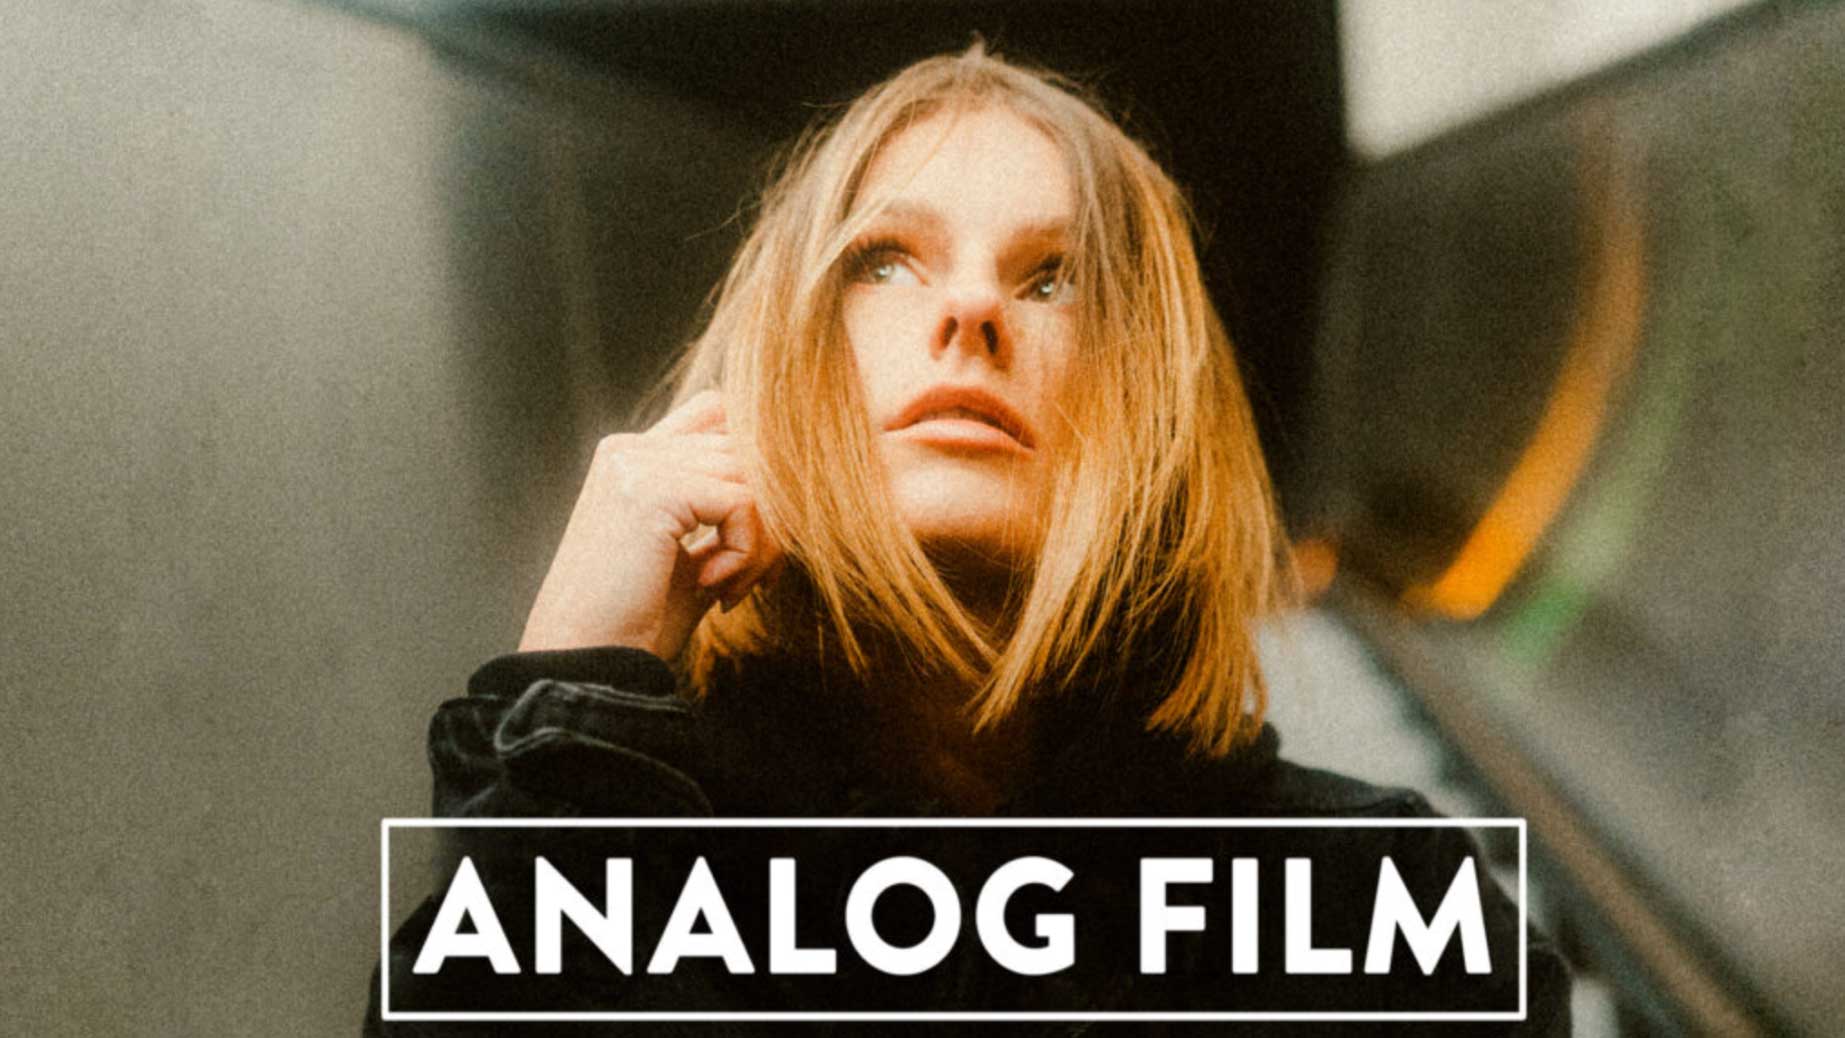
If you want your photographs to look like stills from a film made on an analogue camera, then this is the Lightroom preset collection for you. These 10 presets can be used on mobile and desktop Lightroom, and add a classy, subtle touch to any photographs.
06. Digistock Kodachrome Collection
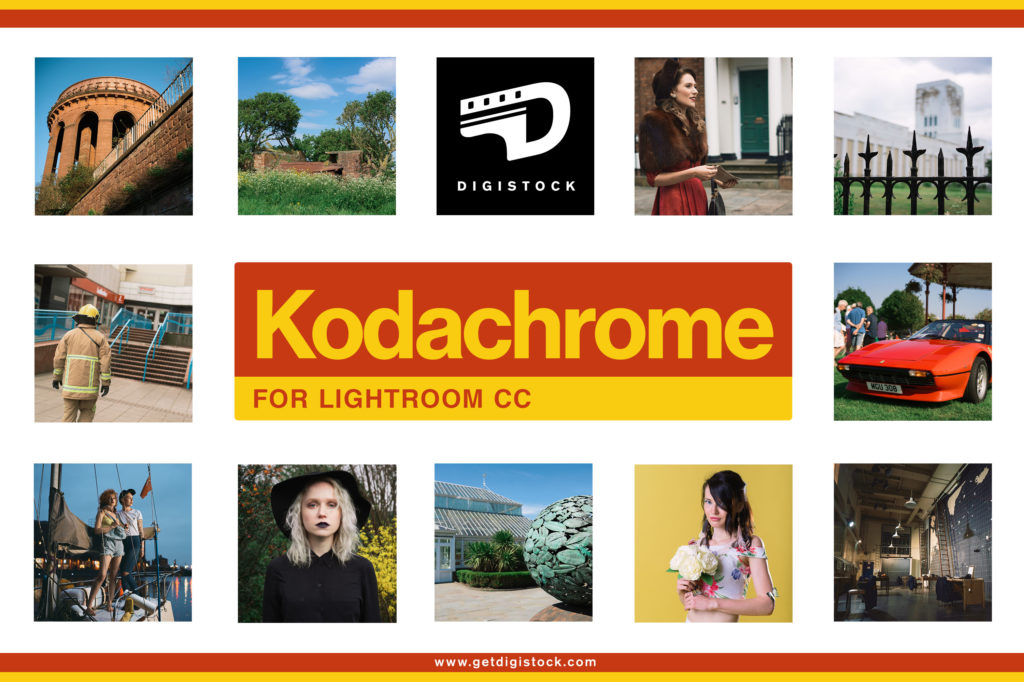
Waiting for the day the vintage 20th century Kodachrome film comes back is the analog photography community’s own Waiting for Godot – at some point we’ll have to face the fact that it’s not happening. To soften the blow, try out this comprehensive preset pack by Digistock, which does a great job of simulating the iconic slide film in its various incarnations. Fantastic for portraits with a vintage feel.
07. 90s retro moody vintage film Lightroom presets
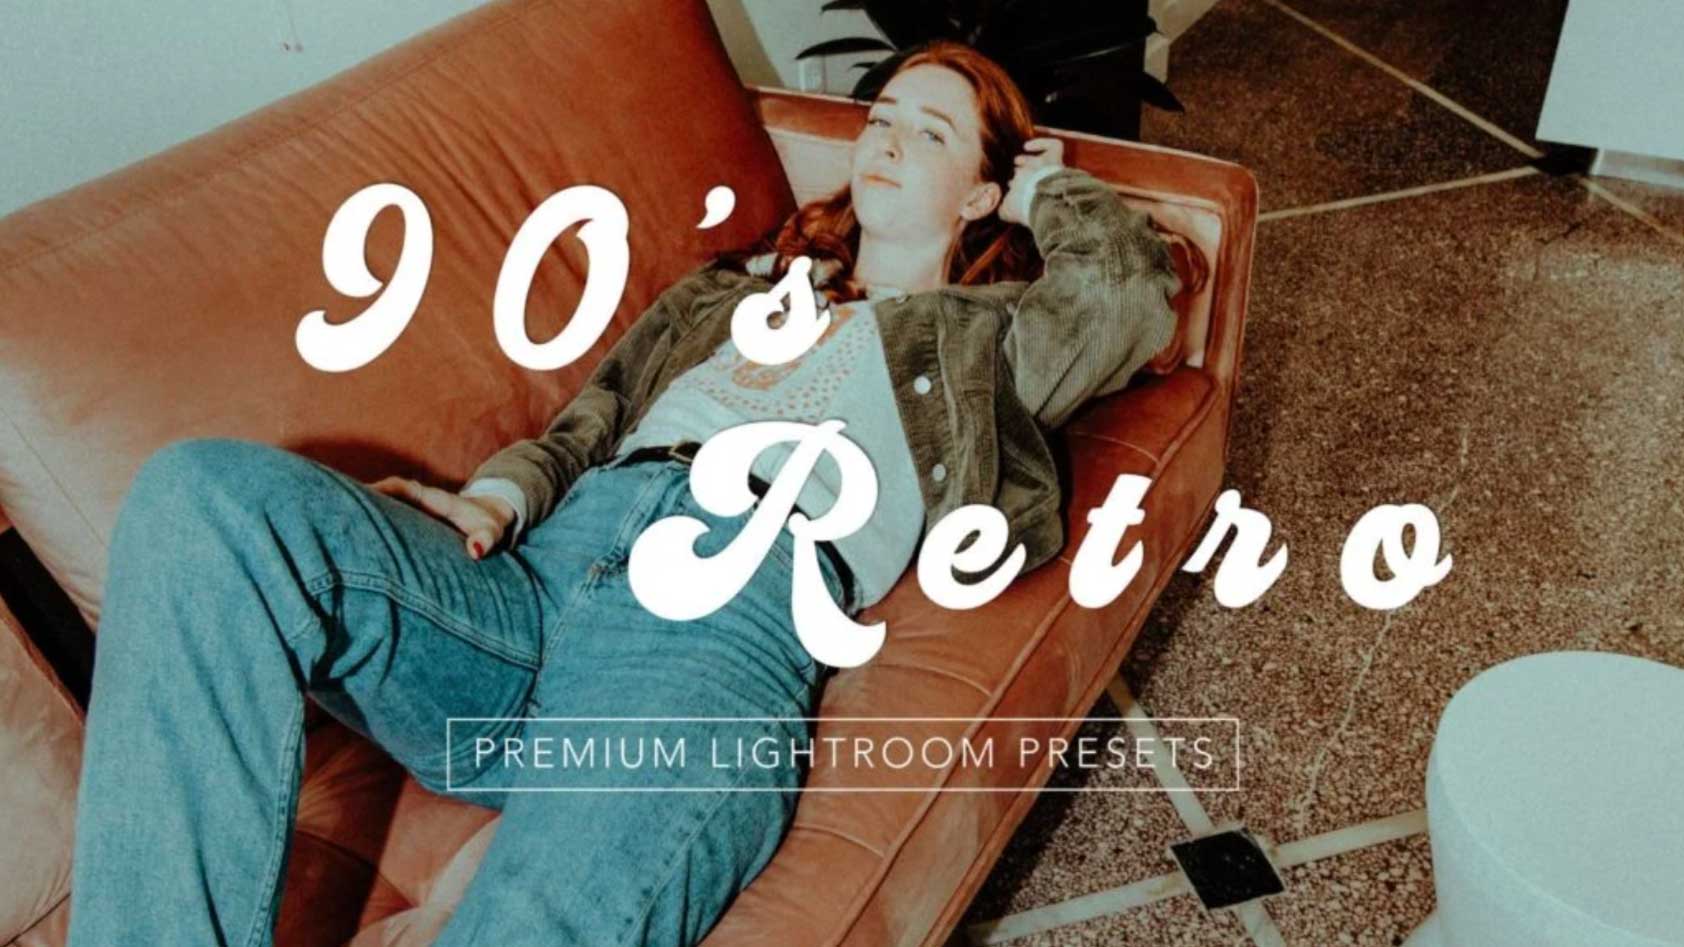
Turn any modern photograph into a ‘90s dream with this collection of 10 presets from Filtergrade. While some vintage presets degrade quality with over-graining, these only add a slight grain so as not to undermine the quality of your photographs. The exceptionally precise colour grading is what creates the real ‘90s look. We could definitely see any photograph on the cover of GQ with these presets.
The best free Lightroom presets
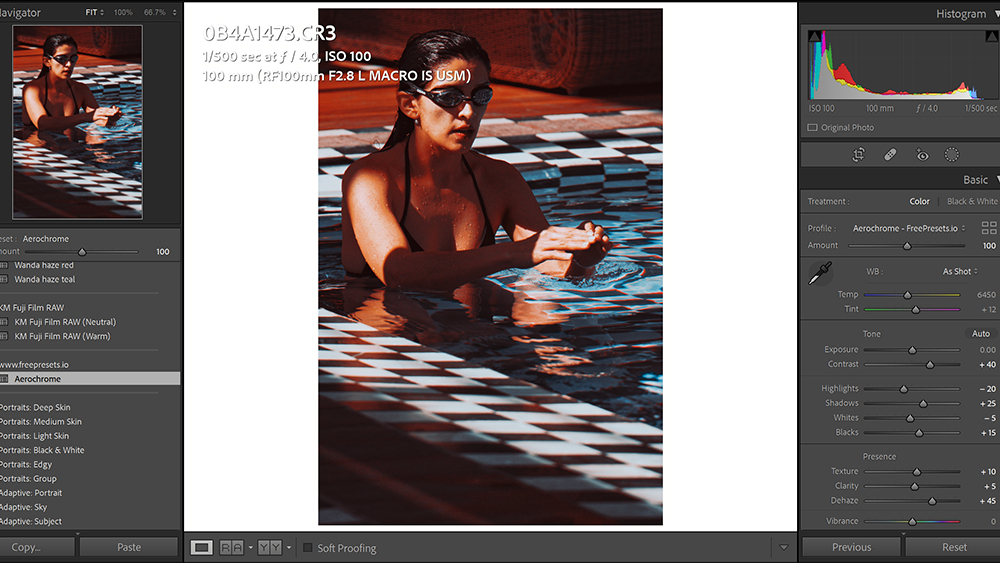
01. Free Aerochrome Lightroom preset
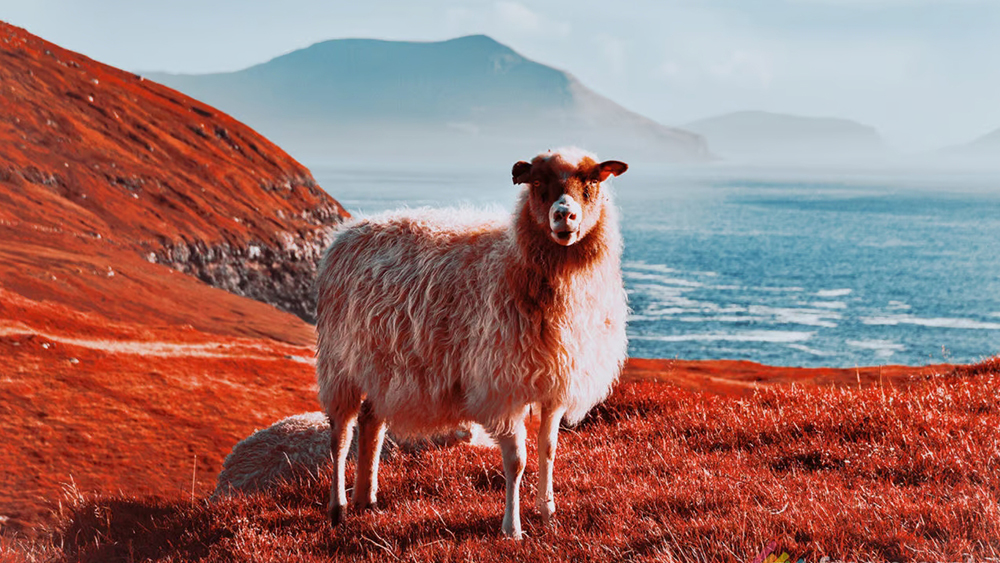
Some of the most popular Lightroom presets at the moment are those that emulate vintage film looks, including sometimes quite extreme looks. Kodak Aerochrome is an infrared sensitive, false-colour film originally designed for military use, particularly for camouflage detection.
Obviously, a filter intended to replicate the look of Aerochrome film is going to have quite extreme results. It turns green to red and cranks up the contrast, dehaze and texture more than you would probably ever consider to to be wise, but it's a striking look that can be interesting for achieving a really hot, saturated old film look for scorched summer scenes. You'll probably want to lower the red and oranges in shots with saturated skin tones and tweak the white balance to control the amount of blues to reds.
02. Free modern film Lightroom preset
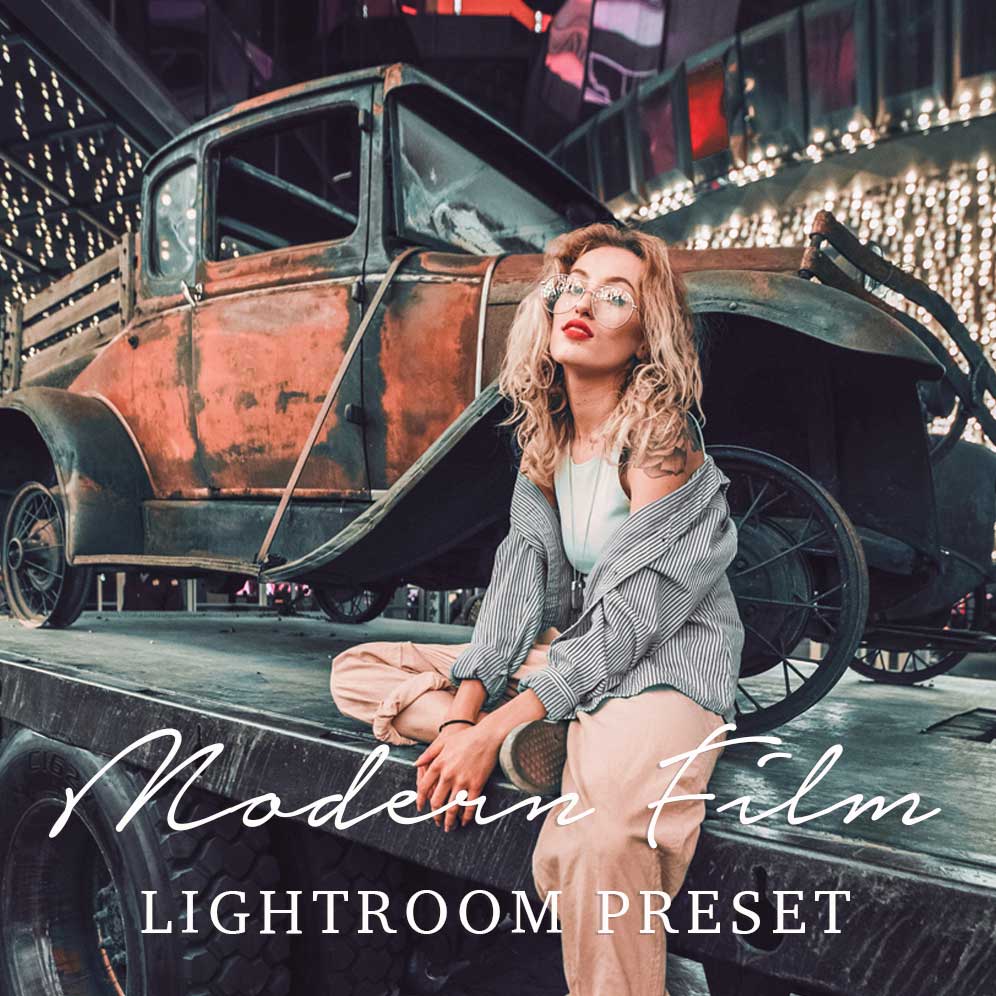
This single preset is perfect for anyone who wants to instil a film look into their photography, but still maintain the modern shine of their digital camera quality. We love this preset for bringing out the three dimensional qualities of photographs. With a slightly colder tinge and contrast that brings out depth, its light haze is in keeping with the film look we all sometimes crave.
03. Lightroom night Presets: Northern Lights
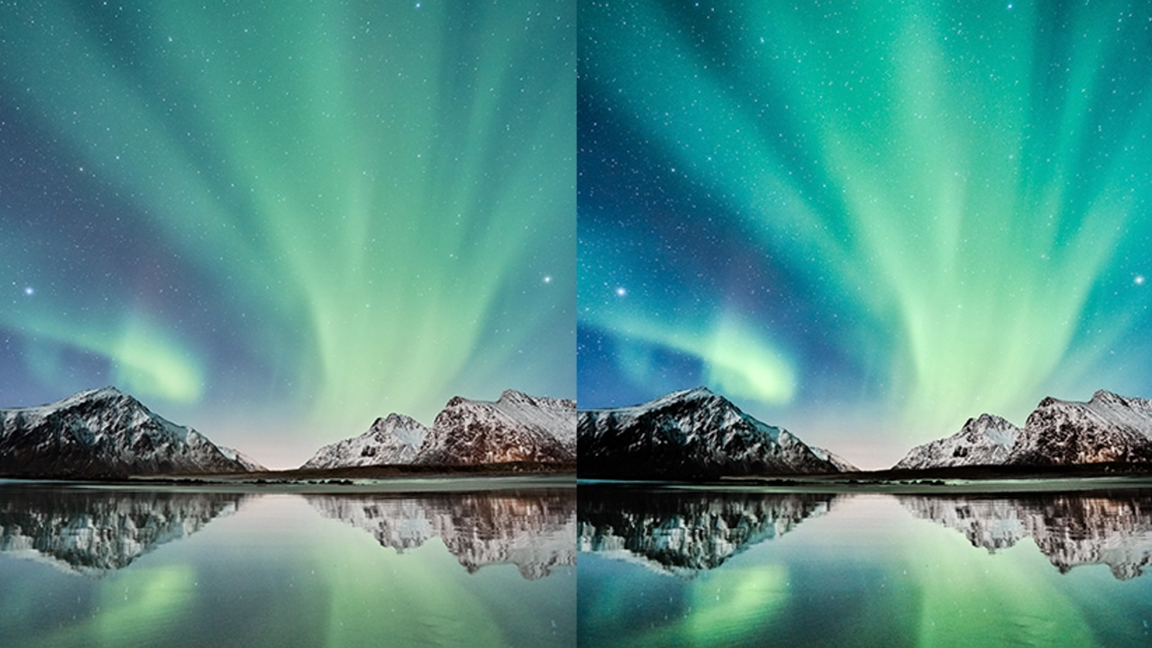
The Night Preset: Northern Lights pack is just one of the excellent free packs offered by PresetLove.com for easily editing night photography. This particular pack was developed to eke out the vivid and Vibrant colours of the Aurora and the colours of the night sky in general. If you need to improve the hues of your night photography and create clear tones, this is an excellent free preset.
04. Free Lightroom dawning preset
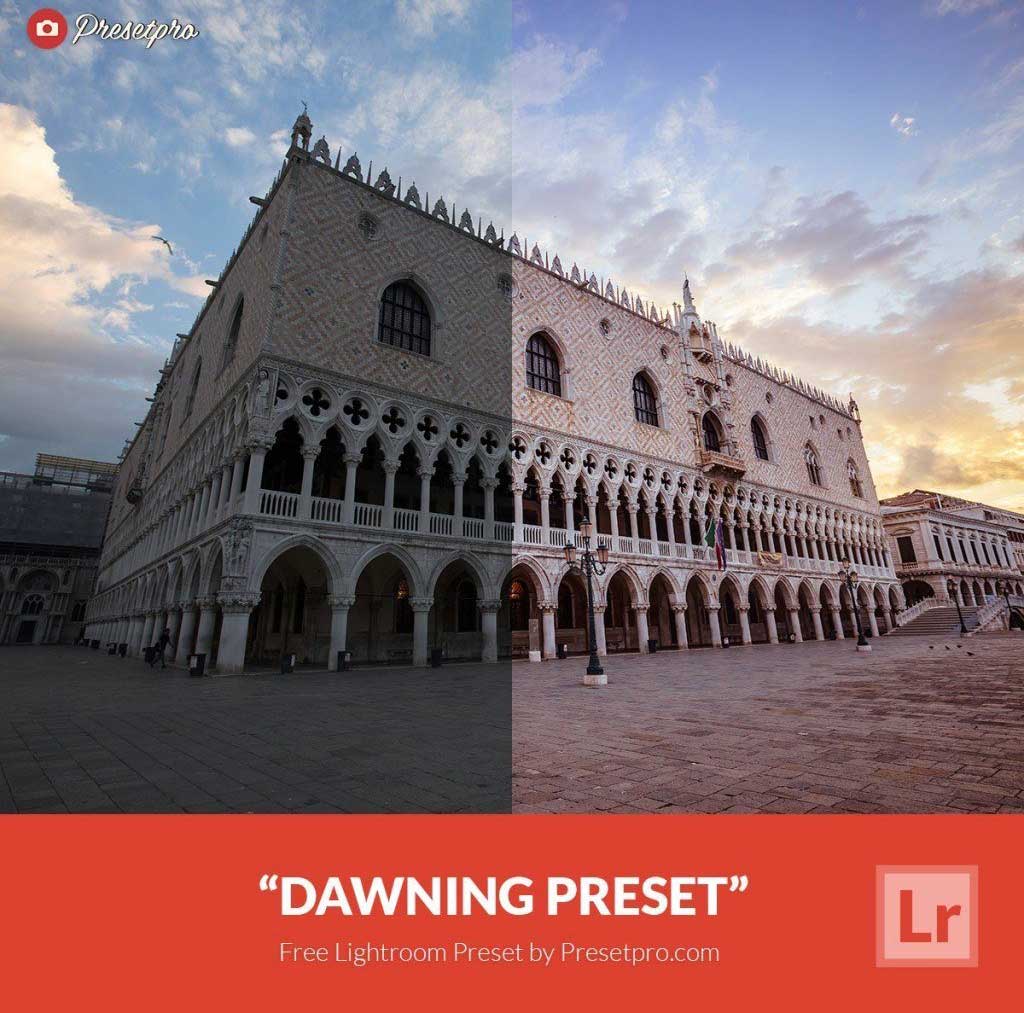
- Price: Free
- Download from Free Presets
This free preset speaks for itself. Brightening up your photographs without demeaning the quality, it adjusts the light settings in accordance to each other, to do your image more justice in Lightroom Classic. A versatile base to go from, it can be used with another preset if you still need to add your own colour edits.
05. NY skyline free Lightroom presets
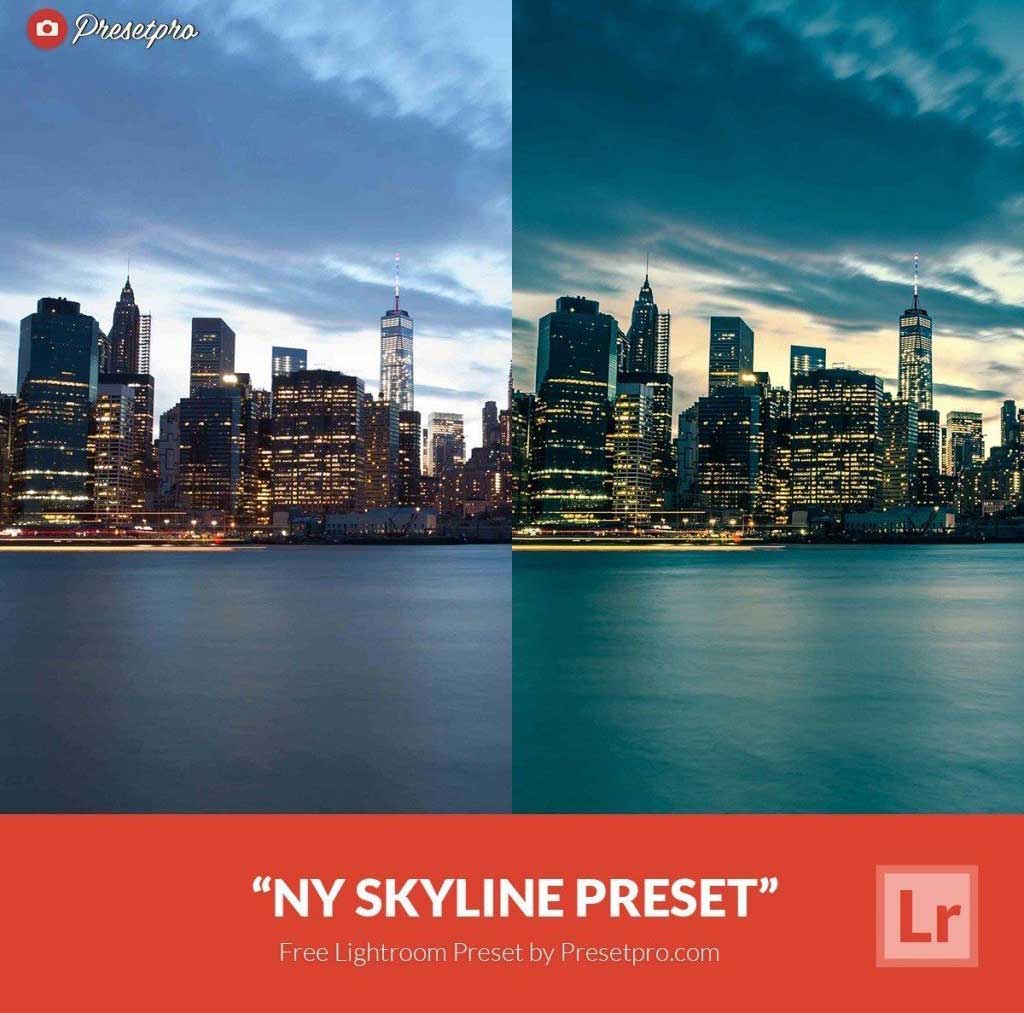
Perfect for cityscape photography, this preset promises to vamp things up. It's arguably more advanced than some paid options, bringing out the blues and charcoals in your photographs without creating a tint. The contrast is adjusted so that any lights in the image work in accordance with the blues that the colour settings emphasise.
06. Free Lightroom preset for gritty portraits
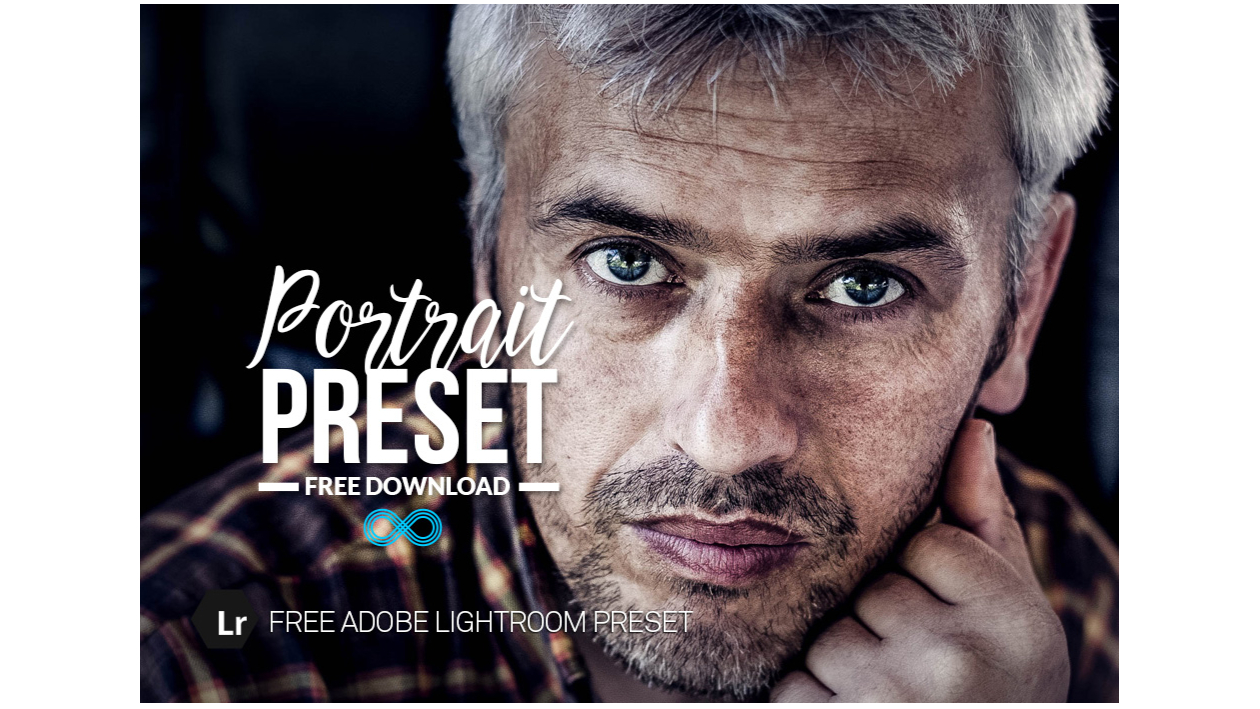
Many free Lightroom presets are samples offering a single preset to let you test it out in the hope that you might be impressed and then buy the creator's pack. That's the case with this gritty portrait preset from Photonify, which provides a lot of sharpening.
07. Newborn baby Free Lightroom Preset
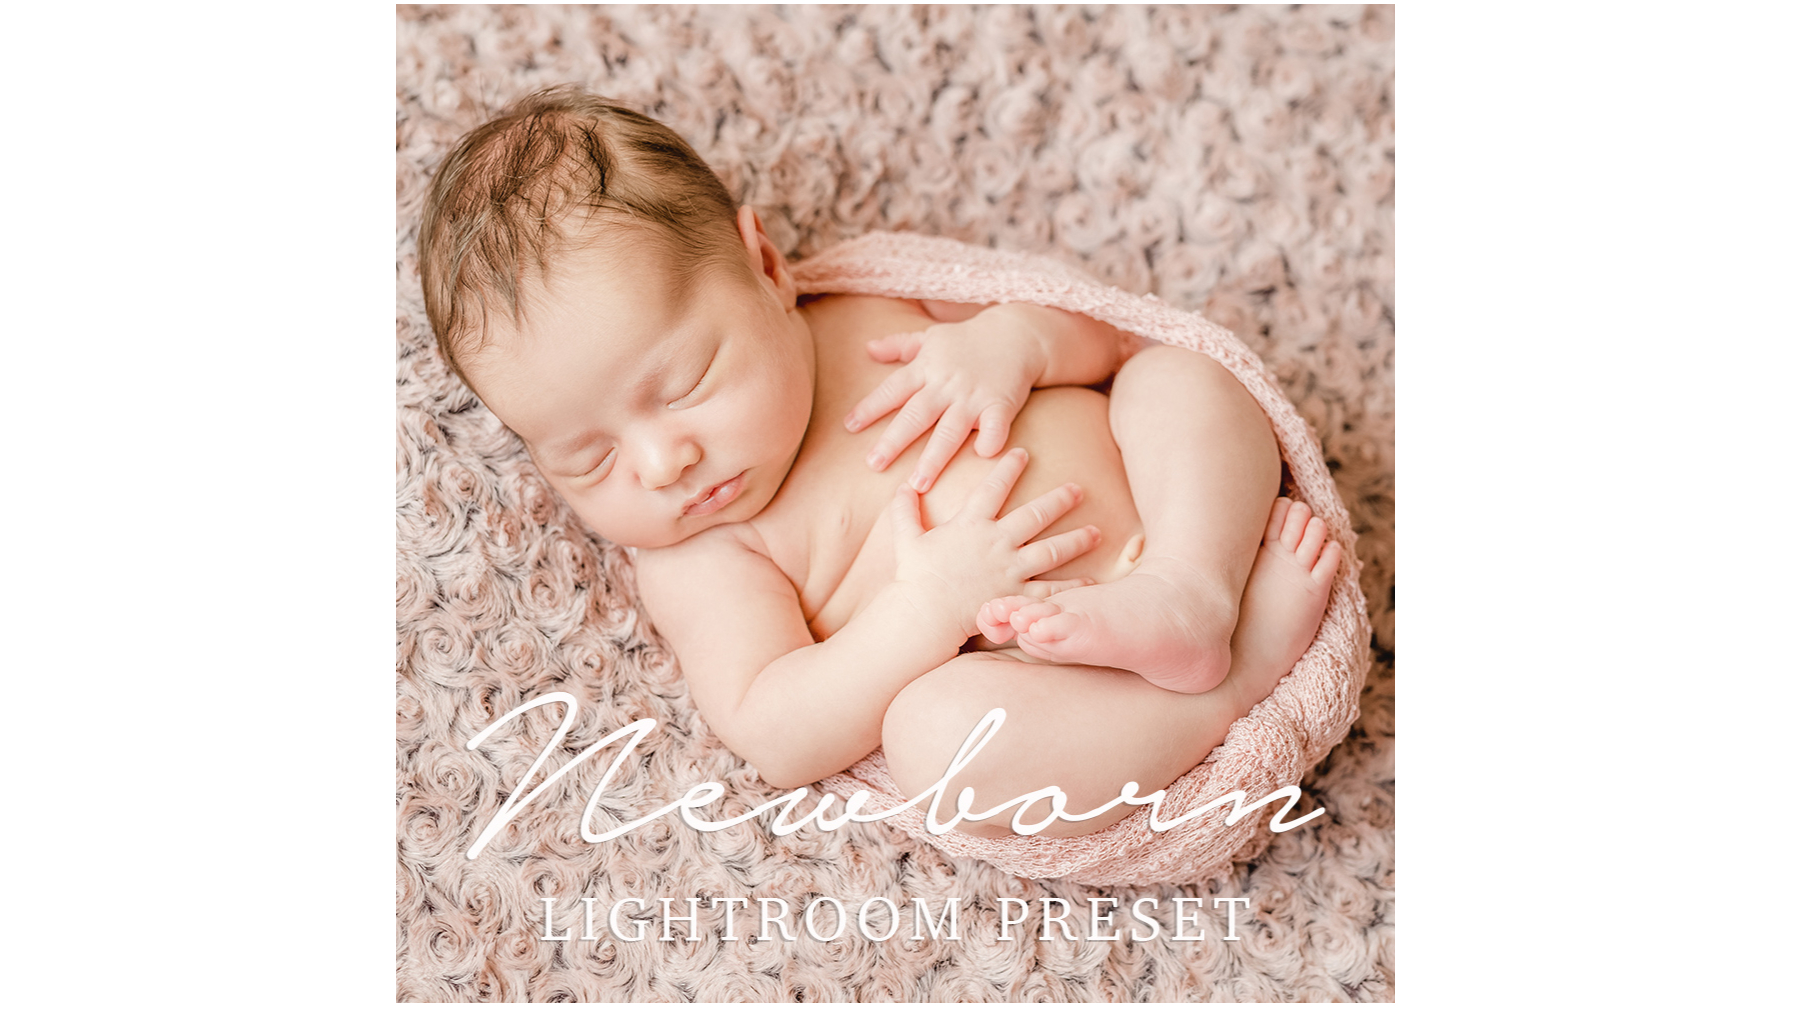
Baby photographs are a genre in themselves. You often want to go for a soft look and clean colours. It's well worth trying out this free Lightroom preset sample from Beart. You might find it suits other subjects too.
FAQs
What are Lightroom presets?
Lightroom presets are basically xml files that hold a record of where the sliders were set in Lightoom at the time they were made. For example, if you edit a photo in Lightroom and you crank the saturation up by 5, increase the contrast by 20, reduce the clarity by 4 and add a teal tint the highlights in the colour grading panel, you can record a preset to allow you to later apply the exact same changes to another photo super quickly without having to go through all the sliders one by one.
Since Lightroom presets are files, they can be transferred like any other digital document. Some popular photographers offer, or sell, their own presets. To an extent, this may allow others to replicate the look of their images, although the reality is that a great-looking photo involves a lot more than just a preset, and even the ideal preset for a particular photo will probably need some further fine tuning in Lightoom to get the best result.
What are adaptive presets in Lightroom?
Adobe's own presets in Lightroom and Adobe Camera Raw now include what it calls adaptive presets. These use AI to analyze the content of photos and make adjustments to specific areas using Adobe Sensei-powered smart masking.
They're more versatile than standard presets since you can combine them. For example, you could use the adaptive presets to whiten teeth as well as well as the ones to enhance eyes and add texture to hair. You can also control how much of the effect you want by using the slider to increase or reduce the amount that it's applied.
Should I use Lightroom presets?
Whether Lightroom presets are useful for you will depend on a lot of factors, not least your own photography workflow. The main aim of presets is to save time and to get a consistent look across multiple photos. If you shoot large batches of images and you want to save some of the time it takes to manually edit them, presets could get you at least some of the way there.
Bear in mind though, that there's no magic Lightroom preset that will look great on every photo. Every preset was made for a particular situation, but every photo is different. Some presets might look good on certain lighting situations and moods but terrible in others. Ultimately, the best Lightroom presets are your own because you know what you kinds of photos you created each preset for and what settings you tweaked to make it.
How do I choose the best Lightroom presets?
When choosing which are the best Lightroom presets for you, it's a good idea to look for presets made by someone who does the same kind of photography as you, or the kind of photography you aspire to.
It makes no sense to buy presets from someone who makes dark, moody landscapes if you mainly take portraits with studio lighting or shoot bright, sunny scenes. Applying a preset intended for a different type of image and a different result will often look terrible, so try to choose a pack that seems suitable for the genre that you work in. A good idea is to play about with Lightroom's own free presets before you buy others. That will give you an idea of what presets are and how they work.
How do I import Lightroom presets?
Once you have you're Lightroom presets, installing them is super easy. Just go to the menu bar, and choose File > Import Develop Profiles & Presets. In the Import dialog that appears, browse to wherever you have saved the downloaded presets on your device and choose the presets you want to import. Click 'Import'. The presets should then be added to the list that appears in the panel that appears on the left in Lightroom's Develop module.
How do I create Lightroom presets?
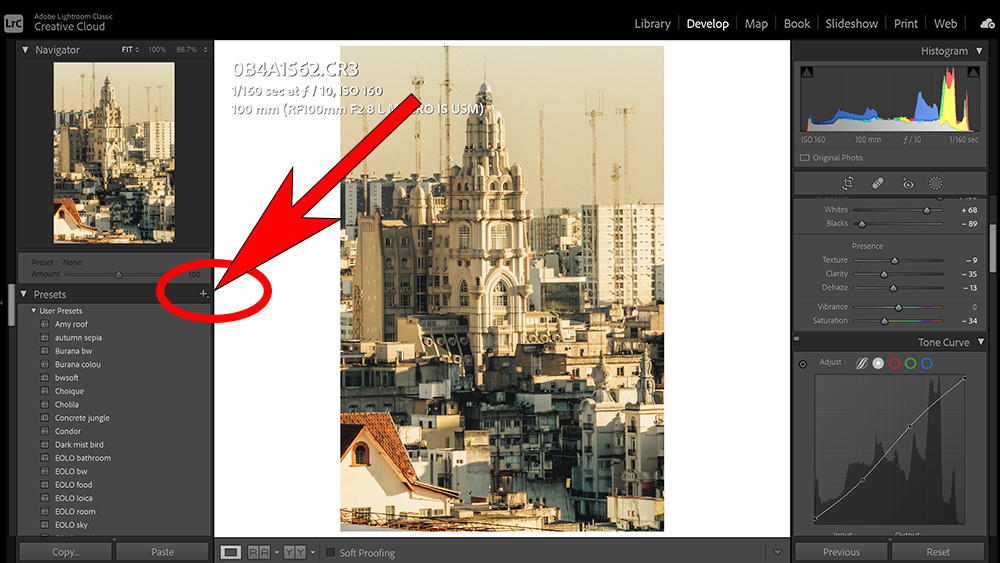
Creating your own Lightroom presets is super easy. It can save time to download Lightroom presets from other people when you're getting started, but making your own can improve your photo editing in the long run. to save a Lightroom preset, just edit a photo in the Develop module in lightroom, and when you're done, head to the Presets section in the panel on the left, and click on the + symbol.
Options will appear to 'Create Preset', 'Import Presets' or 'Manage Presets'. Choose 'Create Preset'. You'll then be able to check or uncheck the boxes for specific settings to choose which you want to save as part of the preset. Remember that you might not want to save any masks as part of your preset since these tend to be specific to each individual image. The same goes for transformations.
Give your preset a name that will help you remember what it does or what kind of image it's suitable for. This could simply specify what it does, such as 'warm autumn tones', or you might name it after the particular image you're working on to help you remember it.
How do I export Lightroom presets?
If you want to share your Lightroom presets with others or sell Lightroom presets, you'll first need to export them. This is very easy to do. Simply right click on the name of the preset you want to export in the Develop module and click 'Export'. When the save menu applies, choose where you want to save the file. Your preset will be saved as an xmp file, which you can then send to other people however you choose.
Where can I find more Lightroom presets?
Lots of photographers sell their own Lightroom presets via their websites or their Instagram accounts. You'll even find Lightroom presets for sale on sites like Etsy. Some photographers also swap presets among themselves.
Can I use Lightroom presets in other software?
No, not really. A preset is a list of slider settings/adjustments for a specific piece of software, so although you can create, export and import dedicated presets in many other photo editing software programs, the results will not usually be the same if you use a preset in a program other than the one it was created for. You can use Lightroom presets in Photoshop via the Camera Raw filter since it has very similar settings.
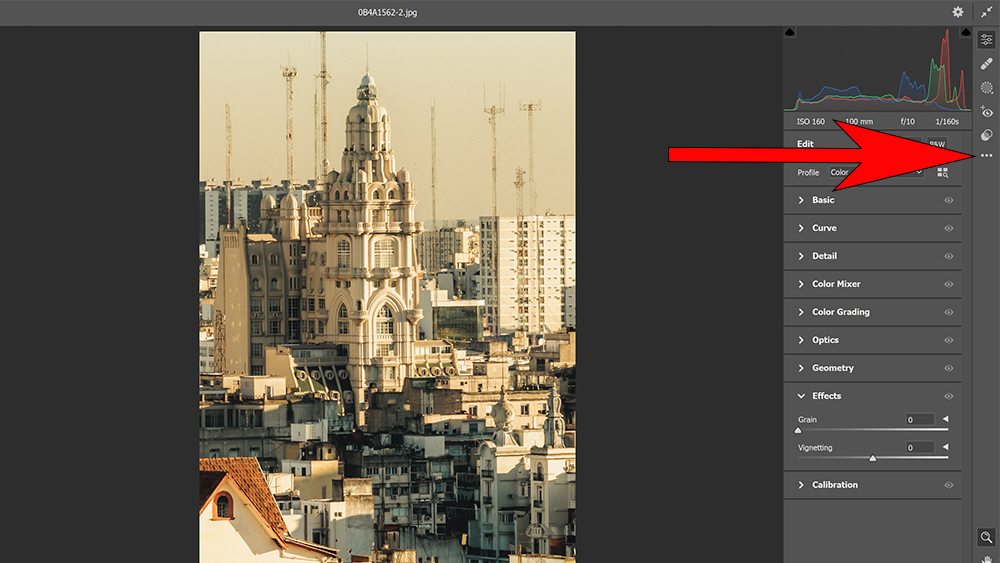
If you open a photo in the Camera Raw filter in Photoshop, you'll find the same inbuilt presets that come with loaded in Lightroom if you click on presets (look for the symbol with two overlapping circles on the right-hand side). If you want to load your own preset that you created in Lightroom, you can export it from Lightroom as an xmp file and apply it to an image in Photoshop by clicking on the three dots below the presets button and choosing 'Load Settings'.
You can also use Lightroom edits to create a preset in Camera Raw by opening an image from Lightroom as a smart object in Photoshop. Open it in Camera Raw, and then click on the new preset icon at the bottom to copy the settings and save them as a preset.
You'll want to download Photoshop if you don't already have it – and it is useful to have Photoshop as well as Lightroom since it's a more powerful program and can be used to fine tune colour much more precisely (see our Lightroom vs Photoshop comparison if you're unsure about the distinct benefits of each program.
Both Lightroom and Photoshop are included in Adobe's Creative Cloud Photography plan and its All Apps plan (see pricing below). Also see our picks of the best Photoshop shortcuts and Photoshop tutorials to learn more about the software.

Joe is a regular freelance journalist and editor at Creative Bloq. He writes news, features and buying guides and keeps track of the best equipment and software for creatives, from video editing programs to monitors and accessories. A veteran news writer and photographer, he now works as a project manager at the London and Buenos Aires-based design, production and branding agency Hermana Creatives. There he manages a team of designers, photographers and video editors who specialise in producing visual content and design assets for the hospitality sector. He also dances Argentine tango.
- Mabel WynneWriter & multi-disciplinary artist

