A creative's guide to different types of printing
There are many different types of printing available to creators. This guide shows you how and when to use them.
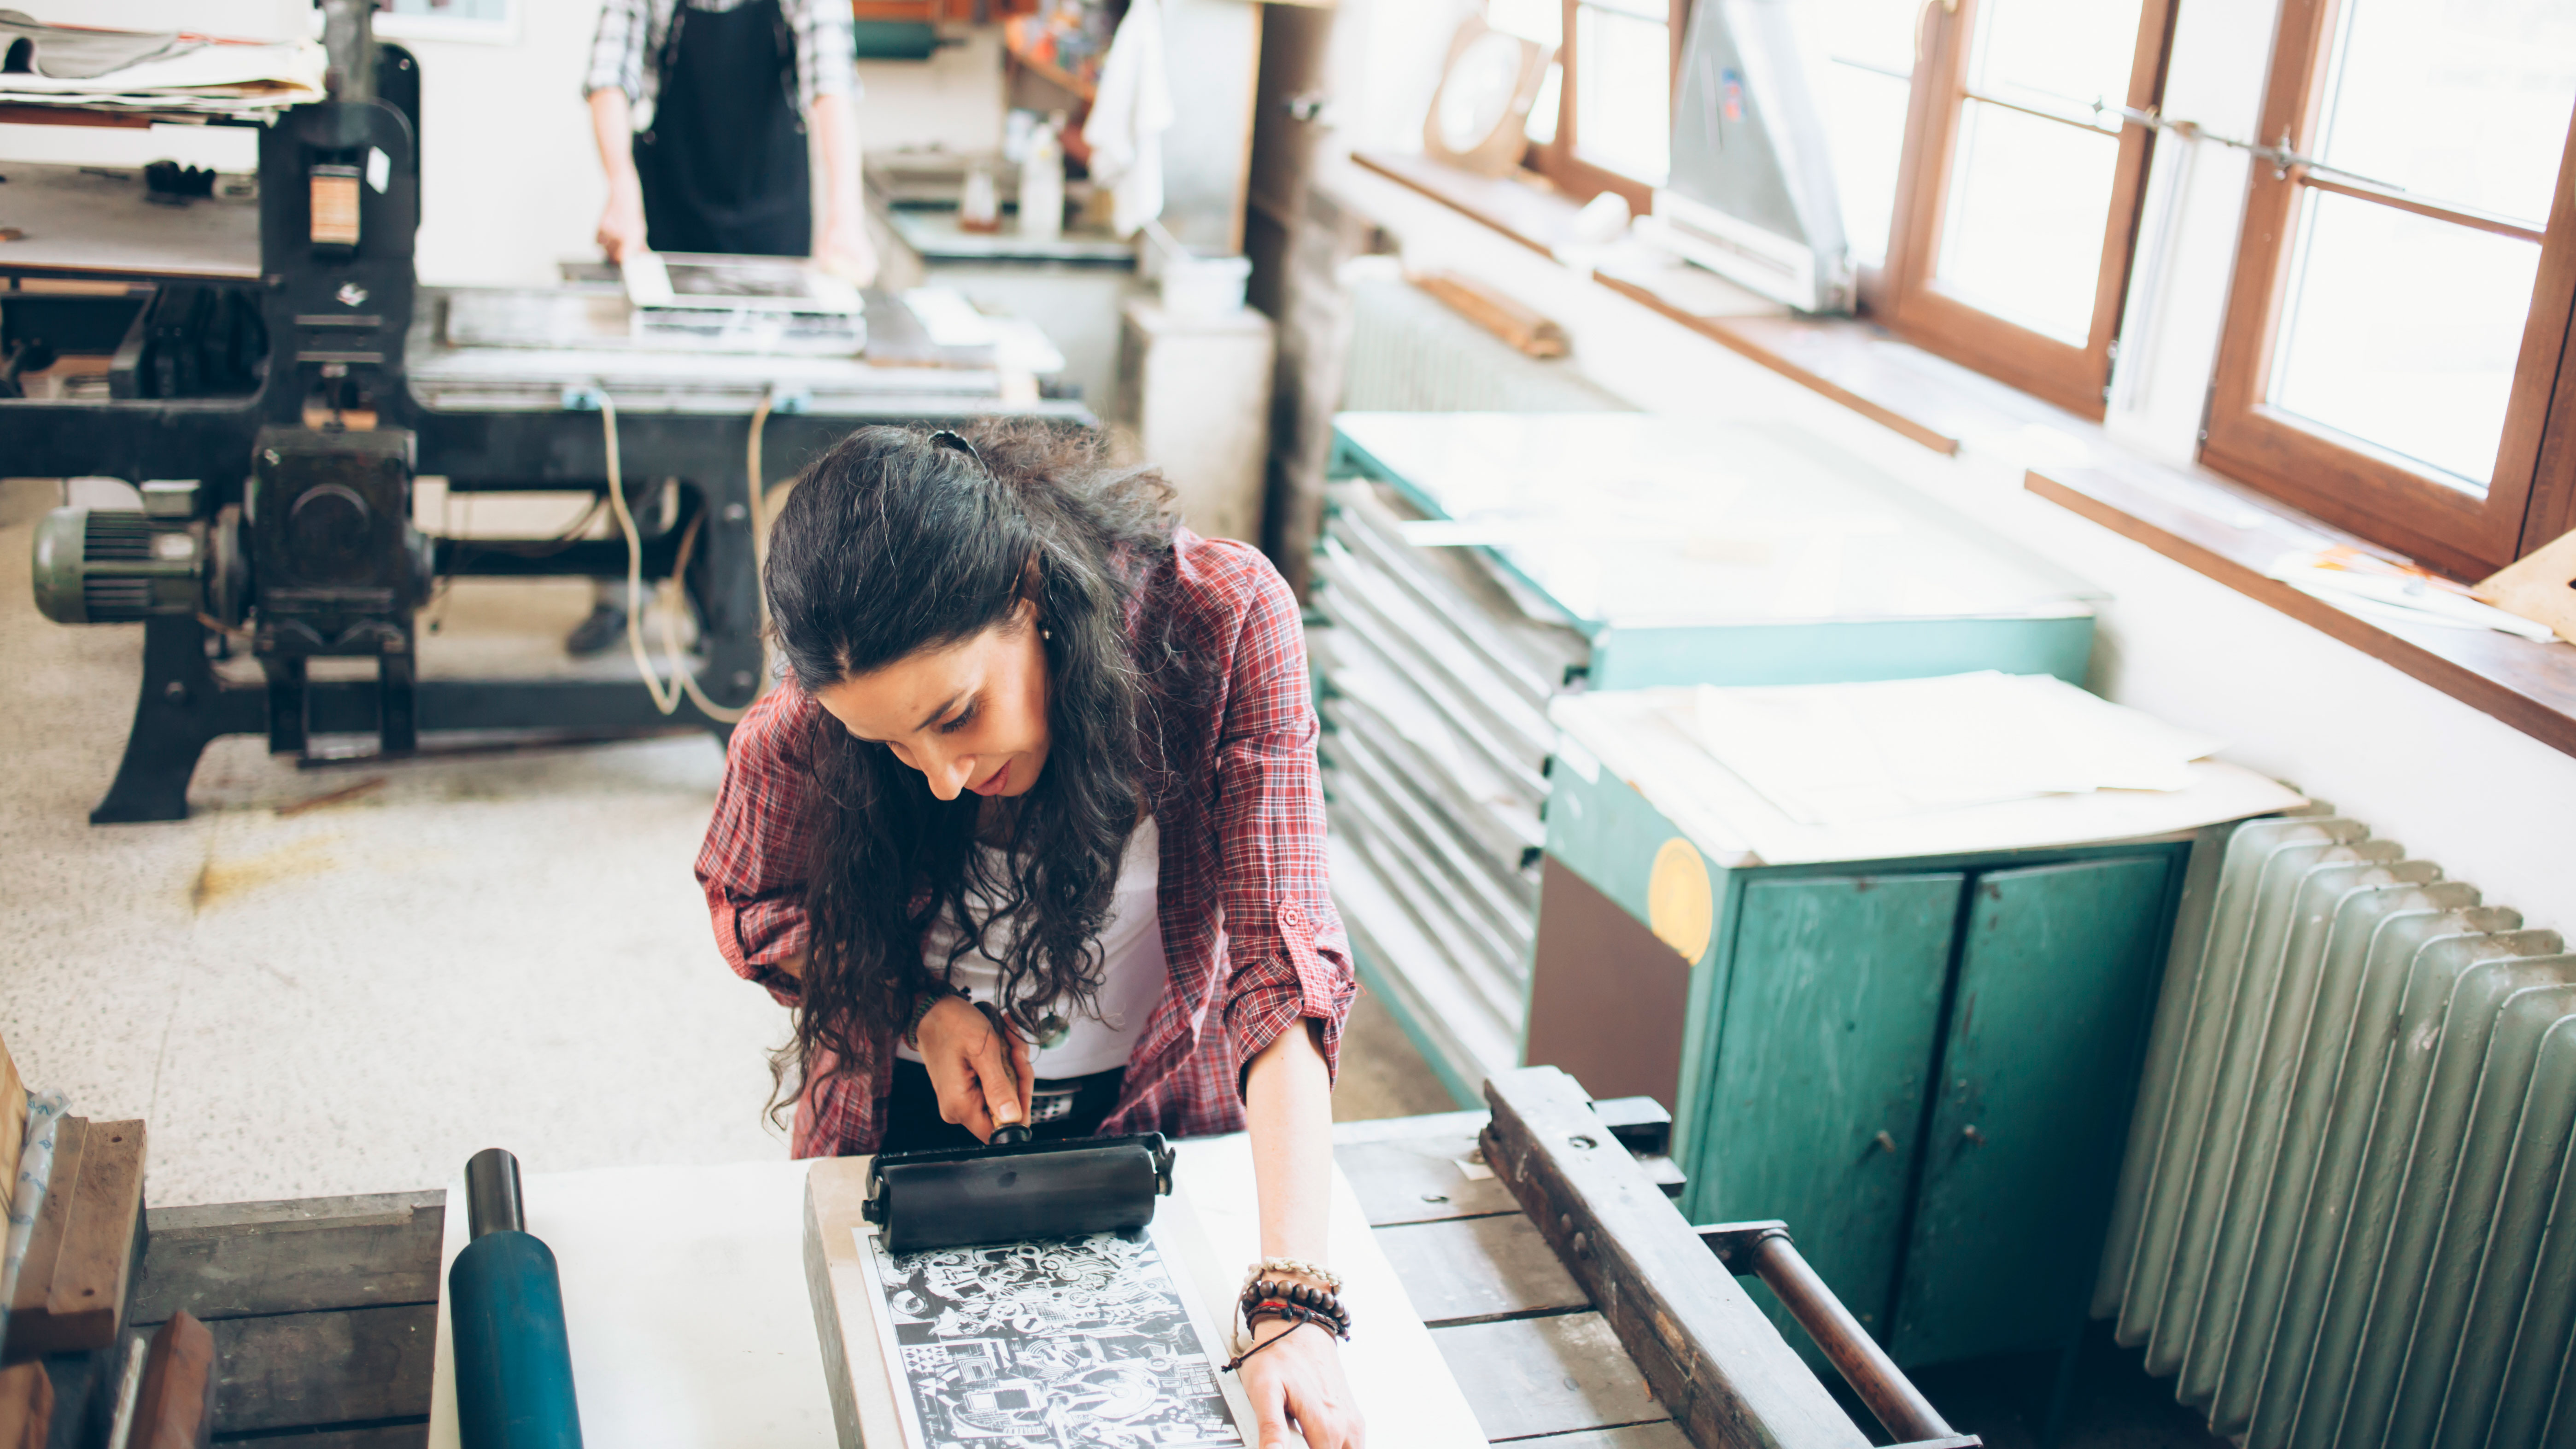
There are plenty of different types of printing available to creators today. In this guide we take a look at some of the most frequently used printing methods favoured by artists and designers, explaining how each technique works and outlining what each one is most suitable for.
If you’re looking to print posters, fine art images, billboards or even magazines, you’ll find the relevant printing method here. We've spoken to experts in the field of printmaking to help you understand the key use cases for each technique, as well as providing some tips for getting started.
For some creative inspiration, check out our rundown of the best print ads of all time. Or, if you're thinking bigger, take a look at our list of the most impressive billboard ads of all time for some examples of real traffic-stopping impact.
Lino printing
- Used for: Fine art printmaking
- Pros: Cheap, easy to get started, reusable
- Cons: Cutting hazard, difficult to do multiple colours
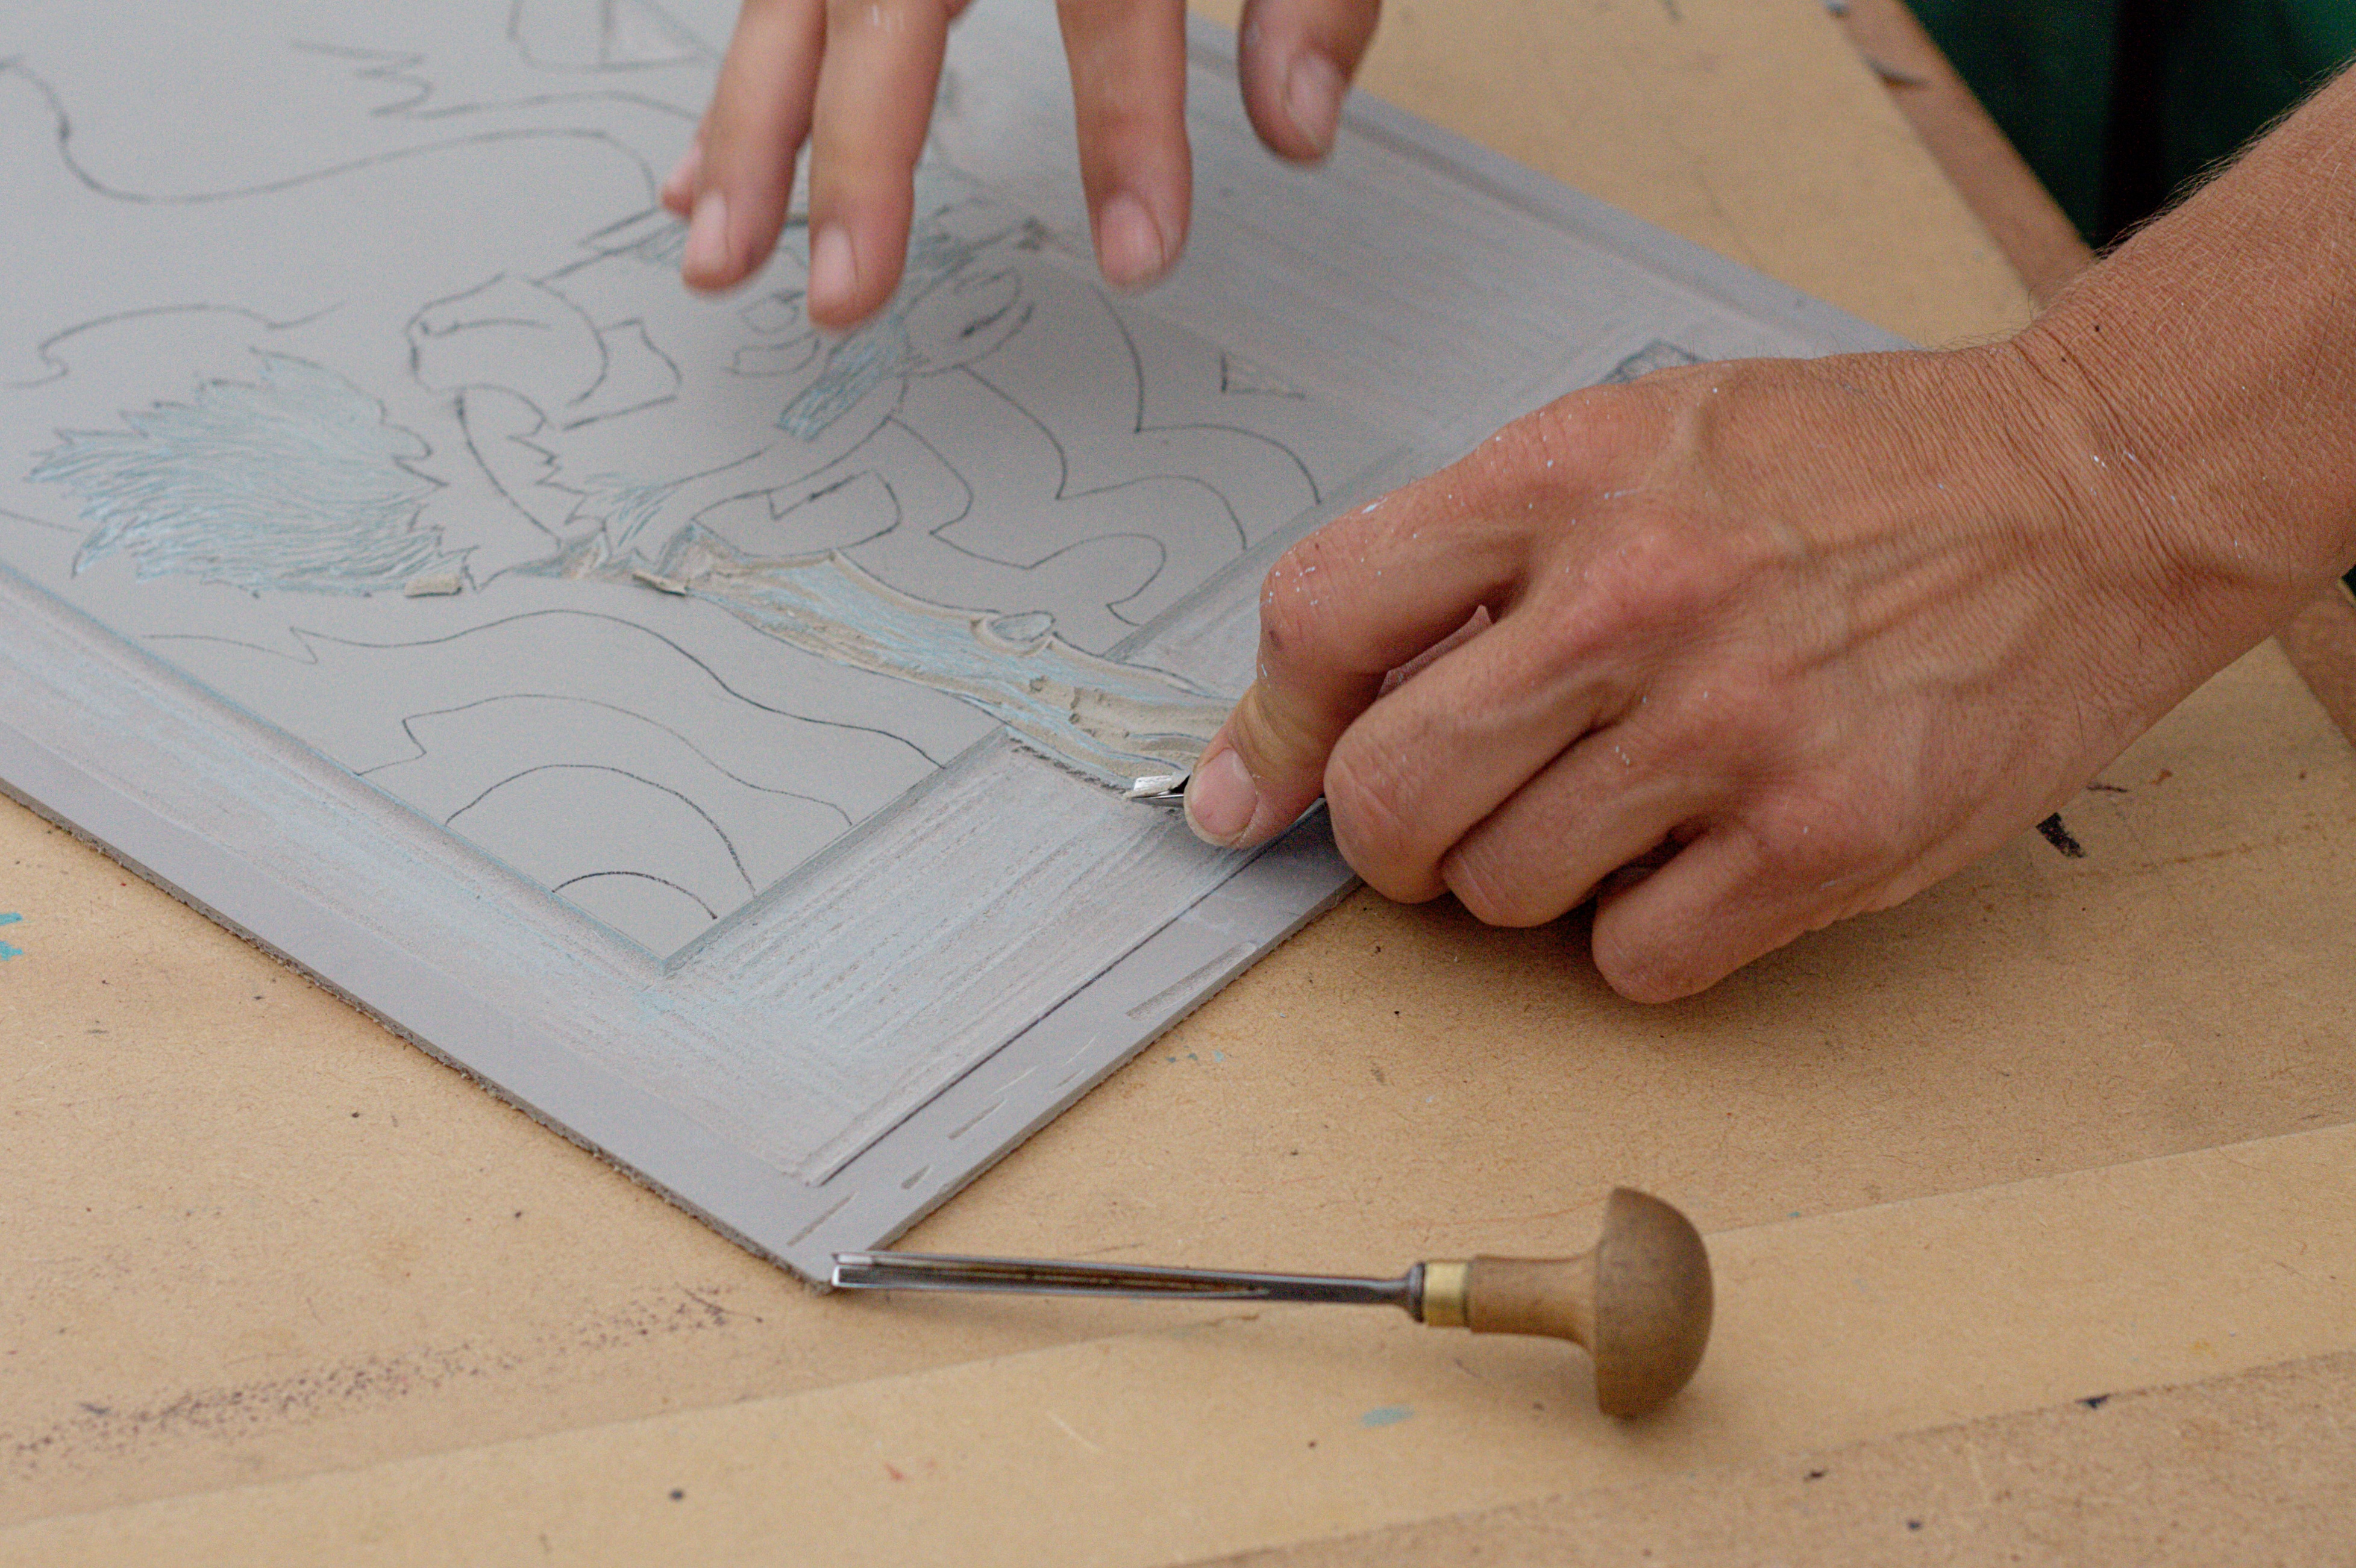
Lino printing is a great entry-level technique for creatives looking to make art prints. It involves scoring an image into a sheet of linoleum, covering the raised areas in ink, and pressing a substrate (the surface which the ink will stick to, often paper) on top.
"Lino cutting is a really accessible medium," says Katherine Anteney, a printmaker and bookbinder who works as a printmaking technical instructor and runs regular workshops. "You don't really need much equipment. You can start off with a block, tools, paper, ink and a wooden spoon to print with; perhaps moving on to buying a small hand press once you've got the hang of it."
All the materials you need to get started are available from any good art shop at a reasonable price, and even the most basic of tools create impressive results. Different scoring knives can be added to your toolkit to make unique marks, although a narrow selection of blades should be sufficient.
"Lino started off as a means of illustration, developed out of woodcut, so it's always had that 'craft' label but it sits equally well in the world of fine art printmaking," says Katherine. "It's very adaptable and will suit any subject but you'll find that bold, graphic shapes work well. You may have to simplify your initial drawings to turn them into linocuts, and the use of pattern can help denote shape and form, especially if you are just working in classic black and white."
Get the Creative Bloq Newsletter
Daily design news, reviews, how-tos and more, as picked by the editors.
One thing to keep in mind when scoring a design into lino is that you're creating a mirror image of the picture, so letters will need to be carved backwards. Also keep in mind that only raised areas of linoleum will transfer ink.
Katherine's key tip: "Always start simple. If you are working from a photo, re-draw or trace it and try to reduce it down to simple shapes. Drawing always helps you to simplify a complex image."
In a lino print, the areas you want to be black should remain uncut – according to Katherine, a common instruction to students is "Hold your blacks!" She says: "You can't put anything you've cut away back, so always proof as you go along. If you are unsure, don't cut it! You can work onto proofs with white gouache to plan your next move."
"And: spend money on a decent roller, it'll pay you back 1000 times over."
To learn more about lino printing, including more on the basic tools you'll need, see our introduction to lino printmaking post.
Screen printing
- Used for: Textiles printing, posters
- Pros: Versatile technique, reusable, durable method, high quality of output
- Cons: Requires specialist equipment, limited colour options
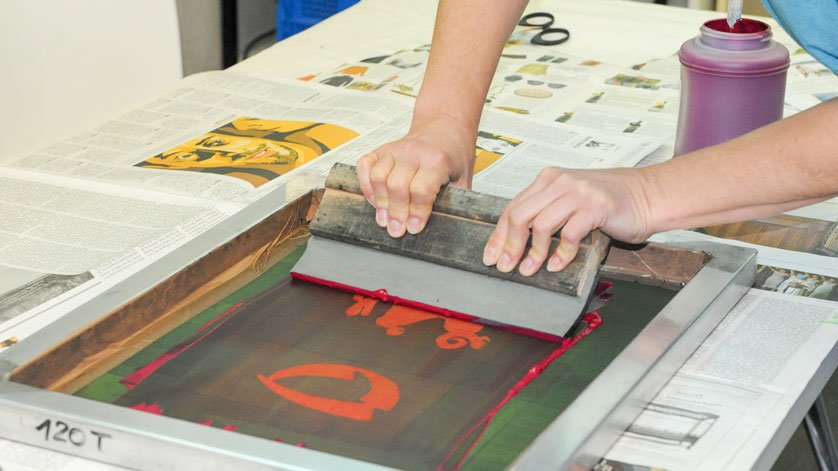
Screen printing remains a popular way to transfer designs onto fabrics, especially T-shirts. The printing process involves forcing paint through a silk screen or mesh with a squeegee, the stencil holes in the screen allowing paint to pass through in the desired place.
Kate Watkins, an artist, printmaker and teacher who frequently makes use of screenprinting in her practice.
"Once you have an image on the mesh screen you can change the colours by applying different coloured acrylics," she says. "You usually add one colour per screen, so more complex designs require additional screens, or masking off some areas so you can print more than one colour on your design."
However, even single colour prints look striking, so getting started with screenprinting can be fairly simple. Designs can be simplistic paper stencils, or more sophisticated – Kate Watkins explains that one common way to transfer a complex design onto a screen is to use light-sensitive photo emulsion, then expose it to UV light.
"You can buy [the emulsion] as part of a kit, or there are specialist companies which will put your design on a screen for you to print at home," she says.
"If you have the chance to go along to a screenprinting beginners' class at a print studio, you’ll be able to master the basics of screenprinting quickly with professional equipment. However there are also good beginners' kits to get you started at home. as well as beginners' books such as "Screenprinting" by Jane Sampson, and lots of step-by-step videos on YouTube."
Offset printing
- Used for: Newspapers, magazines, brochures, stationery, books
- Pros: Good for large print runs, can use special custom inks, highest quality of print
- Cons: Tedious setup, equipment requires extra maintenance
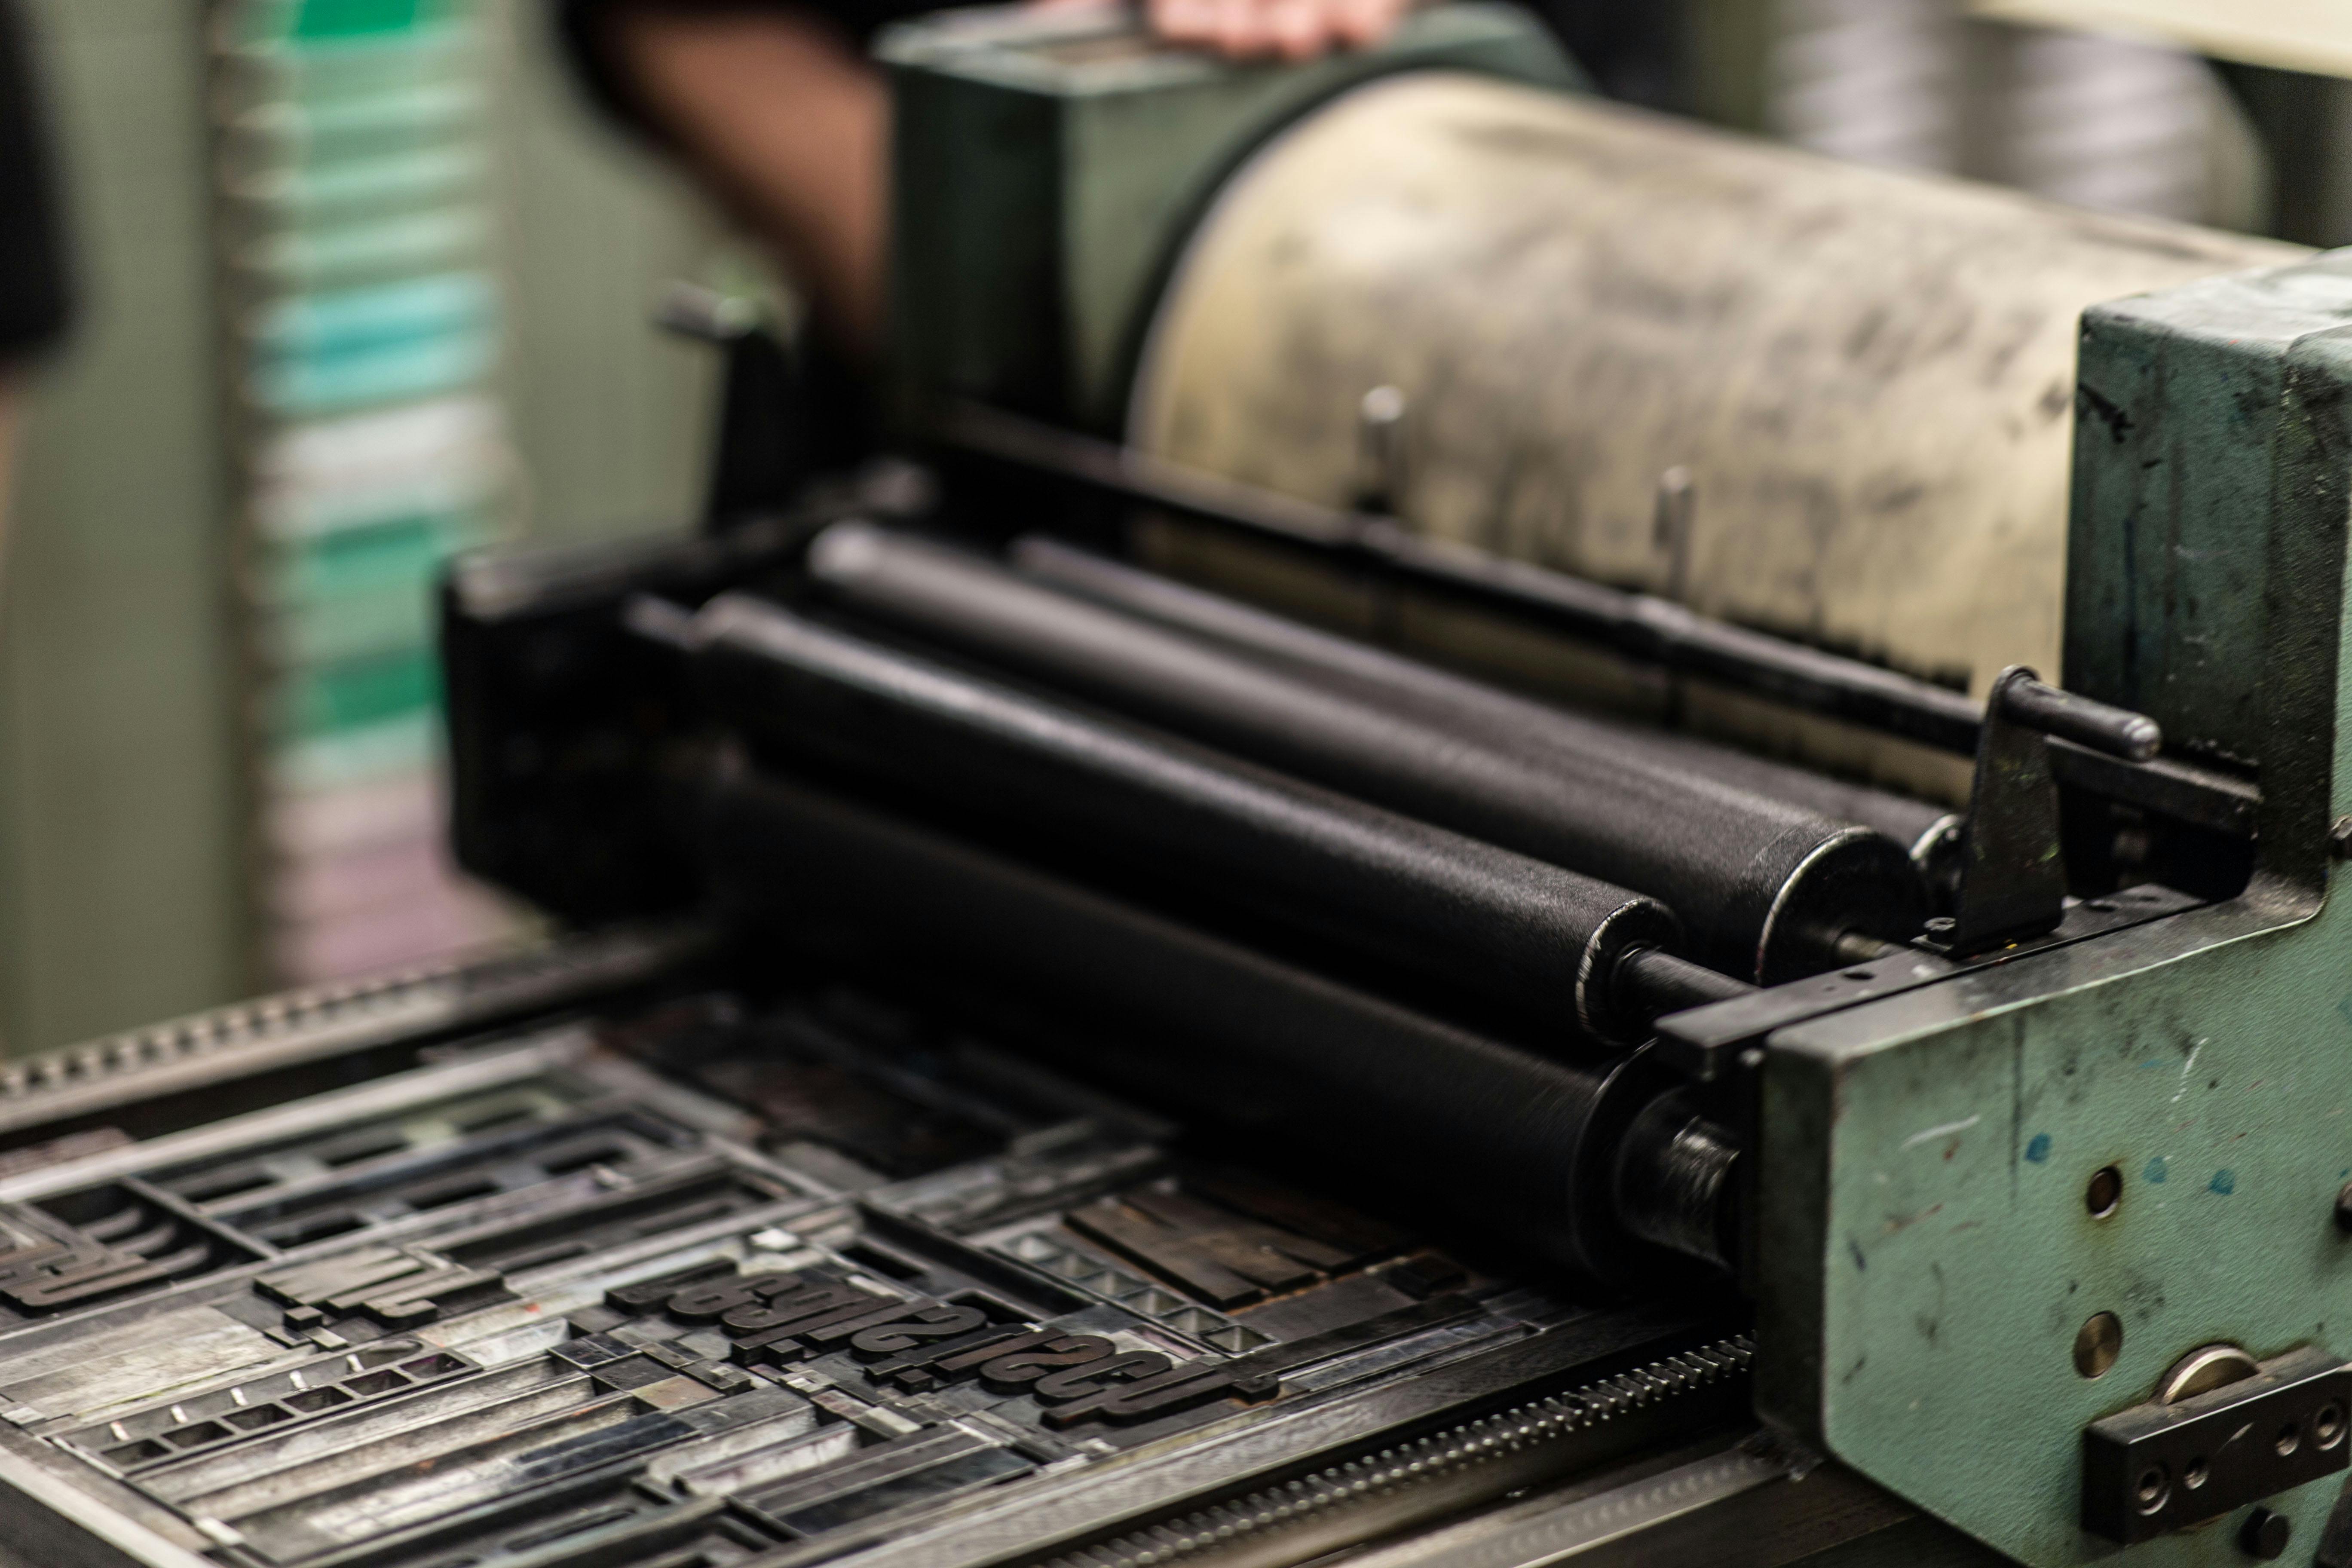
Offset printing is one of the most common ways to print materials such as newspapers and magazines. The process sees an inked image transferred from a plate to a rubber blanket, then finally to the printing surface itself. These rubber blankets are wrapped around a series of cylinders, and the paper is continuously passed through them.
Given that it requires access to specialist printing technology, offset printing is not as immediately accessible as some of the techniques on this list. Typically it is used for large print runs, and its setup fee is soon offset (pardon the pun) by the sheer number of pieces you are able to print.
Letterpress printing
- Used for: Posters, business cards, greetings cards
- Pros: Good for short print run, unique print appearance, straightforward
- Cons: Slow process, limited colours, difficult to produce images
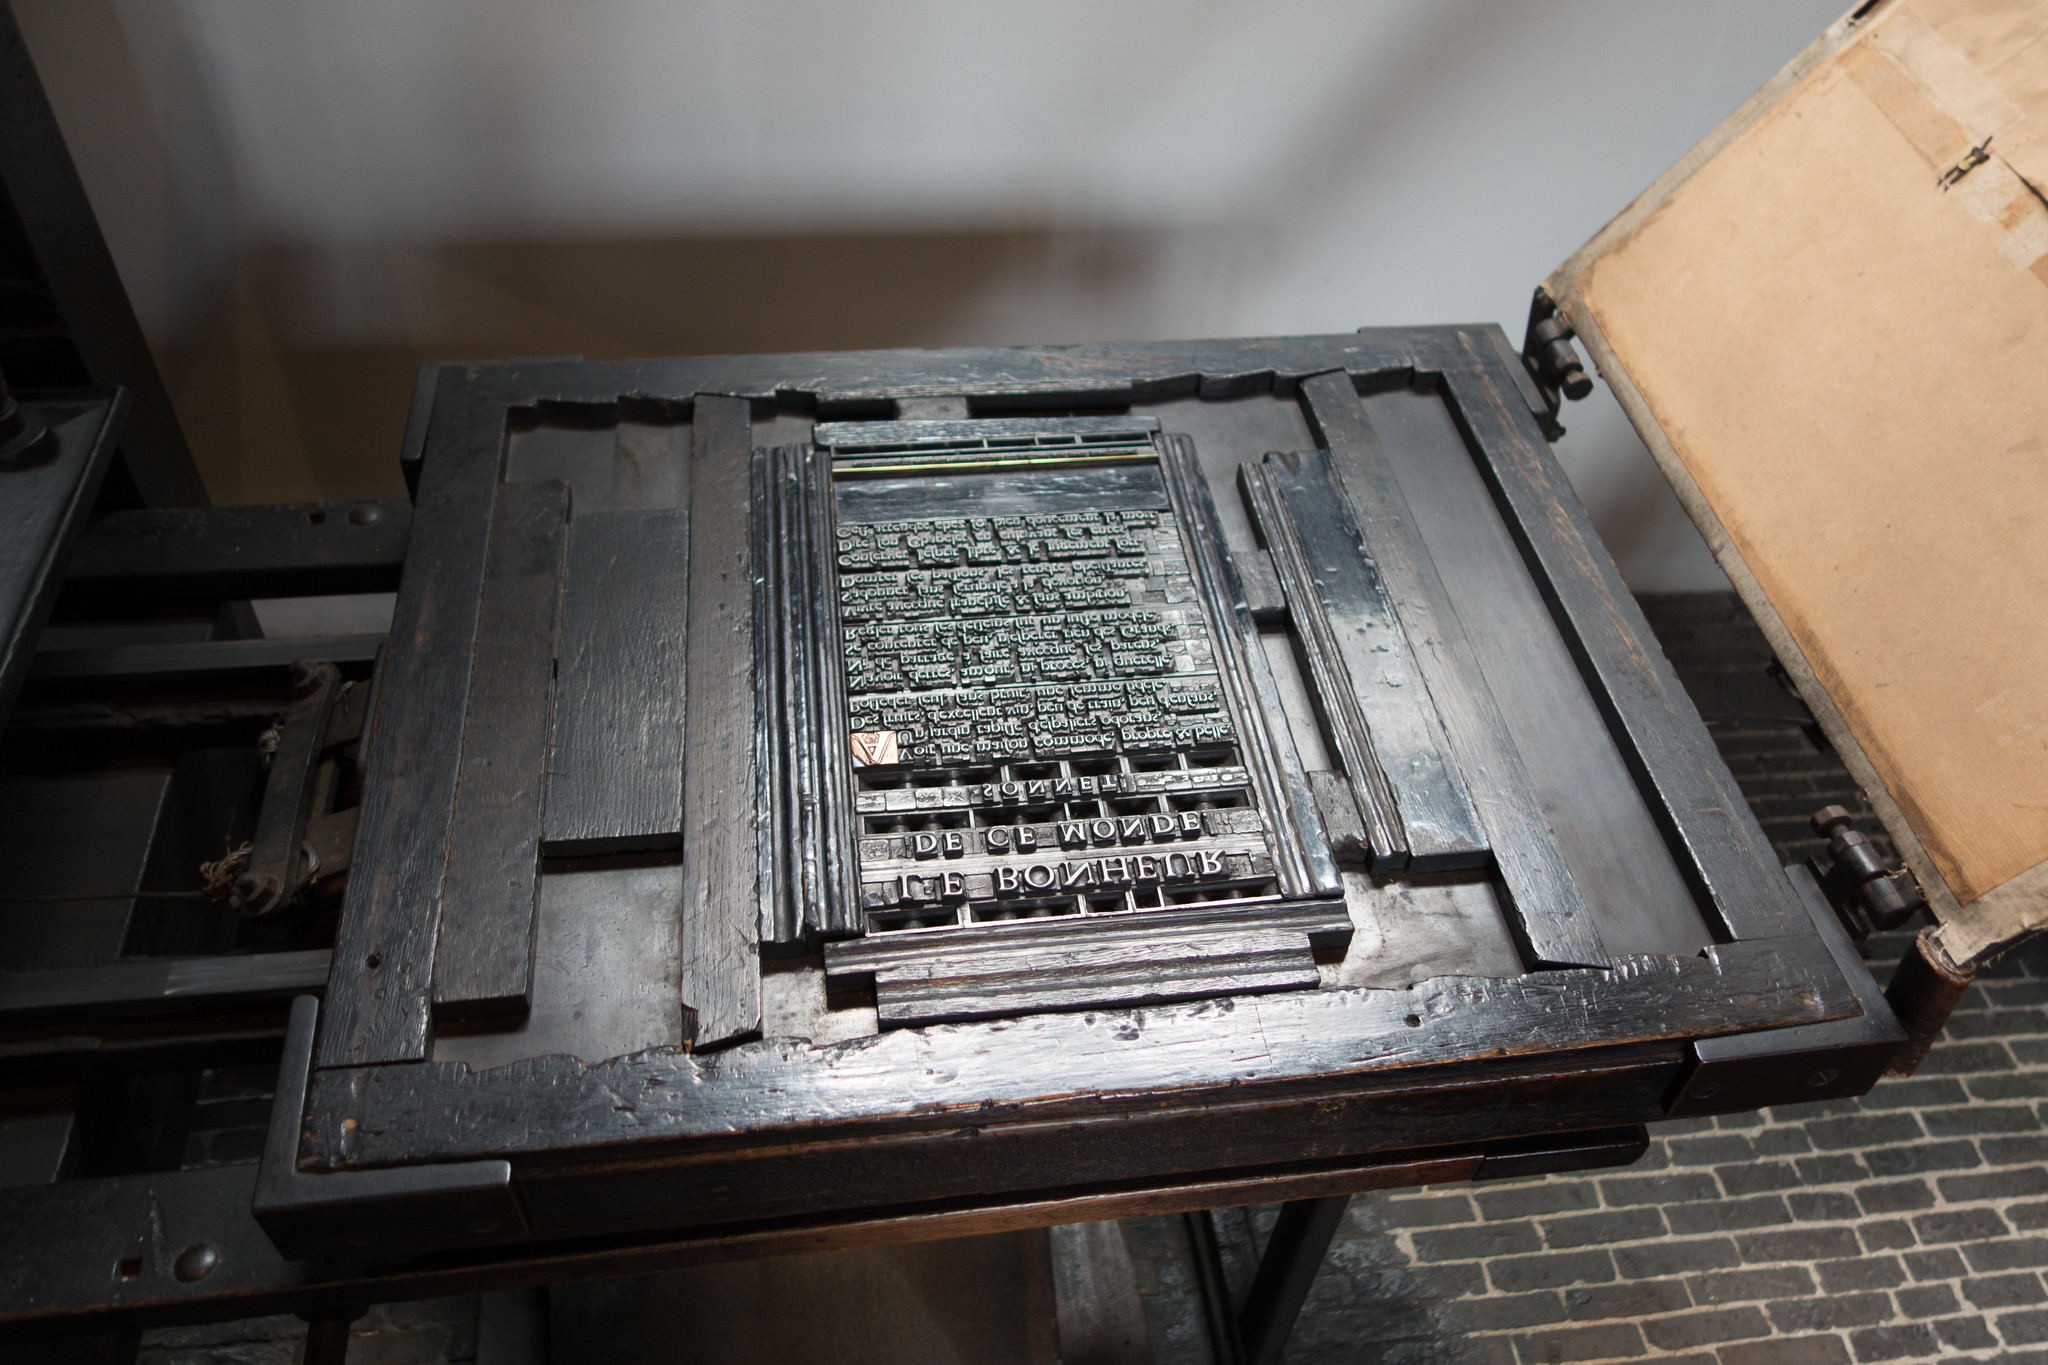
Similar to lithographic printing, letterpress printing sees a raised area covered with ink and then transferred to a substrate. Historically, images and letters were arranged by a typesetter and locked into place in a chase.
As a method for printing newspapers, letterpress remained popular until the mid-twentieth century when it was succeeded by offset printing. But despite being supplanted, it has found a new lease of life in the artistic community.
"Letterpress printing – i.e. printing using movable wooden or lead type – has gained a lot in popularity in recent years," says Katherine Anteney. "Type that was once thrown away as redundant is now sold at quite eye-watering prices."
Unlike other forms of printing on this list, letterpress printing really does require specialist equipment. "A press is vital," says Katherine. "The smallest is a tabletop Adana that will print postcard-size work, moving up to bigger proofing presses such as Van der Cooks or a handpress such as an Albion for poster work."
If you're interested in trying it out for yourself, Katherine recommends a typesetting course as a good place to start – if nothing else, it'll give you an appreciation of the time and equipment required to set type. And if you're buying your own type to set? "Buy new," says Katherine.
"There are several casters around the country casting new type. It prints so much better than old bashed stuff. And don't go mad buying type without the other equipment you need for setting. Buy one or two founts of type and make sure you have spacing, leading and some furniture so you can lock it up properly. Doing it correctly will set you off in the right direction as your collection grows."
Flexography
- Used for: Packaging, print media, labels
- Pros: Quick production process, accommodates various inks, low operational cost
- Cons: Time-consuming set up, equipment requires regular maintenance
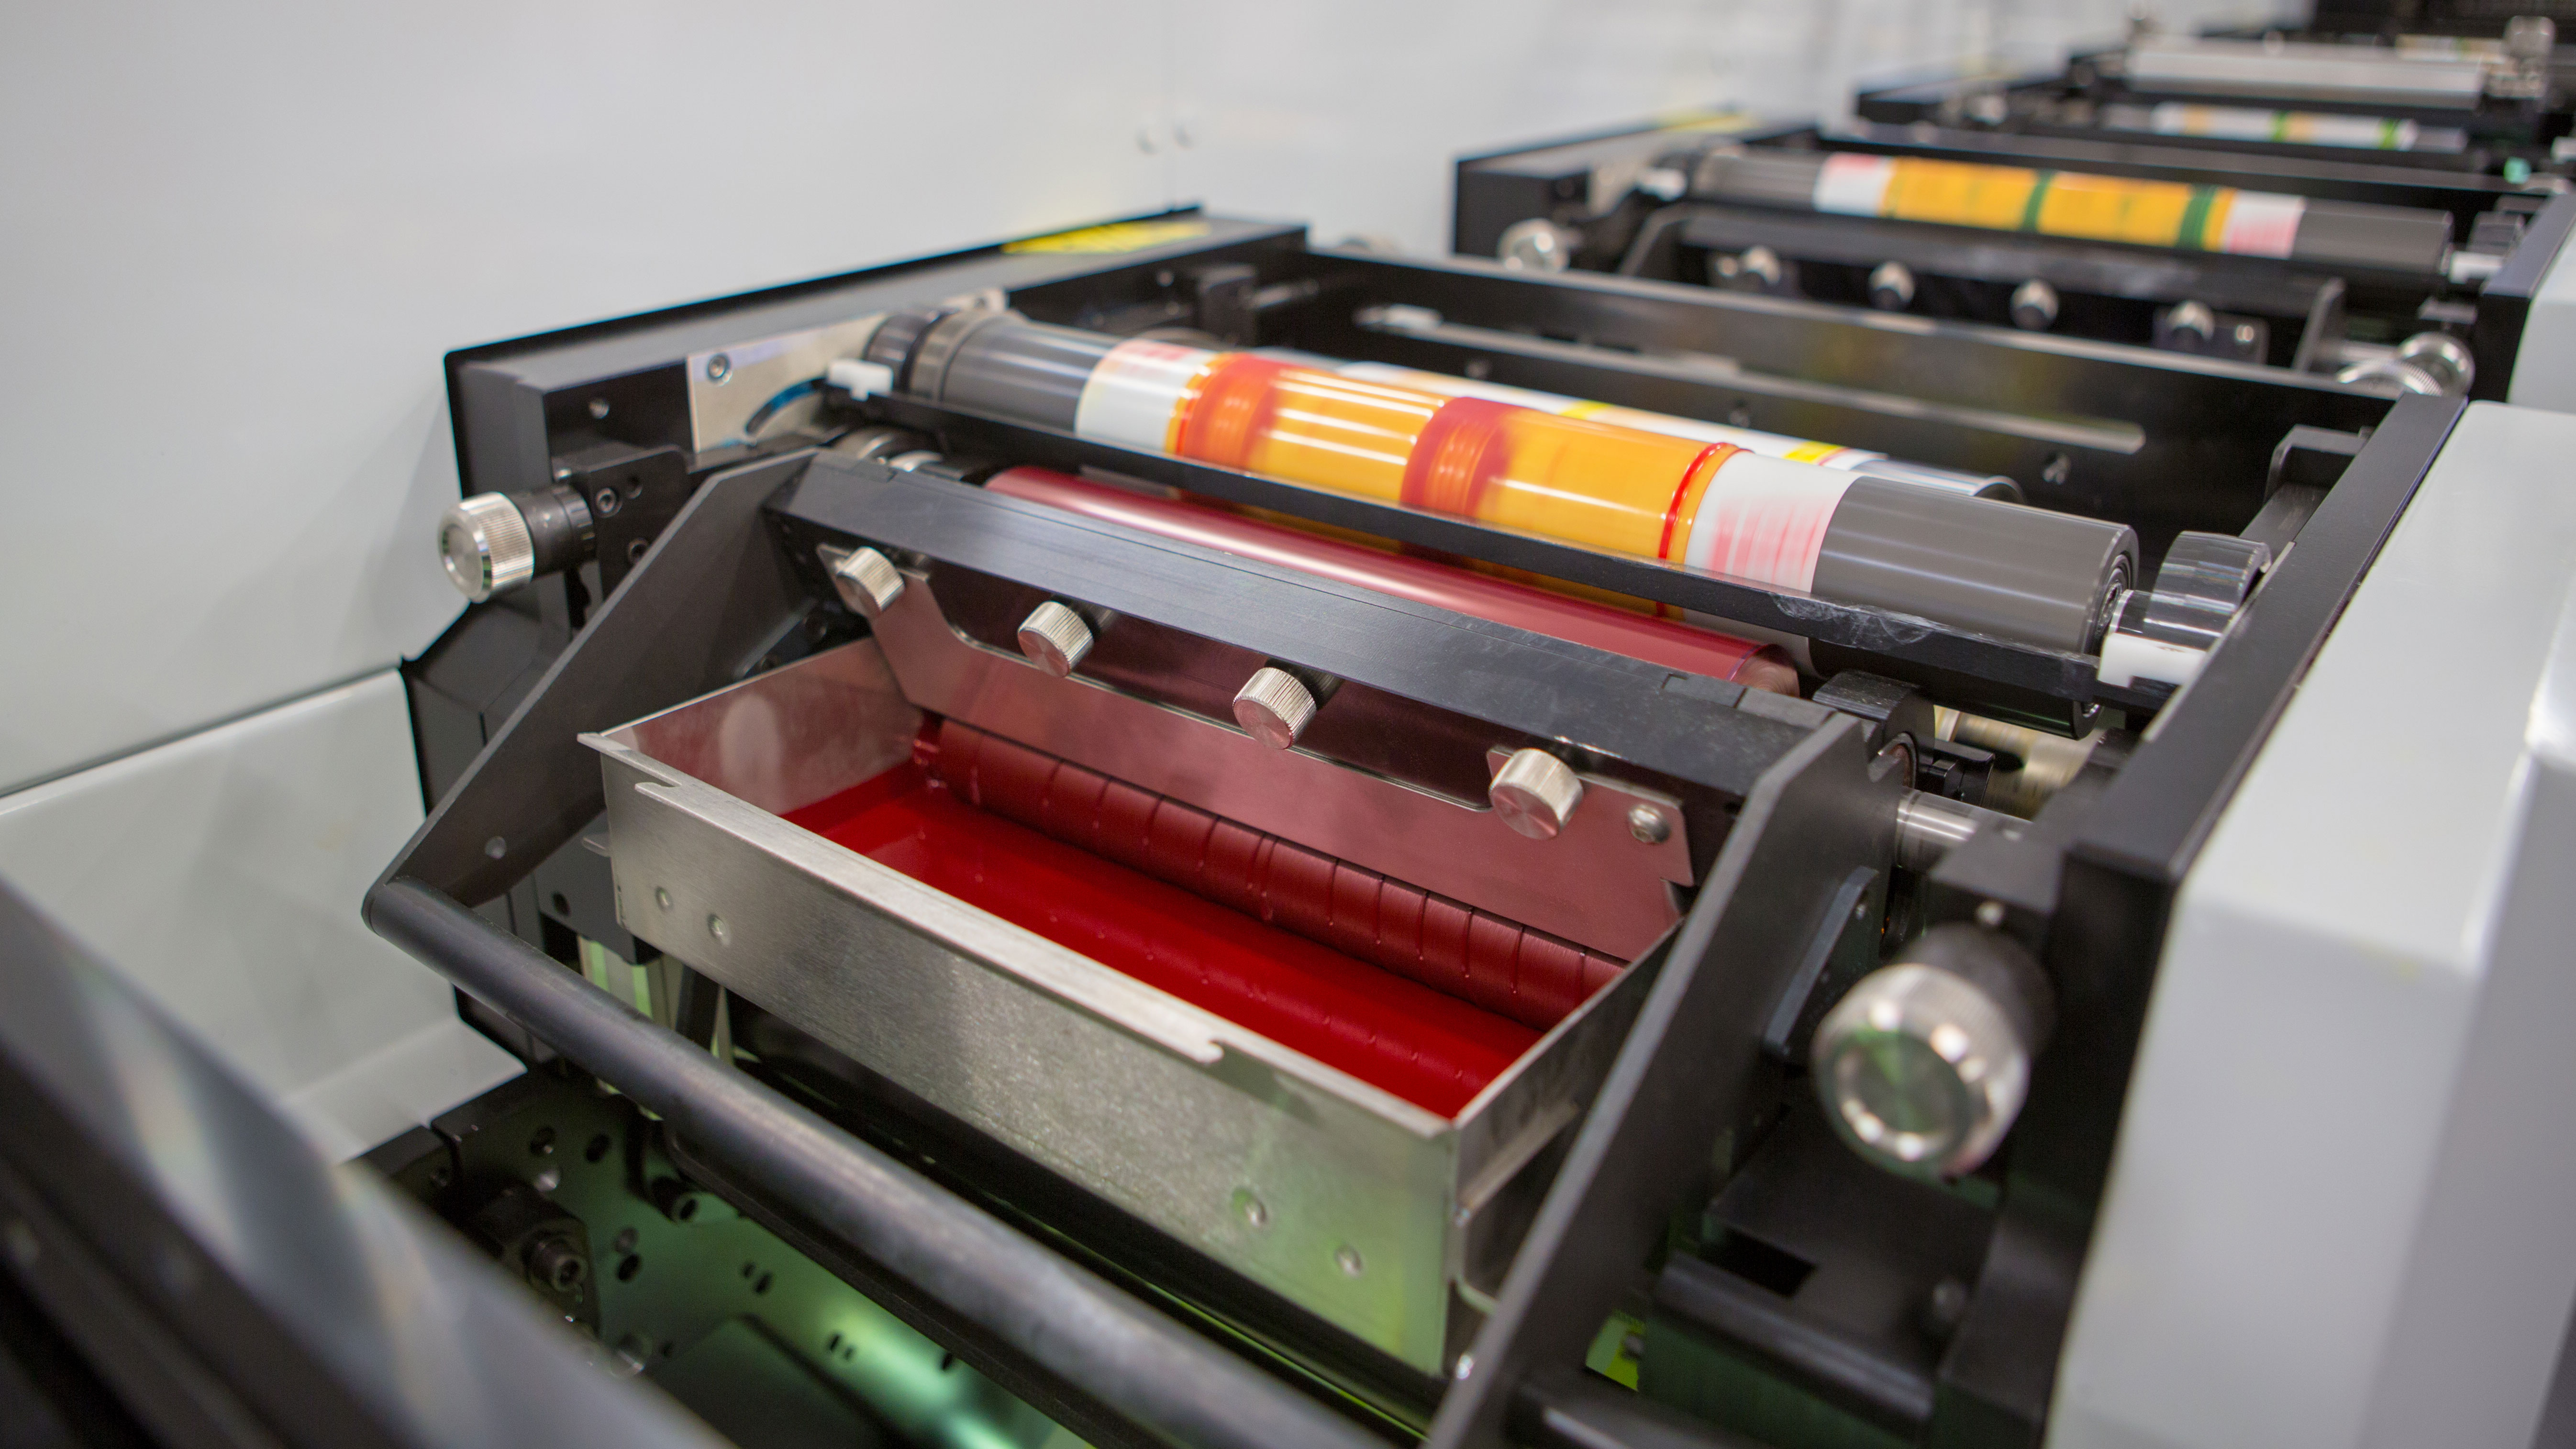
Flexographic printing is essentially a modern version of letterpress printing. Flexible relief plates are mounted on a series of cylinders in a similar fashion to offset printing, and the substrate is passed through. Different plates are used for individual colours, which are built up to create the message or image.
Flexography is also suited to medium to long print runs. The specialist equipment might put it beyond the reach of creatives looking to test the process on a short run, however if you do choose to investigate flexography rest assured that it is a cost-effective printing method that produces quick results.
Digital printing
- Used for: Desktop publishing, photos, advertising, stationery
- Pros: Low cost, quick turnaround, easy to create multiple colours, good for short runs
- Cons: limited substrate suitability, does not scale to large print runs economically
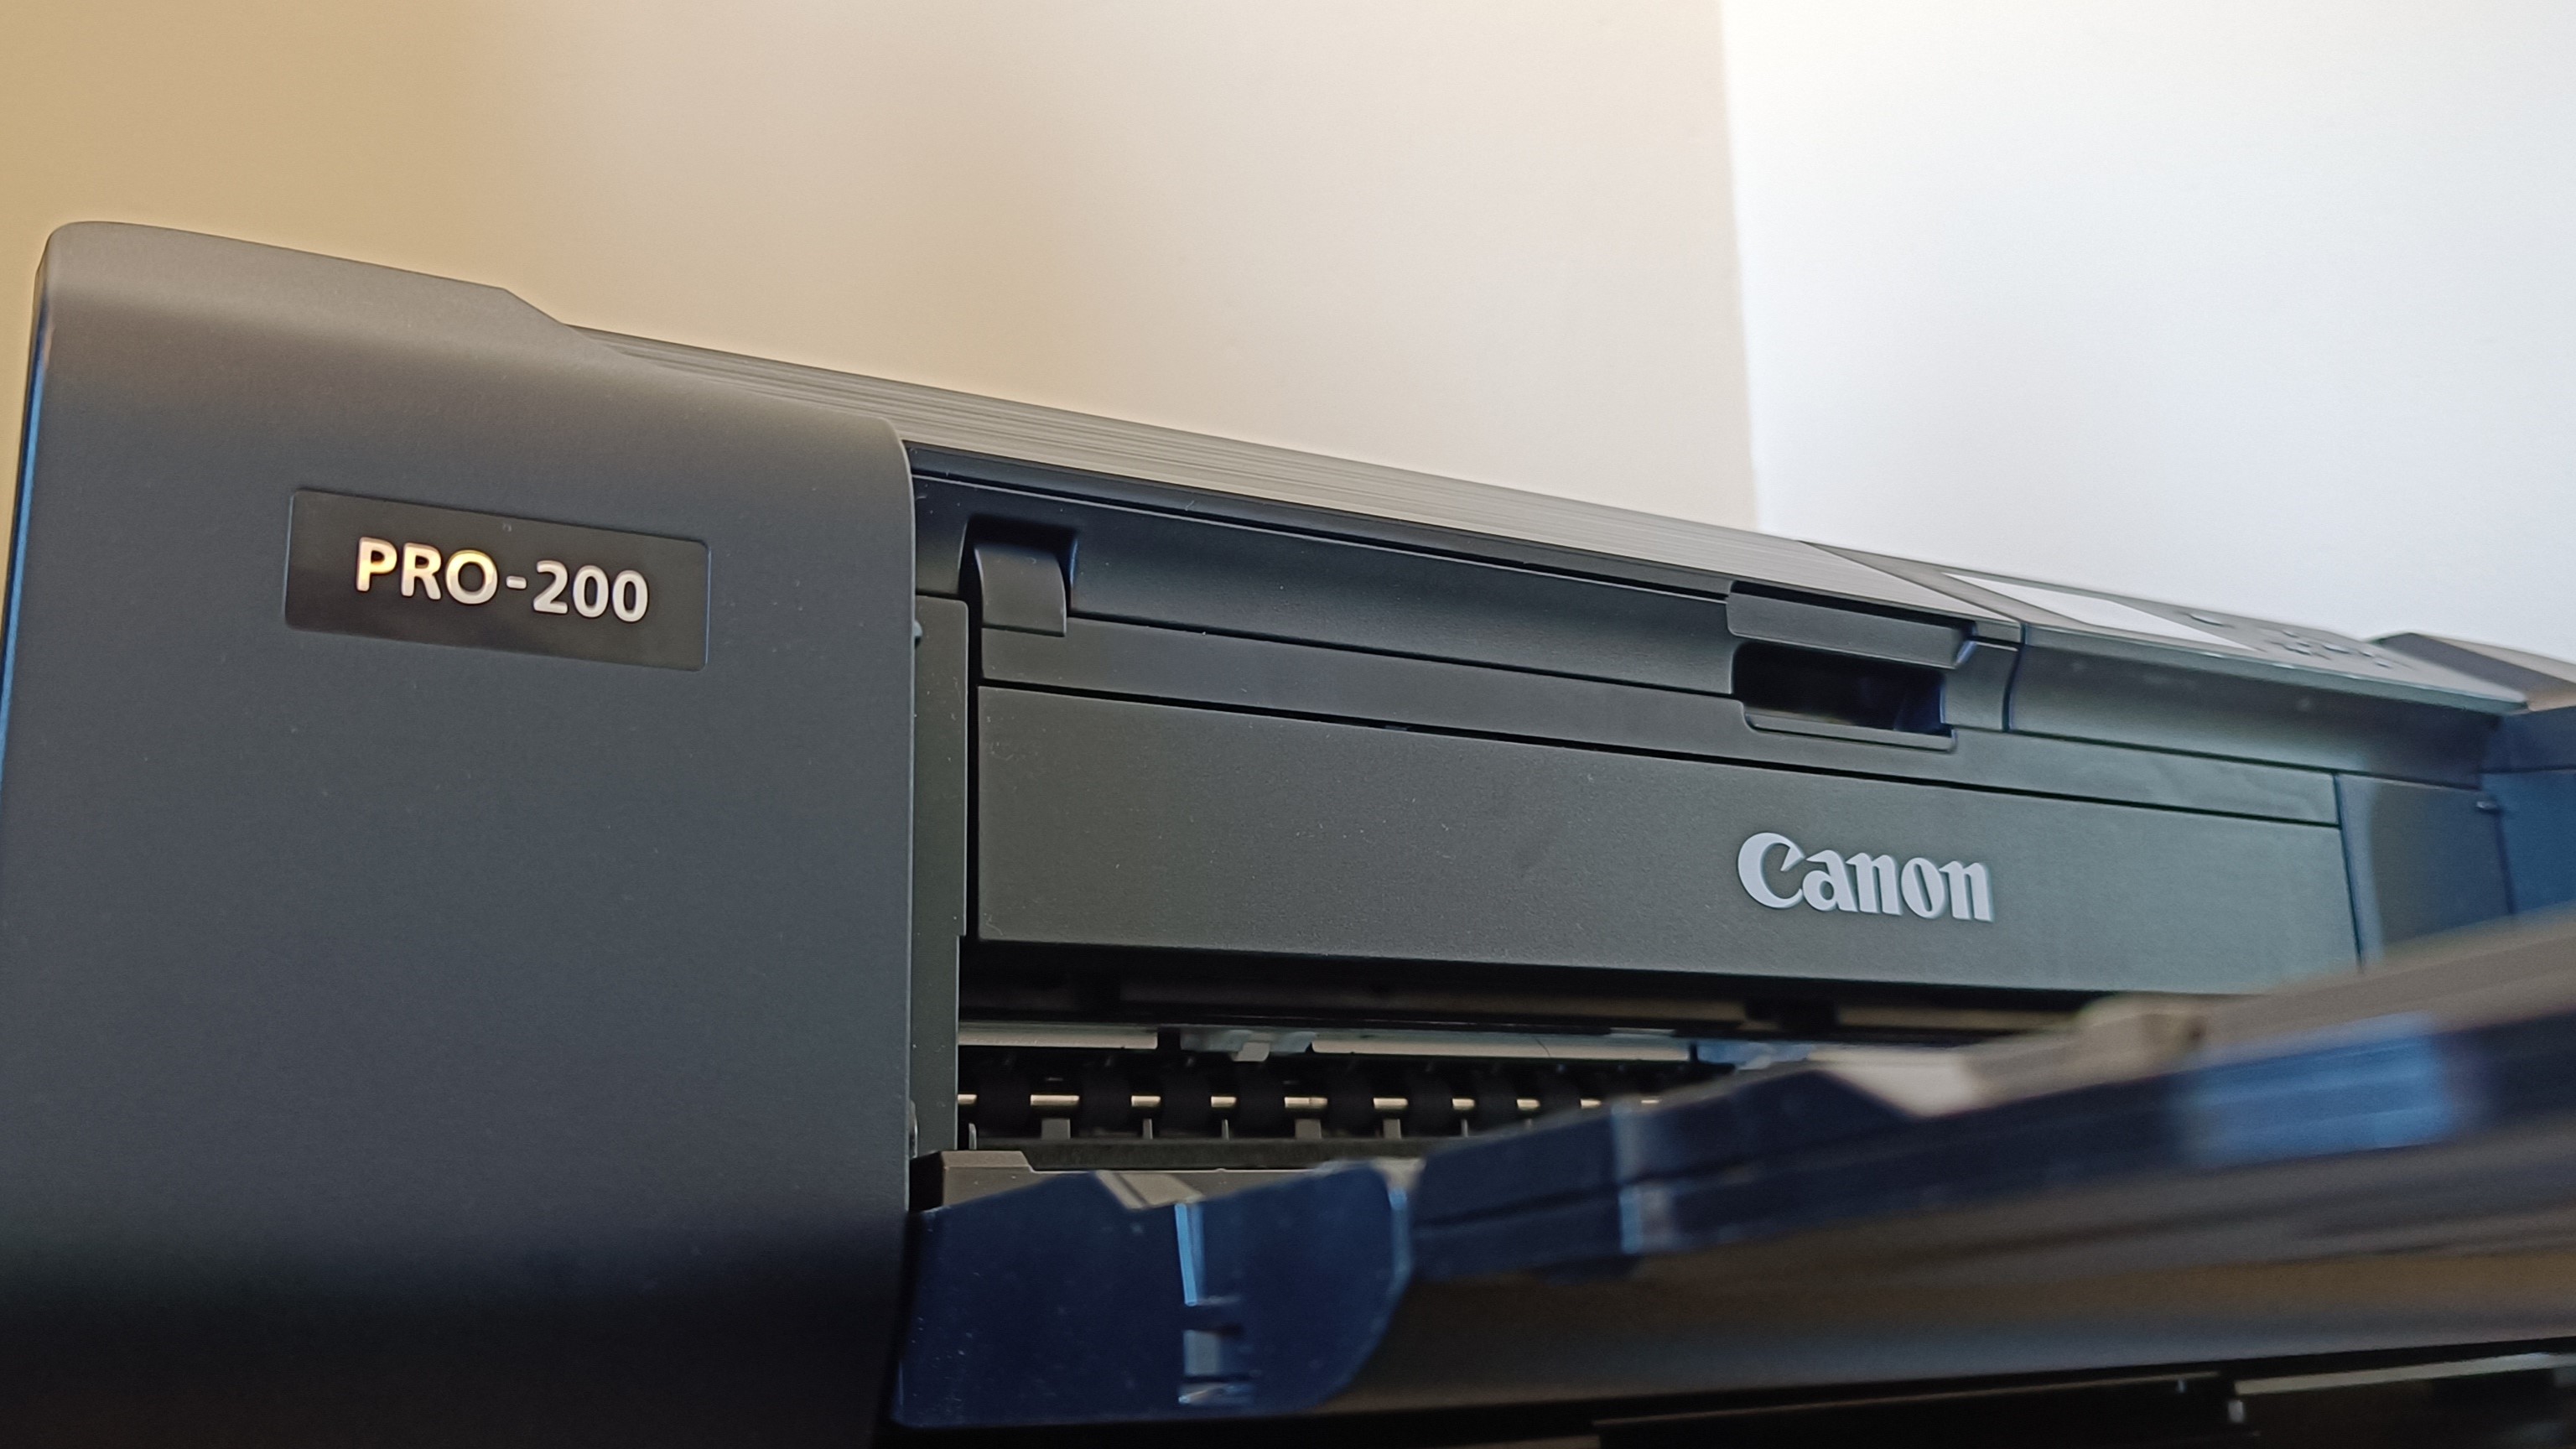
Unlike traditional methods including lithography and offset, digital printing doesn’t require a printing plate. Instead, the desired image is digitised to control the deposition of ink, toner and exposure.
For creatives, one of the biggest advantages of digital printing is the customisation it offers. The process can also produce a higher quality print from a lower quality image. And given that it doesn’t require the creation of plates, digital printing can be a cost-effective and accessible way for creatives to bring their ideas to life on the page.
3D printing
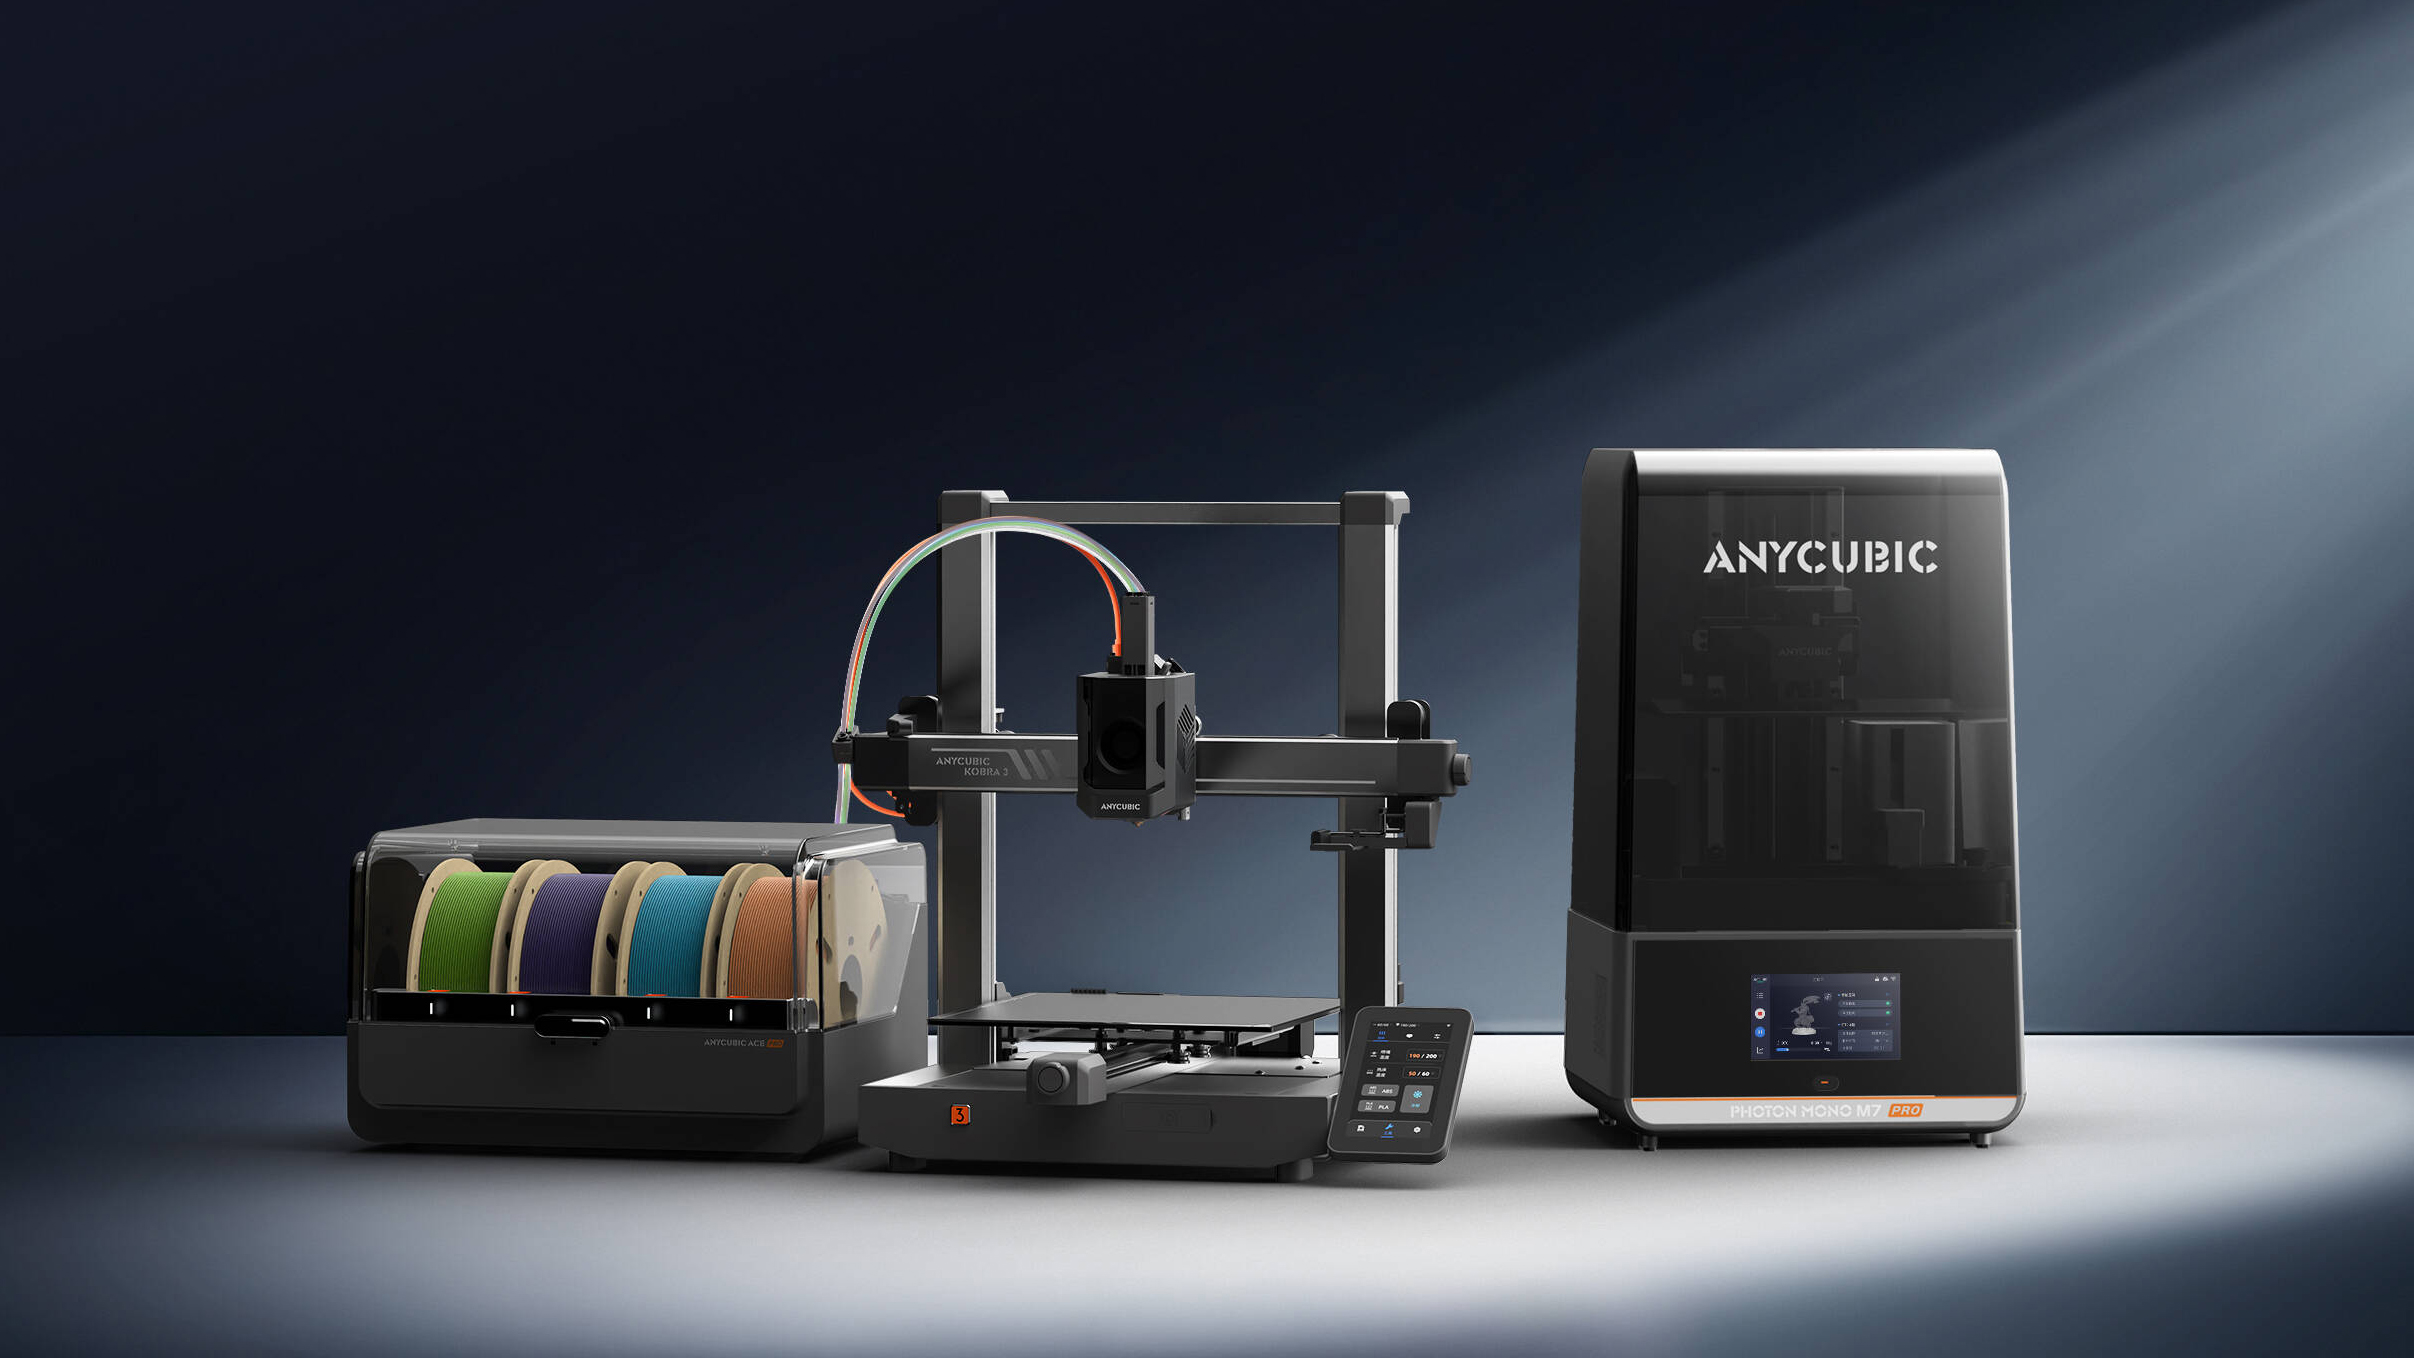
- Used for: Gifts, models, art, prototyping
- Pros: Capable of complex designs, fully customisable
- Cons: Expensive, limited materials, slow
Suitable for sculpting and product design, 3D printing sees a material added layer by layer with the assistance of CAD to create a desired shape. Despite being a relative newcomer to the printing scene, 3D printing has come a long way in recent years and can now deliver incredible results.
One of the main barriers to entry for creatives looking to explore 3D printing is the access to the printer technology itself. We’ve already looked at what you need to keep in mind when preparing your work for 3D printing, so keep these in mind if you’re printing yourself or outsourcing to a specialist.
Monoprinting
- Used for: Fine art prints, textile work
- Pros: Expressive, one of a kind
- Cons: Can only be used once, produces simple designs
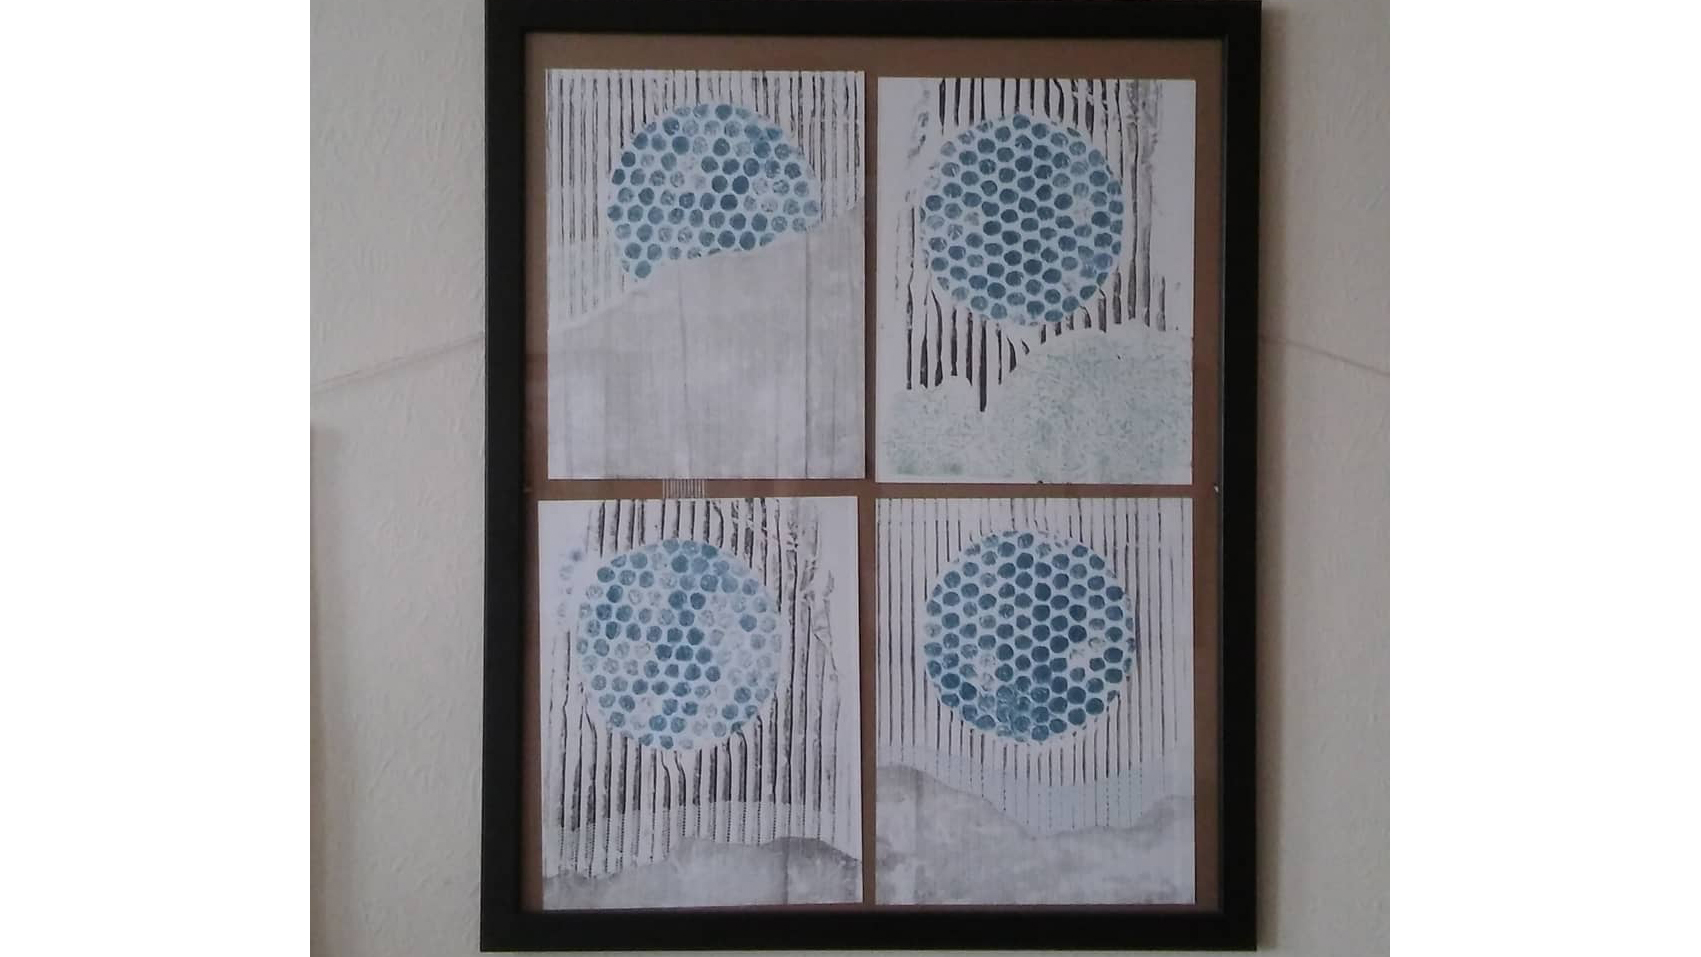
As its name suggests, monoprinting is a way of printing an image once and once only. This is in contrast to the other printing techniques on this list, which are geared towards the production of multiple prints, and while this is arguably a disadvantage it allows artists to work with a degree of spontaneity.
The simplest printing method in this guide, monoprinting is primarily used to print simple pieces of art onto paper or textiles.
"Using printing inks, water washable oil-based inks such as the caligo brand are best as they don’t dry out quickly," says Kate Watkins. "Commonly printmakers use rollers, rags and brushes to make a design on a thin glass or plastic sheet (the matrix) using a thin layer of printing ink.
"You then place a sheet of thin smooth printing paper on top of your ink design rub and burnish firmly on the back to transfer the ink design to the paper. If you have access to a craft press or etching press you run the plate and paper through this for extra pressure which will show up greater detail. You can finish your print there or reink your matrix(inked plate) and make a new design, or carry on layering different colours to make a more complex image."
Unlike a lino print where an image is carved into a sheet of lino and can be reproduced multiple times, mono prints are one-offs because the print elements have to be arranged and inked each time. This means that if you're careful you can make two prints that look similar, but they will never be identical. This can also increase the perceived value of monoprints, as they are true one-offs.
"Monoprinting is one of the easiest printmaking techniques to try at home," says Kate. "You only need a few items such as ink, rags, a roller, glass or plastic inking sheets to get started.
I always recommend handprinted.co.uk in the UK to my students – they have a great selection of products and are really friendly and happy to offer advice."

Thank you for reading 5 articles this month* Join now for unlimited access
Enjoy your first month for just £1 / $1 / €1
*Read 5 free articles per month without a subscription

Join now for unlimited access
Try first month for just £1 / $1 / €1

Dom Carter is a freelance writer who specialises in art and design. Formerly a staff writer for Creative Bloq, his work has also appeared on Creative Boom and in the pages of ImagineFX, Computer Arts, 3D World, and .net. He has been a D&AD New Blood judge, and has a particular interest in picture books.
- Jon StapleyFreelance writer
You must confirm your public display name before commenting
Please logout and then login again, you will then be prompted to enter your display name.
