A beginner's guide to watercolour tools
Discover the best paper, brushes, palettes and all the tools you need to get started with watercolour.
When someone finds out that I work in watercolour, their immediate response is often “But watercolour techniques are so hard!” An unsurprising reaction, perhaps…
I discovered watercolour as a teenager, and instead of being intimidated by its unpredictable nature, I saw endless possibilities. I gradually realised that watercolour offers a unique, collaborative relationship with the artist – one that isn’t so straightforward and requires experimentation, openness and most importantly, patience.
By its very nature, watercolour appears to be a difficult beast to tame. After all, its primary vehicle is water! It’s key to bear in mind that there’ll always be an element of surprise when working with watercolour.
Over time and with lots of experimentation and implementation of tried-and-true techniques, I’ve learned first to control what I can, and as for the rest, work intuitively and allow watercolour to be watercolour. At times it will take the wheel whether you like it or not, but you’ll live for those moments when it pleasantly surprises you!
As well as having an open mind and endless patience, working with watercolour requires a particular setup, proper materials like the best watercolours as well as the best watercolour tutorials and a lot of experimentation. Here, I’m going to share with you how I work with this incredibly versatile and exciting medium and make the best of watercolour’s delightfully protean nature.
01. Get the right watercolour paper
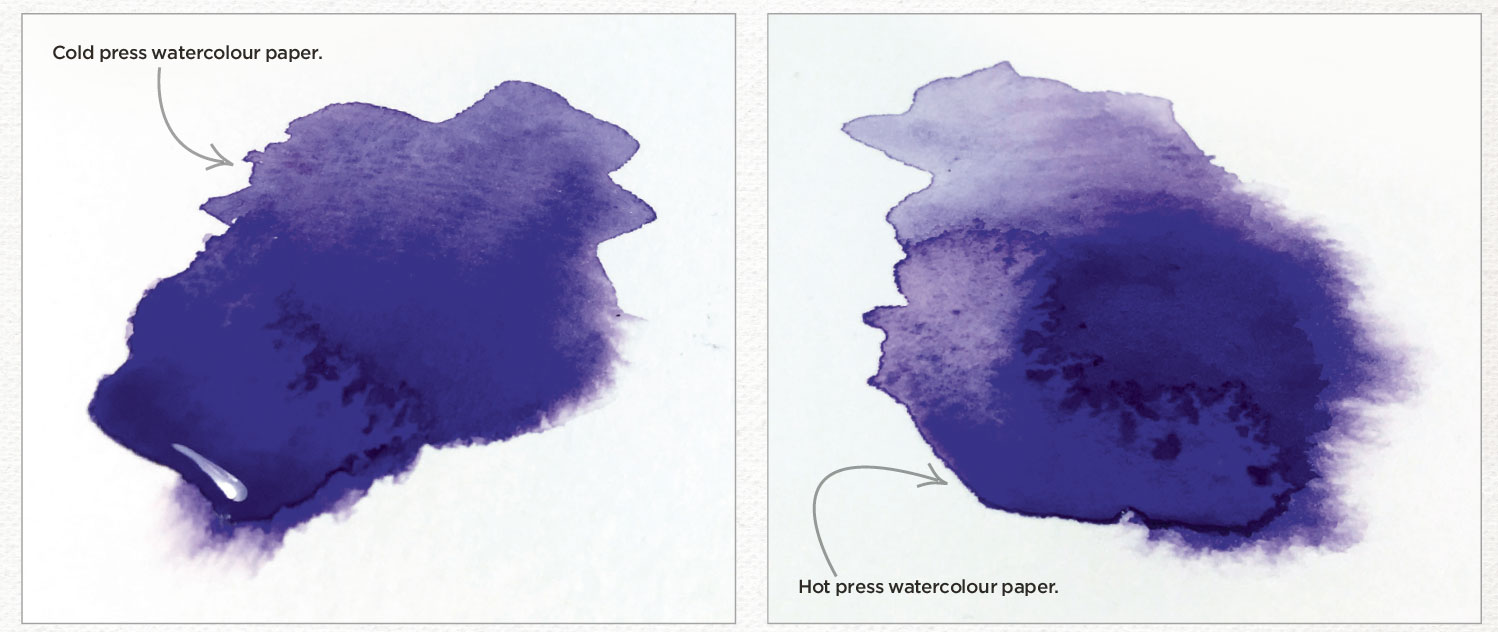
Watercolour paper comes in three textures: hot, cold and rough. Both cold and rough watercolour paper have a bumpy texture, and will give you more vibrant colours.
However, I enjoy working with hot press because the smooth texture enables me to achieve sharper details. Watercolour paper also comes in various weights. I recommend starting with 140lb. The heavier it is, the less likely it is to buckle under a lot of water. Aim to use top-brand papers such as Arches or Strathmore, because the quality of your paper is very important. Explore all your options in our best watercolour paper guide.
Get the Creative Bloq Newsletter
Daily design news, reviews, how-tos and more, as picked by the editors.
02. Choose your brushes
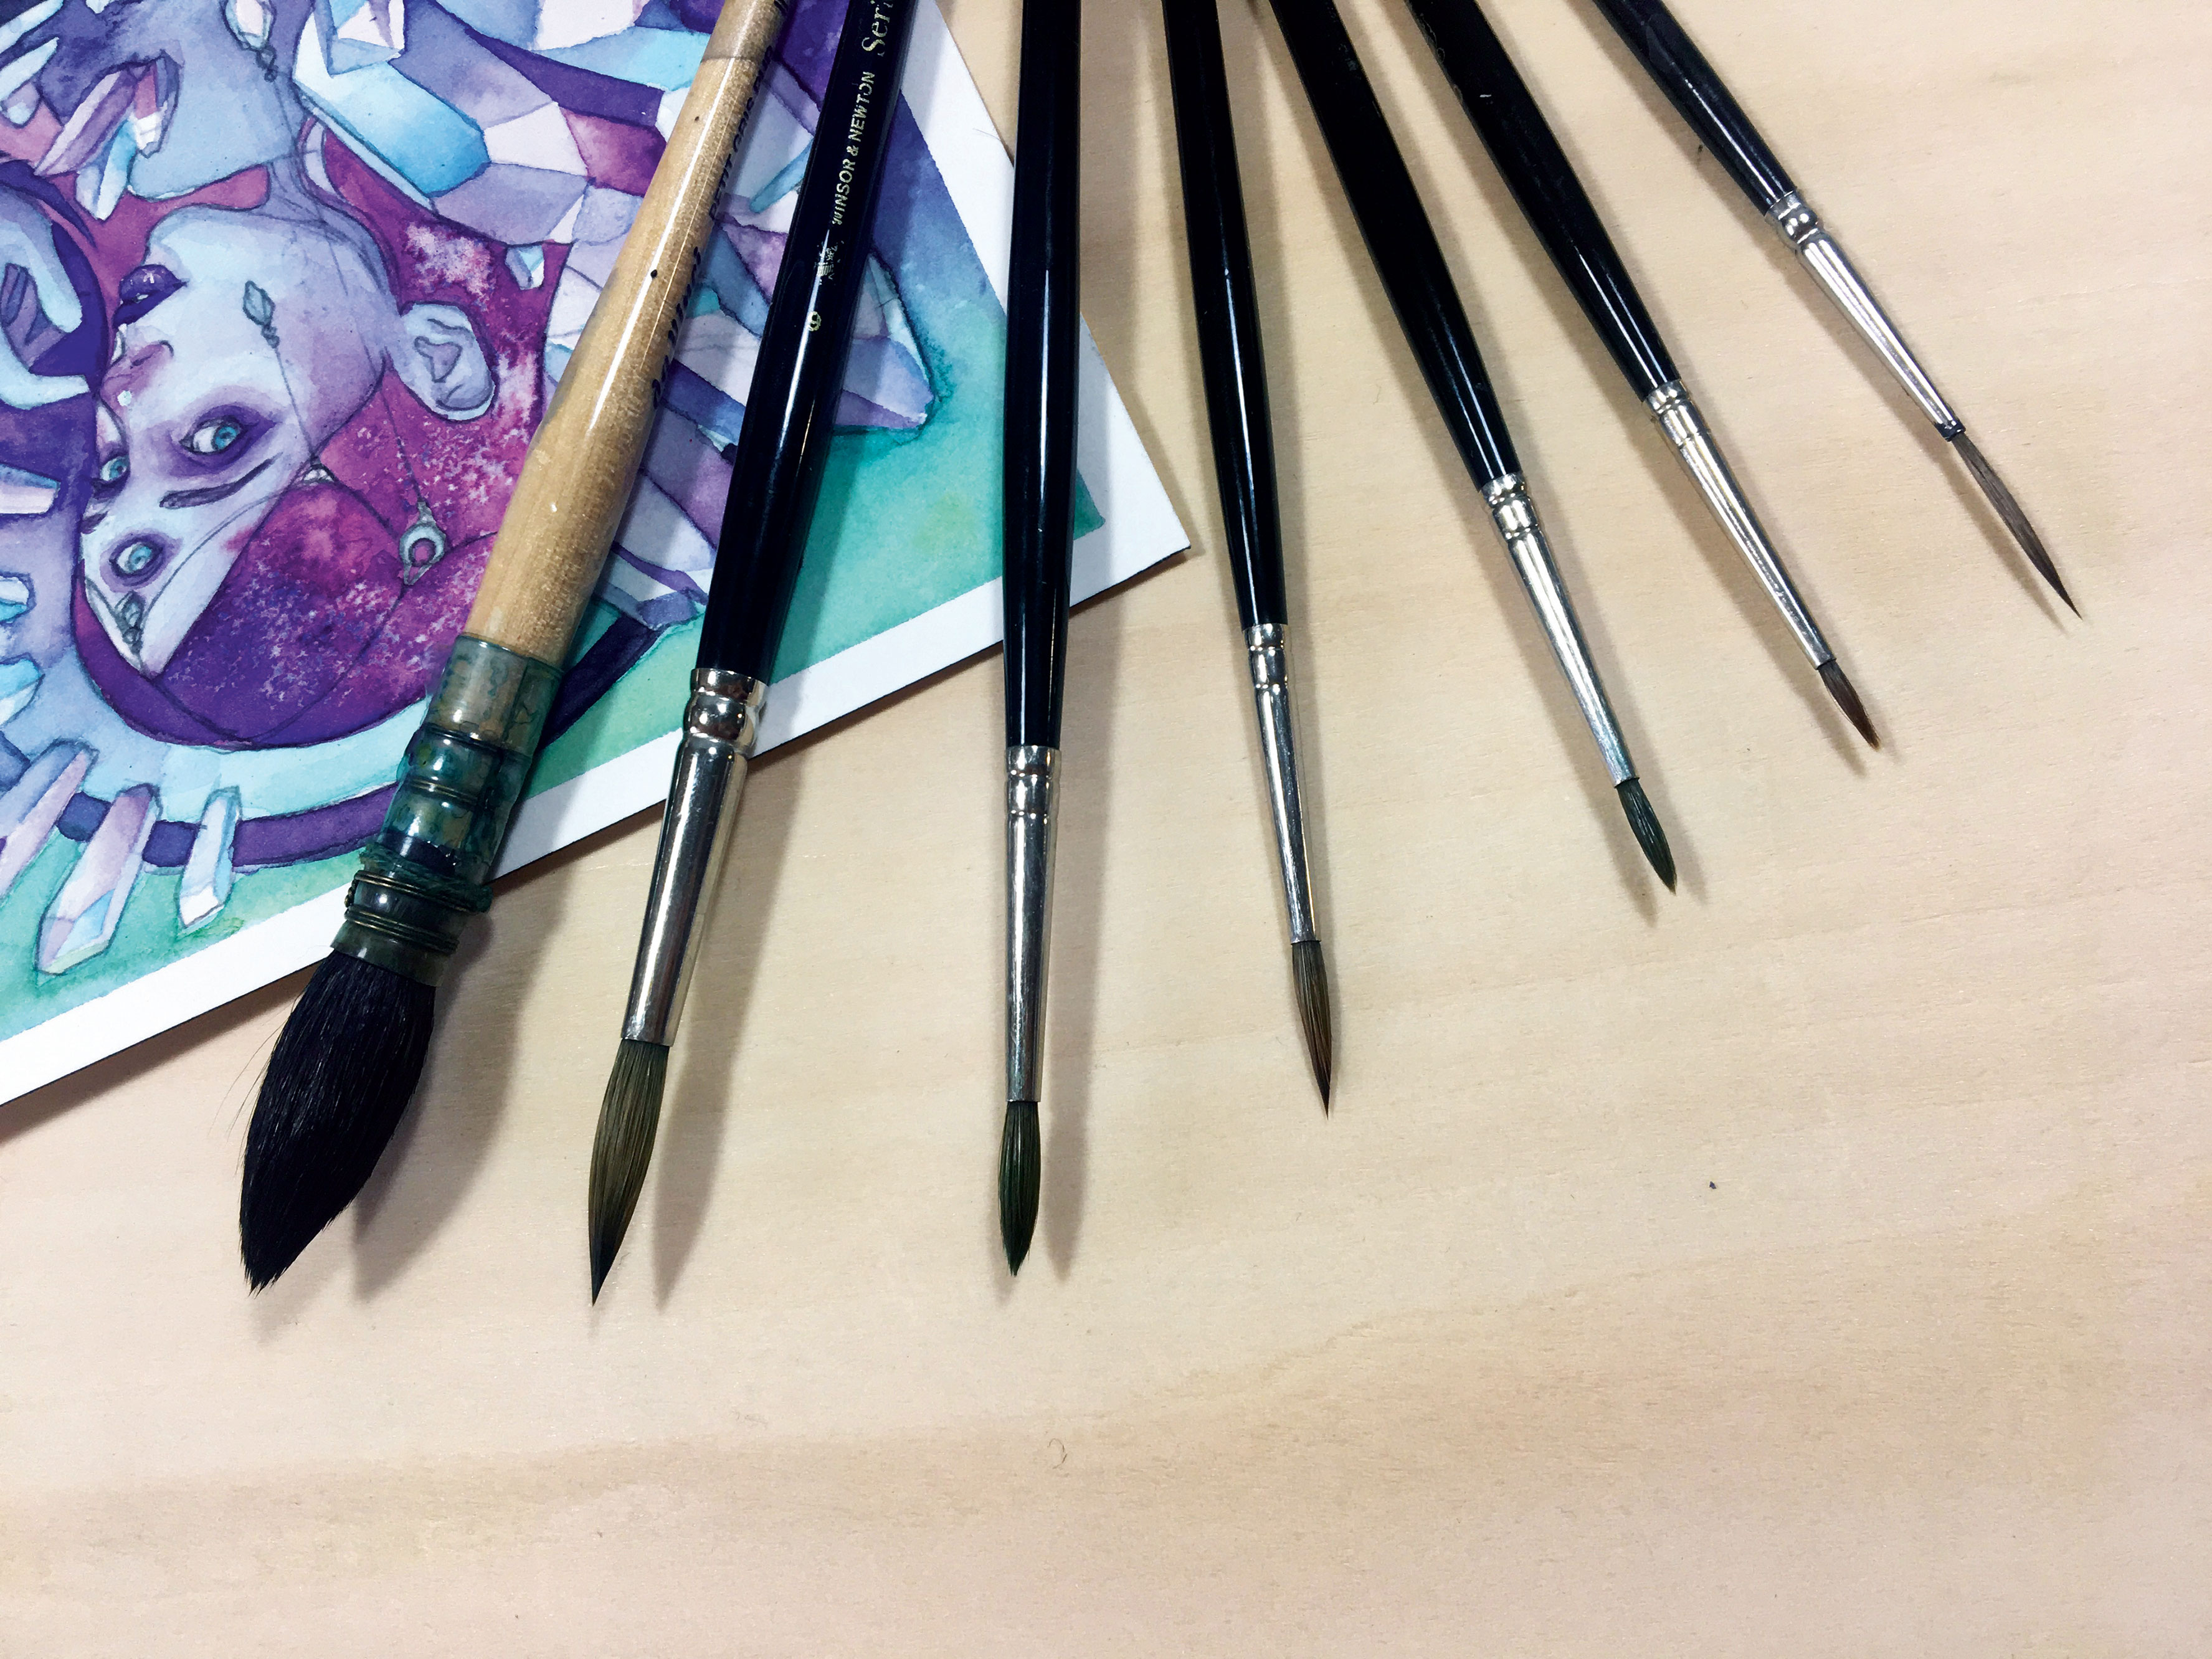
Watercolour brushes can vary widely and it can be tough making a decision on which ones to buy. There are both synthetic and natural hair brushes available for watercolour use, and each have their own strengths.
I prefer to work with Kolinsky red sable brushes, because the natural fibres hold liquid better than synthetics can, although they are more expensive. Brushes come in many shapes as well, though I most commonly use Rounds ranging from size 0 up to 6.
03. Select the right palette for you
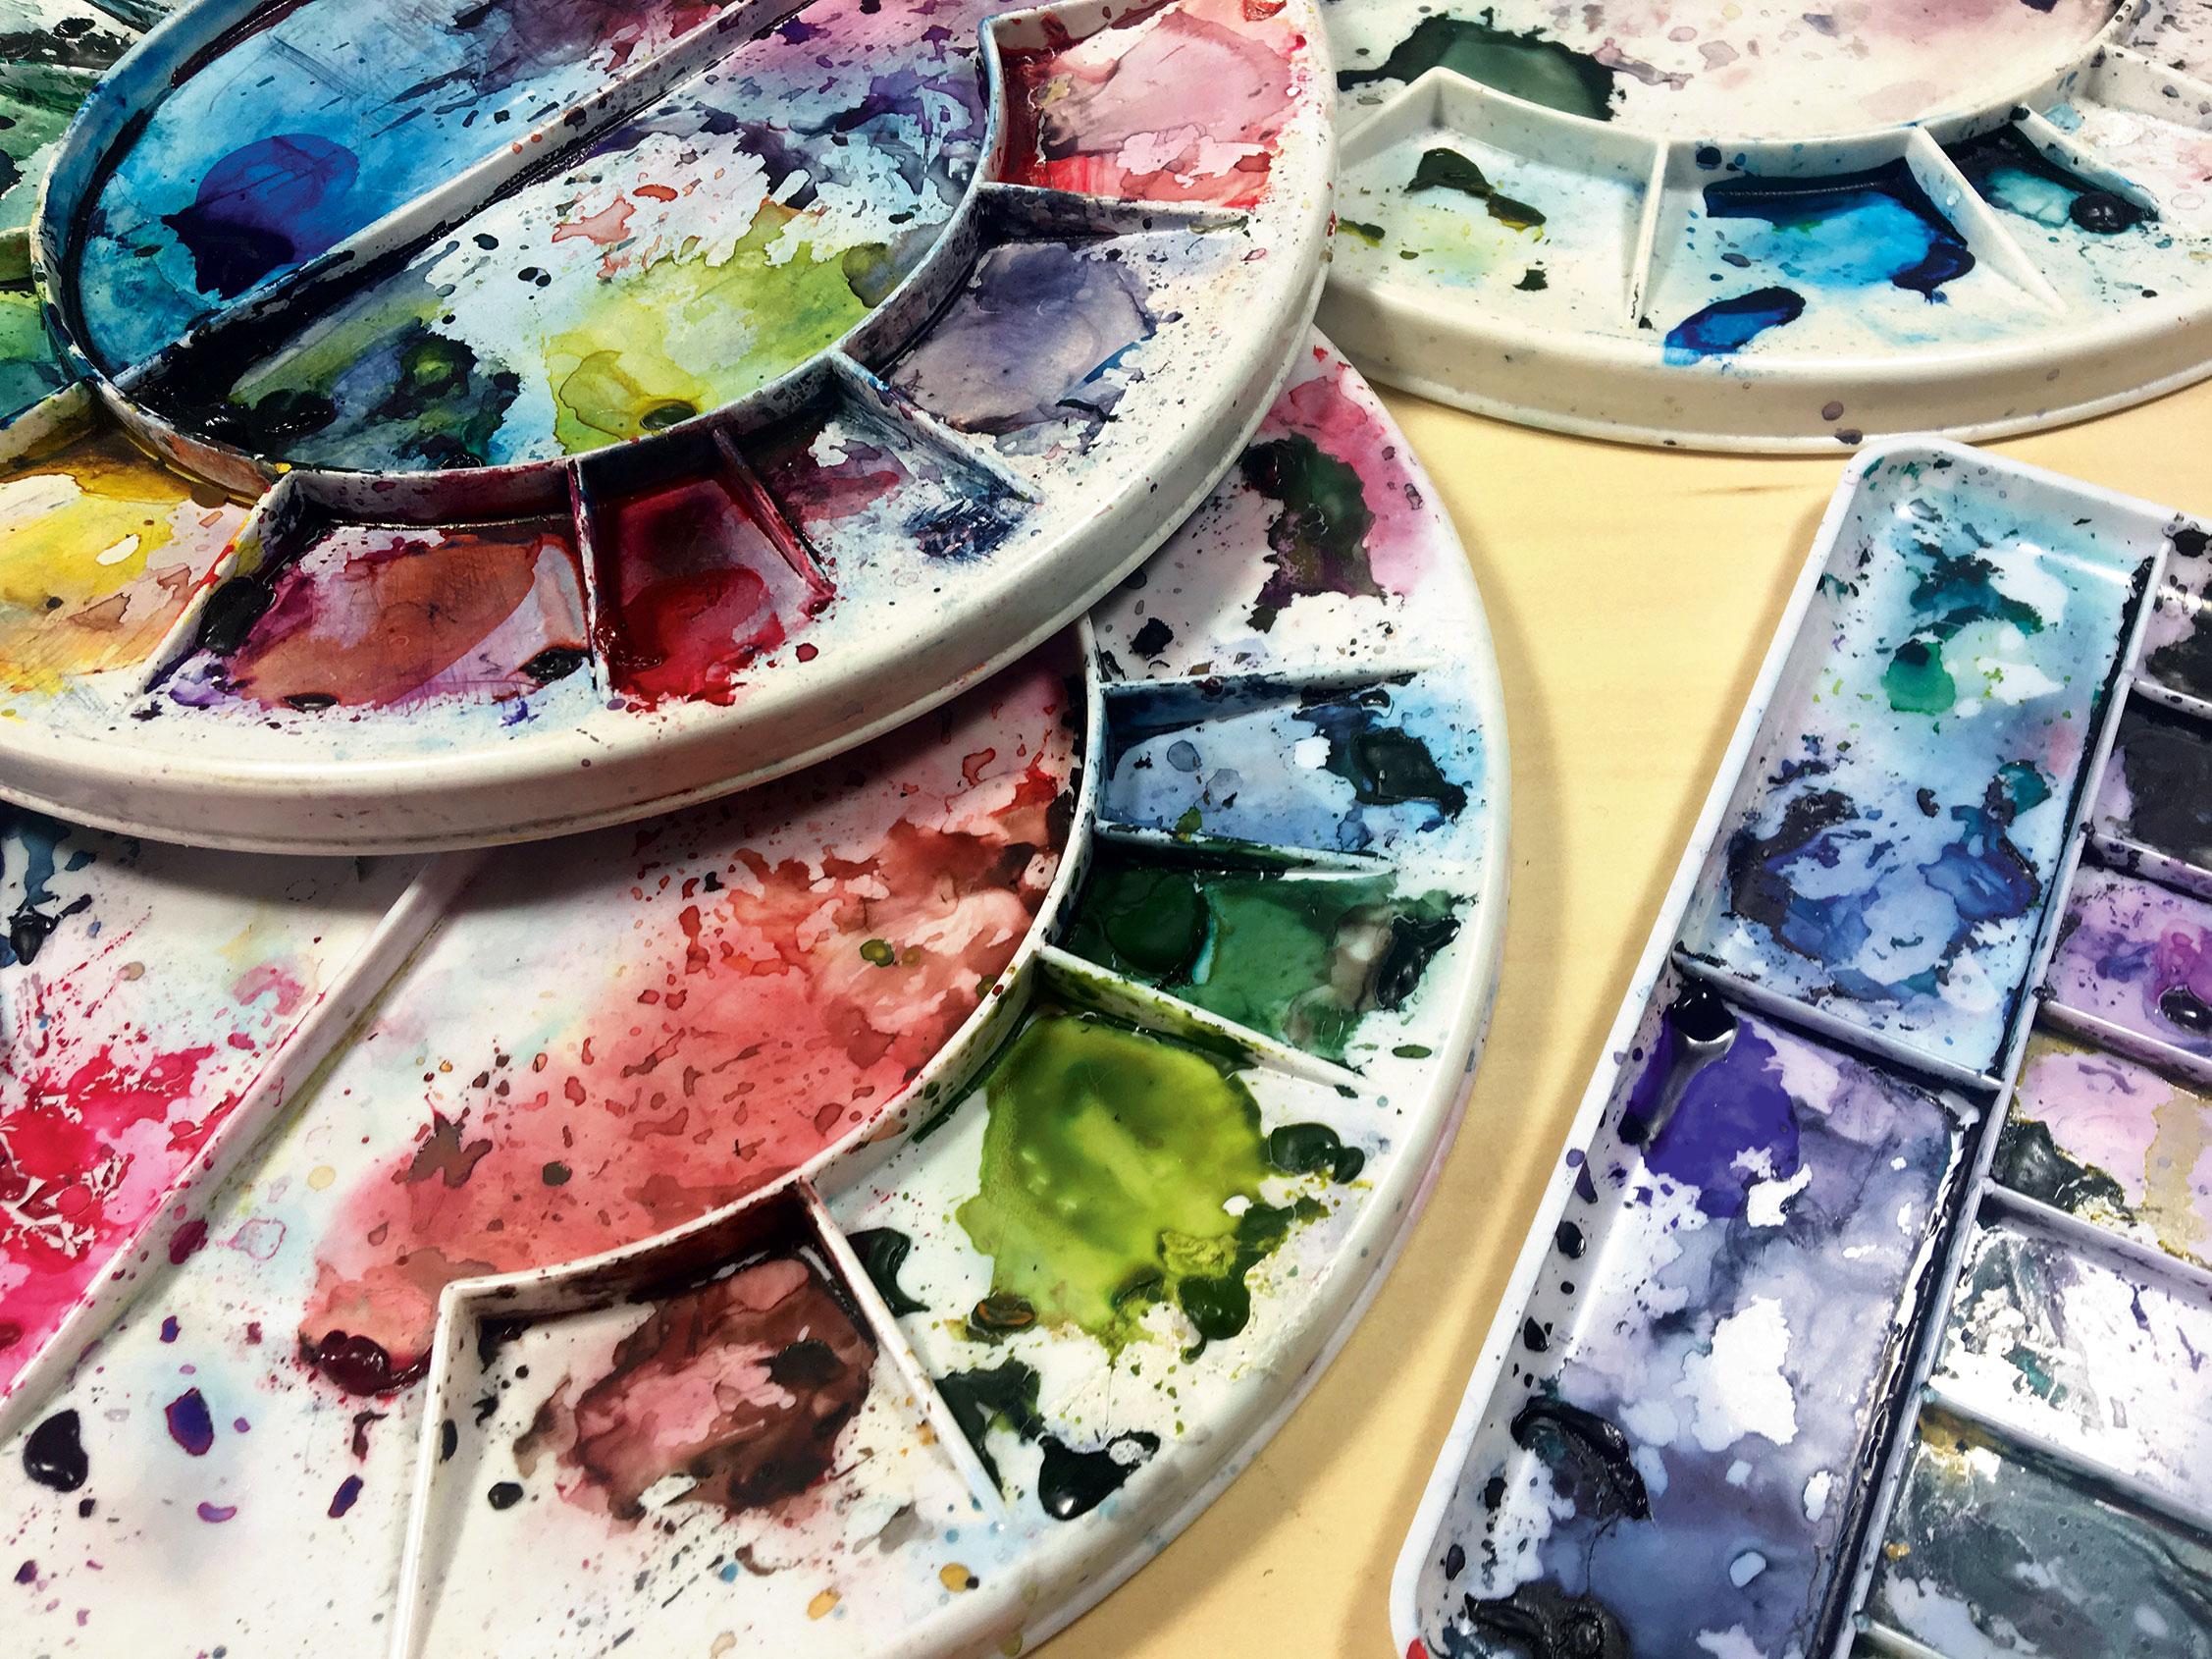
Responsible watercolour artists typically use a large palette divided into wells for their colours. My particular method of working with limited colour palettes has landed me on a small, cheap eight-well palette with two mixing areas. I keep several around, including larger circular palettes in rotation, so that I can dedicate one per painting. This is useful when I’m working on more than one piece at a time.
04. Pick your paints
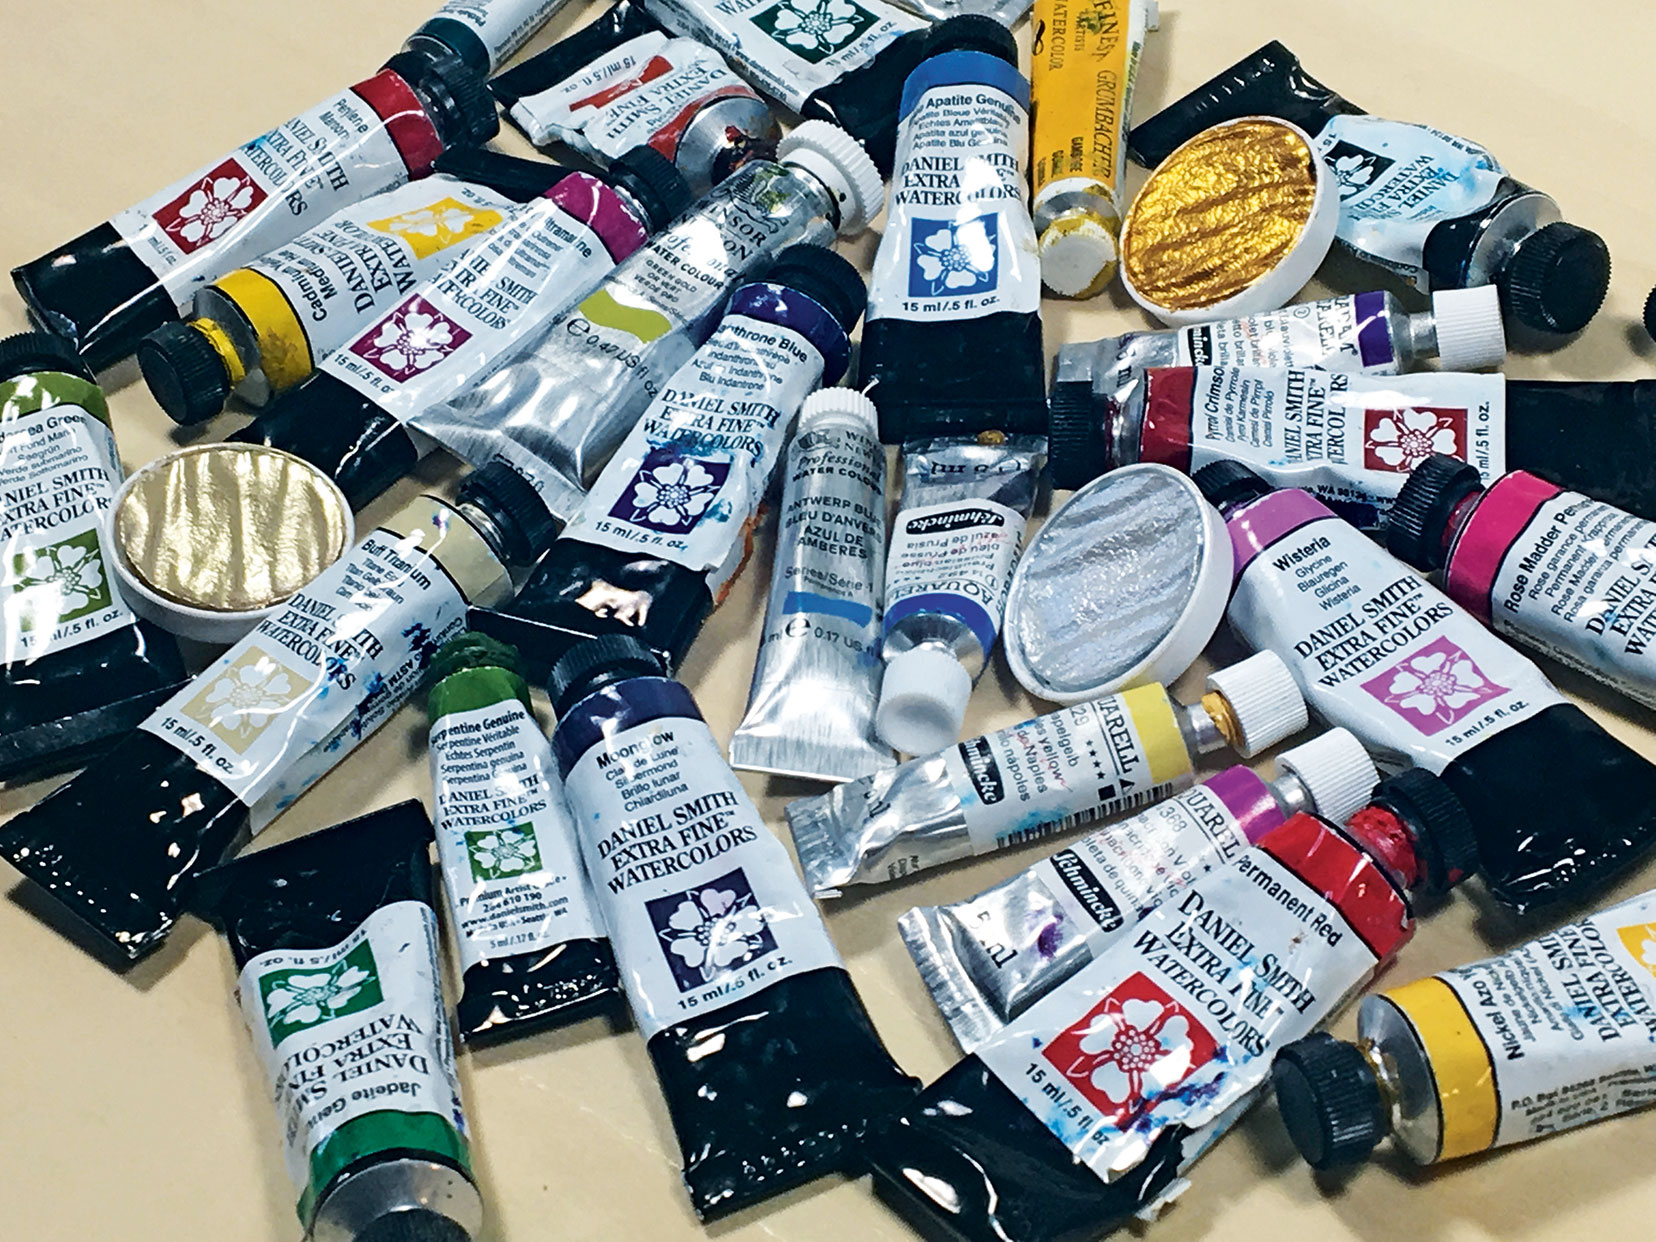
Watercolour paints most commonly come in tubes or pans. I prefer to use watercolour tubes because I can achieve better intensity right off the bat. I work with several brands, but my favourites are Grumbacher and Winsor & Newton for basic colours, and Daniel Smith for speciality colours and those that granulate nicely. Head over to the best watercolour paints guide to explore which might work for you.
My techniques for creating texture take advantage of the pigment separation that comes with these speciality colours. Student-quality watercolours won’t get you very far, so I’d recommend spending a little extra on the good stuff, since you’ll have it for some time anyway. Some of my current rotation of watercolours are over five years old!
05. Get additional tools
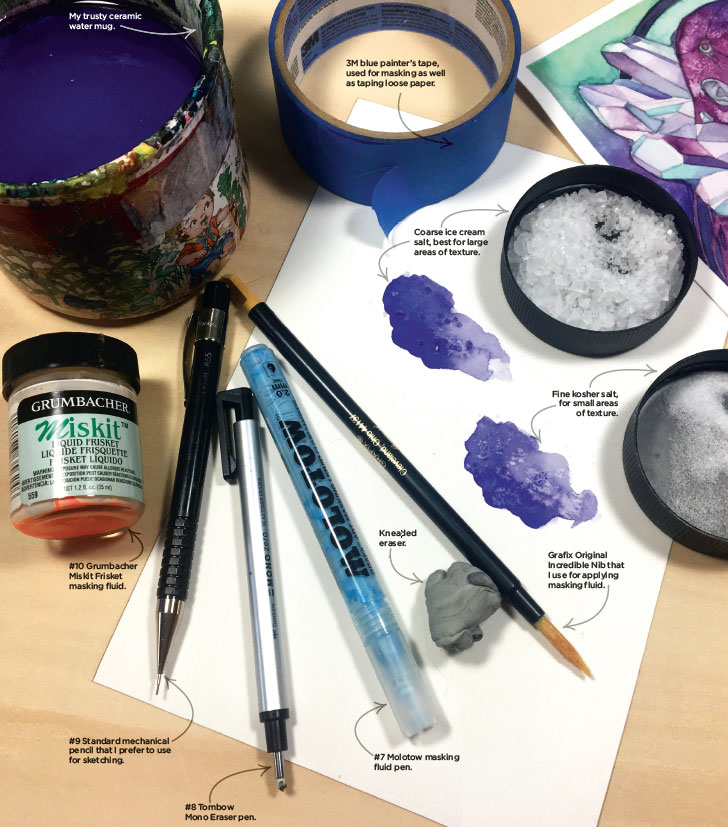
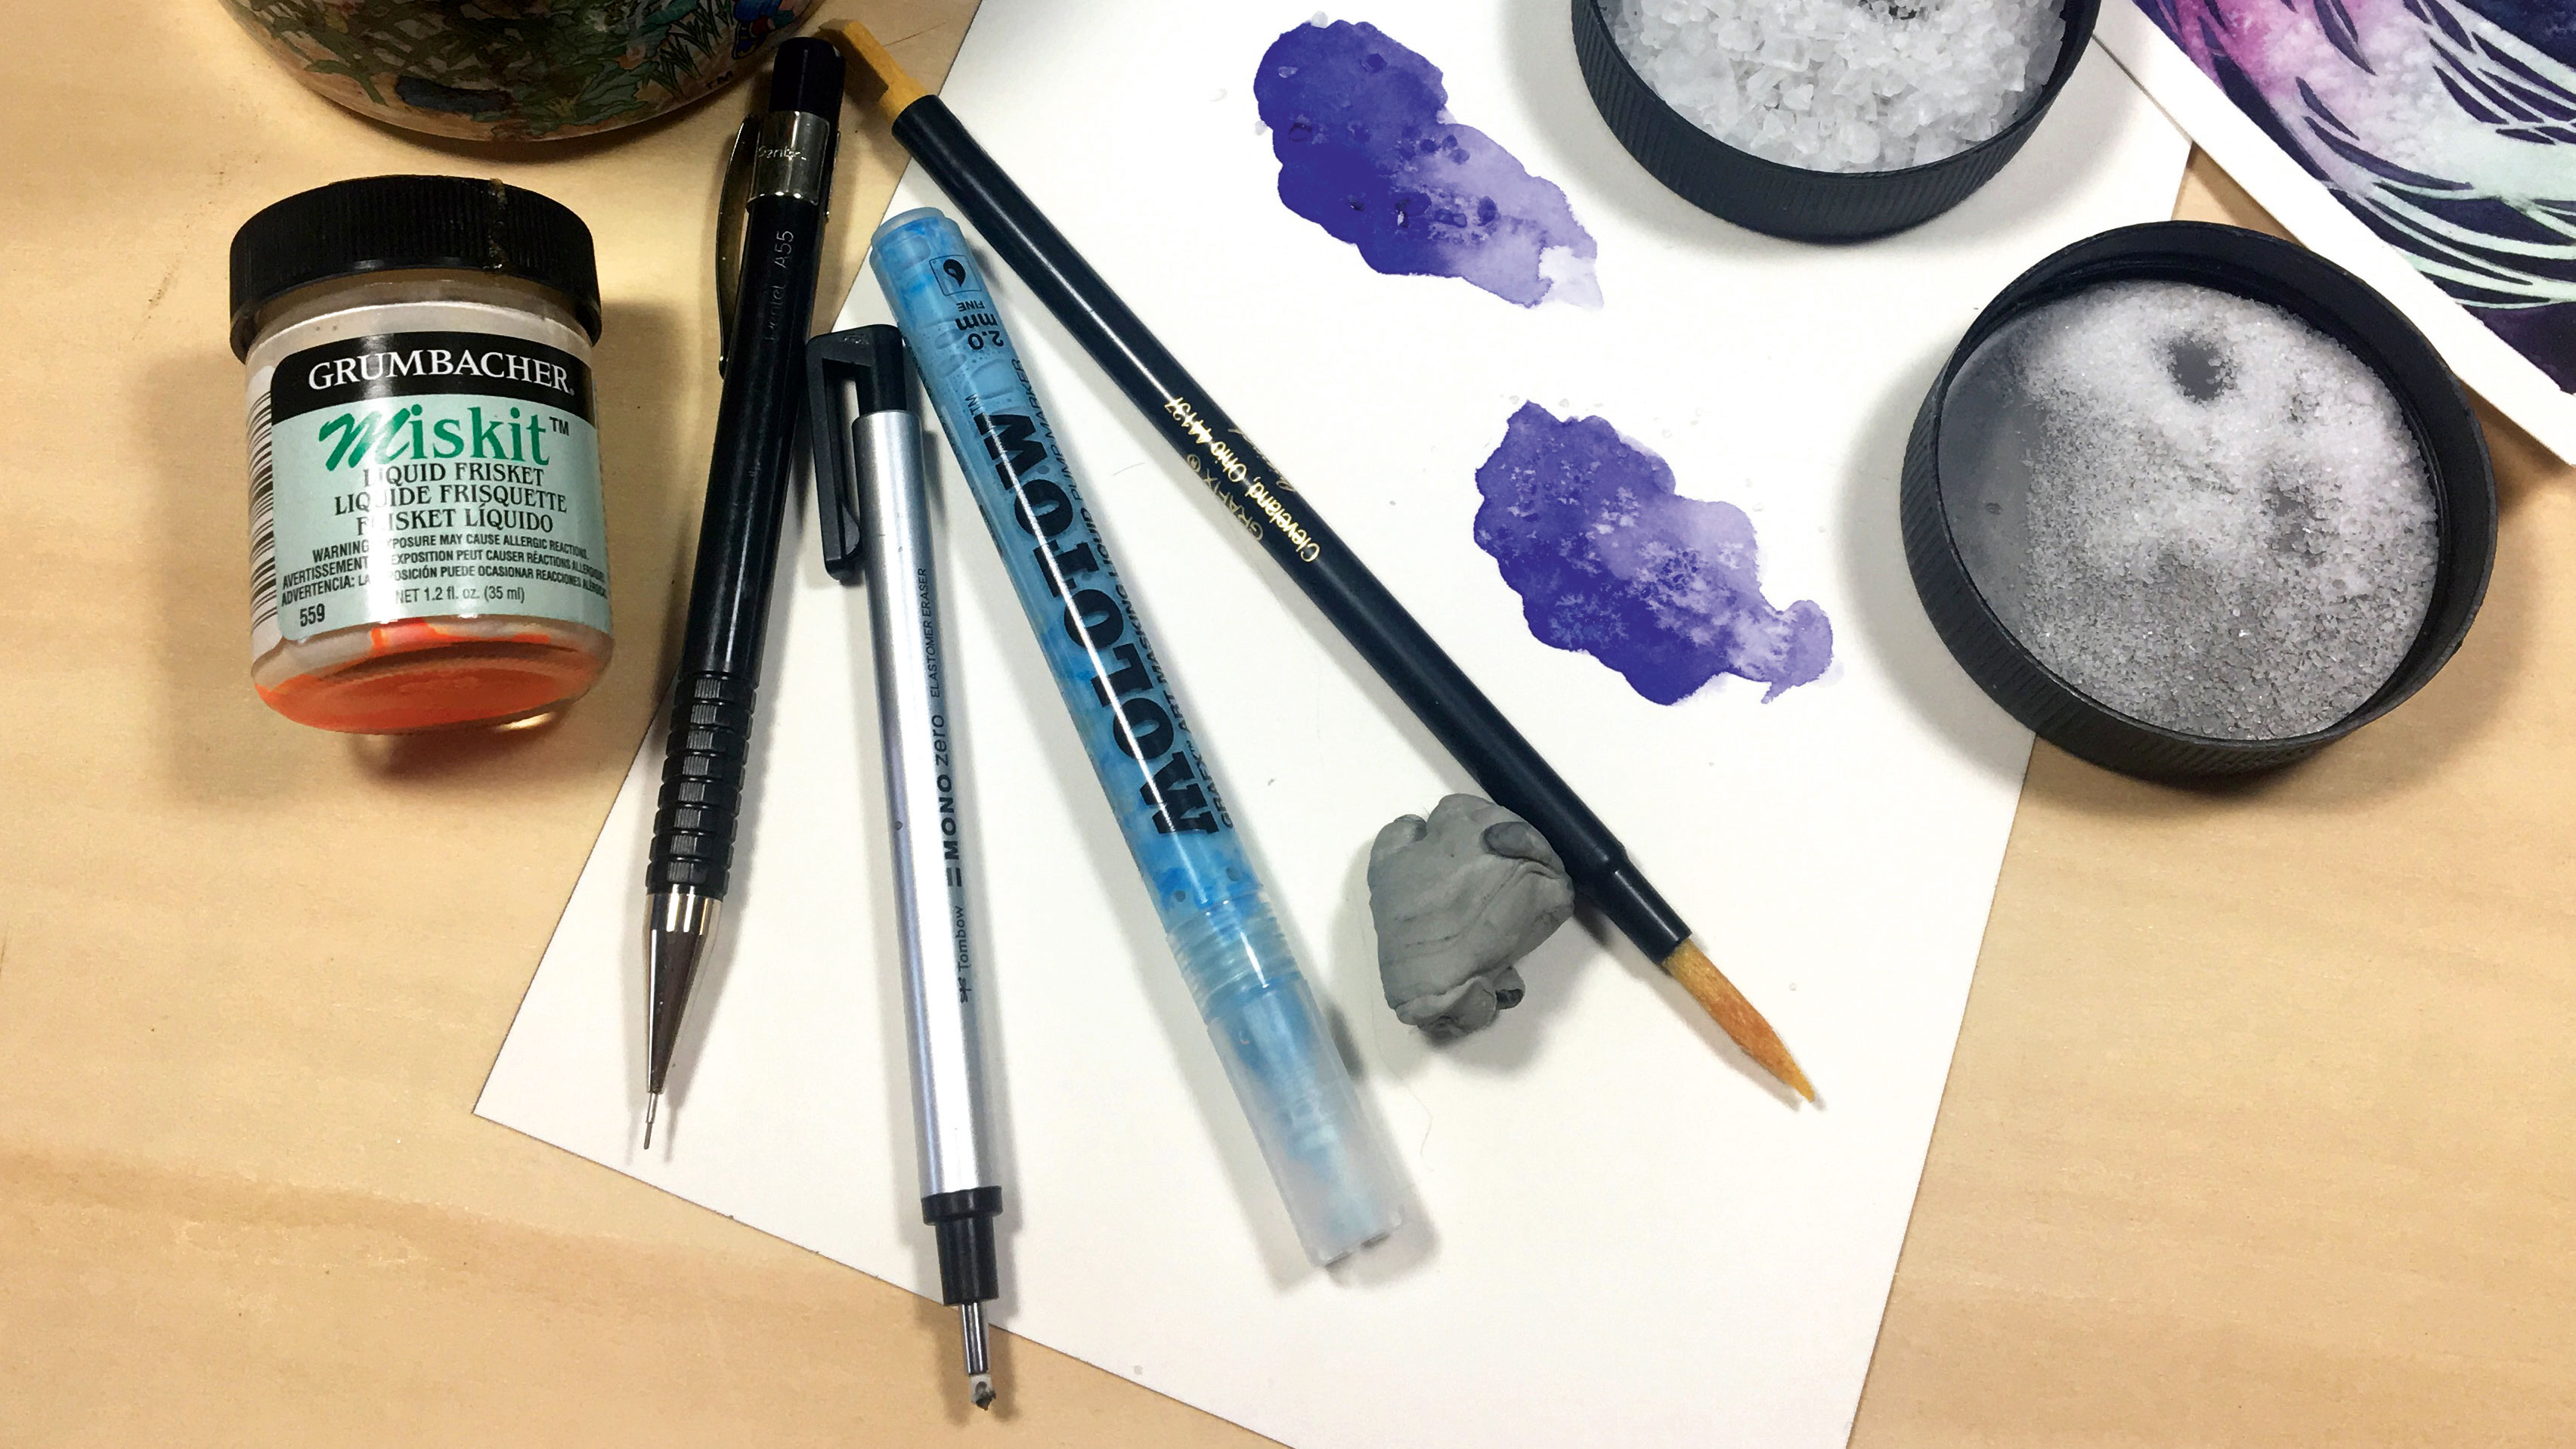
My favourite part of working with watercolour involves the tools that push the medium even further. I most commonly use kosher salt and ice cream salt for texture effects (the latter creates larger texture). I’ll also occasionally mask to preserve an area of paper with the aid of masking fluid or tape.
This article was originally published in ImagineFX, the world's leading digital art magazine. Subscribe here.

Thank you for reading 5 articles this month* Join now for unlimited access
Enjoy your first month for just £1 / $1 / €1
*Read 5 free articles per month without a subscription

Join now for unlimited access
Try first month for just £1 / $1 / €1
You must confirm your public display name before commenting
Please logout and then login again, you will then be prompted to enter your display name.
