7 ways to use Luminar AI to totally transform your photos
Powered by artificial intelligence, Luminar AI will to take your images to the next level.
No matter whether you're a full time content creator or an amateur photographer, making an image looks its best can sometimes be unnecessarily time-consuming. After all, wouldn't you prefer to be out there capturing photos, rather than sitting in front of your computer screen and painstakingly editing them? Alternatively, you might be someone who loves snapping photos, but is never quite sure how to take them to the next level in post-production.
Either way, you'll be pleased to know there is an alternative to spending hours staring at your laptop. Luminar AI is a piece of photo editing software with a difference – it's powered by artificial intelligence that's designed to take on all of the heavy lifting, while still empowering you to make all of the creative decisions.
Available for macOS and Windows as an application and plugin, Luminar AI is a unique photo editing app that helps users save time and boost their creativity. Want to enhance your photo's tones and colours, but aren't sure how to do it? Luminar AI will examine your image and suggest the best Templates to make it look its best.
Alternatively, maybe you've carefully edited an image and you want to make the same adjustments to other photos. Luminar AI enables you to apply these edits to your other shots with just a few simple clicks.
There's a multitude of game-changing ways to experiment with Luminar AI, but we're going to show you our favourite seven techniques. Read on to discover how you can take your photos to the next level.
01. Experiment with templates


Sometimes, all an image needs is a subtle boost in exposure, clarity and tones. Luckily, Luminar AI has plenty of pre-made Templates that you can choose from to instantly improve your photo. Plus, Luminar AI will even analyse your image and suggest the best Templates for the shot. The subtle Simple Template in the Scenery collection was perfect for giving this wildlife photo a little more oomph.
02. Convert to black and white


One of the easiest ways to totally transform an image is by stripping out all of the colourful distractions and letting the form of your subject truly shine. Converting to black and white in Luminar AI is super-easy. All you need to do is navigate to the Black & White box in the Essentials tab in the Edit panel. Then, simply click the Convert to B&W button for a quick mono conversion.
03. Use Atmosphere AI


What better way to give your image a little extra intrigue than by introducing some mysterious mist? Atmosphere AI is the best way to introduce natural-looking fog into a photo. Using the drop-down menu, you can select what sort of fog effect you'd like. Then, you can use the sliders to adjust the Amount, Depth and Lightness of the mist. We thought Atmosphere AI was the perfect way to add a little mystery to this Japan street photo.
04. Use Skin AI for portraiture
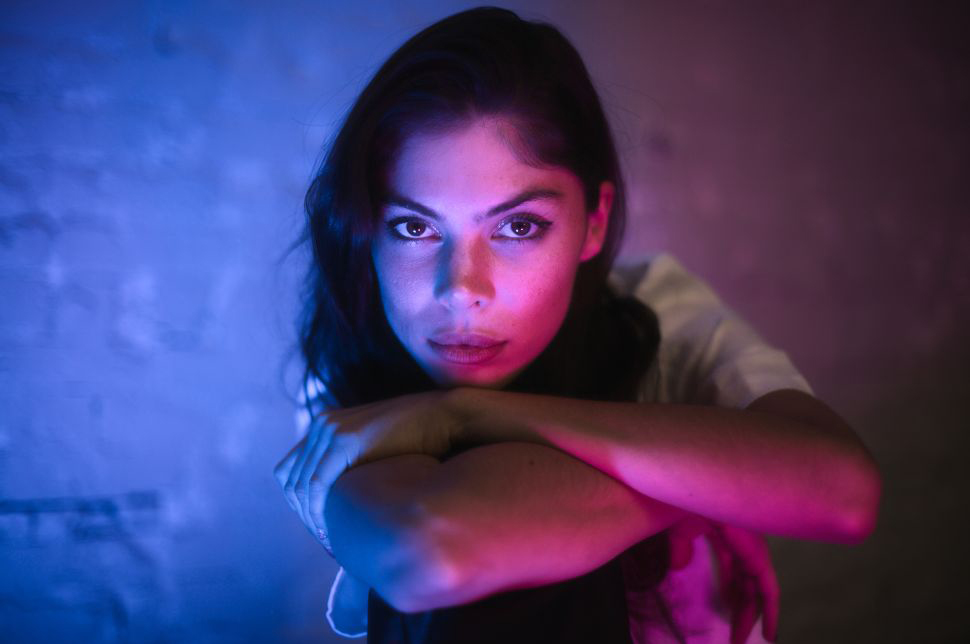
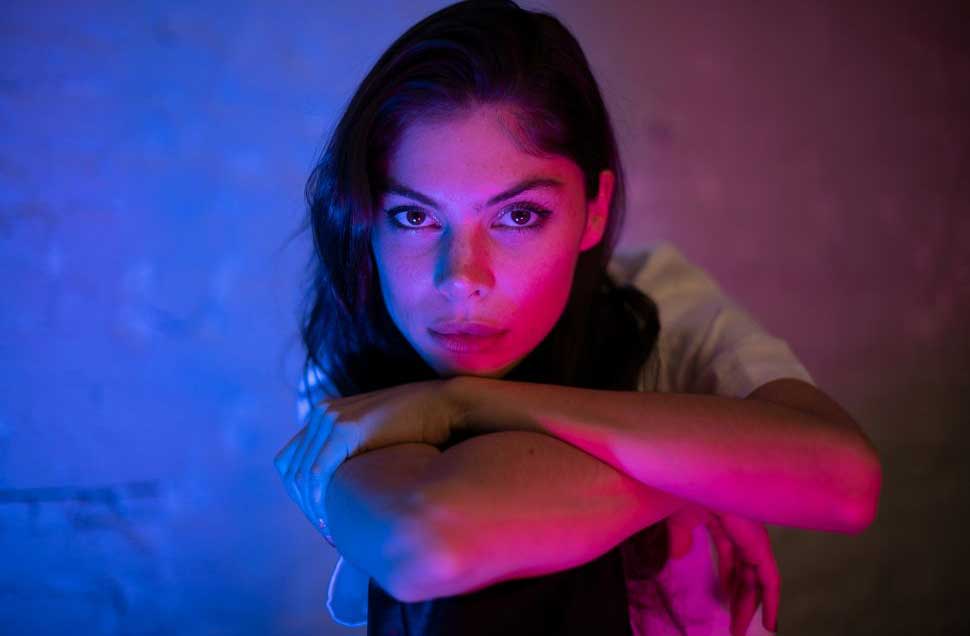
Editing portraits can be one of the trickiest and most time-consuming tasks for photo editors. However, Luminar AI makes the process incredibly simple with its Portrait tab, housed under the Edit panel. We used the Skin AI box to smooth the model's skin and remove any defects.
05. Go back to basics with Light box
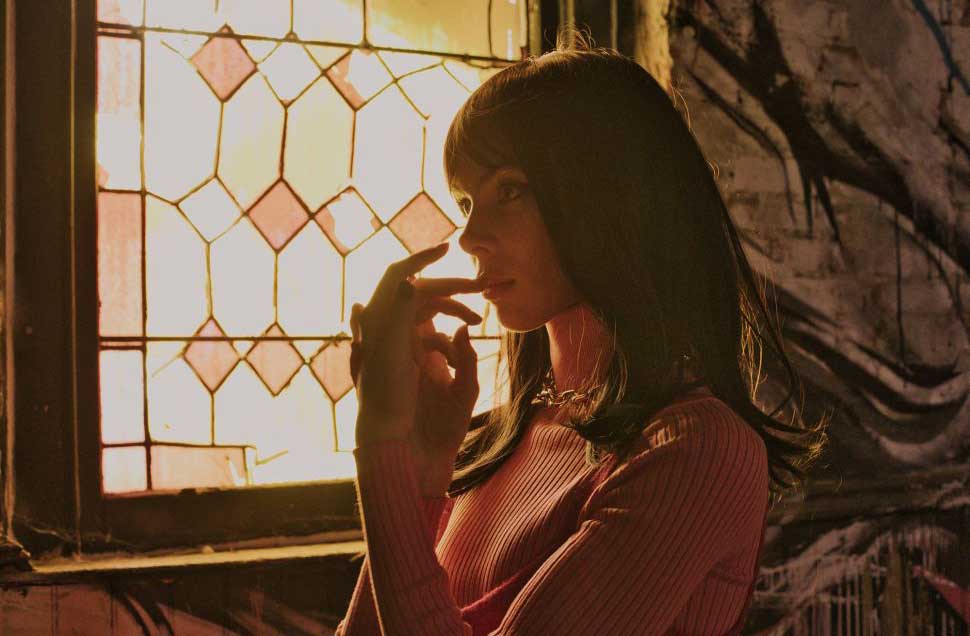
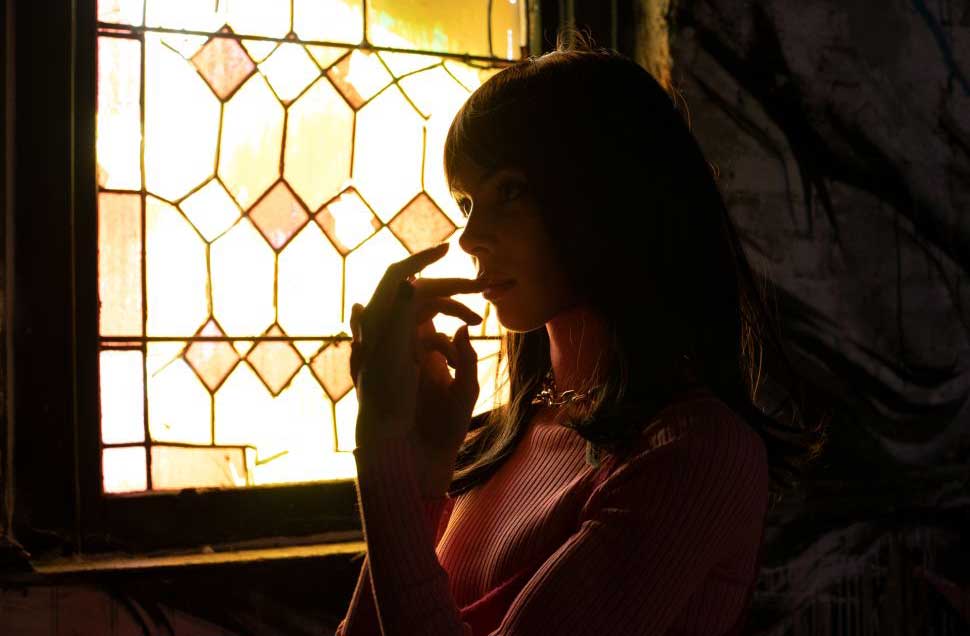
While effects such as adding mist and instantly editing skin are great, there are still some key editing basics that a photo editing app needs to excel at. The Raw file of this photo was filled with extreme contrast, with the model's face cast into deep shadow. However, using the Light box in the Essentials tab in the Edit panel, we were able to extract the shadow detail and create a much more balanced exposure.
06. Add film grain for a vintage look


Introducing a low-fi vibe into your image can sometimes be the best way to make it stand out. The Film Grain box under the Creative tab in the Edit panel not only lets you control how much grain is introduced, but also enables you to select the size and roughness of the grain. We preferred a subtle application, but why not experiment with a heavier effect for truly retro vibes?
07. Make your model shine with Face AI

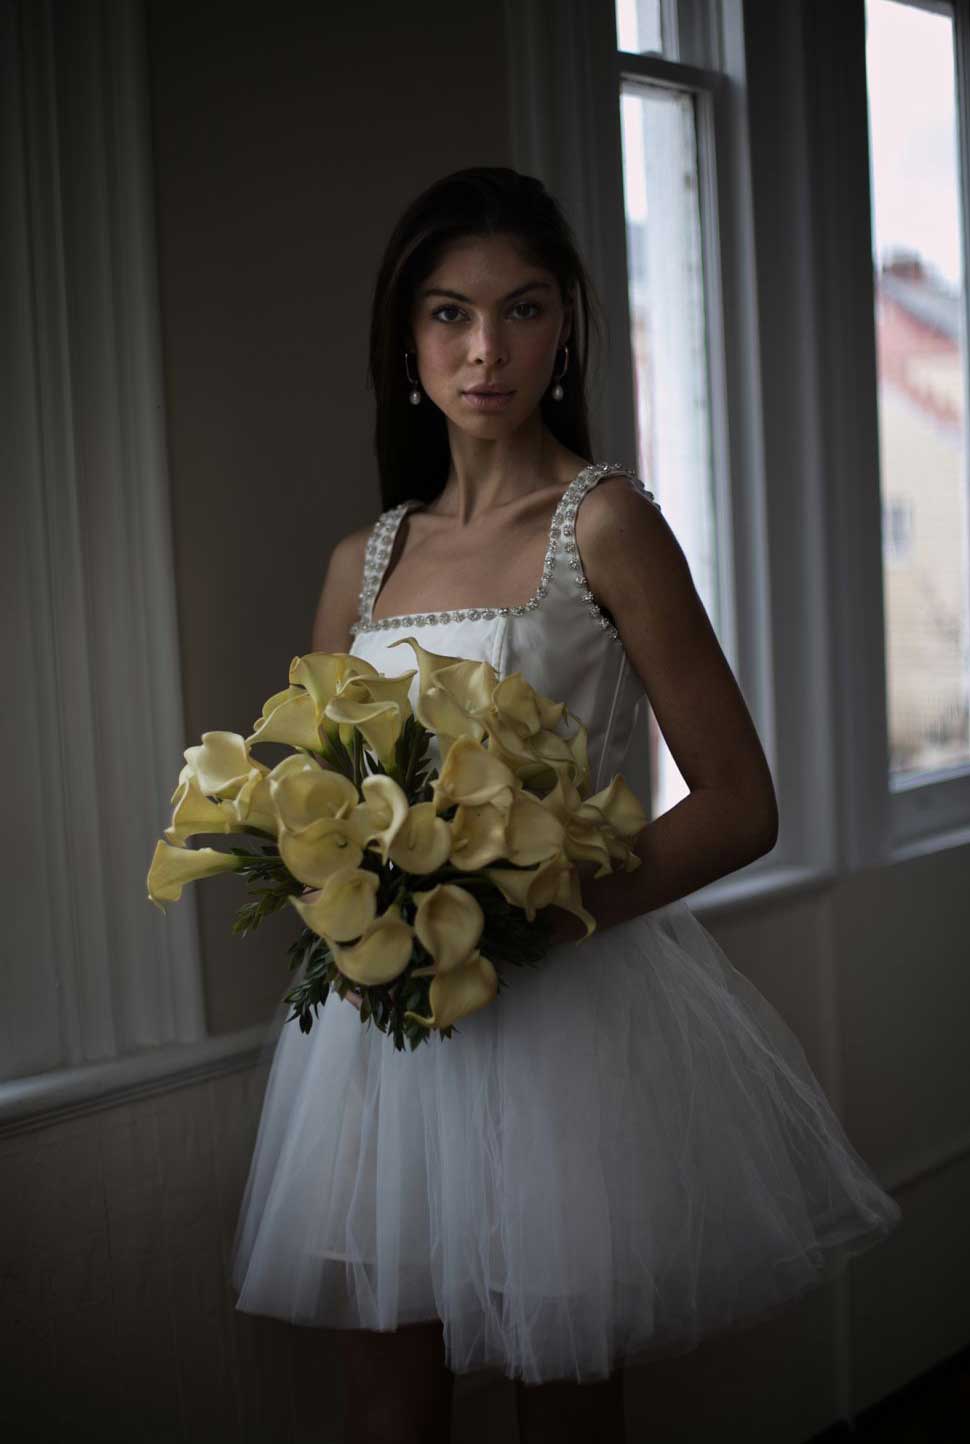
When you're editing any kind of portrait, the face is always the most important aspect of the composition. However, if you have a darker exposure then the face can sometimes be lost in the shadows. We darkened this photograph for a moody effect, which left the model's face with unflattering shadows. However, the Face AI box on the Portrait tab in the Edit panel gave us the perfect solution. Using the Face Light slider, we were able to add some light back to the model's face, creating a perfectly flattering portrait.
Take your shots to the next level with Luminar AI
Whether you're a beginner or an experienced photo editor, Luminar AI gives you so many reasons to feel confident on your photo processing journey. The software gives you the opportunity to experiment with new editing possibilities that are fully powered by artificial intelligence technology. You'll definitely never see image processing in the same light again!
Try Luminar AI today to get exclusive access to Luminar AI Insiders. This is a private community that offers exclusive access to the Luminar AI team, exciting new tutorials, special events – and even a few mysterious surprises too. You'll receive your invitation for Luminar AI Insiders after you've purchased the software and, best of all, there's no additional charge for this access.

Thank you for reading 5 articles this month* Join now for unlimited access
Enjoy your first month for just £1 / $1 / €1
*Read 5 free articles per month without a subscription

Join now for unlimited access
Try first month for just £1 / $1 / €1
Get the Creative Bloq Newsletter
Daily design news, reviews, how-tos and more, as picked by the editors.
The Creative Bloq team is made up of a group of design fans, and has changed and evolved since Creative Bloq began back in 2012. The current website team consists of eight full-time members of staff: Editor Georgia Coggan, Deputy Editor Rosie Hilder, Ecommerce Editor Beren Neale, Senior News Editor Daniel Piper, Editor, Digital Art and 3D Ian Dean, Tech Reviews Editor Erlingur Einarsson, Ecommerce Writer Beth Nicholls and Staff Writer Natalie Fear, as well as a roster of freelancers from around the world. The ImagineFX magazine team also pitch in, ensuring that content from leading digital art publication ImagineFX is represented on Creative Bloq.
