4 tips for creating depth of field in 3ds Max
Learn how to create in-camera depth of field in 3ds Max with these top tips.
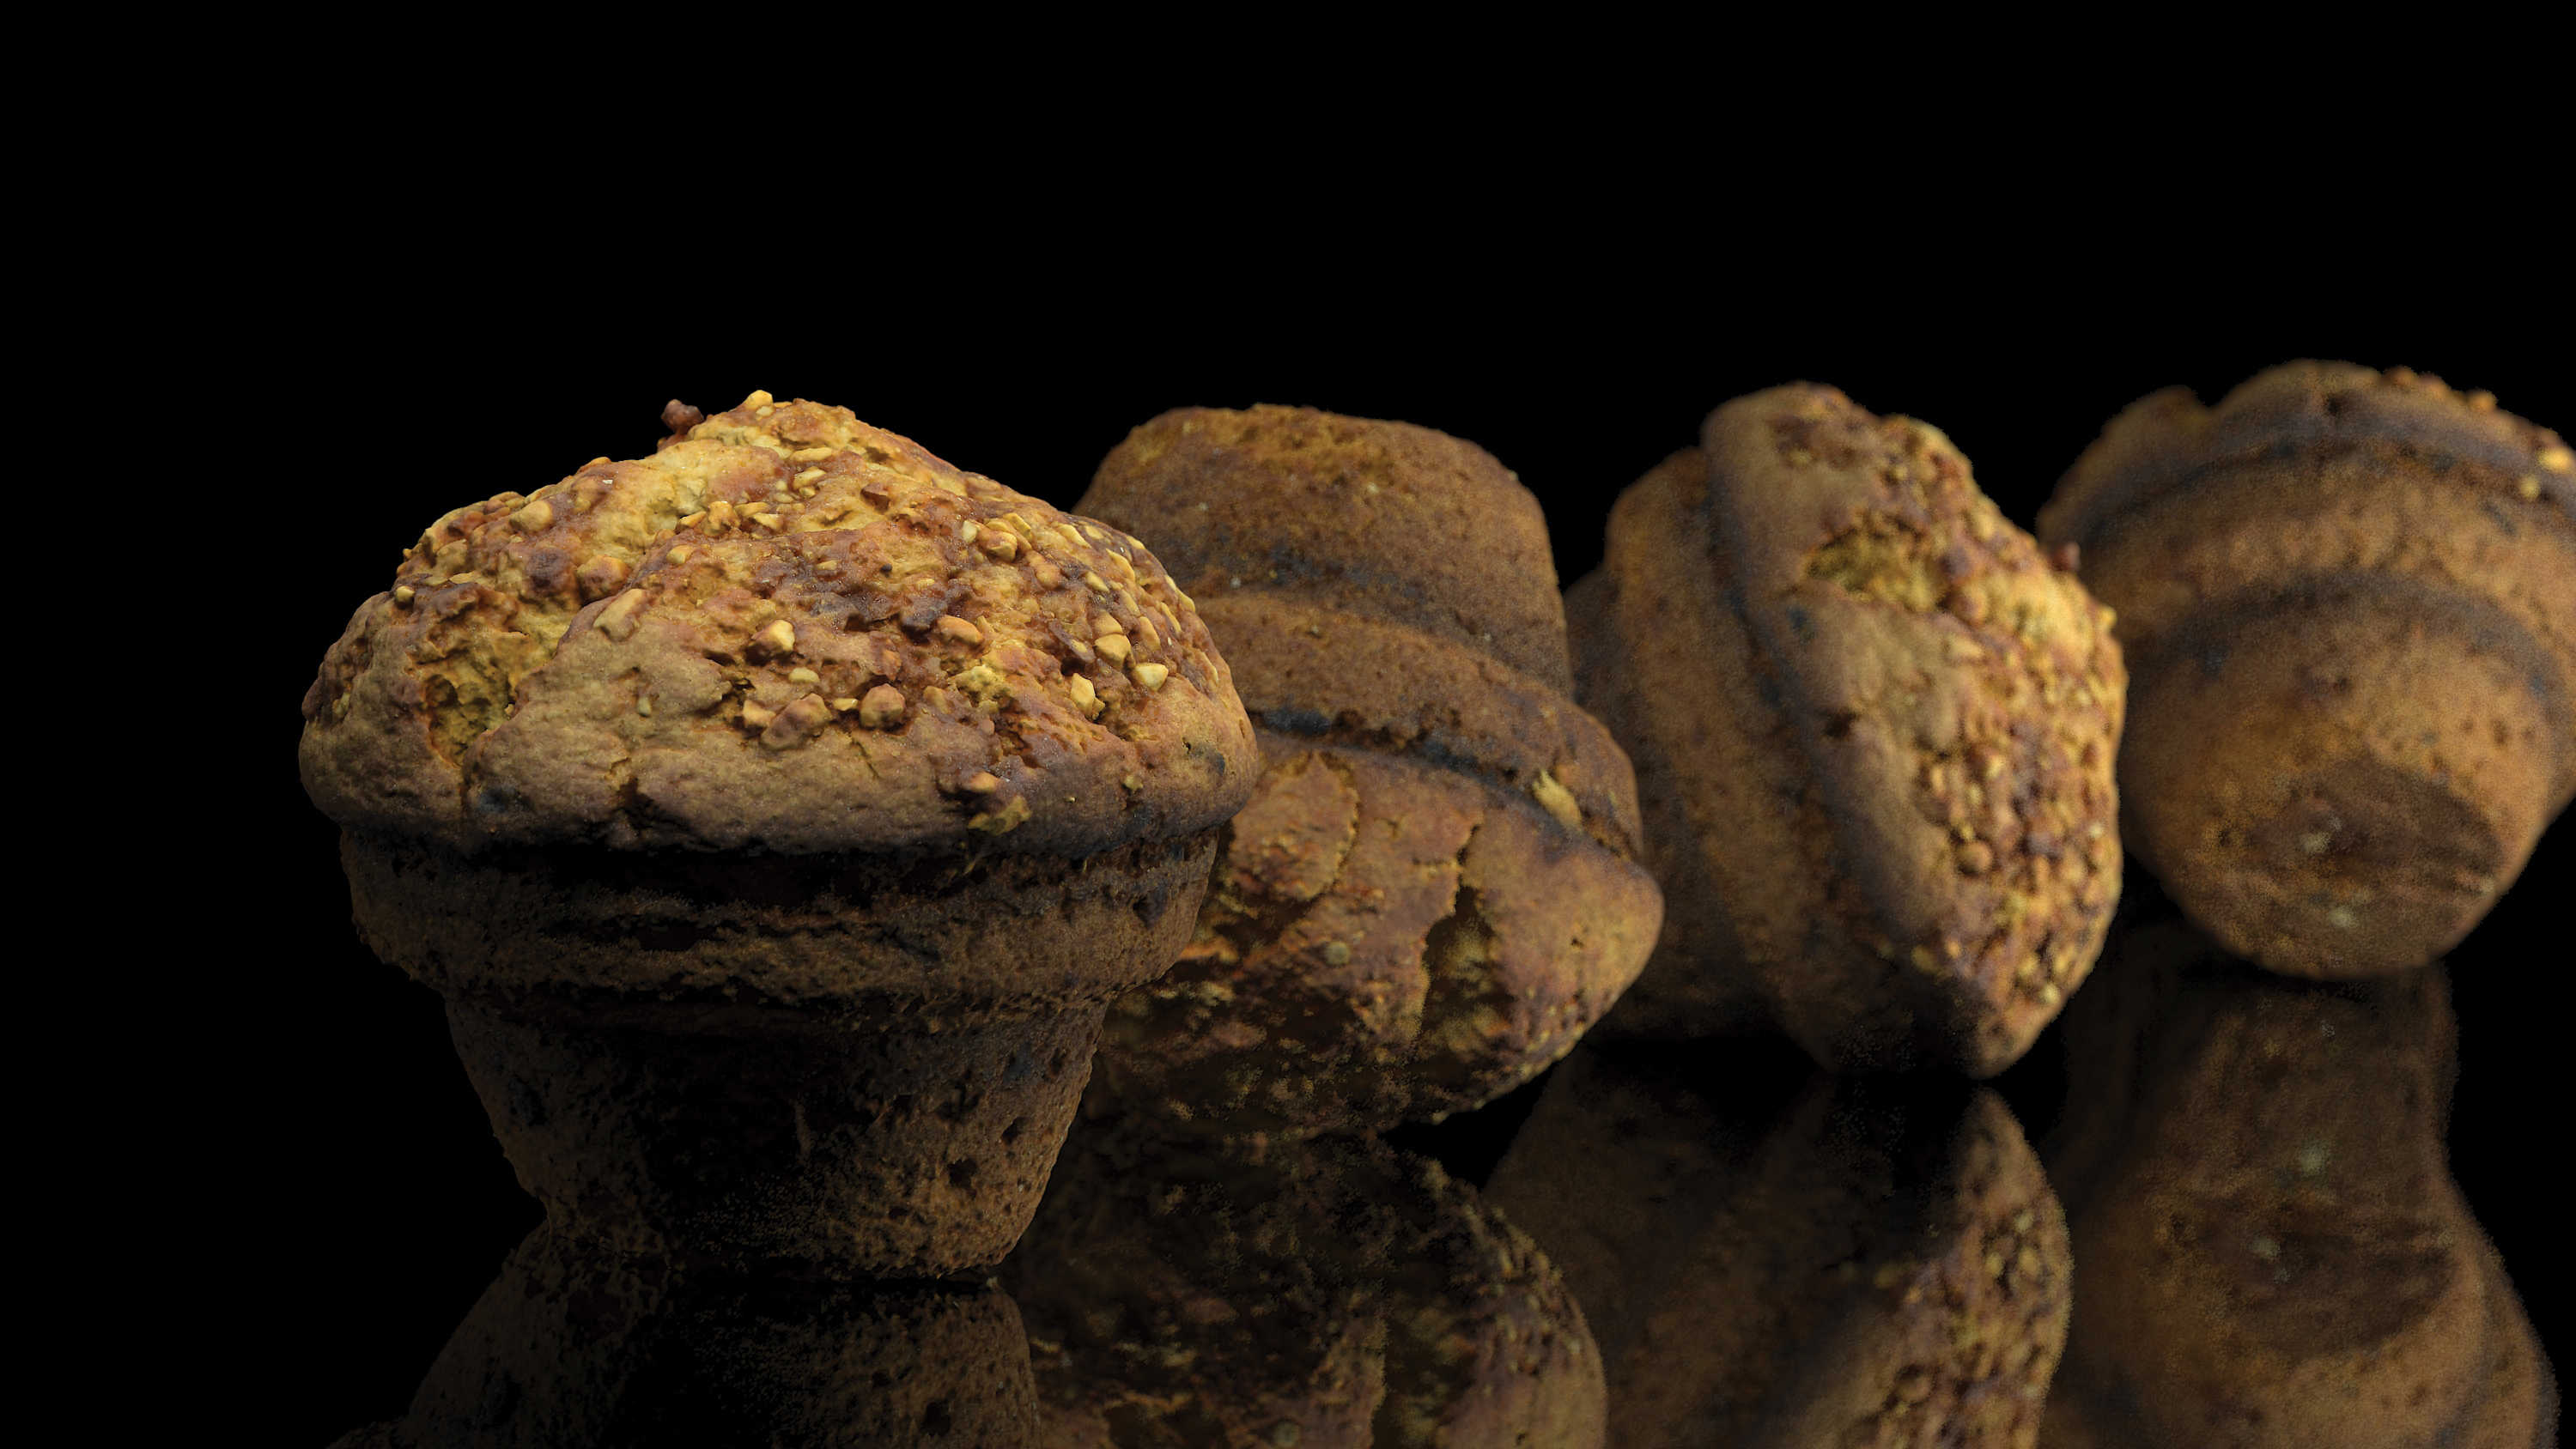
There are multiple ways of adding depth of field into your visuals. Different scenarios call for different solutions. Personally, I always prefer to do as much as I can in-camera to minimise the amount of required post-production.
Every real-world camera and its associated settings give you a depth of field. This is the distance between the nearest and the furthest objects giving a focused image. Most of the time art directors want to achieve a shallow depth of field, but you shouldn’t overdo this. Some very pleasing wide-angle images have a much wider depth of field and that looks great. It’s still worth applying a depth of field effect to these shots as it does enhance the realism, even if it’s much subtler.
The key to having control of your in-camera depth of field is knowing how to adjust its distance. In essence, the distance of what’s in focus is determined by the f-number, the focal length and how close the object in focus is to the camera. Let’s take the f-number first. The lower the f-number is, the wider the camera lens will open to let light in. The wider it opens, the shallower the distance will be for things in focus. Note that you’ll need to trade off the shutter speed and ISO values to control the overall exposure of your image. The two other things that affect the distance are the focal length and how close the object in focus is to the camera. Essentially the more zoomed in you are and the closer the object is, the shallower the depth of field will also be.
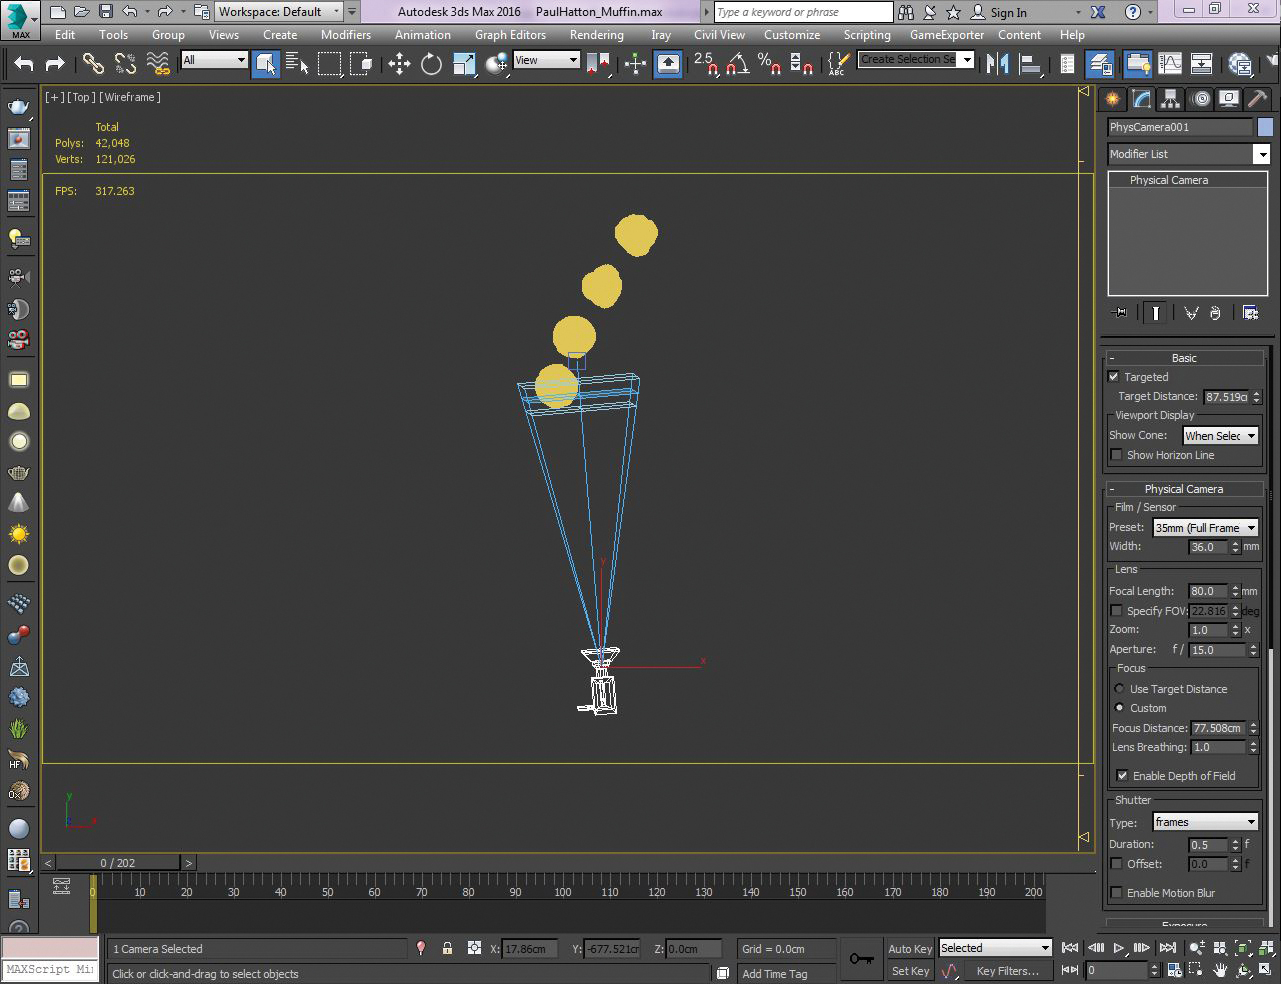
The 3ds Max Physical Camera does have some other settings, such as Focus Distance, which help with setting the effect up, but which aren’t available as options in a real camera. The following four steps will show you how to set this effect up.
01. Create your physical camera
We need to create a 3D volume in which our simulation will take place. This enables us to contain what is happening. This volume could be the size of the fireplace, or a container which will hold water, for example. To do this head over to the Create panel and choose the Geometry tab. Then select Phoenix FD from the drop-down and PHX Simulator.
02. Set the focal length and frame your image
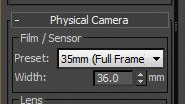
Move the camera and its target so it’s in position. Then in the Physical Camera rollout, adjust the focal length till you’ve got a pleasing composition. Keep in mind that the more zoomed in you are, the shallower your depth of field will be. You can adjust the FOV separately as well if you want by hitting the check box and specifying a value.
03. Setting parameters
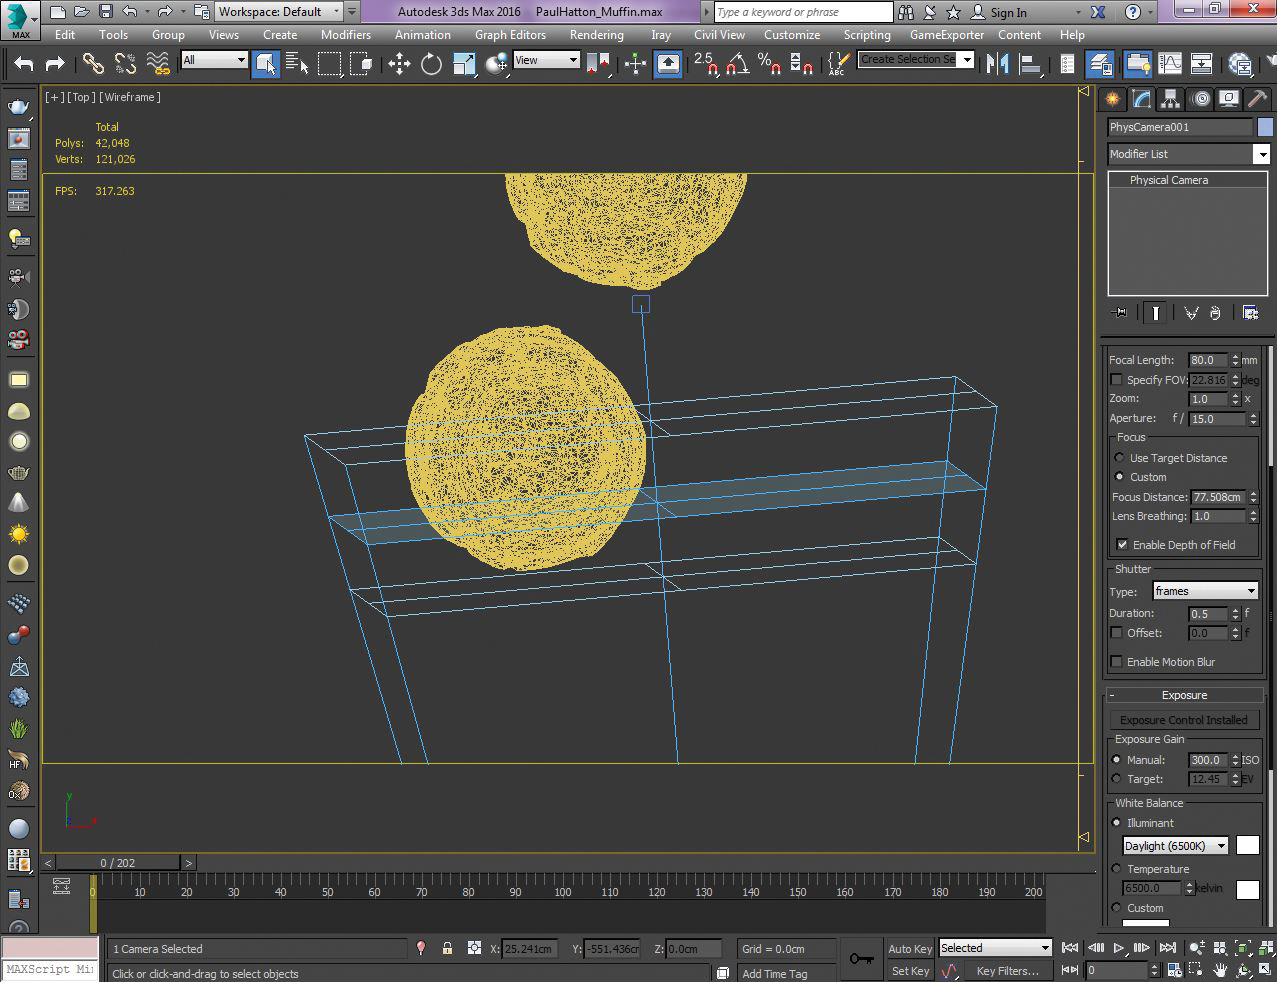
Use the Focus Distance parameter as it gives more control compared to using the camera’s target distance: Go to the Focus area and select the Custom radio button. If you adjust the focus distance you’ll notice that the three planes at the end of the camera are moving. The middle one will be perfectly in focus and then the other two are the near and far planes of focus. Select Add and click on your log in the viewport.
Get the Creative Bloq Newsletter
Daily design news, reviews, how-tos and more, as picked by the editors.
04. Set the aperture F-number
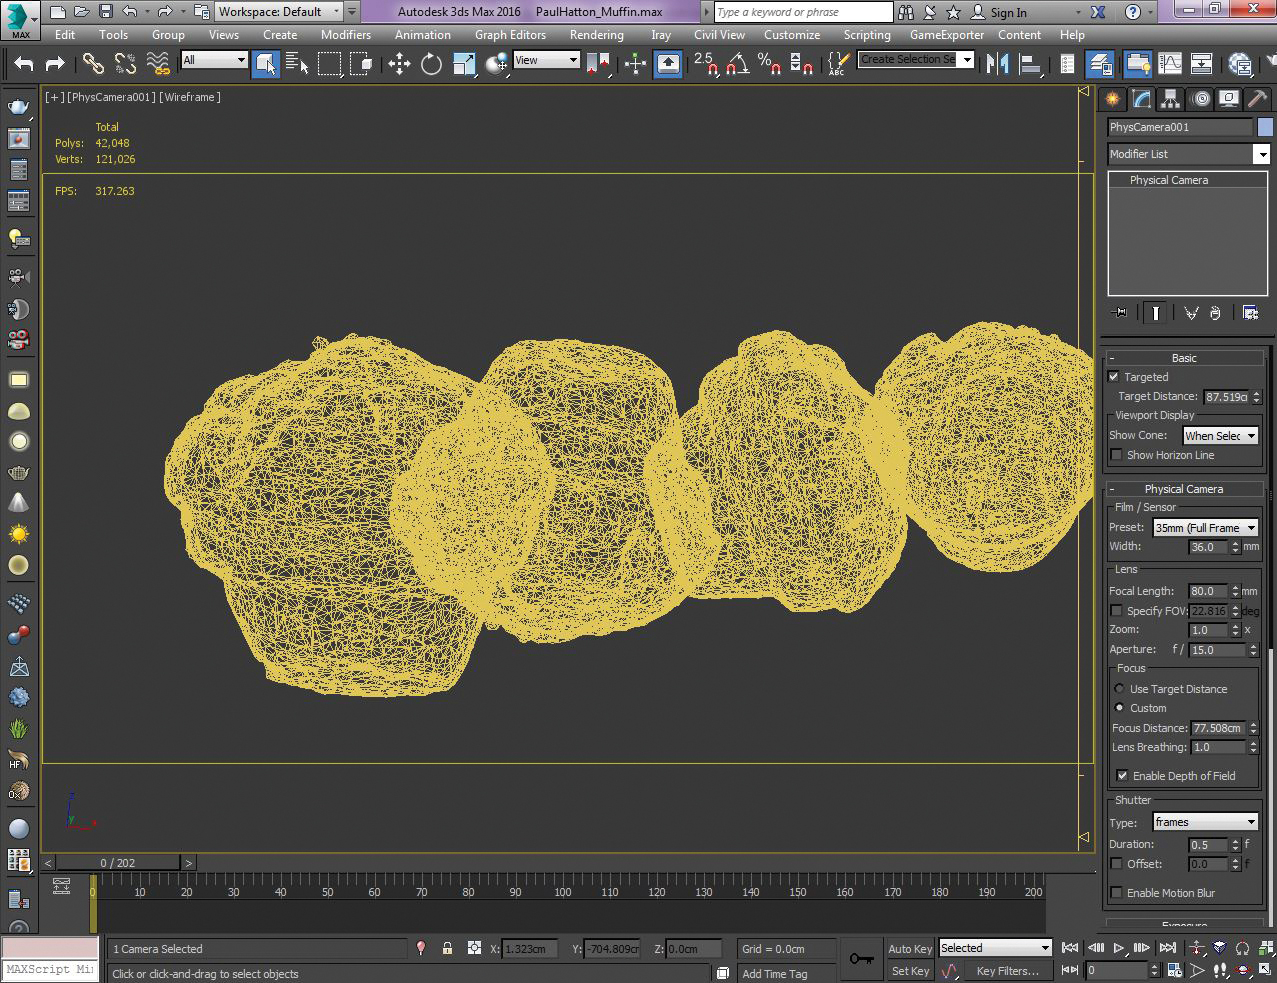
Now all that is left to do is to adjust the f-number to dictate how shallow your depth of field is going to be. The lower you go, the shallower it will be. You should see the focal planes in the camera adjusting as you change the f-number. If you’re not concerned about motion blur then you can just change the shutter speed to balance out your exposure. Or you could use the ISO value instead.
This article was originally published in 3D World magazine issue 211. Buy it here.

Thank you for reading 5 articles this month* Join now for unlimited access
Enjoy your first month for just £1 / $1 / €1
*Read 5 free articles per month without a subscription

Join now for unlimited access
Try first month for just £1 / $1 / €1

Paul is a digital expert. In the 20 years since he graduated with a first-class honours degree in Computer Science, Paul has been actively involved in a variety of different tech and creative industries that make him the go-to guy for reviews, opinion pieces, and featured articles. With a particular love of all things visual, including photography, videography, and 3D visualisation Paul is never far from a camera or other piece of tech that gets his creative juices going. You'll also find his writing in other places, including Creative Bloq, Digital Camera World, and 3D World Magazine.
