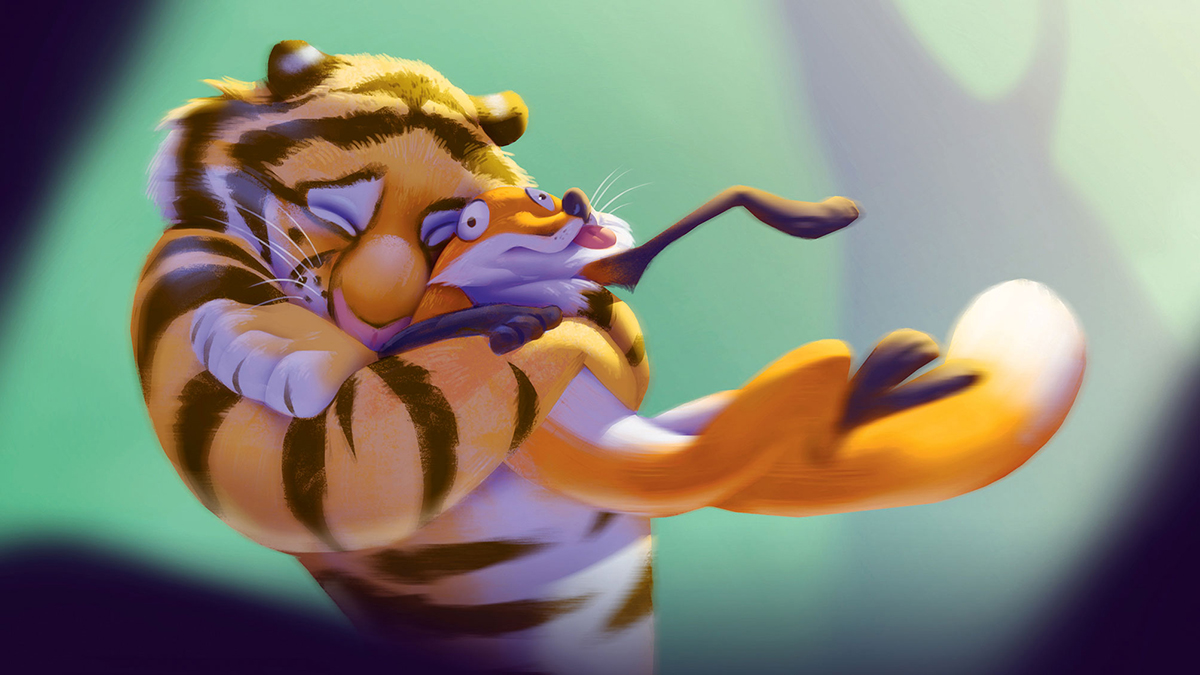
There’s really no limit to how much you can learn when it comes to drawing and painting animals. However, this workshop will be less about how to draw anatomy and technical approaches and more about how to boost your art and take it to the next level.
Spending too much time working on mastering techniques and lead you away from prioritising stories and original approaches, resulting in strong painting skills, but fewer good ideas. Mastering the skill of creating personal art can significantly boost your own commercial artworks.
This workshop will give you some useful tips and tools, so you can turn up your art and character designs a notch. After all, every artist wants the viewers to care about their art. Hopefully, these tips can help you make progress in that direction.
01. Repeat, repeat, then repeat again
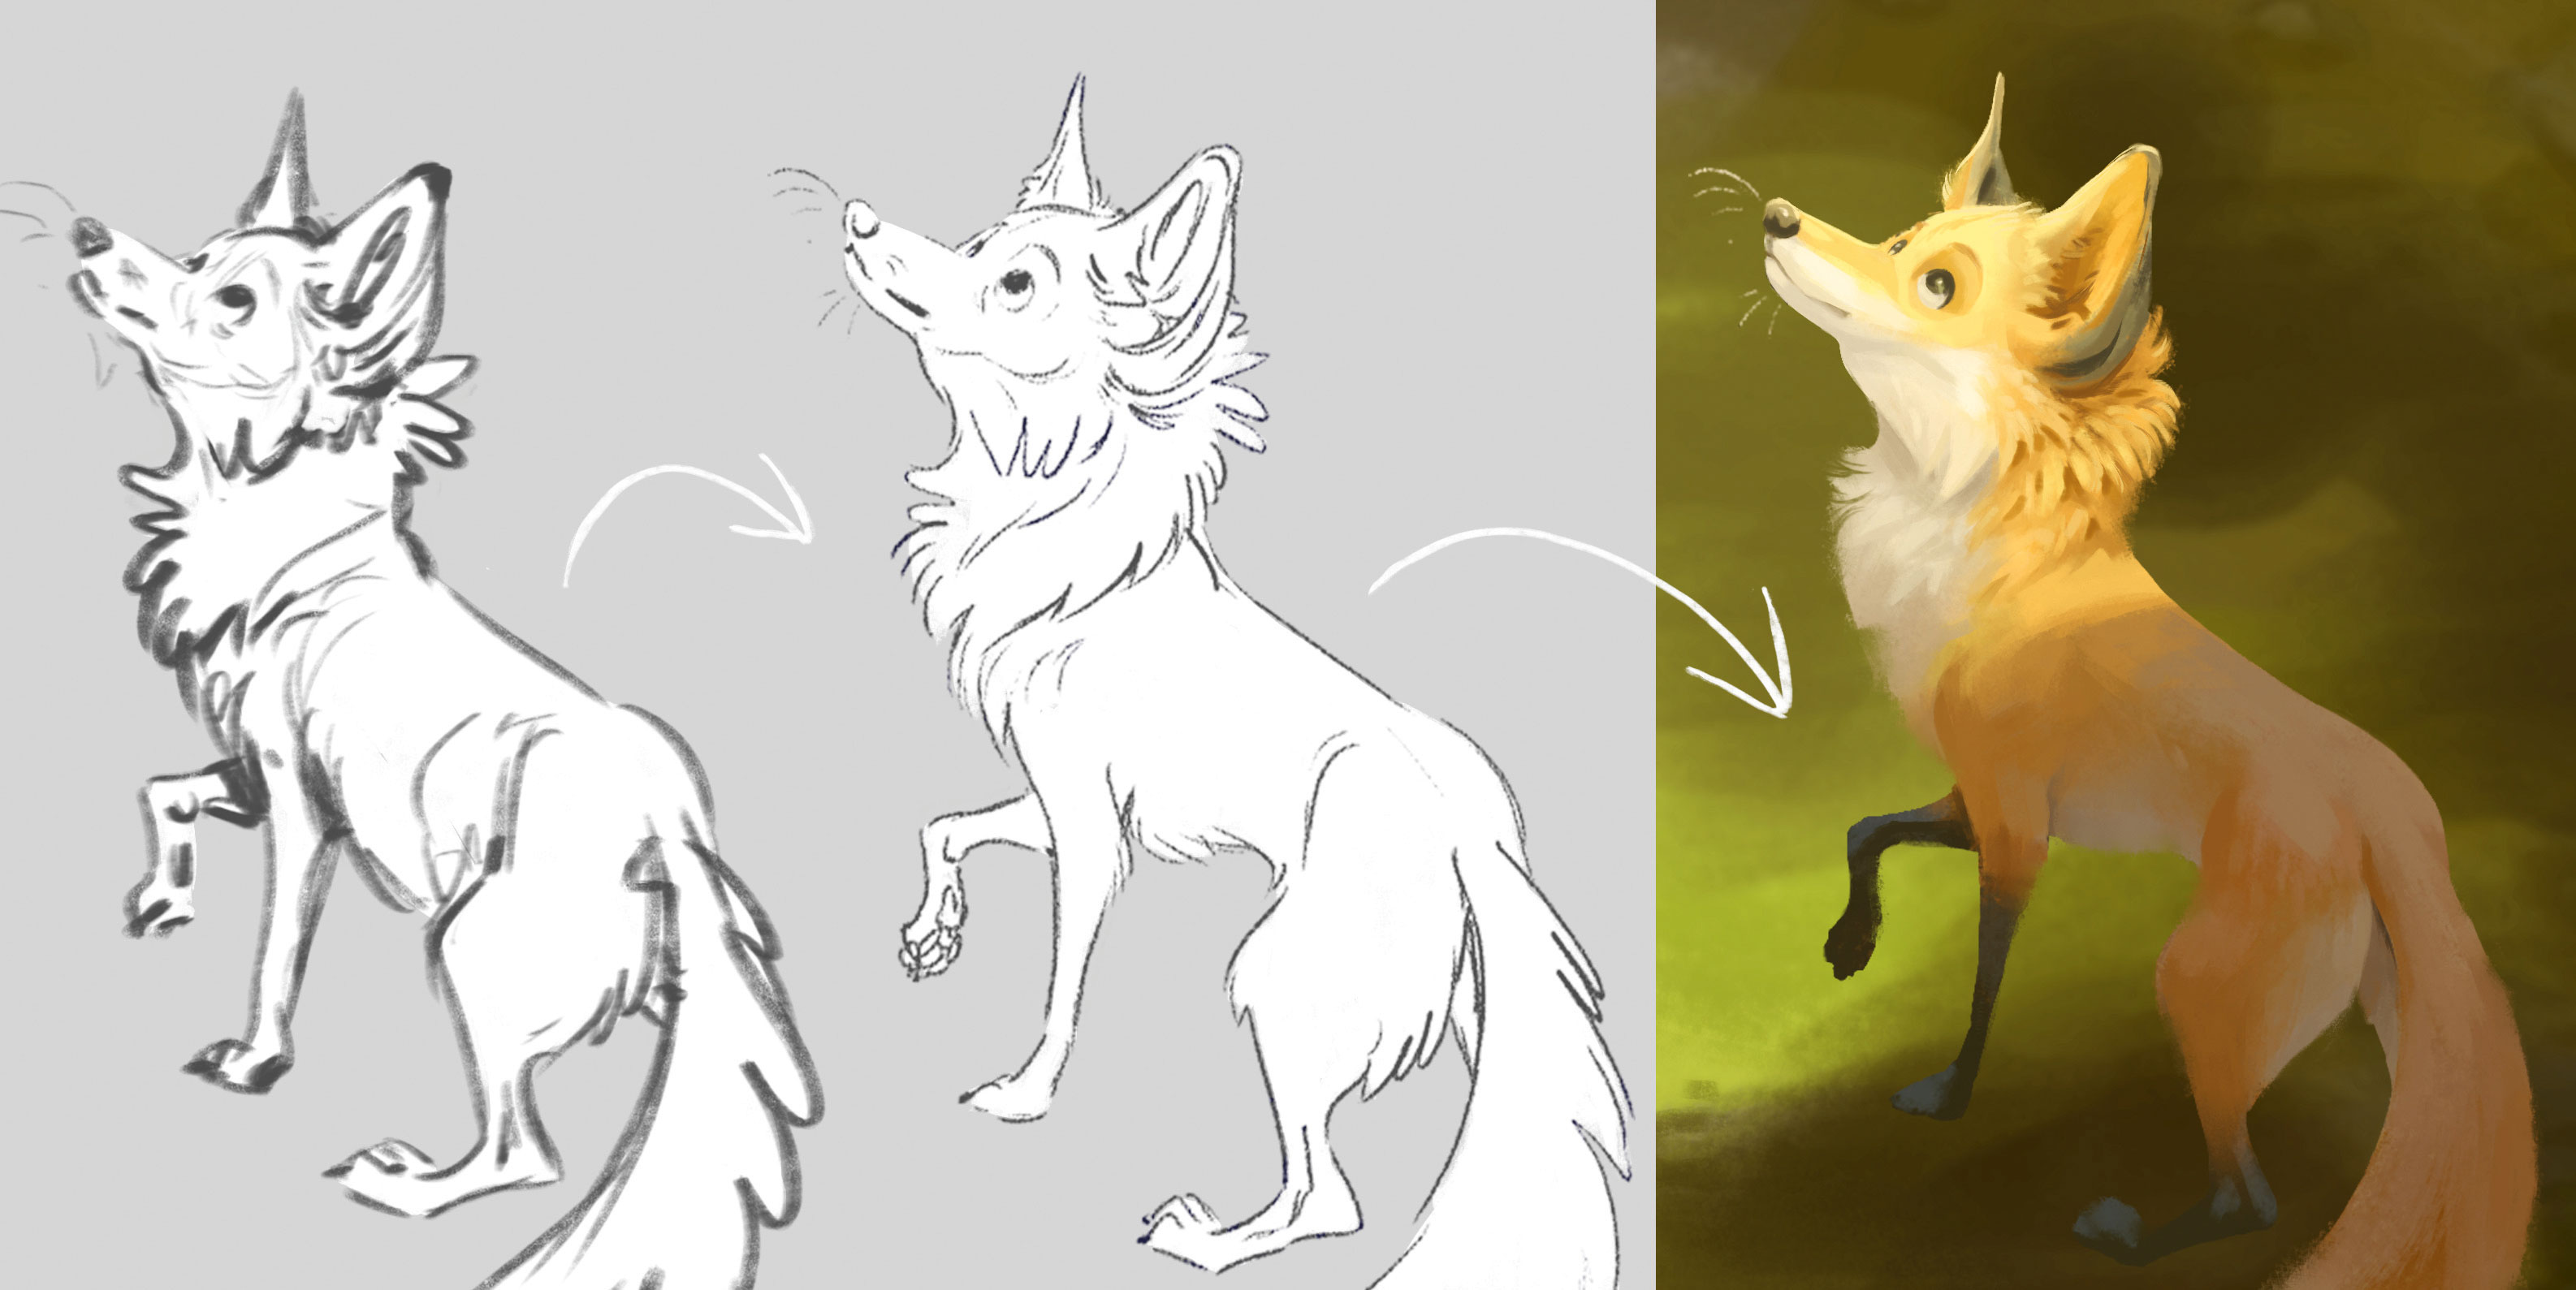
I rarely nail a sketch at the first attempt, so don’t be afraid to produce several revisions. I’m a perfectionist (for better or for worse), so over the years I’ve developed a habit for revisions. It’s become a good habit, because I’m not only improving with every sketch I make, but I also end up with lots of versions I can go back to, merge together with a new one, and create the best possible results.
02. Be creative with your selfies
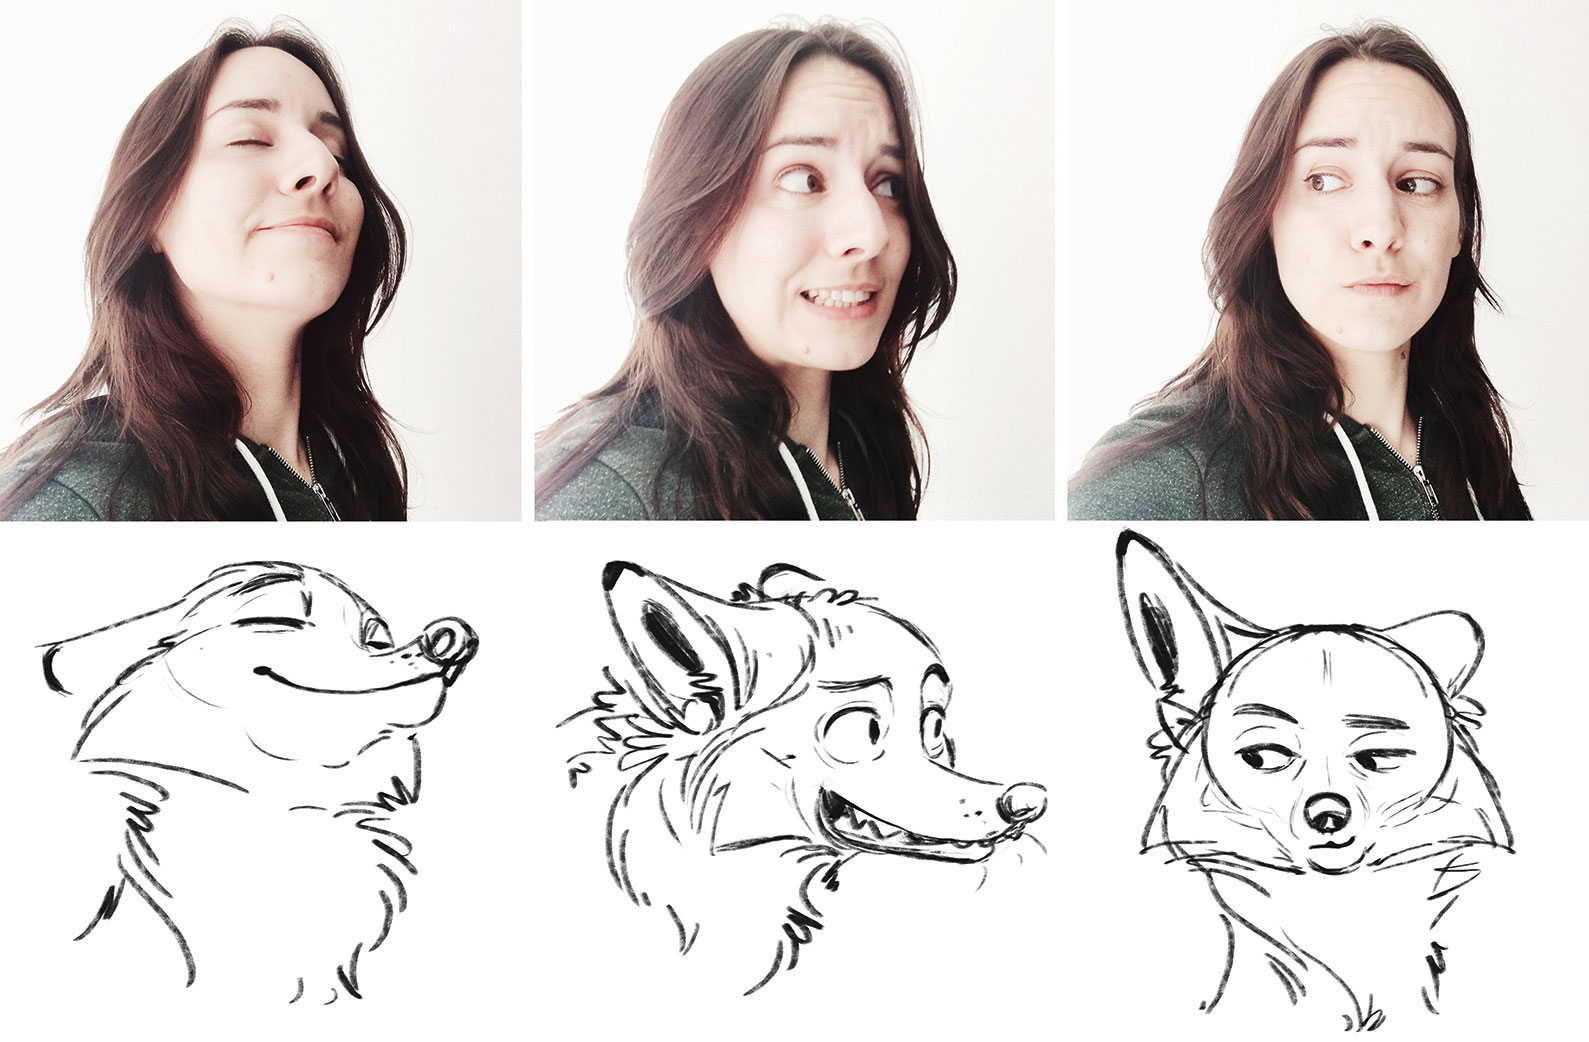
Study yourself in the mirror, or record yourself on video. It’s beneficial to make creatures feel more human, which can be influenced by our own expressions. I like doing this, since I get an excuse to make funny faces without being questioned by people who think they know better.
03. Study real animals
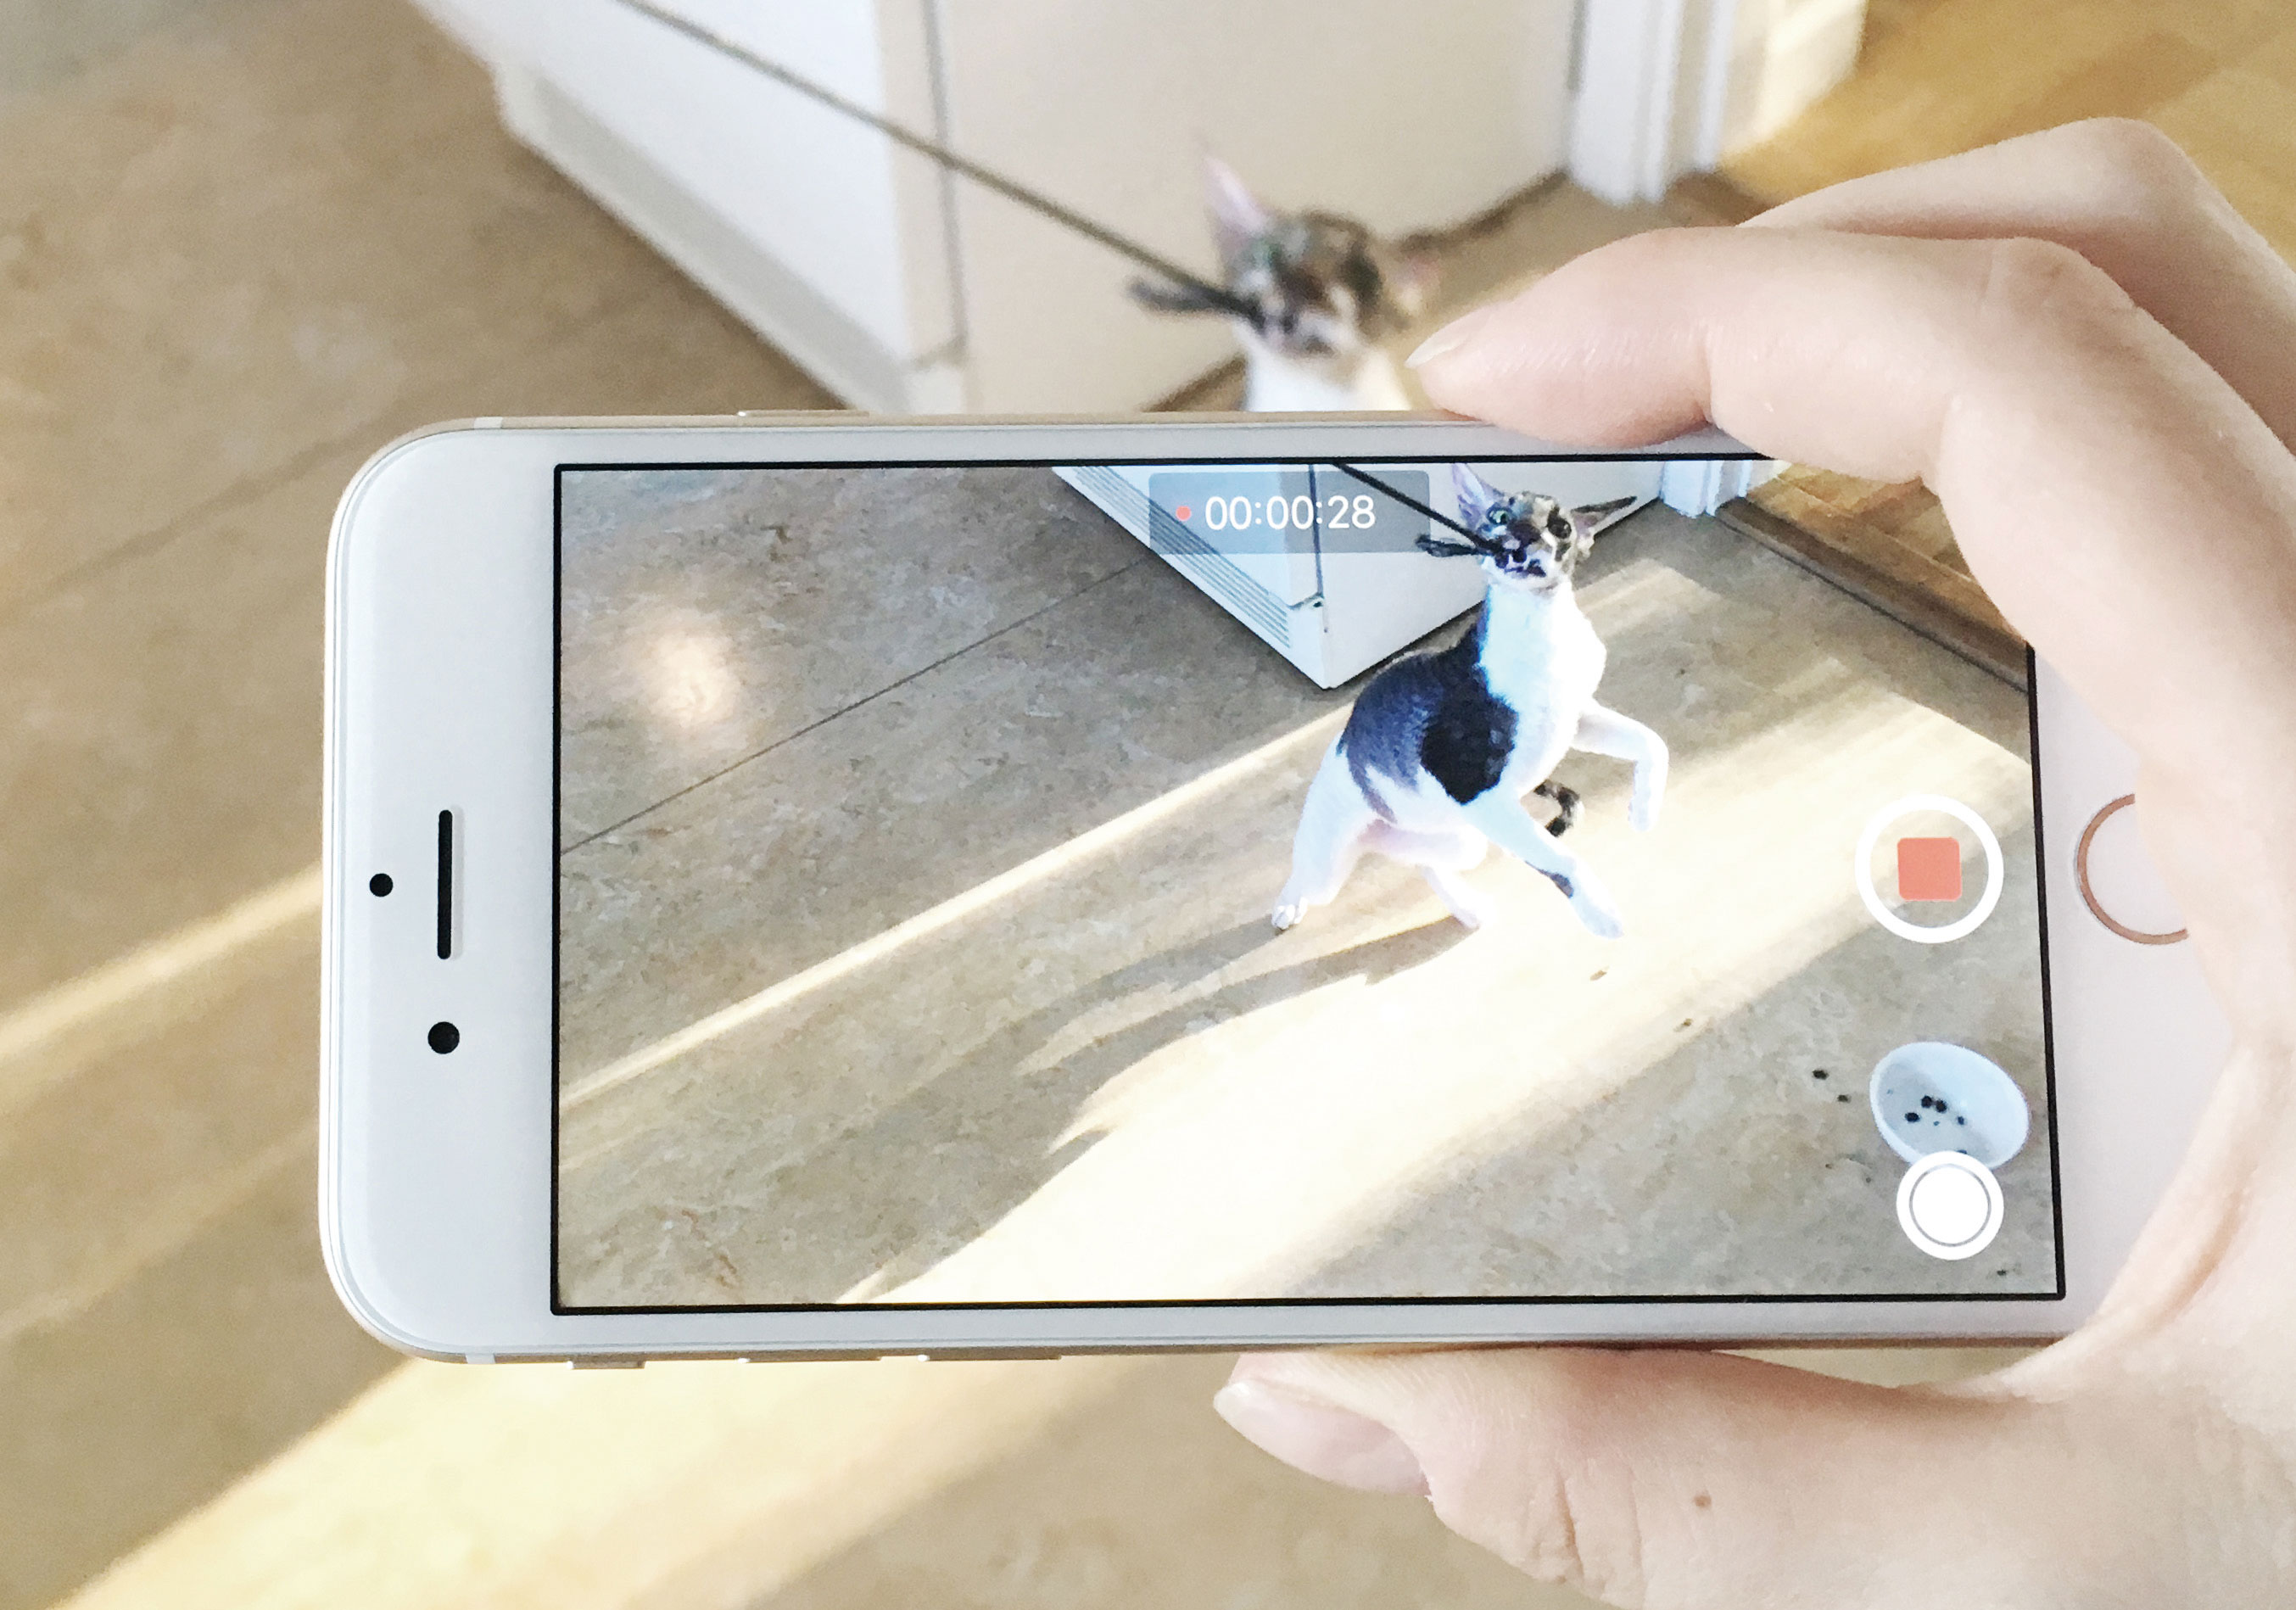
Watch photos, online videos and nature programmes, study your own pets. Why not try recording them in different situations? After all, a frozen frame from a video is much more authentic and natural than a staged photo.
04. Be personal
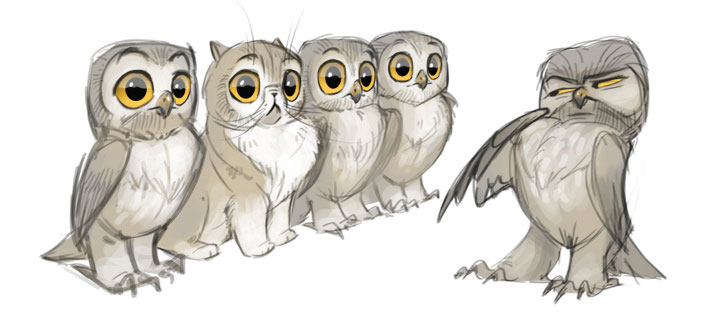
Your memories and life experiences are priceless. Find your inspiration and tell your own stories through your characters or creatures. What makes you smile, laugh or cry? Consider adding your own pet to your art, or maybe something funny and embarrassing? I tend to draw lots of horses, foxes and cats, since I used to be one of those typical girls who hung out a lot at the stable, and the fox is a common animal here in Sweden. And I see our two silly cats doing stupid things every day, so it’s hard not to get inspired by that!
Get the Creative Bloq Newsletter
Daily design news, reviews, how-tos and more, as picked by the editors.
05. Don't be afraid to ask 'what if...?'
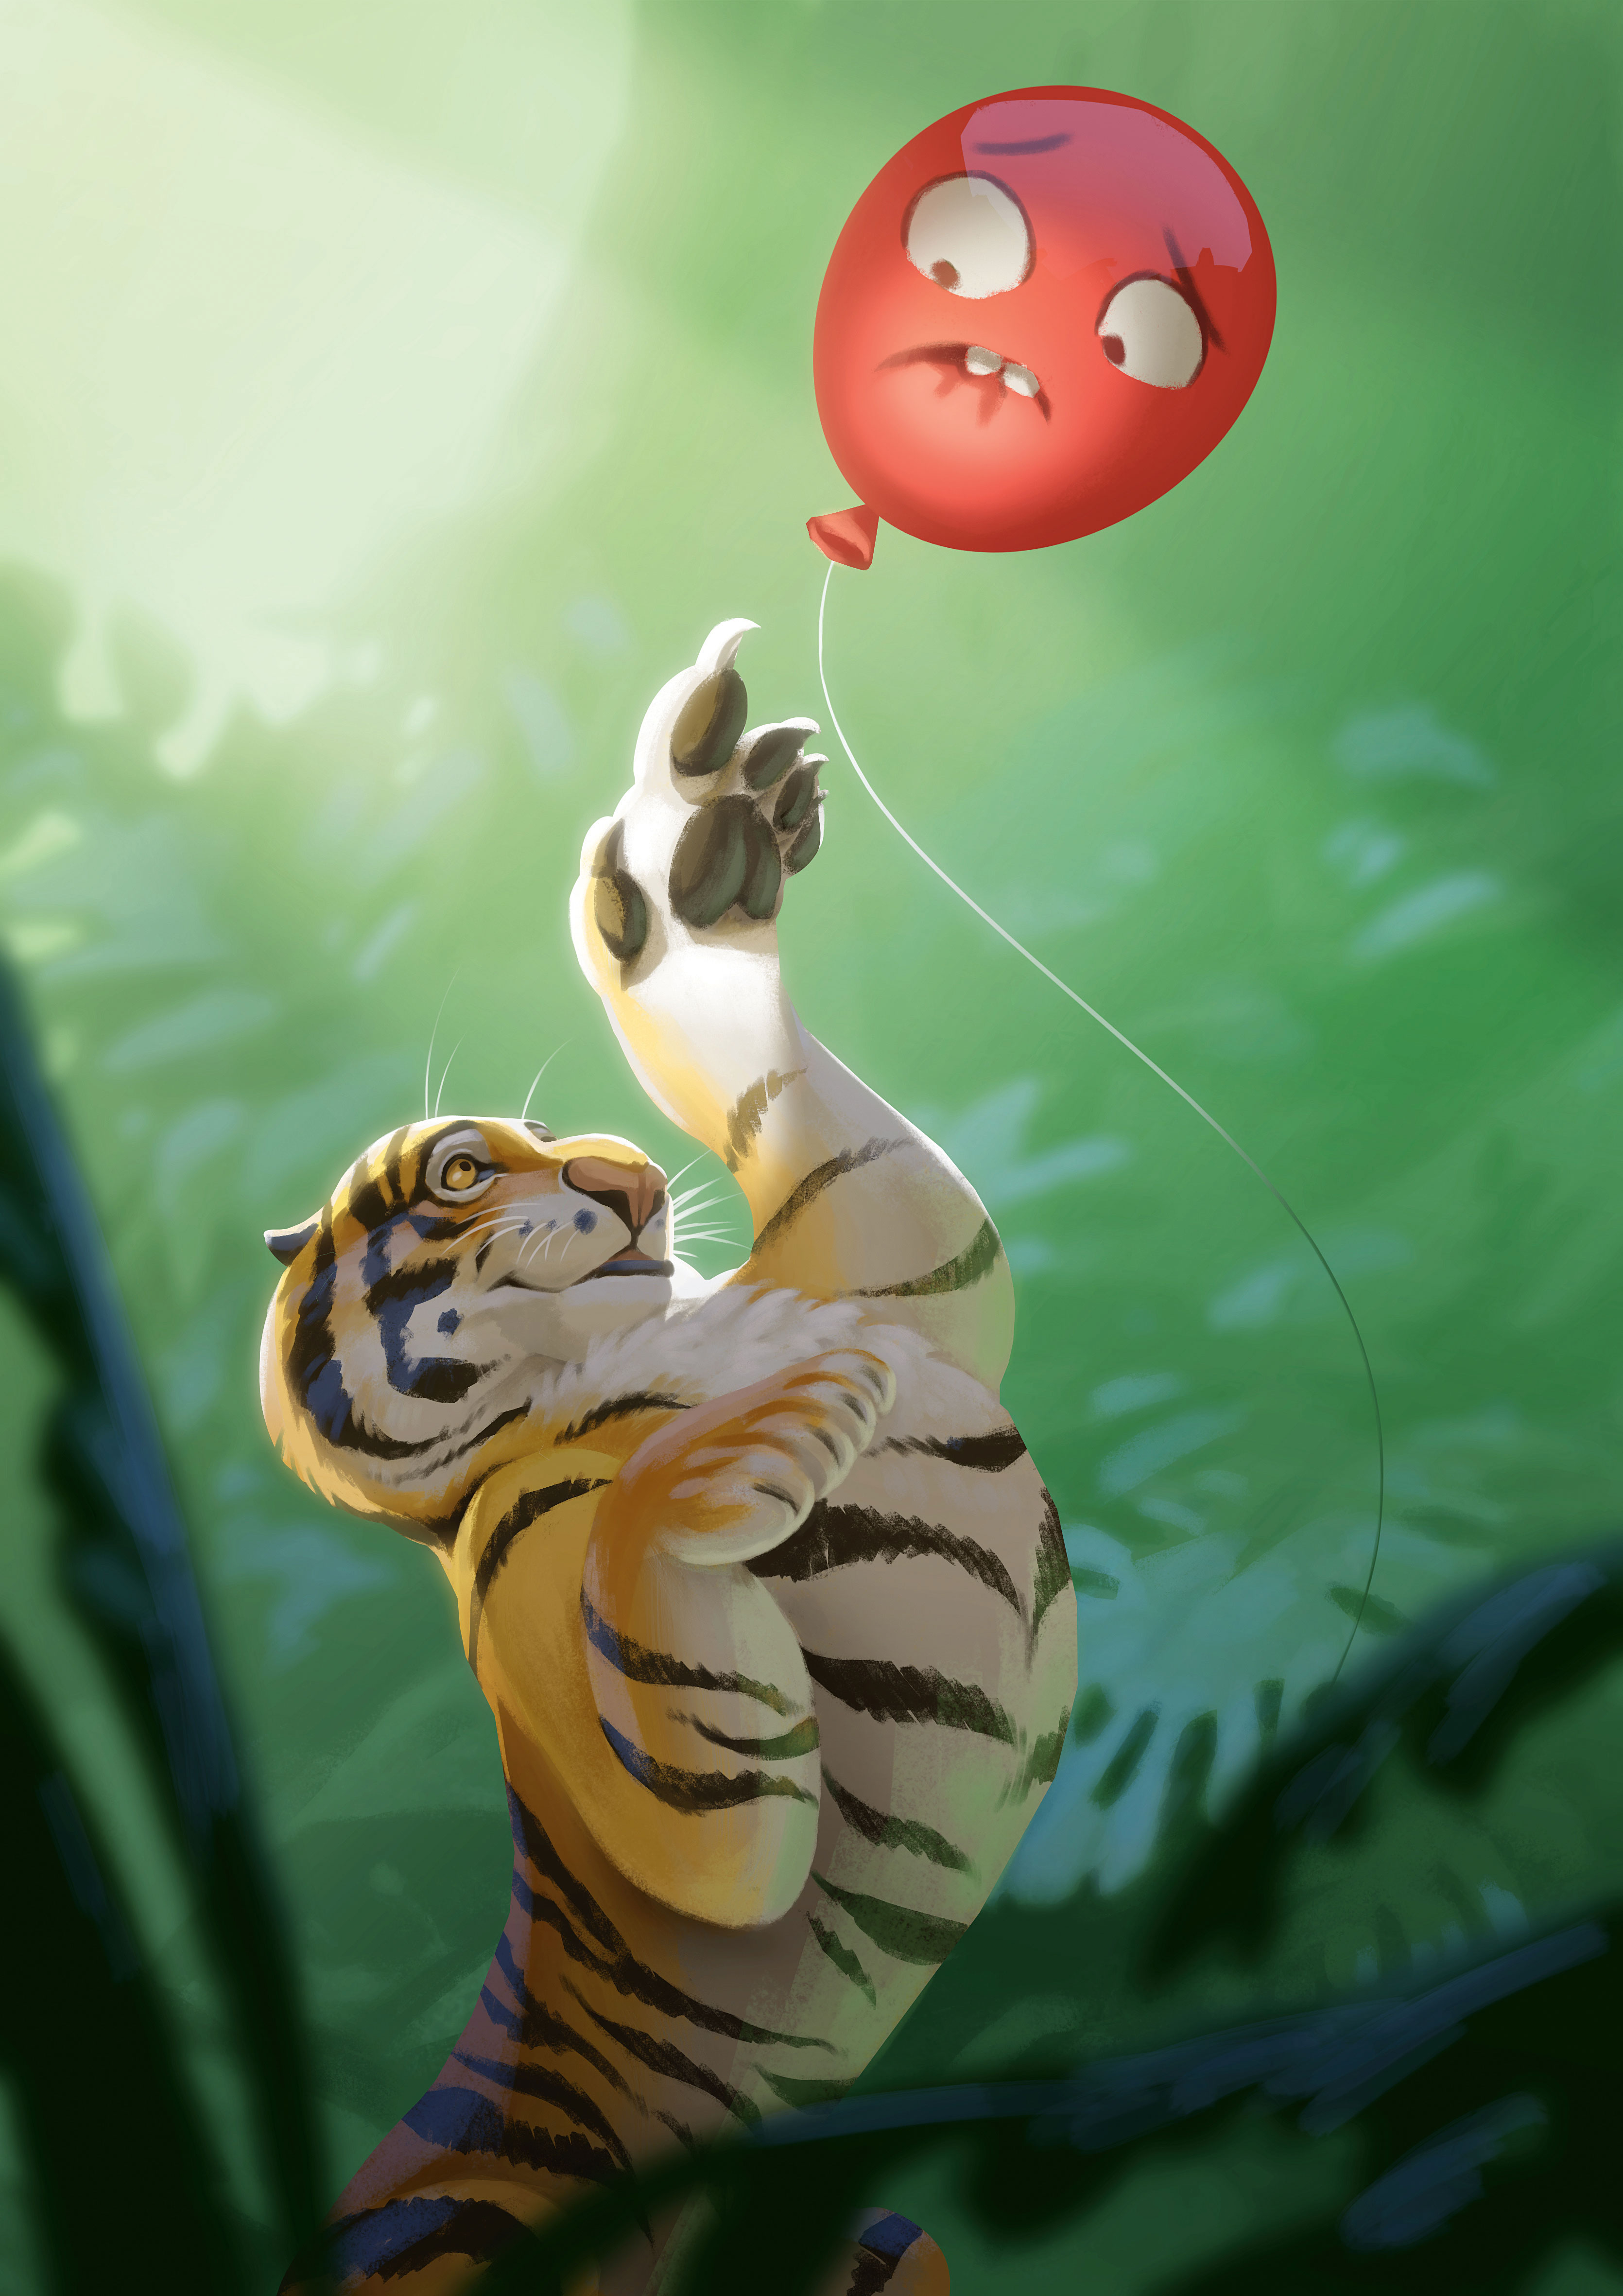
Take my piece with the tiger chasing the balloon for instance. It all started with that tiger alone, reaching for something. I wanted to try something different, and started thinking that it would be hilarious to paint something about a tiger and a scared balloon. Totally random! Asking “what if?” helps you explore more ideas, for creating interesting creatures and characters.
06. Know your anatomy
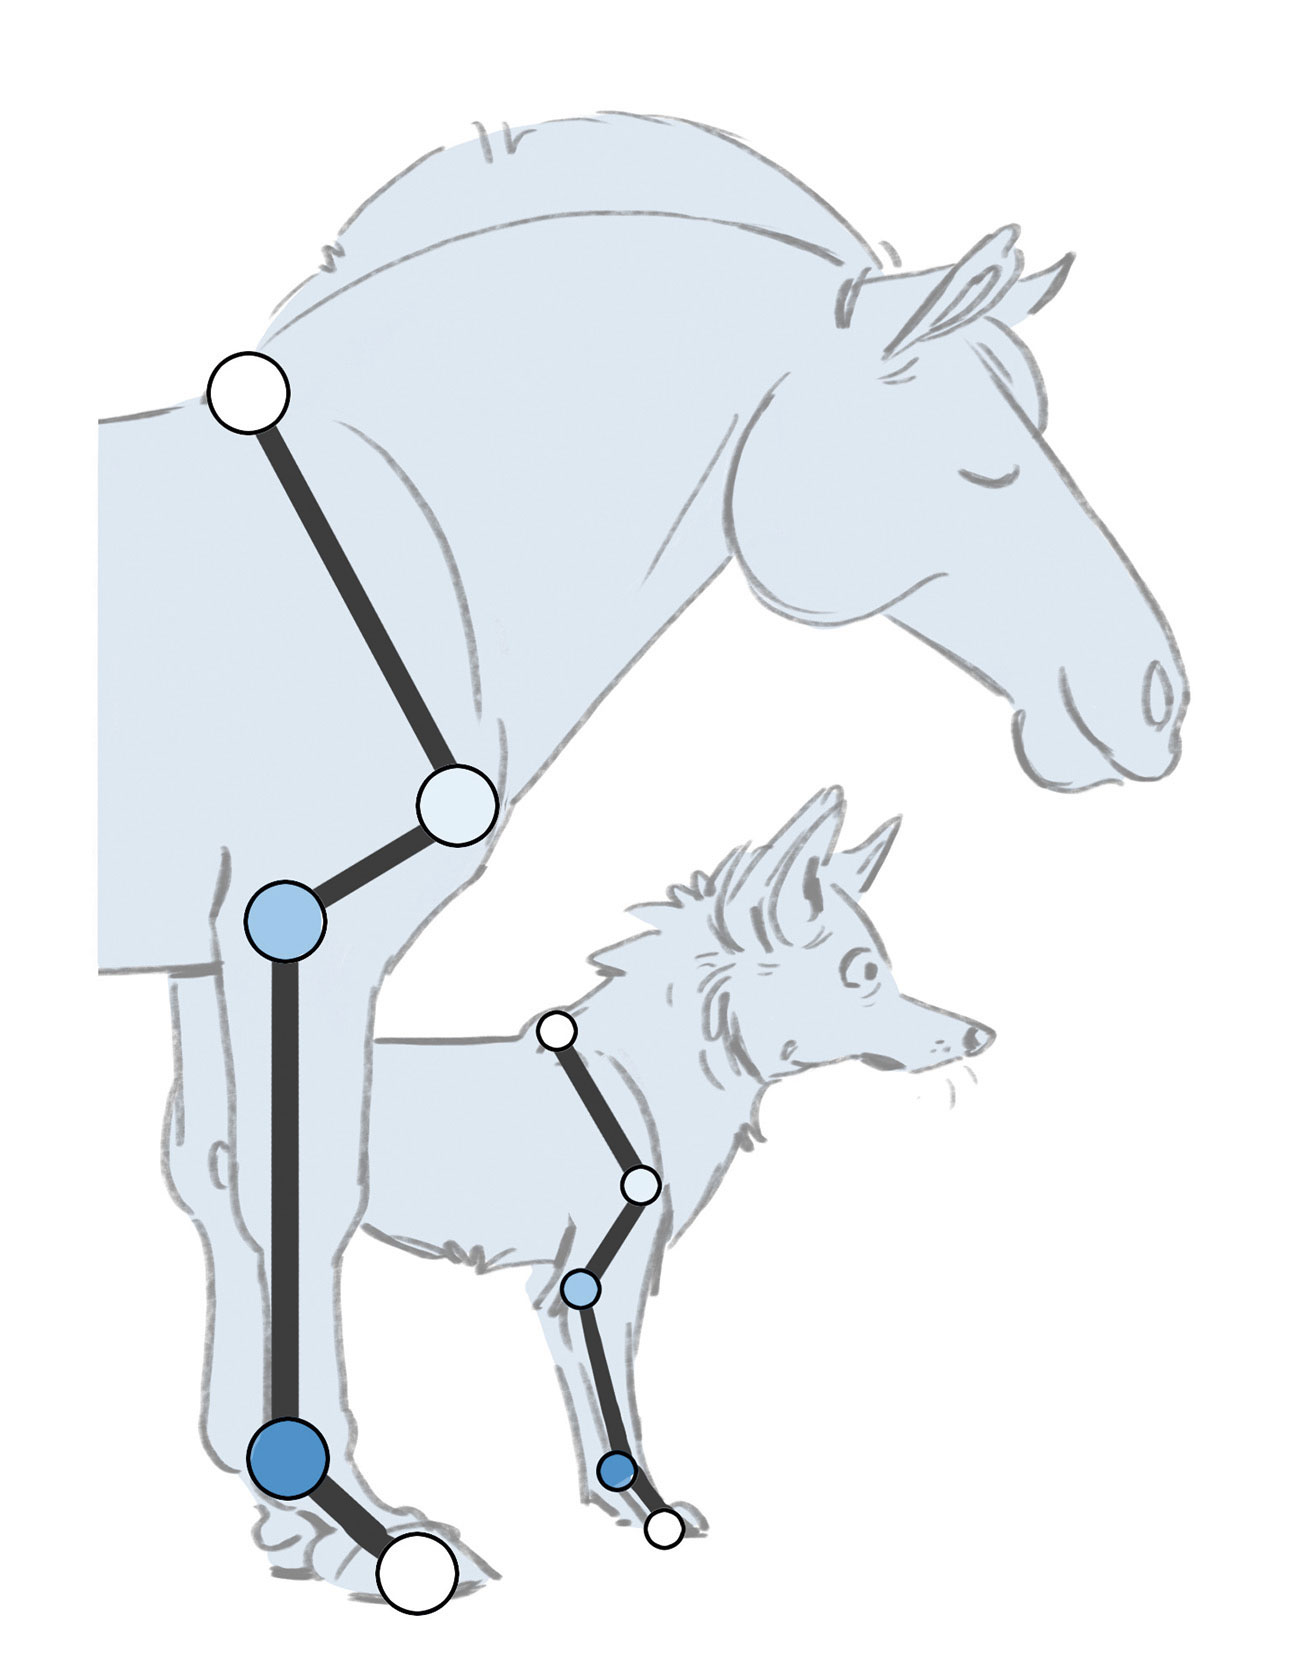
The anatomy doesn’t have to be 100 per cent perfect. But it does still has to be believable. Luckily, many animals share similar anatomy, so you only need to figure out the significant features of the specific animal you’re drawing: proportions, posture, significant details and so on. The bones and limbs are attached in a similar way, so if you learn how to draw one animal, you’ll get a shortcut to a bunch of other ones, too.
07. Play with light to add story
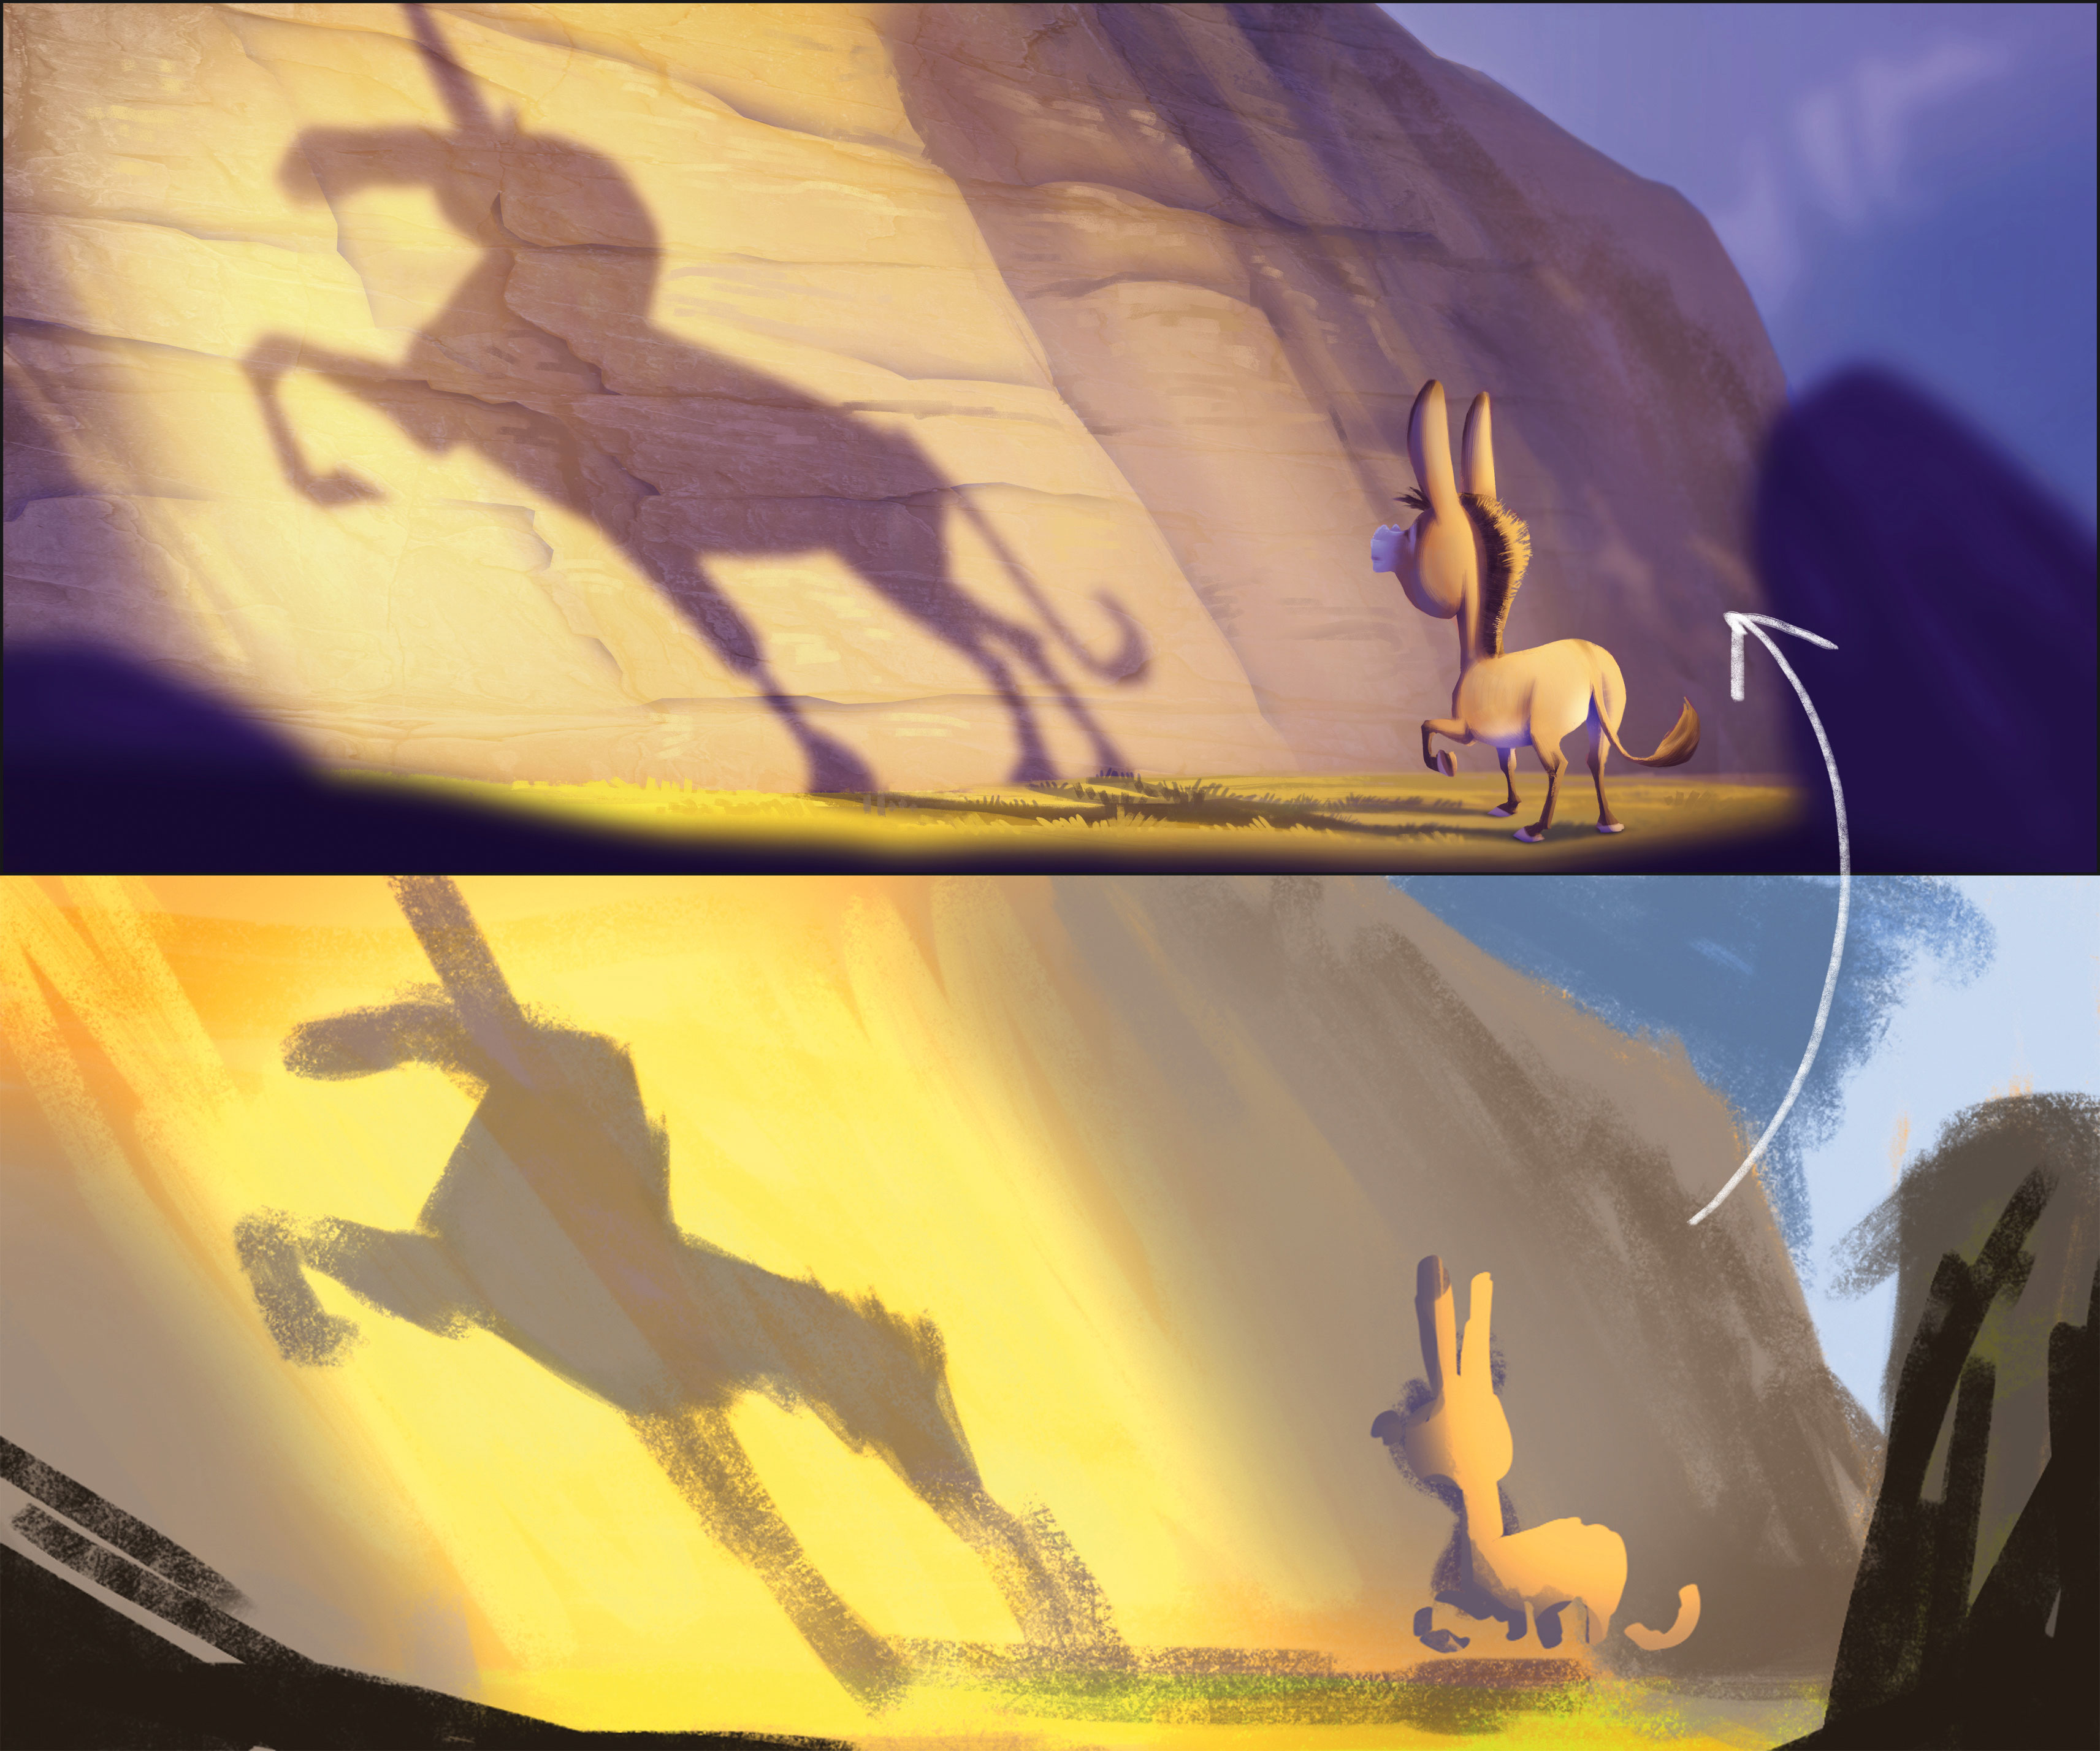
Try out different variations before settling on the final one. Think about the mood, and ask yourself, what do you want to say with your piece? Cute or romantic pieces work well with a sunny, backlit magic hour light, while dark, hard shadows may be more suitable to indicate danger. Study colour scripts for films to see how the studios have solved certain situations and moods. Using actual photos as a base for colours is also helpful if you want to create realistic lighting.
08. Remember Pinterest can inspire, but also trap
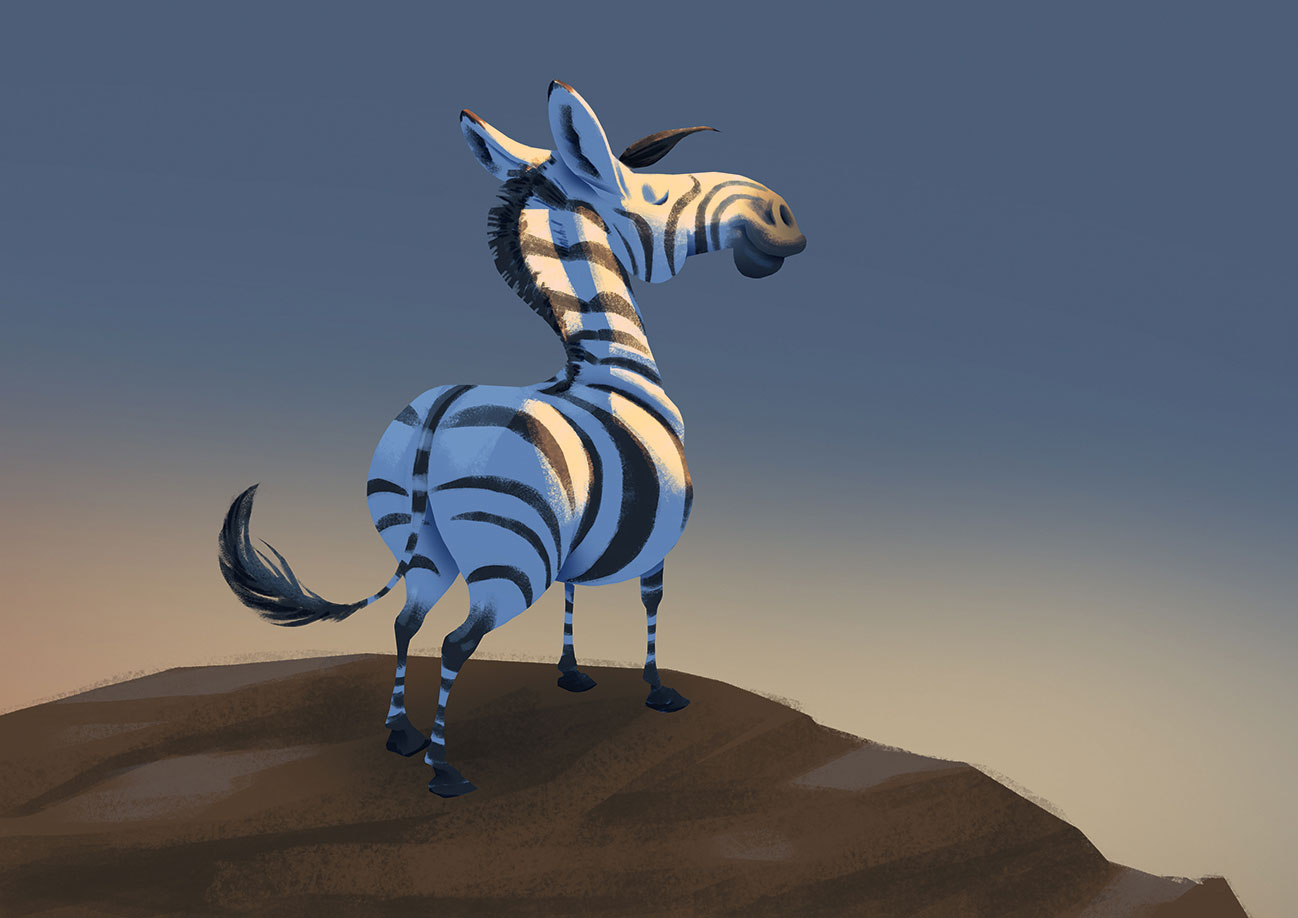
Don’t get too caught up in browsing other artists online for inspiration. Sites like Pinterest or gallery sites like ArtStation are great for boosting your own inspiration, but I would always say to use your own stories and ideas as a base. This is something I’m constantly working on.
09. Include a sense of interaction
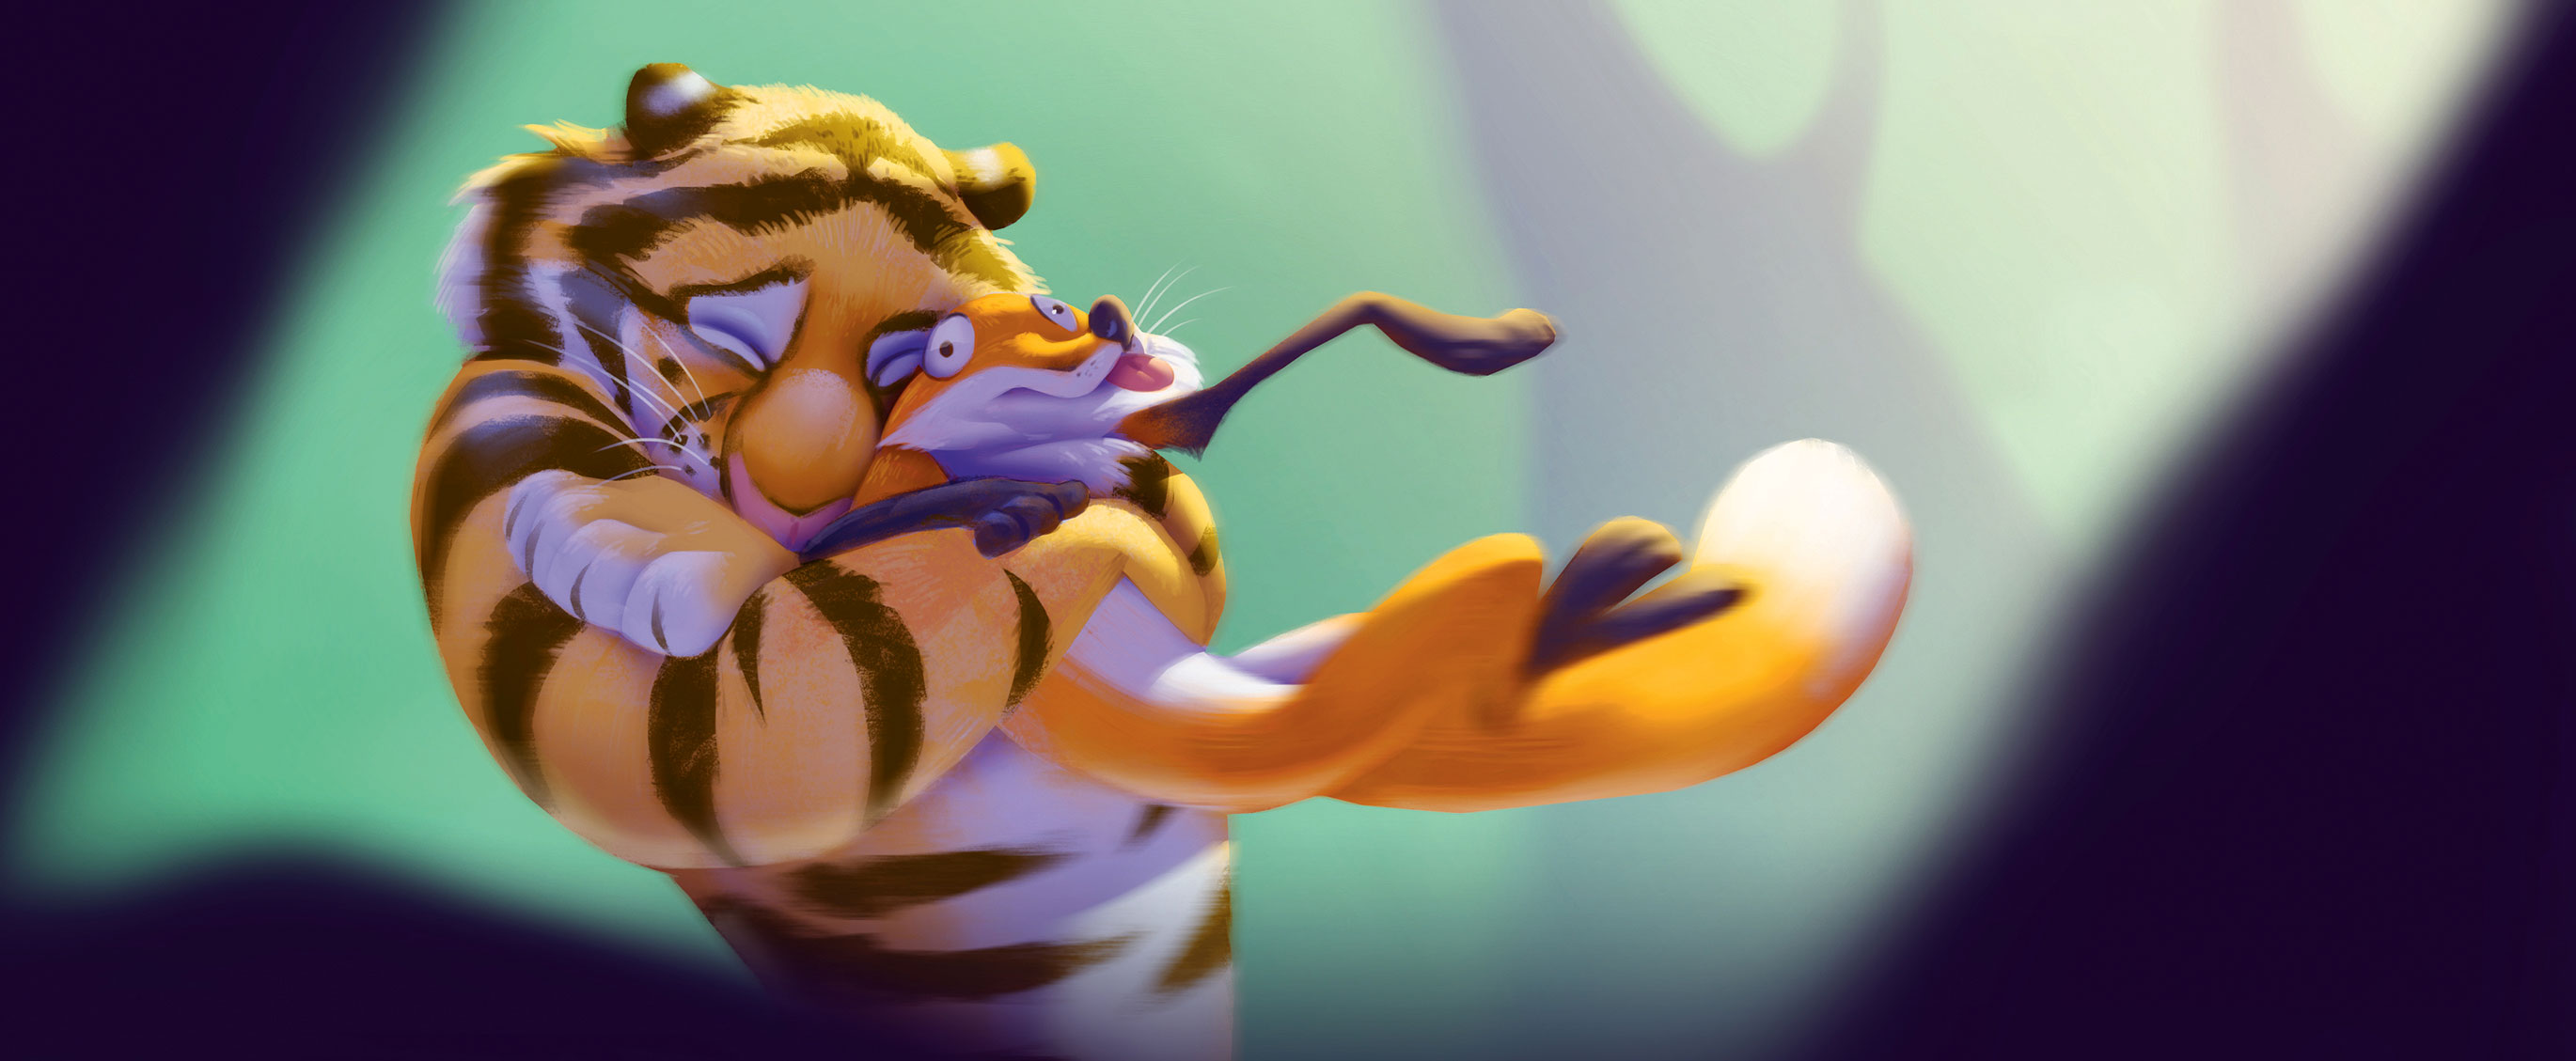
I like art where you can see some kind of emotion in the characters, because that’s something we all can relate to. The characters or creatures can be cuddly, comforting, angry, sad… It doesn’t really matter, as long as you feel something. Take the painting I Love You Bro (above) for instance: some couples have said to me that they remind them of their kids, or even themselves.
10. Use strong body language
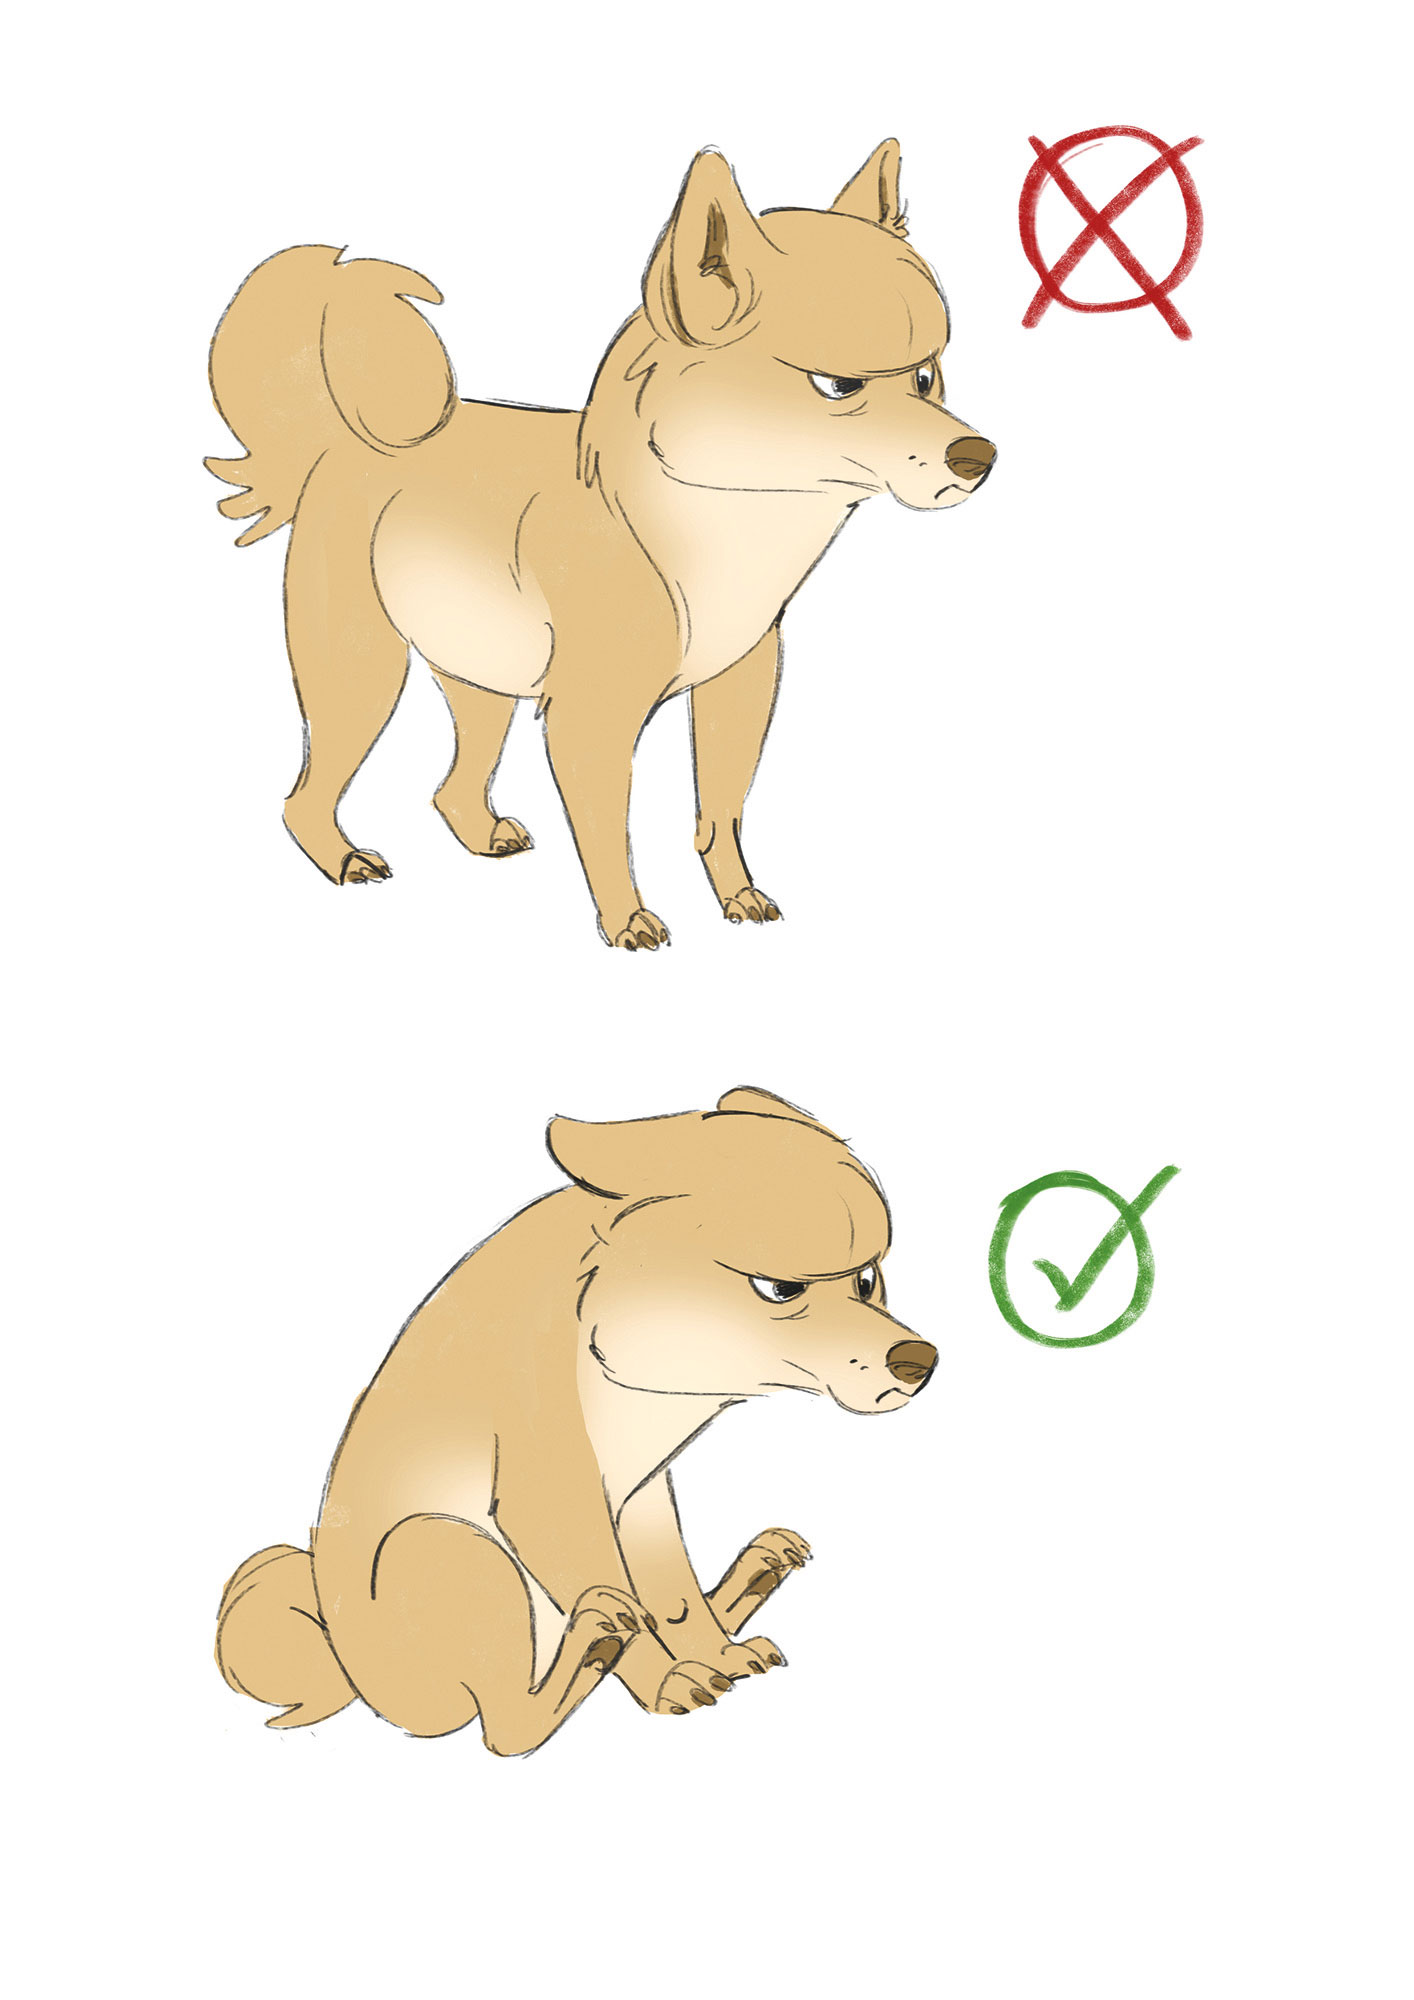
It all starts with definite body language, so try to nail that before diving into the details such as facial expressions. To help do that, try to imagine how your character would pose themselves if it didn’t have a face. I know that sounds a bit creepy, but it makes sense, since body language tells you much more than one might think. Play around with different poses in your rough sketches, then you’ll be able to pin-point which one will be the most suitable to tell your character’s or creature’s story.
11. Paint glossy, realistic but cartoony eyes
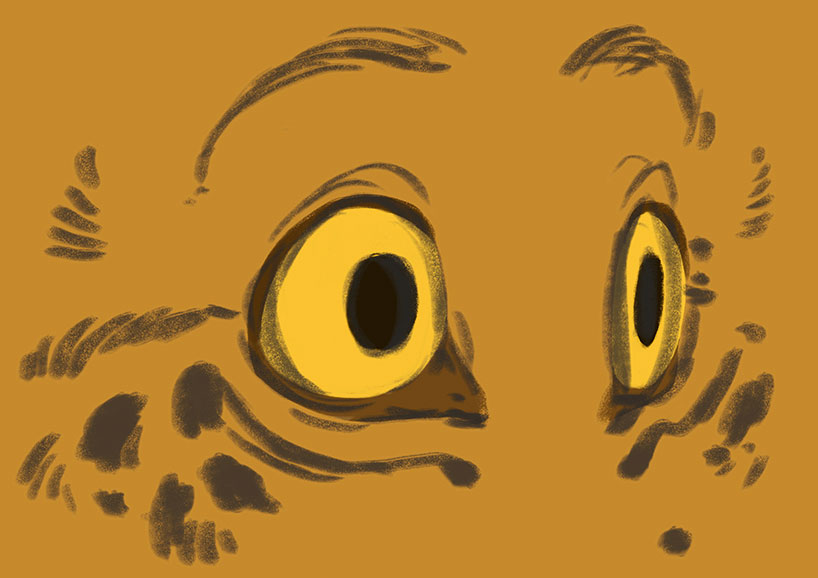
Prepare a sketch if it feels more comfortable, and then paint in all the default colours. Paint the eye, iris and pupils on separate layers with a Hard brush, to keep things nice and crisp. It’s helpful to do all this at the beginning, because it speeds up your process and you can set up a nice finish to your piece.
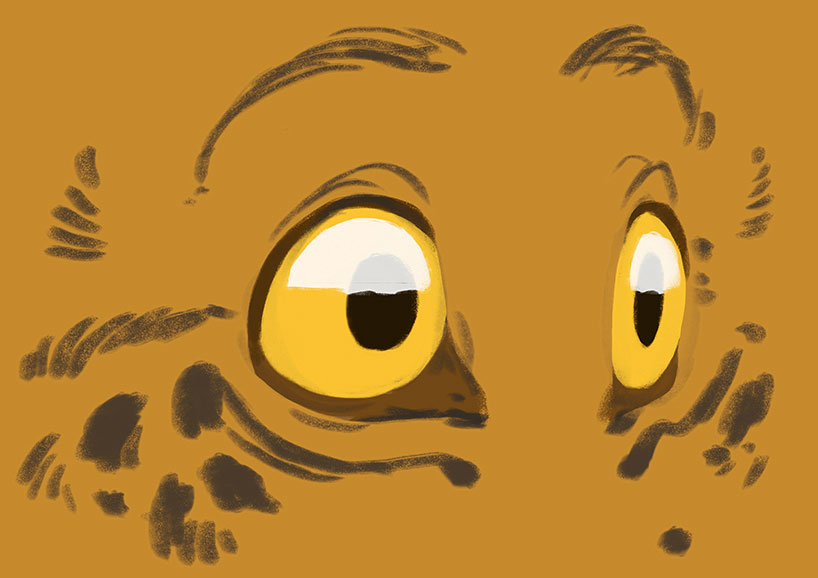
Create a new layer, then lower the Opacity and paint in a white reflection. This is my favourite shortcut to make eyes feel more 3D. It works for sketches and really helps your characters look even more appealing, even though the rest of the lines are rough. Soften the reflection by erasing the bottom with a Soft brush.
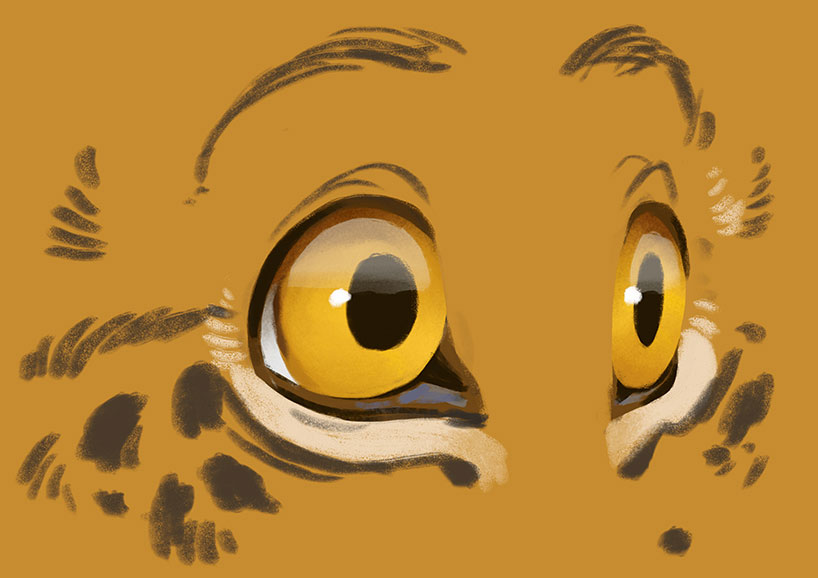
Create another layer below the reflection layer and set it to Multiply. Then, using a darker colour, paint with a Soft brush below the eyelids to create a soft shadow. This will make the eyes pop even more. Go back to your colour layers, and add some colour variations to increase the realism.
12. Ensure that viewers can relate to your paintings
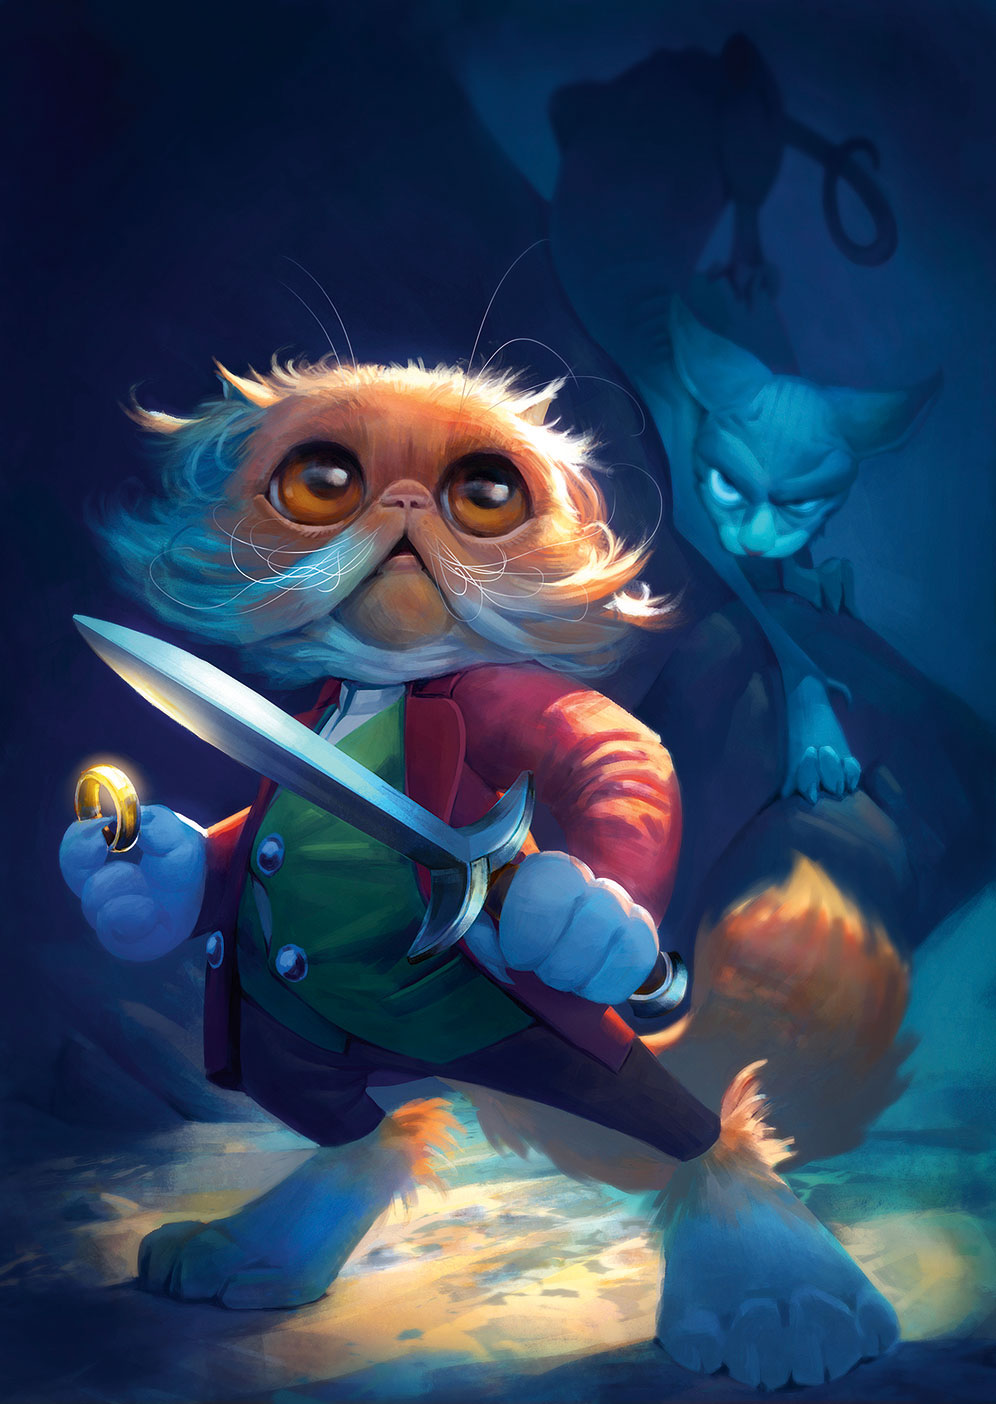
With my Hobbit cats piece, people could relate to it because it was funny and familiar. I even used my own cats as models. Things just suddenly fell into place – my cats resembled Bilbo and Gollum! It’s not a coincidence that I painted this during the same time as The Hobbit was showing at the cinemas. The timing was perfect and inspiration struck hard.
13. Use economic brush strokes
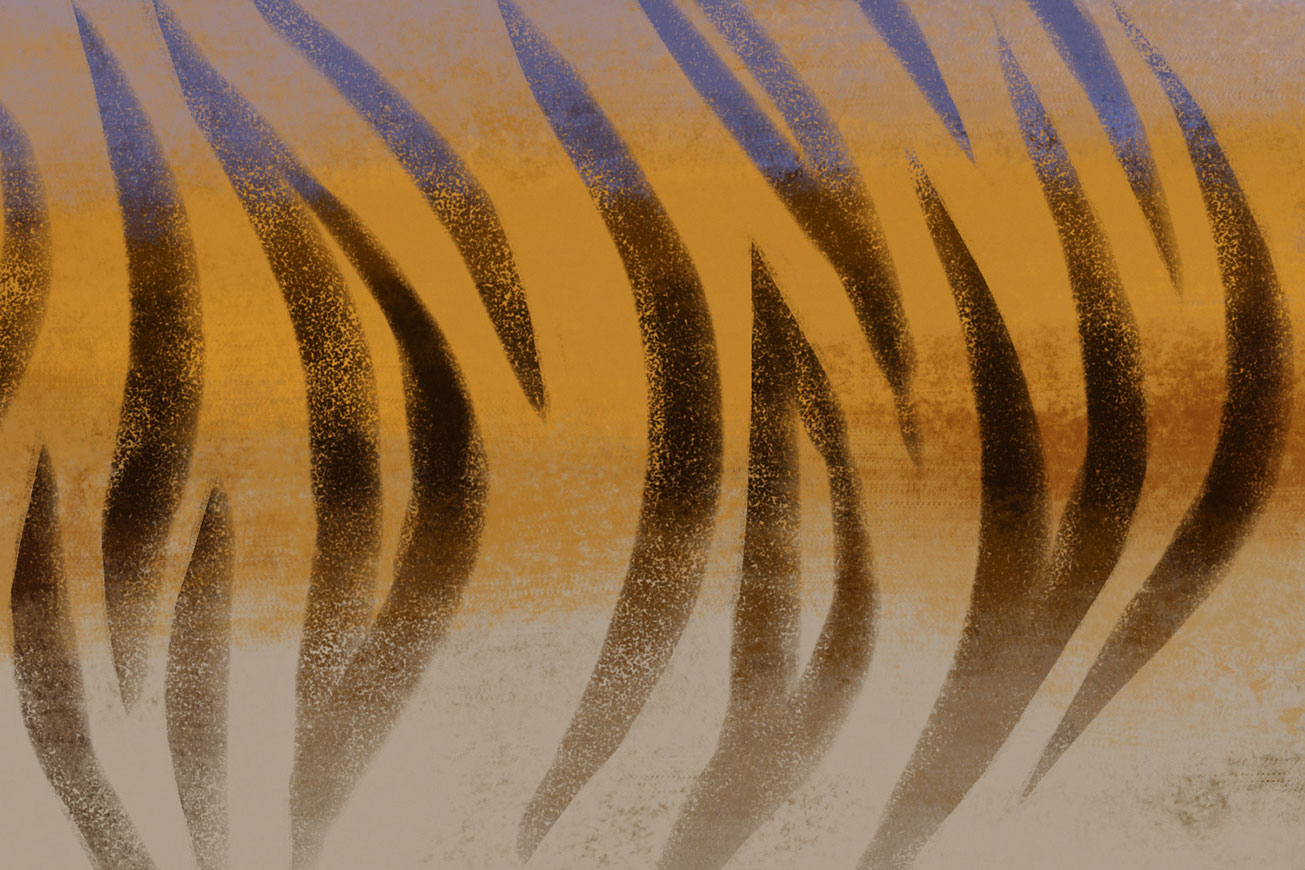
One way to make paintings or sketches look cleaner is to lock the Transparency on some of the layers and keep painting within brush strokes. I do this a lot to keep things nice and clean, and the brush strokes look much more confident. This technique can also be a lot of help when painting hair or fur. You’ll gain more control over smaller strains of hair, whiskers, eyebrows and so on.
14. Visualise the line of action
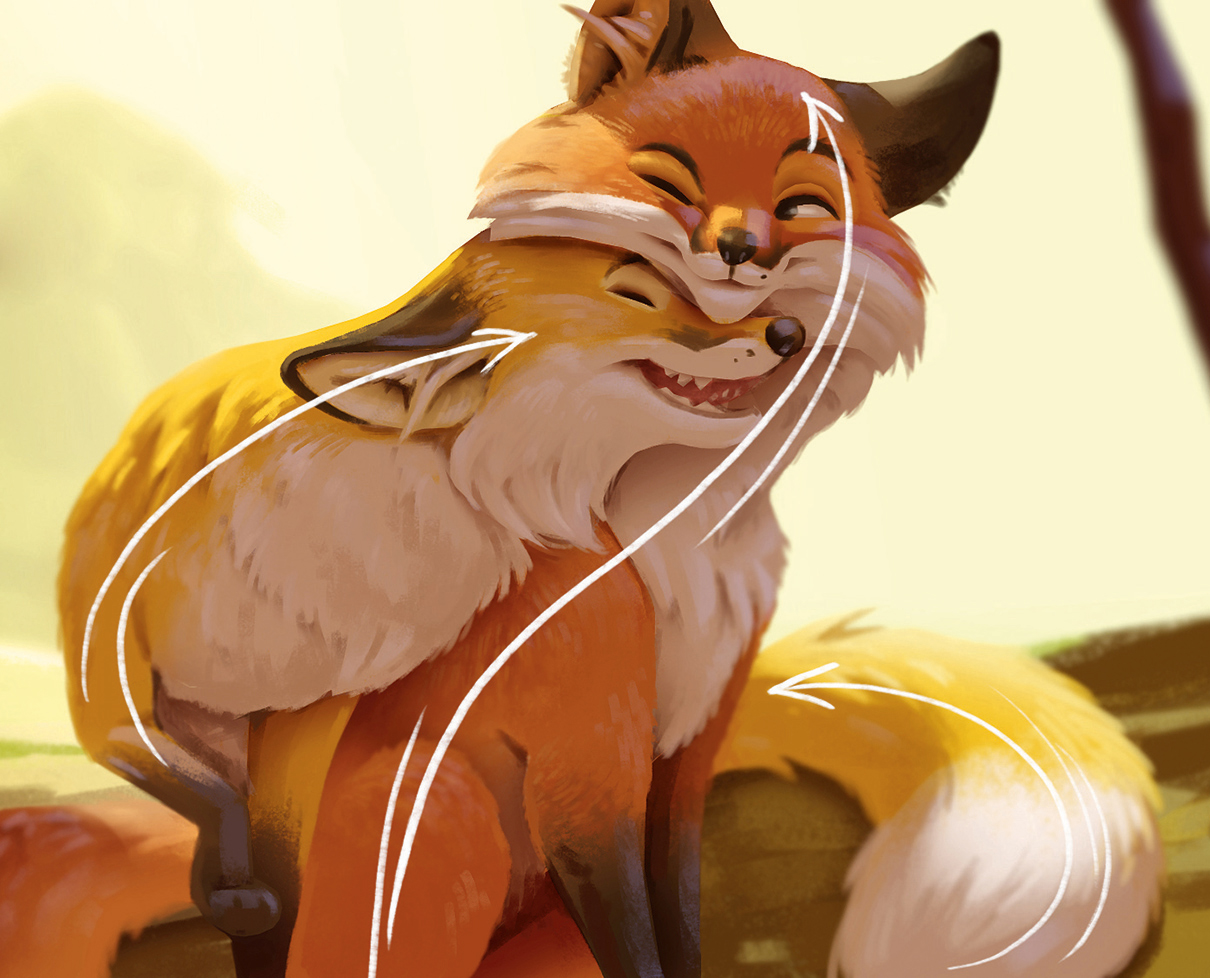
Try to think of your character or creature as one simple line of action and build the pose around that. This goes hand in hand with my tip on body language (see number 10). Straight lines indicate a more aggressive pose, while softer curves exude a sense of calm.
15. Work with a limited colour palette
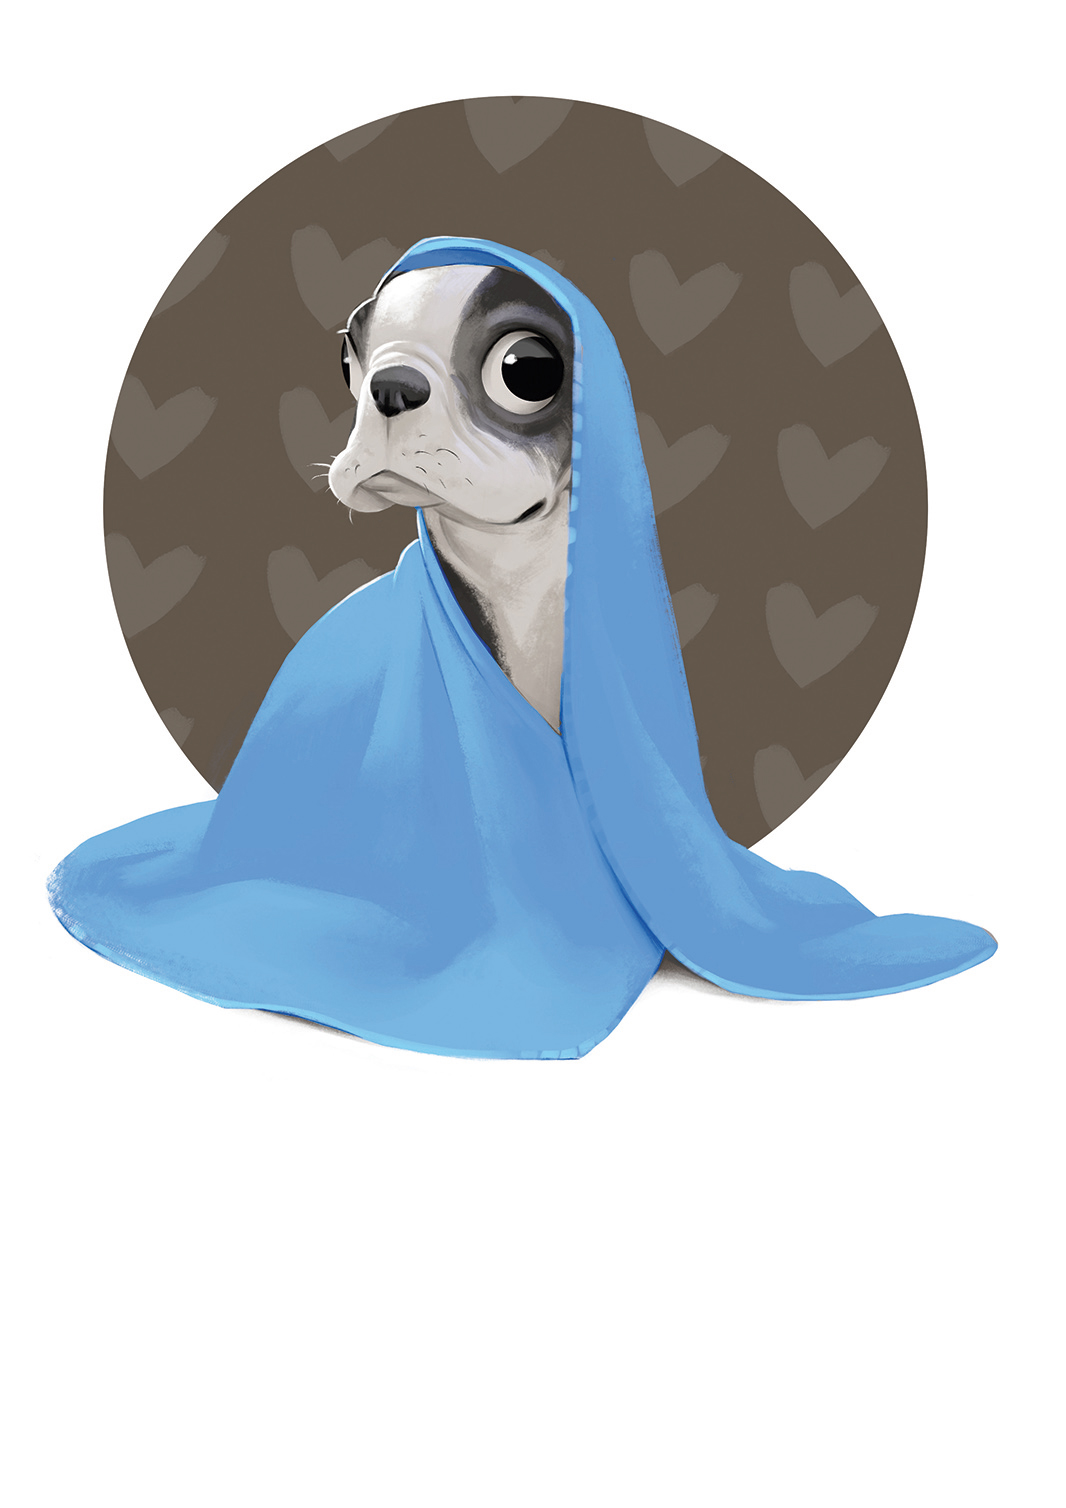
Experiment and see what complementary colours work with your piece. I like to decide on one significant colour and let that be the most saturated one. And I pick a less-saturated complementary one to support it. The fastest way for me is to start with a monochromatic painting and save the bright colours to the last. Or just settle with the monochromatic scheme.
This article was originally published in issue 140 of ImagineFX magazine, the world's best-selling magazine for digital artists – packed with workshops and interviews with fantasy and sci-fi artists, plus must-have kit reviews. Subscribe to ImagineFX here.
Related articles:

Thank you for reading 5 articles this month* Join now for unlimited access
Enjoy your first month for just £1 / $1 / €1
*Read 5 free articles per month without a subscription

Join now for unlimited access
Try first month for just £1 / $1 / €1
