10 tips for painting vibrant water
Discover the secrets behind painting energised water and realistic reflections in any situation.
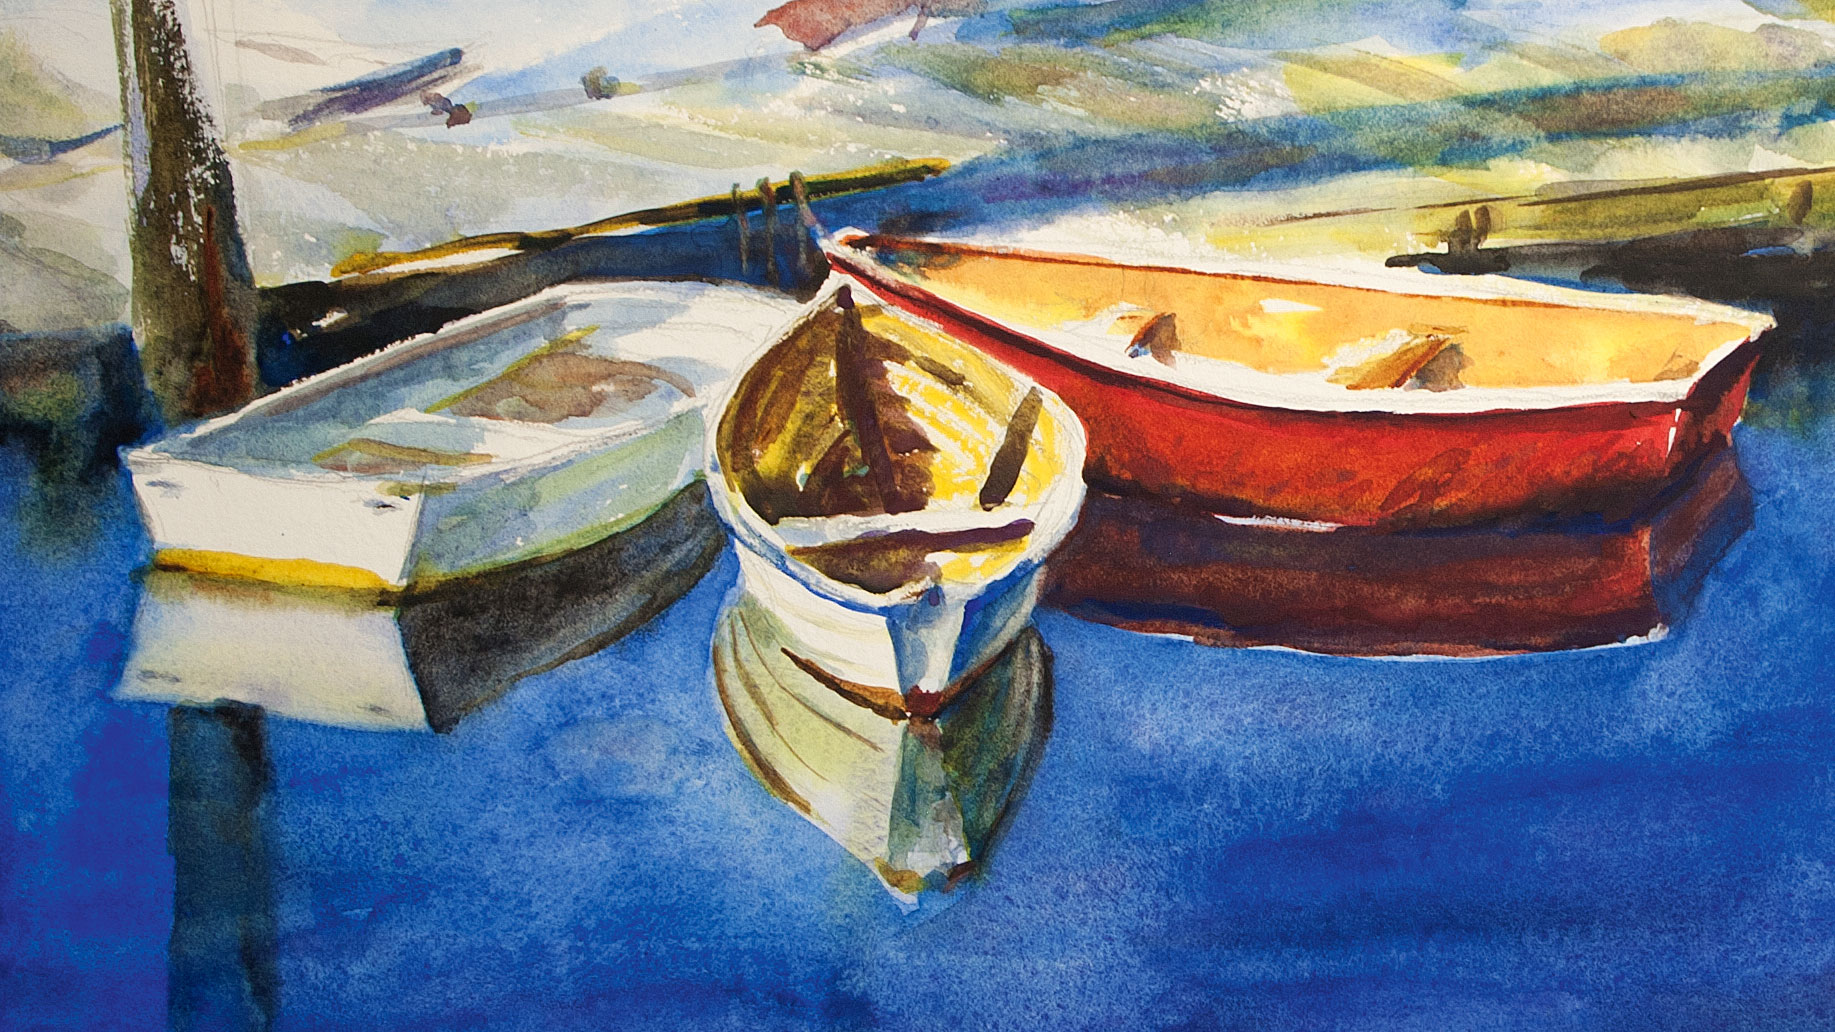
Painting water can sometimes seem overwhelming. Water moves constantly, so capturing a moment without the aid of a camera may appear impossible. But paintings can convey the constant movement of water in a way that photos struggle to, as long as you have the right water-painting technique.
The following 10 tips explain a few basic skills and techniques you can use to paint water that looks spontaneous and vibrant. Although I use watercolours, these tips also translate to the medium of your choice. Practise en plein air whenever you can, but you can work from photos when you need to.
Water can be opaque, transparent, choppy or smooth, but you use the same techniques for painting it. Follow these tips to make sure that all of your water paintings are vibrant and lively.
01. Paint still water first
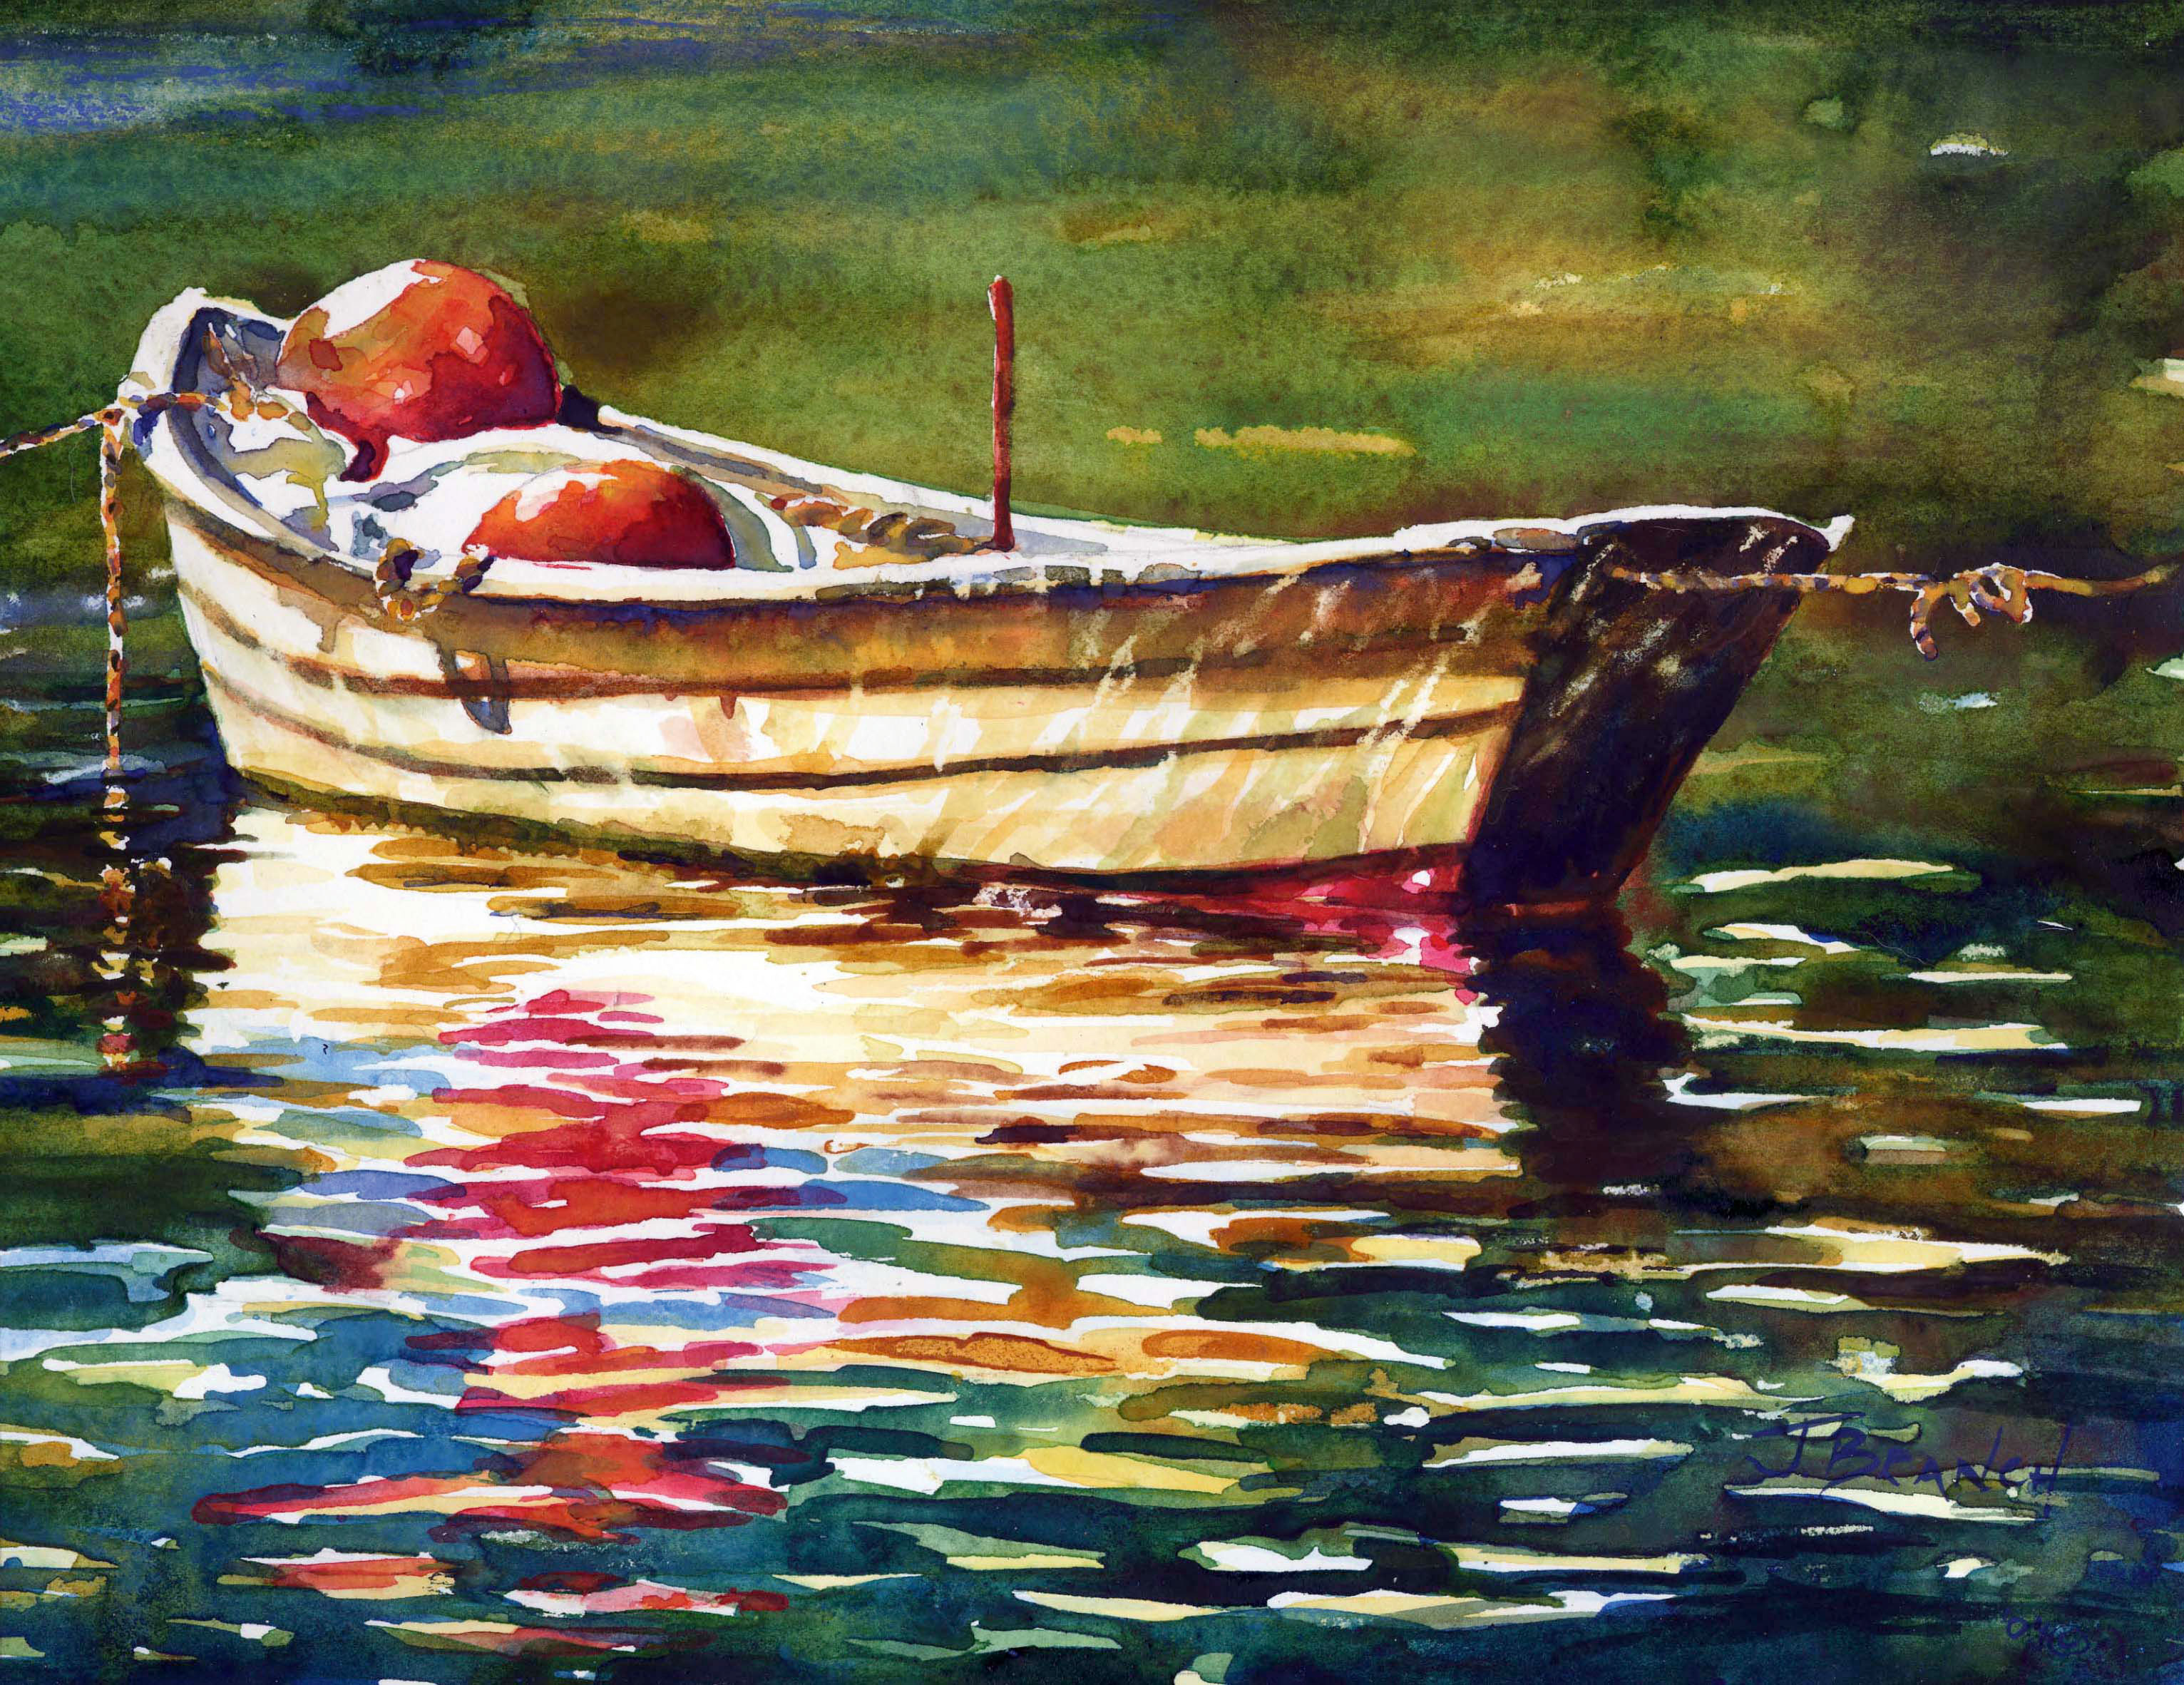
Start practising when the water is calm and reflective, then later you’ll be able to use the techniques you develop here to paint any other type of water, from raging surf to a rippling pond surface. All of the wave and wind action makes the surf seem far more complicated to paint, but the principles are the same as for still water. If you learn to paint reflections and subtle ripples on that calm pond, a crashing wave at the beach will be easy to paint. A wave is just a very big ripple, after all!
02. Reflect down
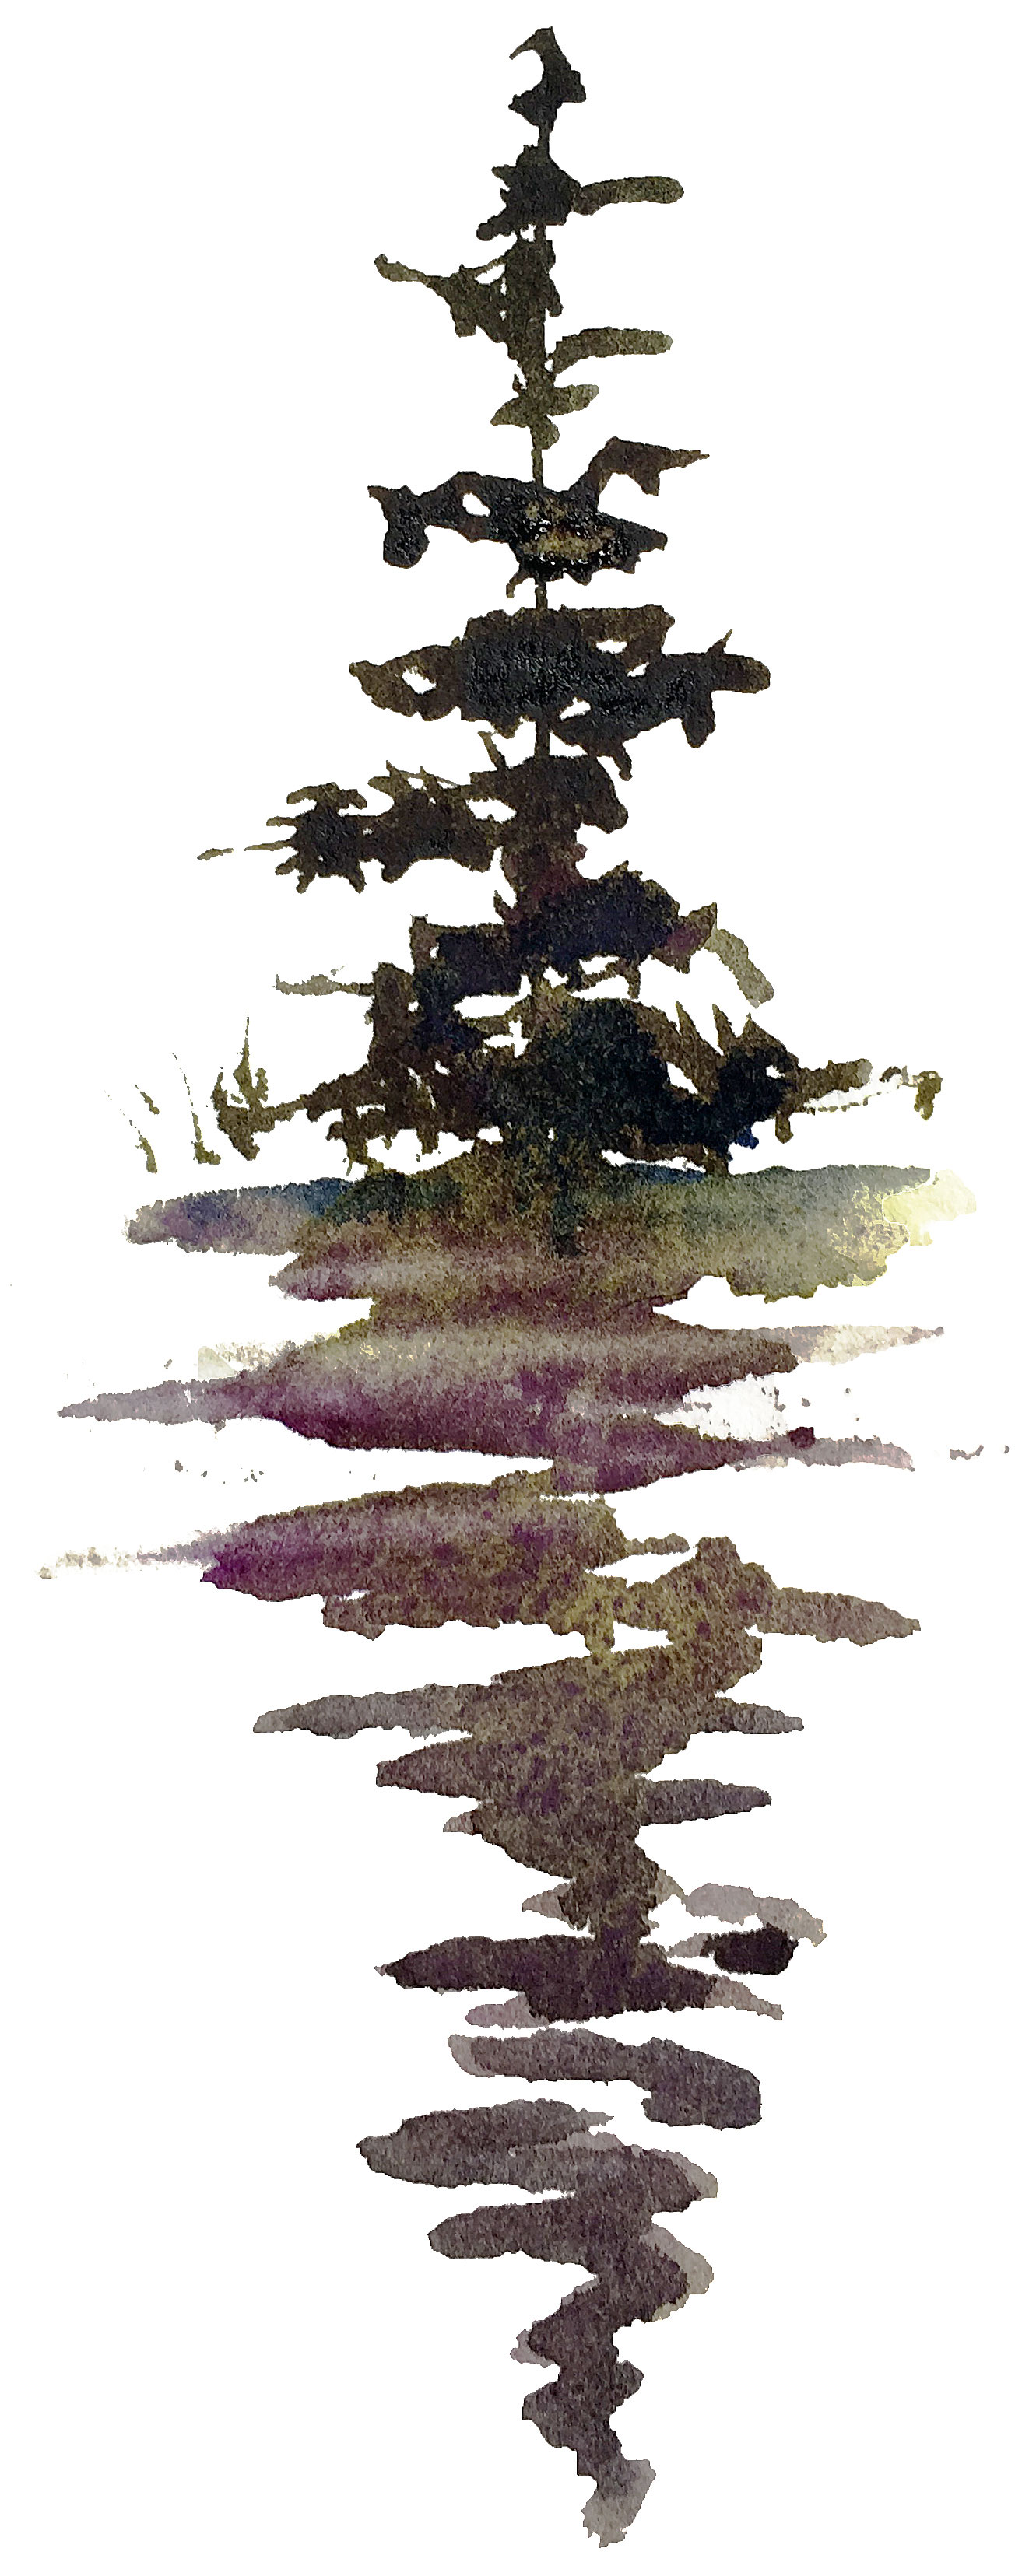
No matter what angle you’re painting from, reflections always come directly towards you from the source. It’s simple physics, but sometimes people expect reflections to follow the same rules as shadows and perspective.
To paint them, first pick a simple line in the reflected object such as a tree trunk or building façade. The reflection of that line will always be perpendicular to you, or the bottom of your page. This makes it easy to pull some pigment down from the reflected object into the reflection. All you need are a few dashes of movement on the next wash.
03. Notice colours
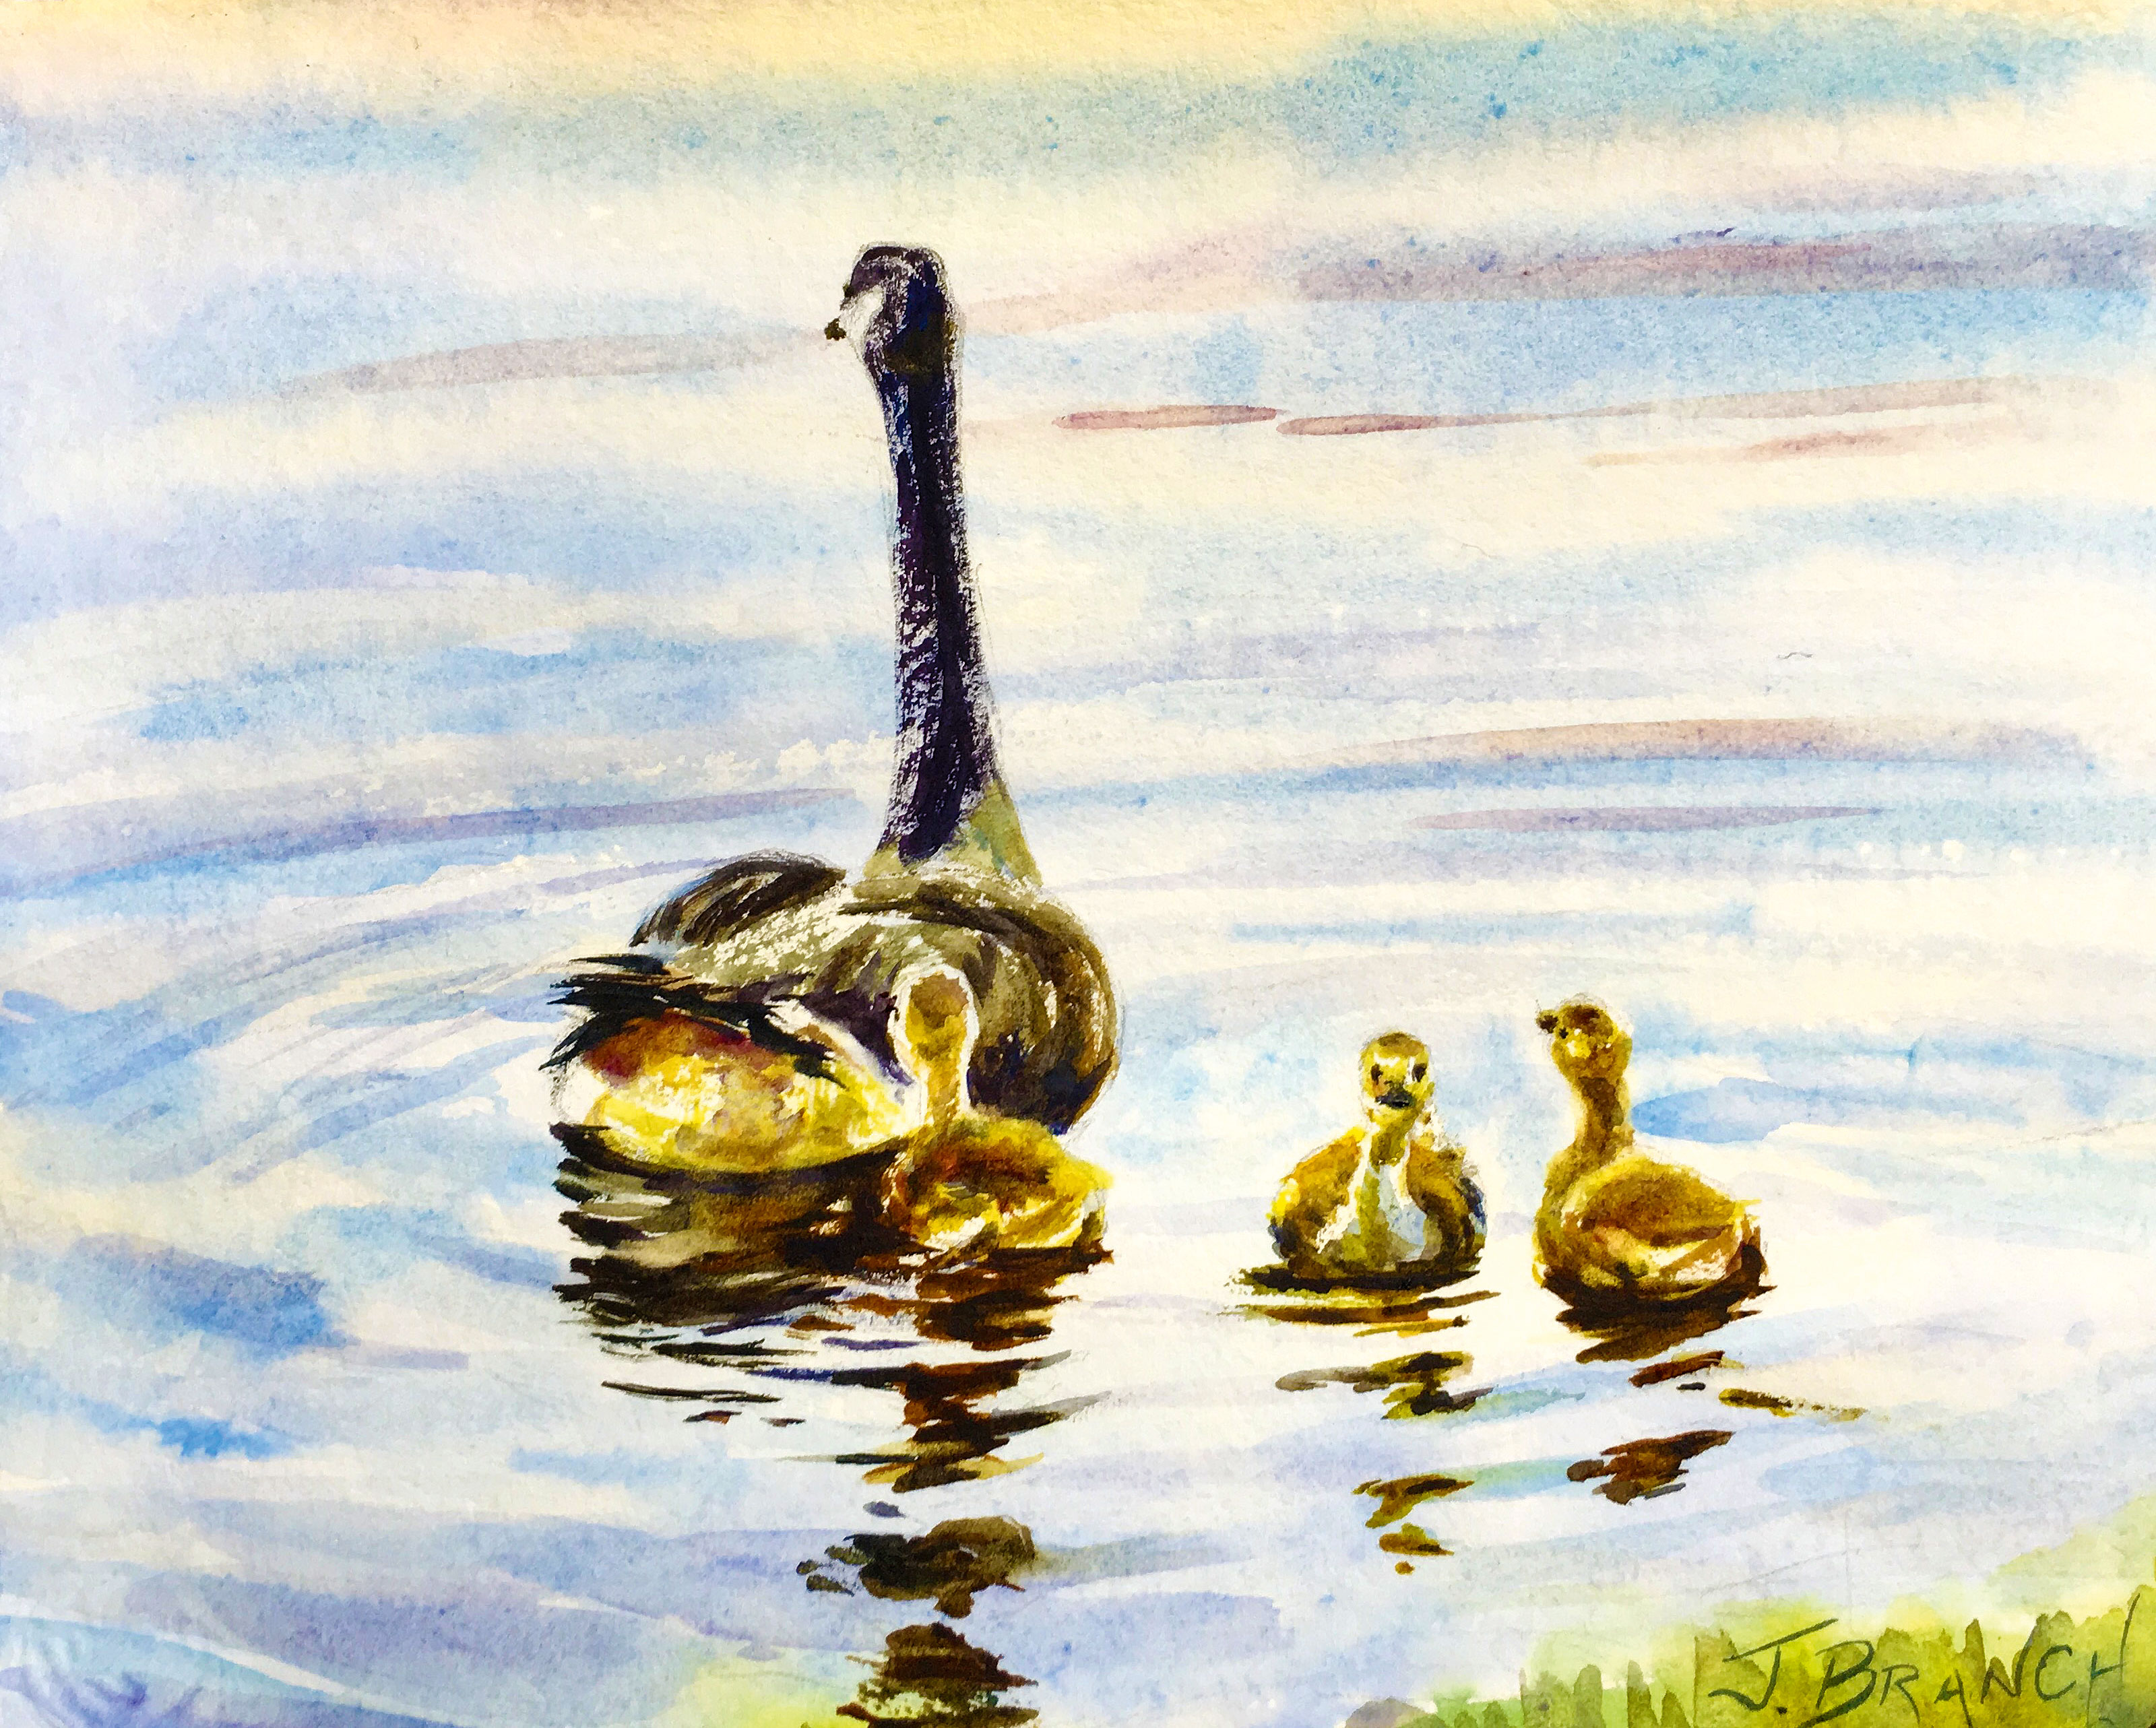
Water is only blue if it’s reflecting blue! Look at the colours in the reflected trees, sky and objects and use these colours as your palette for any water that’s not white foam. Even the hull of a boat or sky not seen in your painting might still be seen in a reflection.
Get the Creative Bloq Newsletter
Daily design news, reviews, how-tos and more, as picked by the editors.
To connect the water and landscape, pull the colours from the reflected objects directly into the water reflection, then go back and sharpen the shoreline with a few strokes of strong darks.
04. Flatten distant water
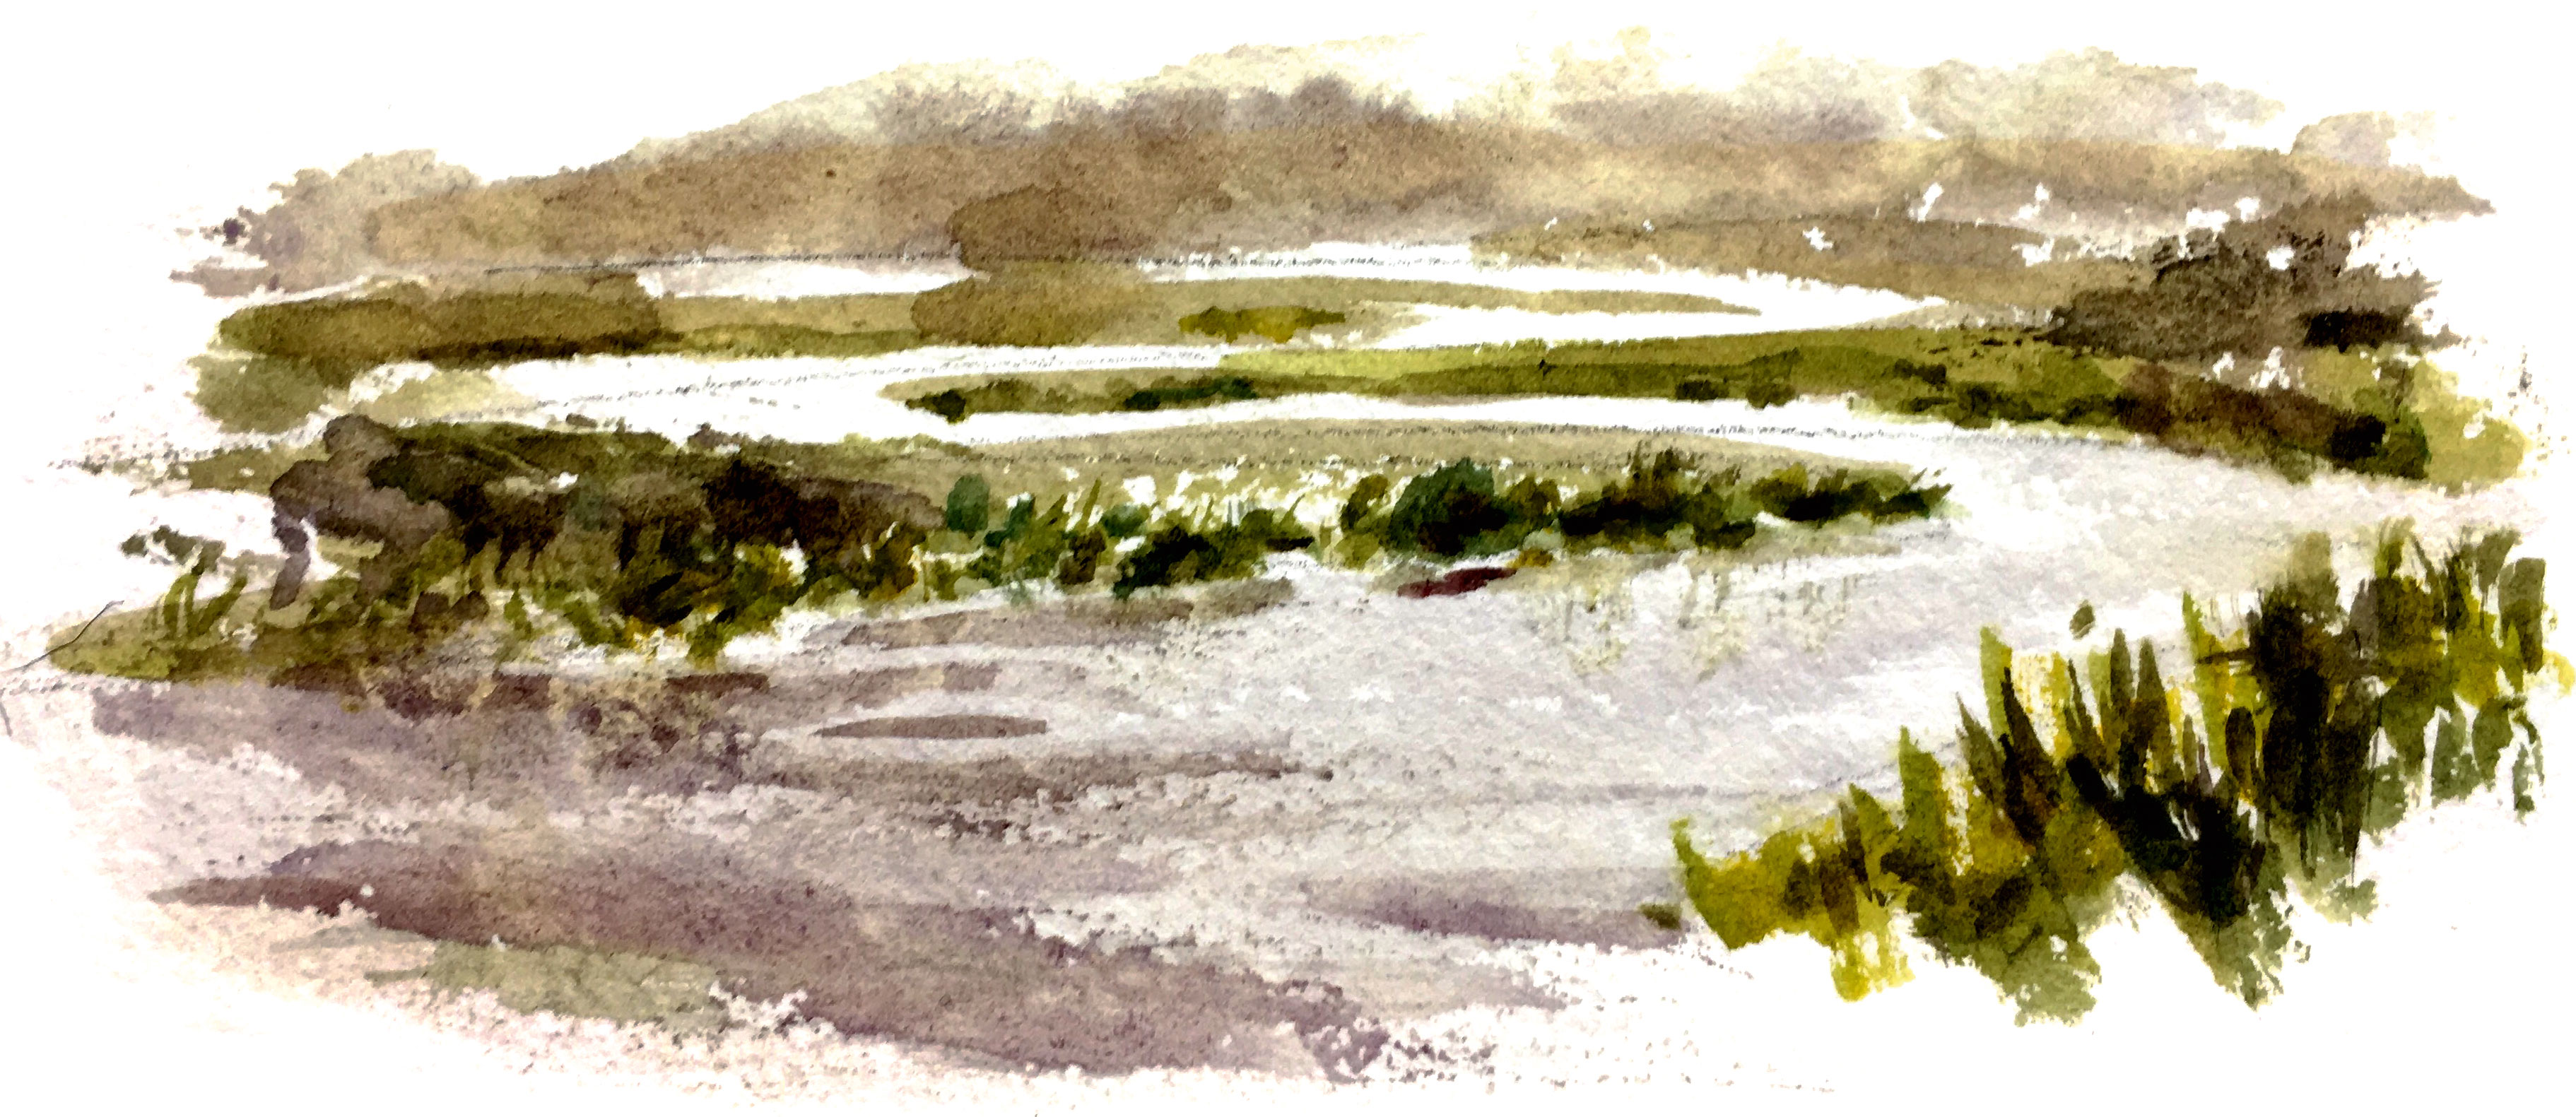
Water appears flatter as it grows more distant, and horizontal lines can convey this flattening of the water’s surface and the shortening of reflections. Use a few connecting horizontal dashes to show the distant water and reflections from the shore or objects on its surface.
Streams and rivers also appear to flatten at a distance. Almost the same strokes you use for a reflected squiggle (as seen in the tip 2 picture) can look like an entire river as it snakes away.
05. Make reflections dull
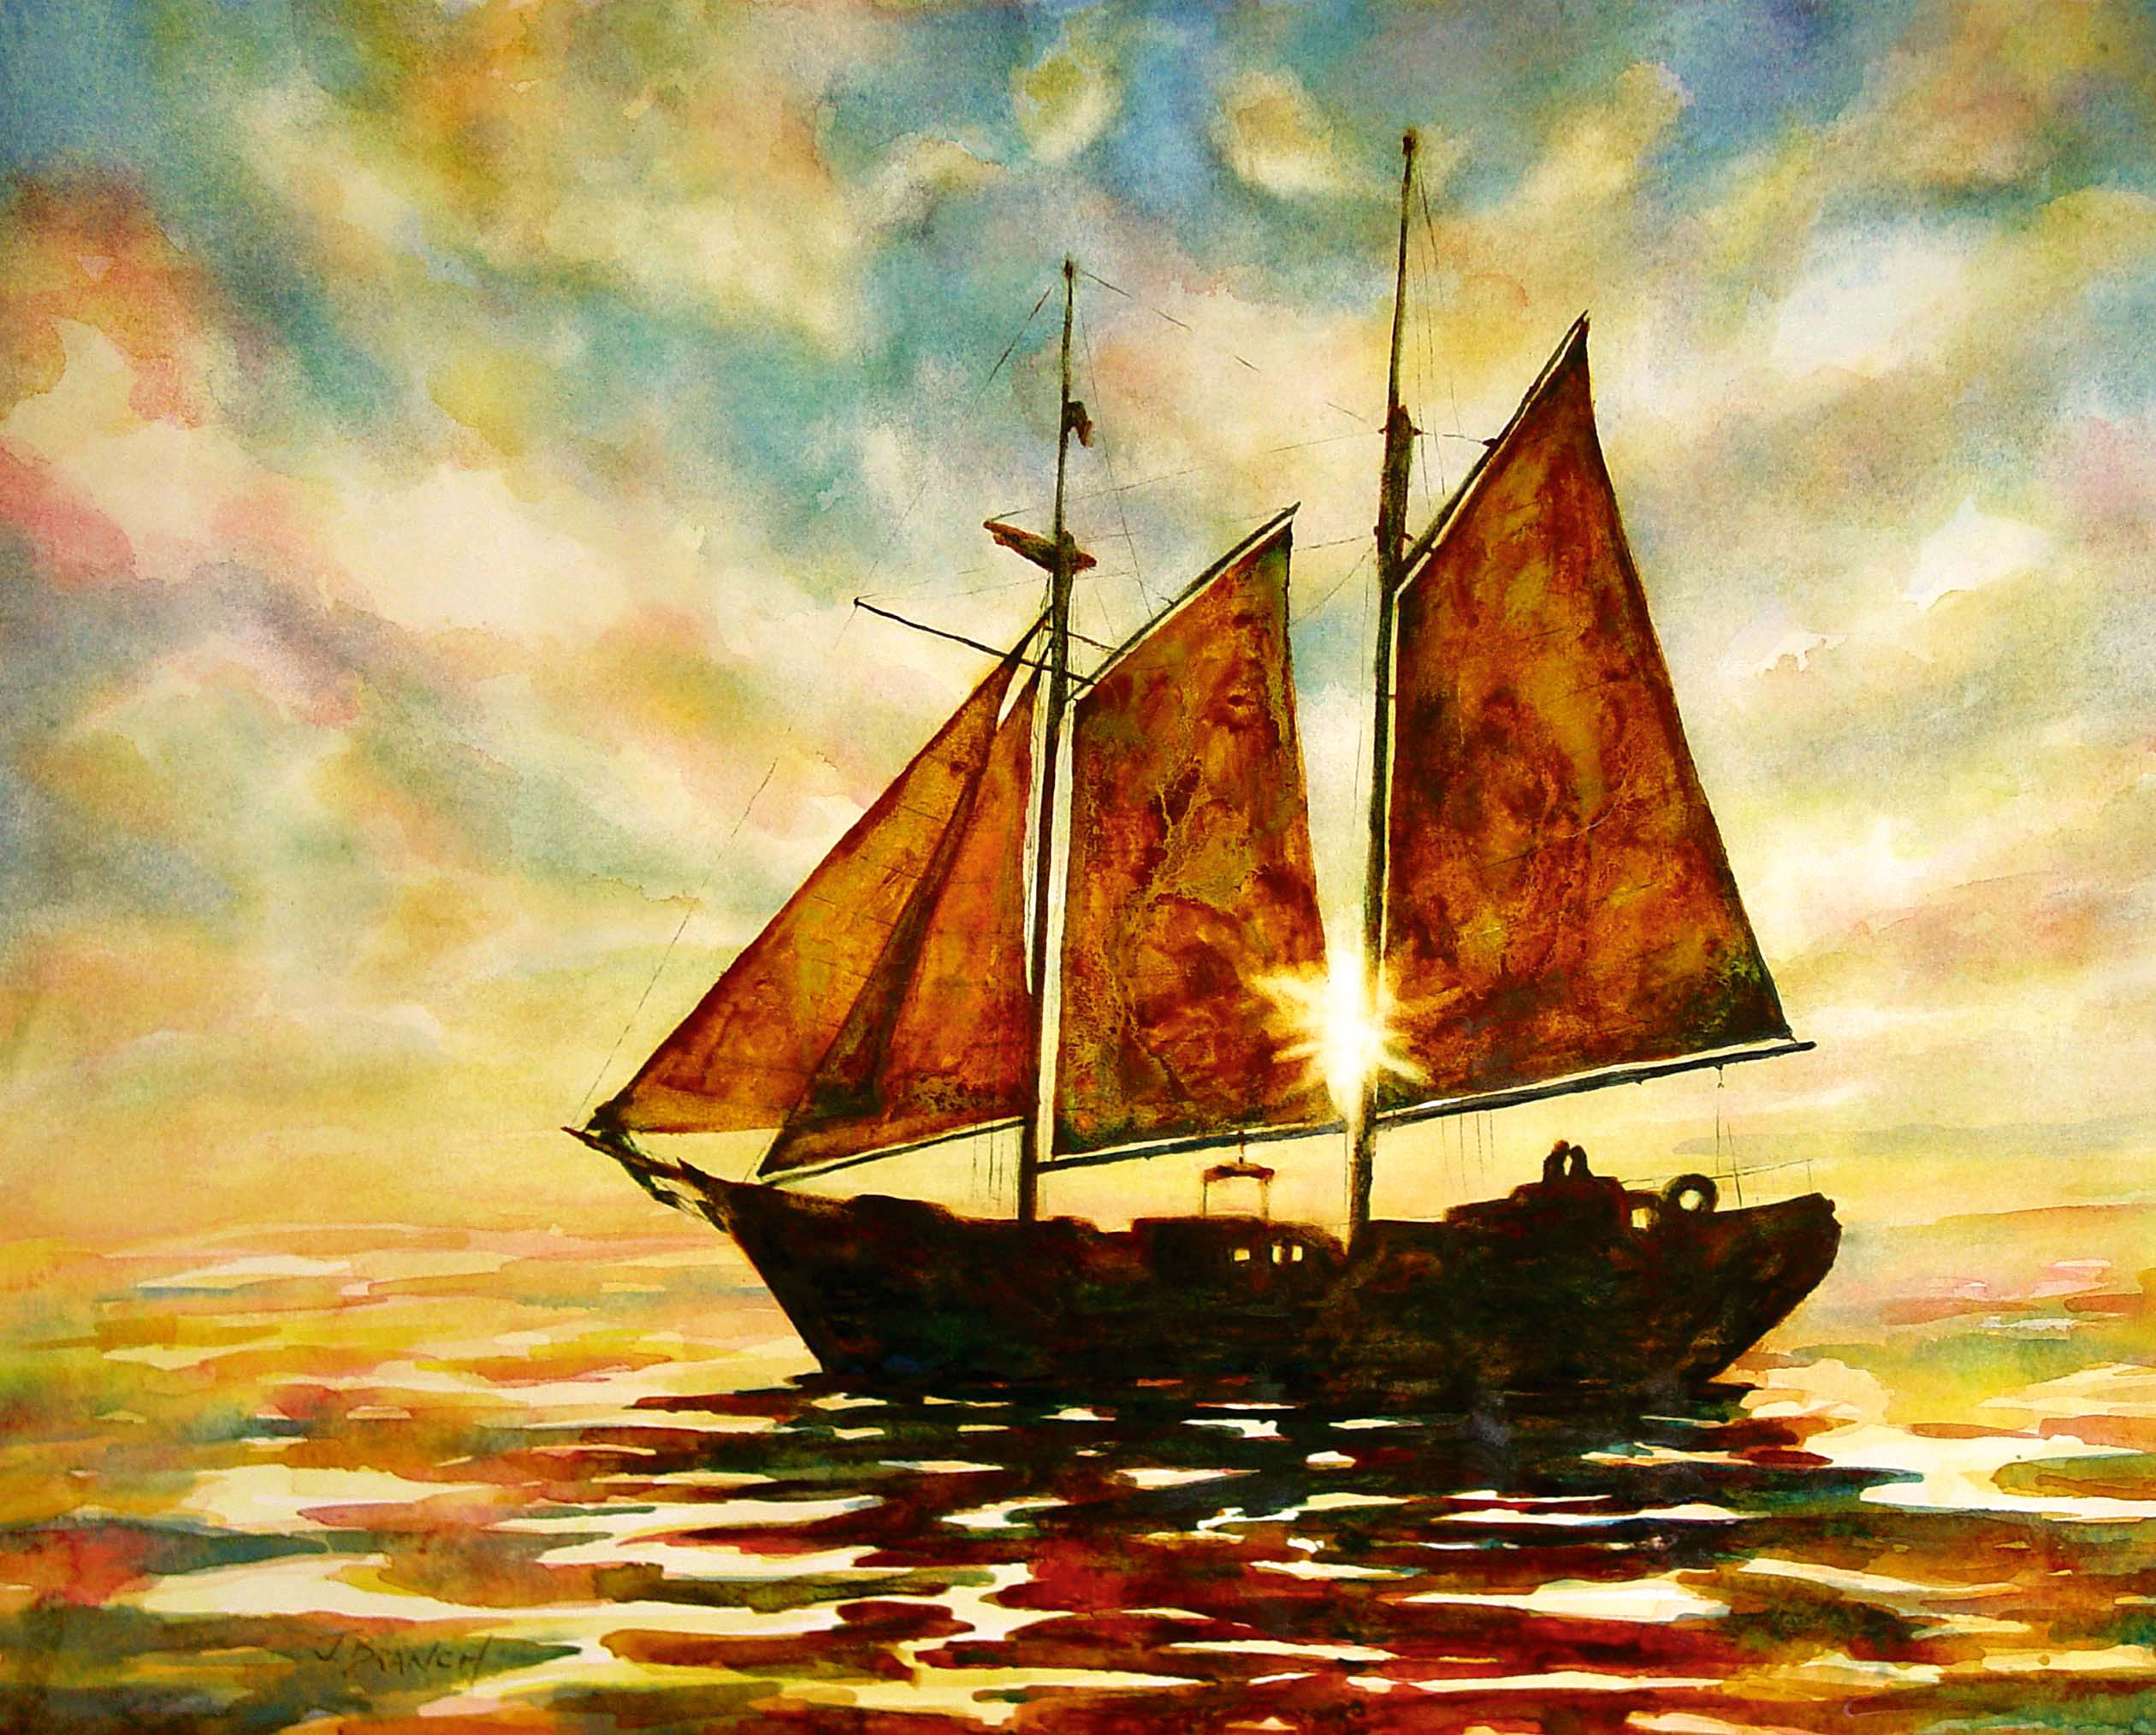
Light rays scatter on the surface of the water, so a reflection is never a perfect mirror. Therefore your palette of reflecting colours should be duller than the objects being reflected. Many artists continue their first wash from the objects into the water, then finish by adding duller washes with more movement on the surface of the water.
Most bright whites in water are sunlight reflections. Darker colours usually look lighter in reflections and lighter colours darker. Add a touch of complementary colour to your pigment to get very close to the colour you need.
06. Paint pointed ovals for waves
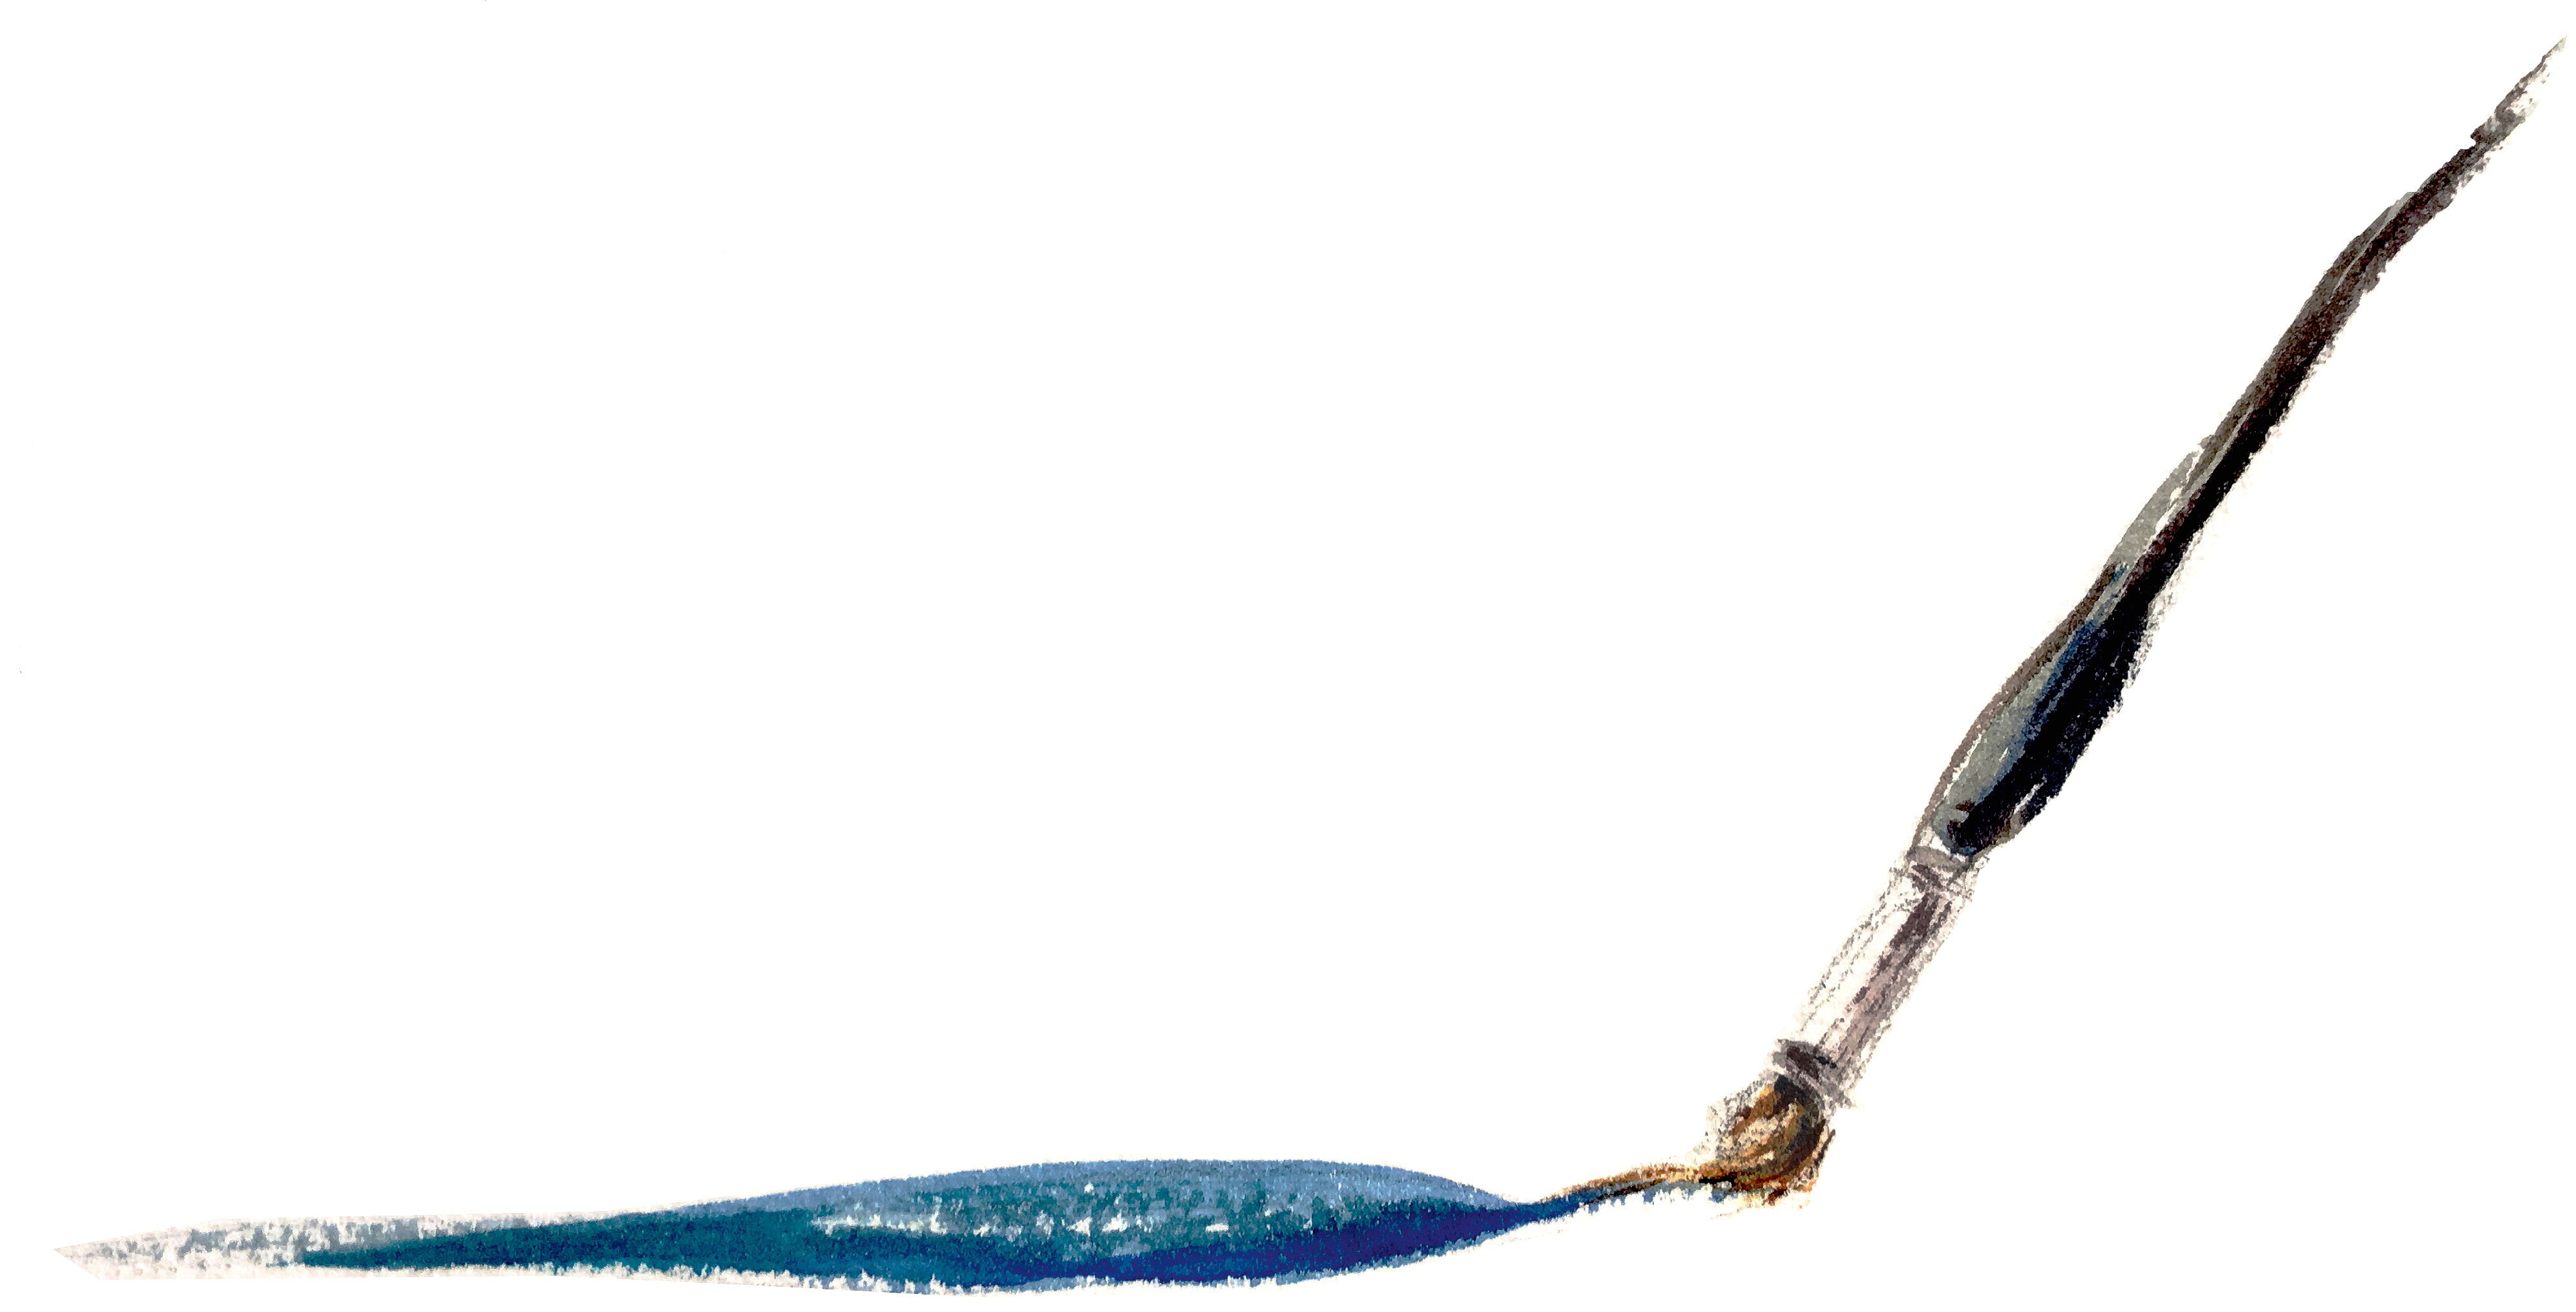
The shape of a wave is an oval, curved in the middle with sharp points on both ends. Use a pointed round brush to paint waves. A flat brush gives you great broad strokes, but it fails you on the points. Start by painting one point of the oval with the tip of the brush, add more pressure for a broader stroke in the middle, then finish with the tip of the brush. The ovals can be evenly distributed or skewed depending on the wind and your perspective.
07. Know your light
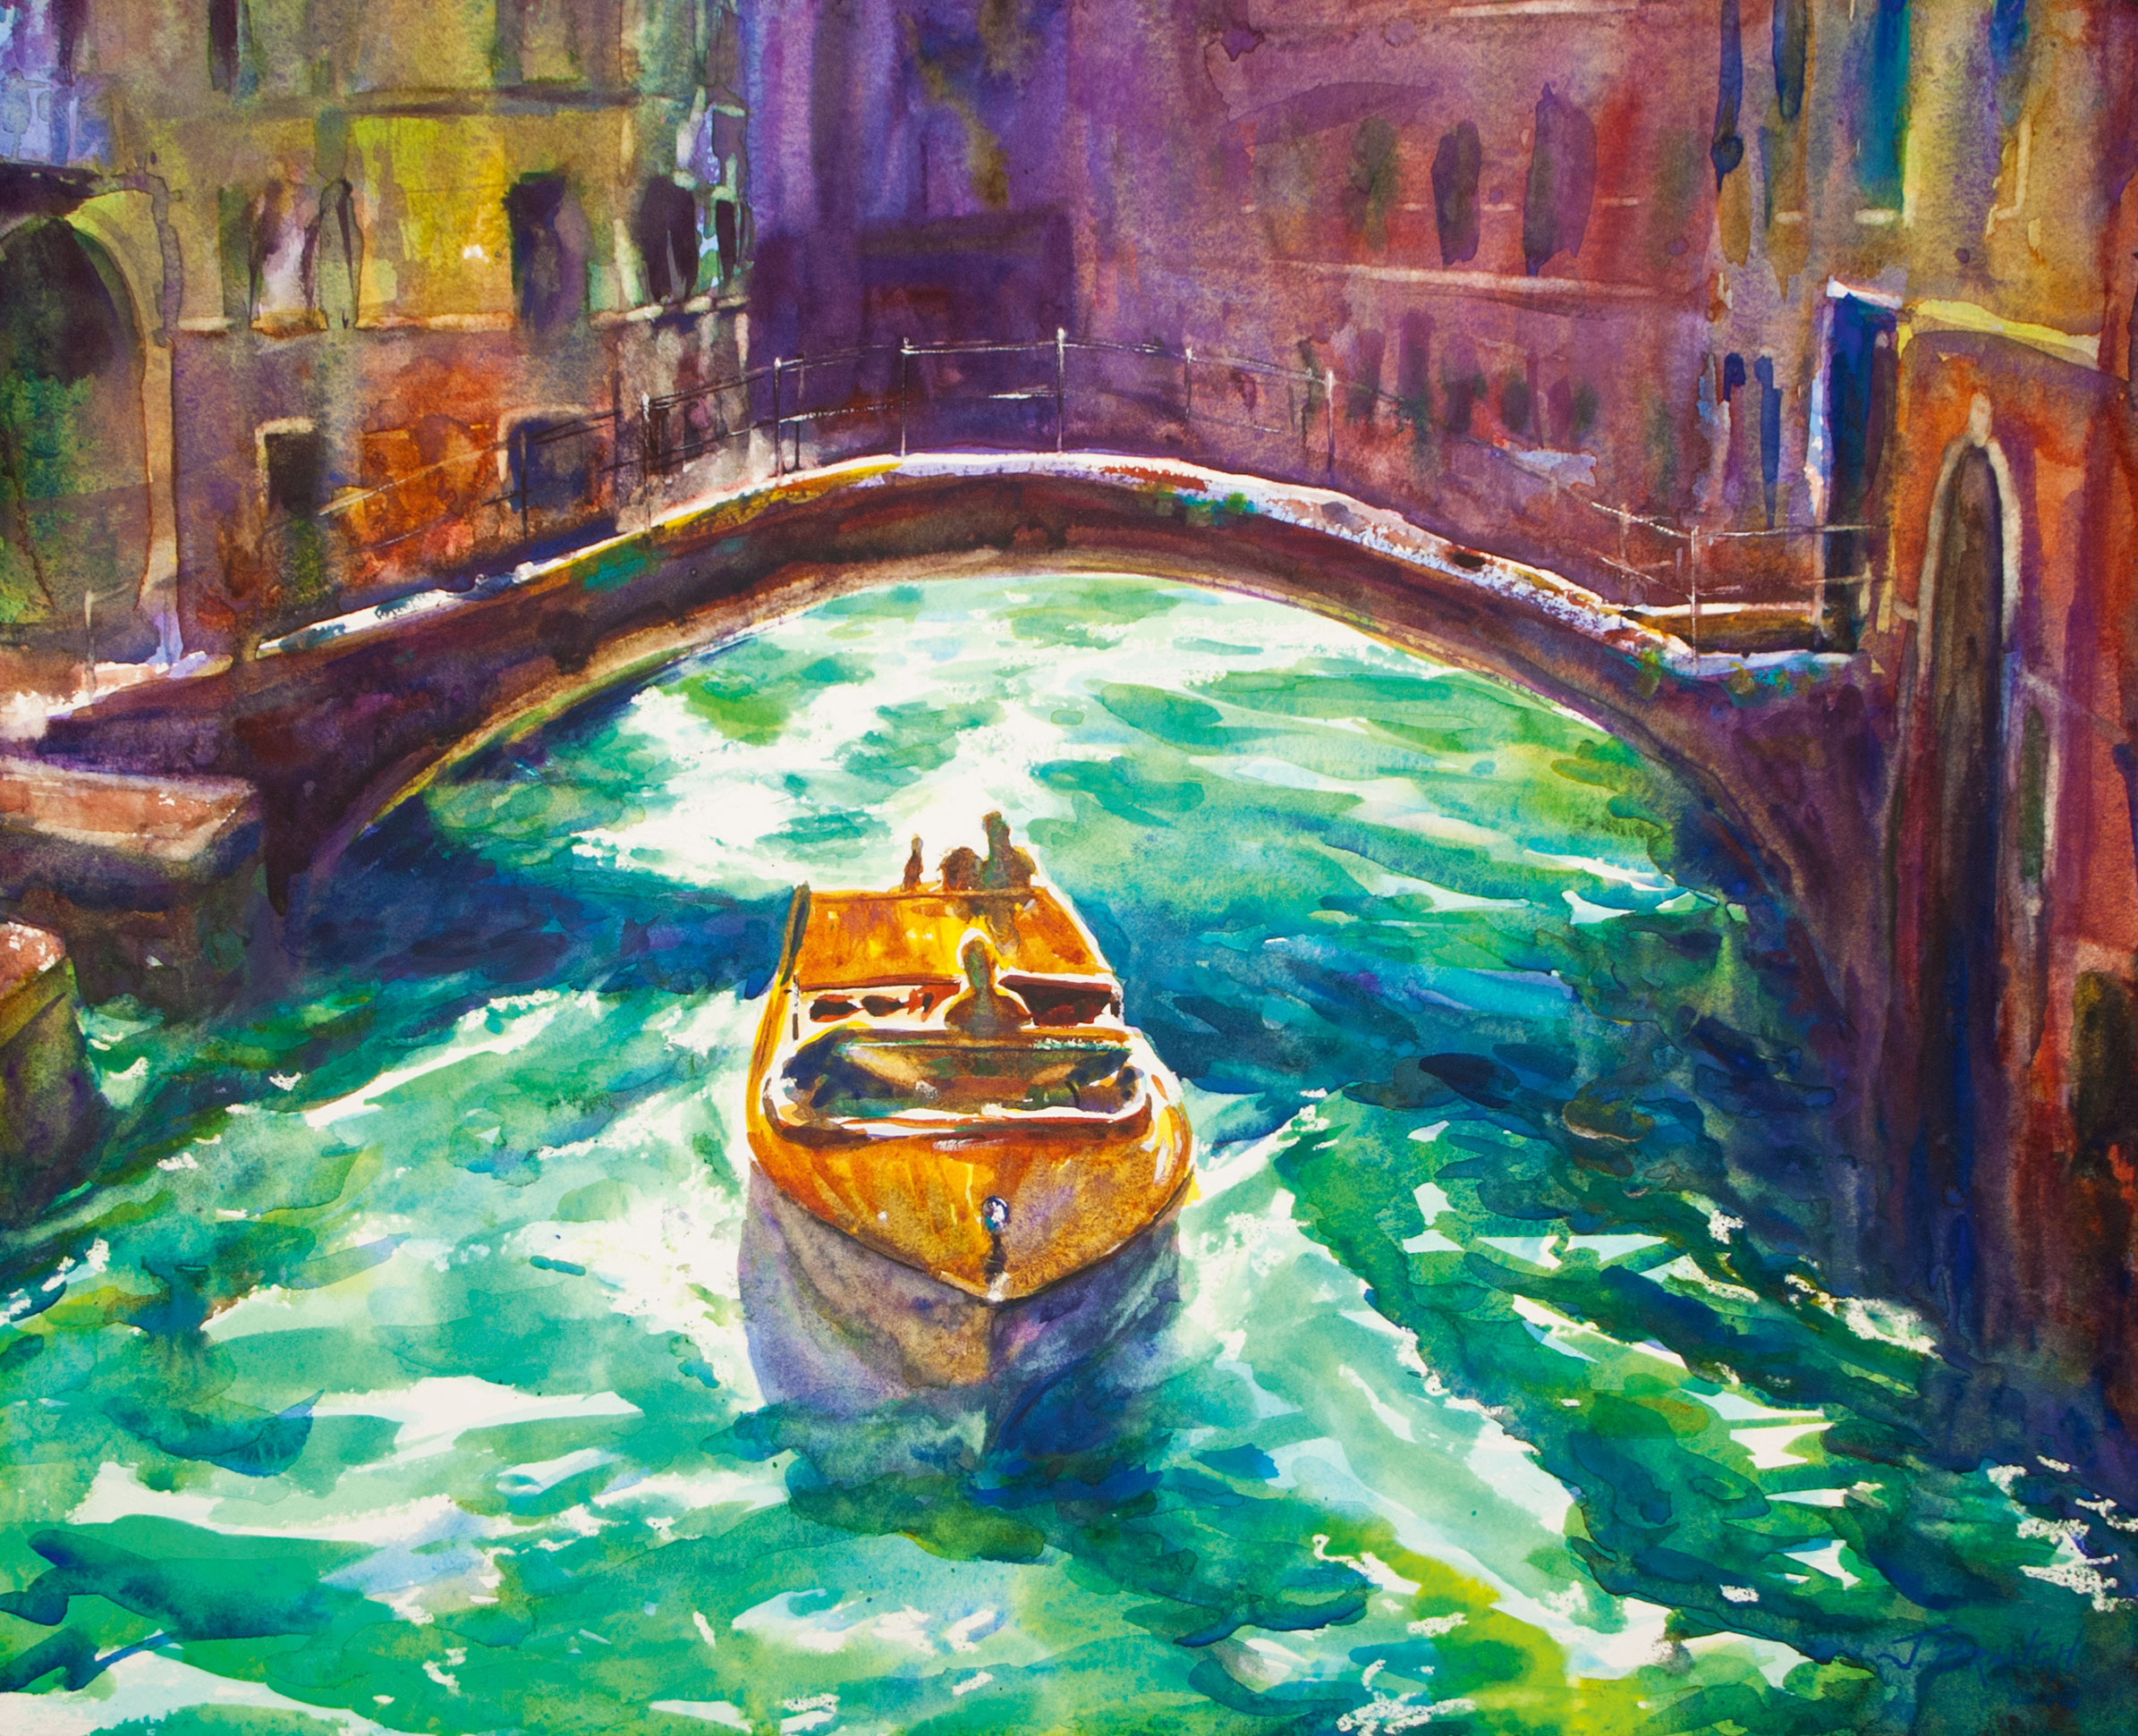
Your light direction in a scene will tell you how dark or light the water looks. Backlit trees will be dark, but their reflection will be lighter. Conversely, bright front lighting will give you a darker reflection on the water. The light direction will also tell you whether the top or the bottom of the wave should glow with lovely Caribbean translucency. If the light comes through a wave at the right angle, the wave acts as a lens, focusing bright spots of light on the bottom.
08. Paint in layers
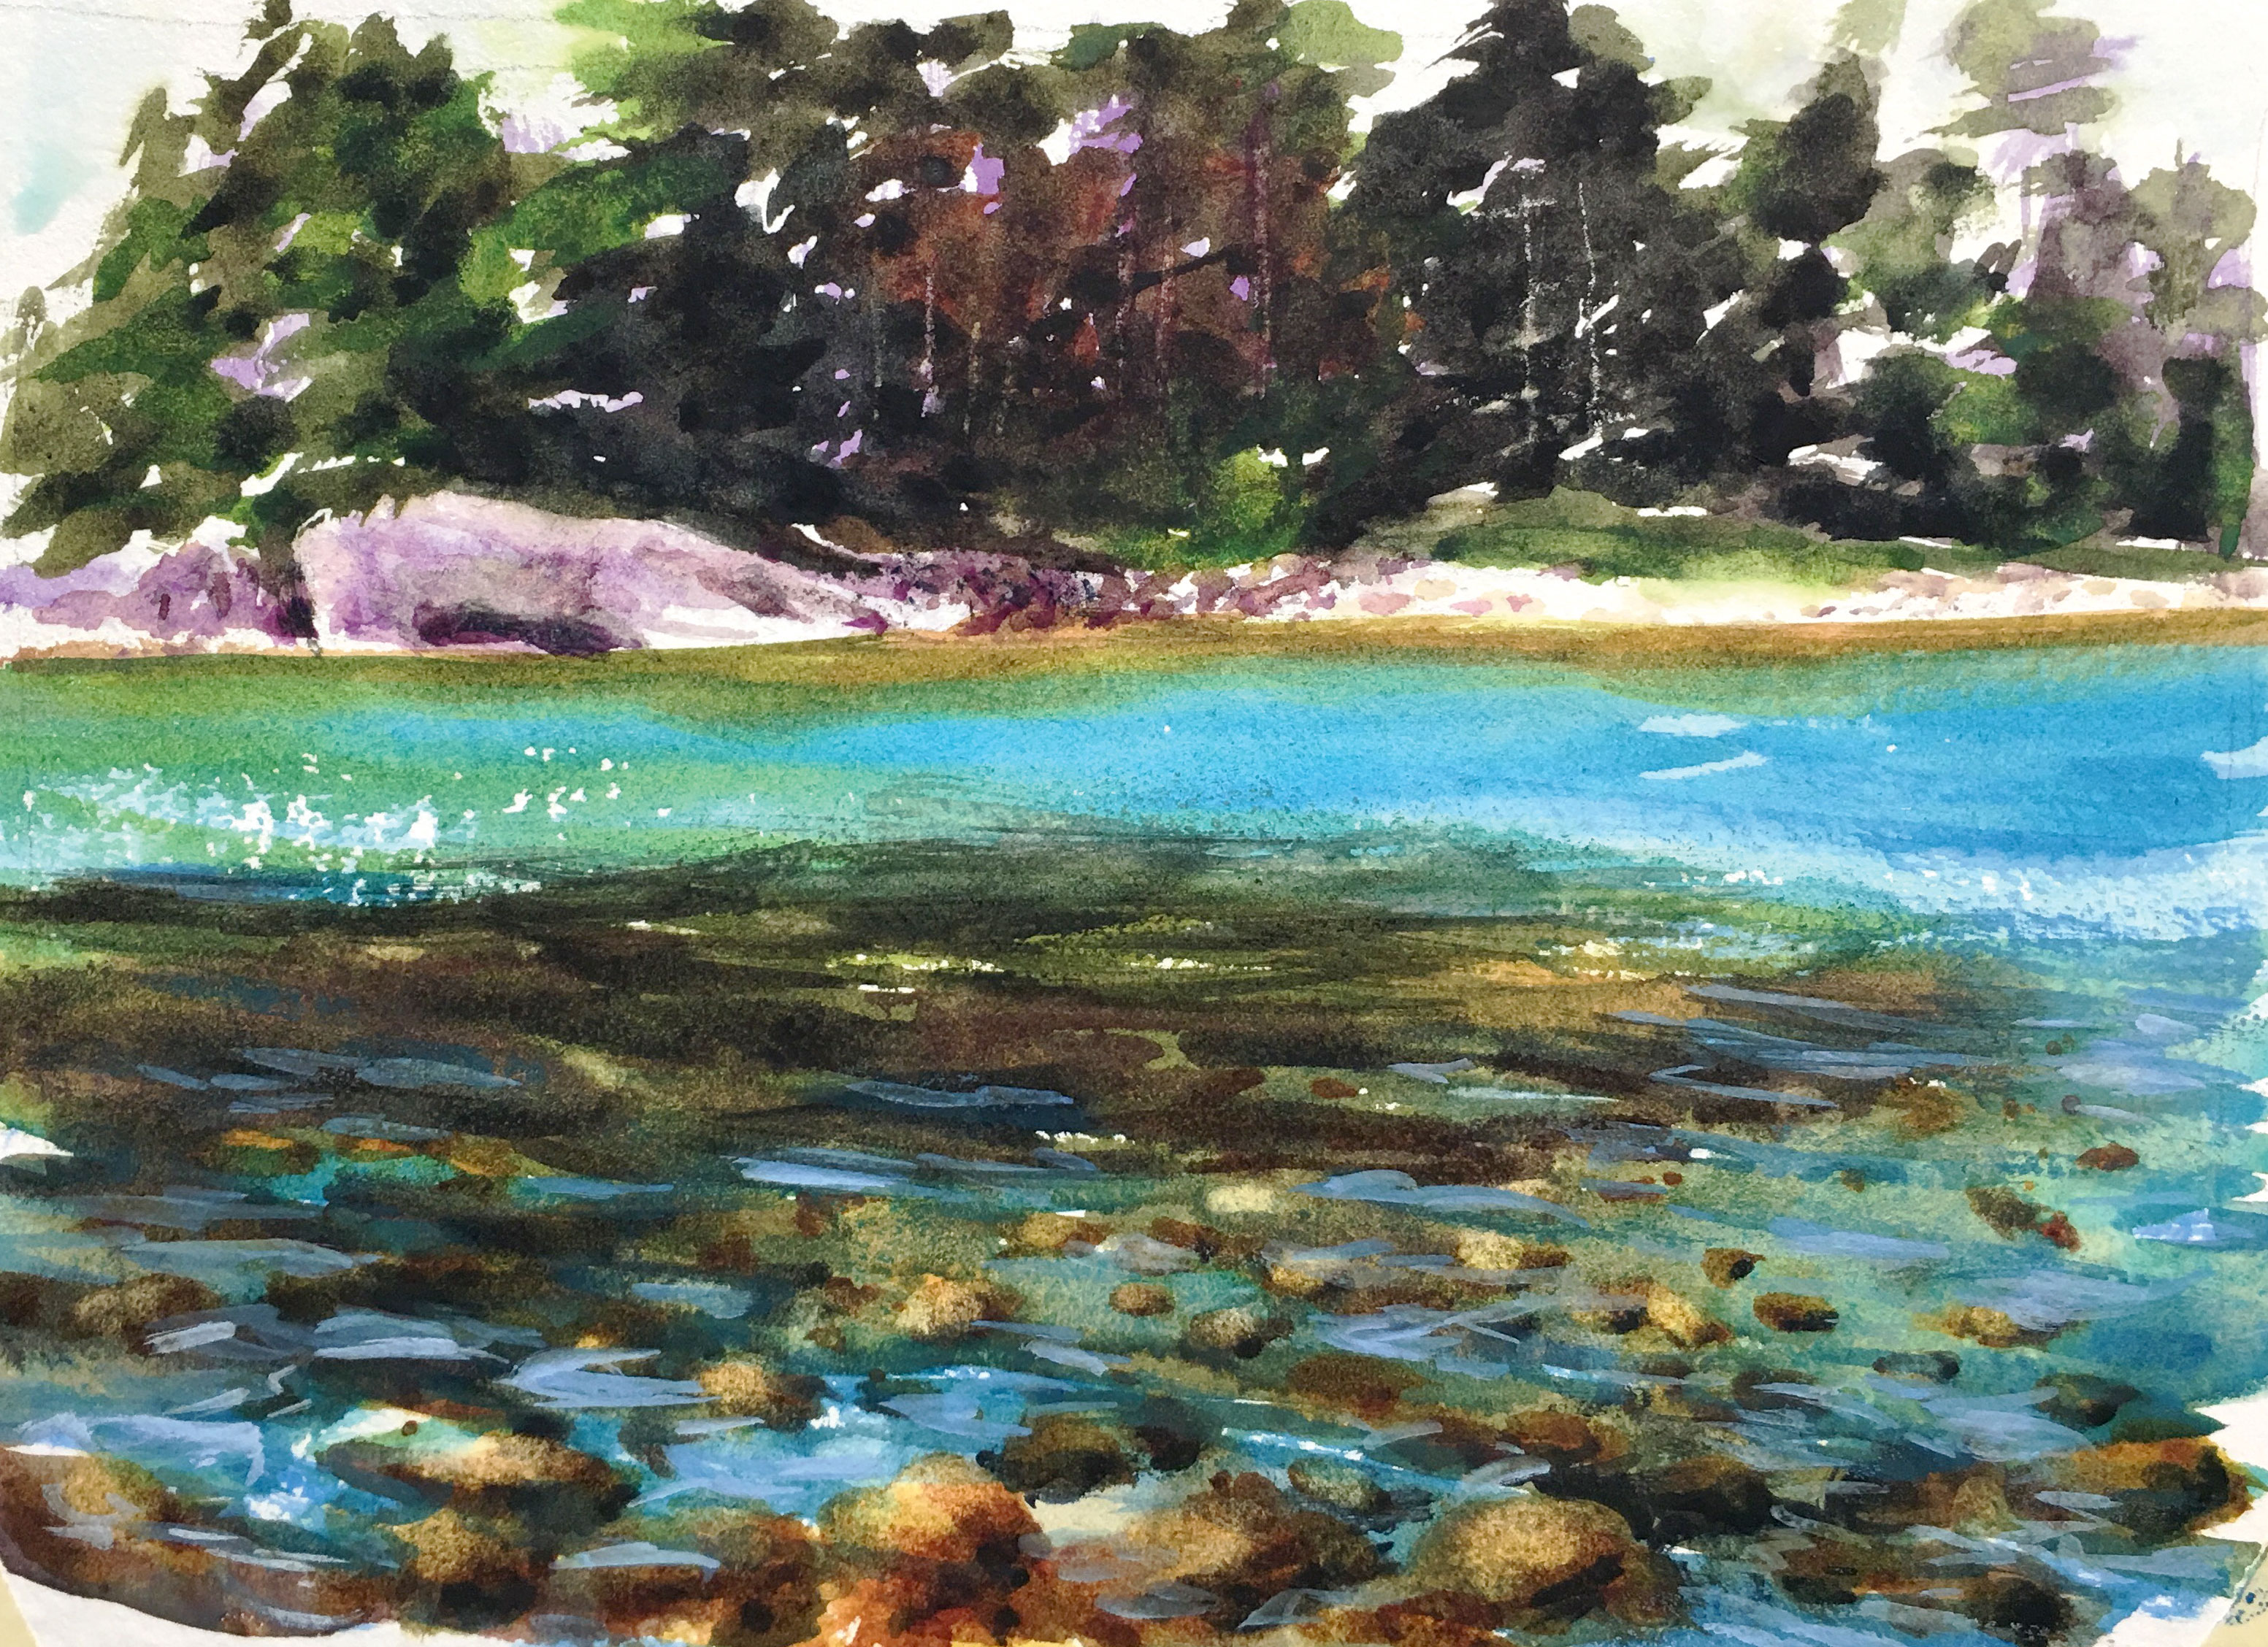
Since crystal clear water, where we can see rocks on the bottom, is actually separate layers of water and rocks, the simplest way to paint these scenes is in layers. The key is to separate the different layers by letting them dry completely between washes.
Don’t be afraid to use strong dark colours in the first wash. Dry brushing gives you texture that shows up under the water. Paint the water in one bold wash, making wave-shaped strokes. Let your brush dance. You can use gouache for reflected sky or preserve the white paper with masking, wax or precise strokes (see next step).
09. Mix it up
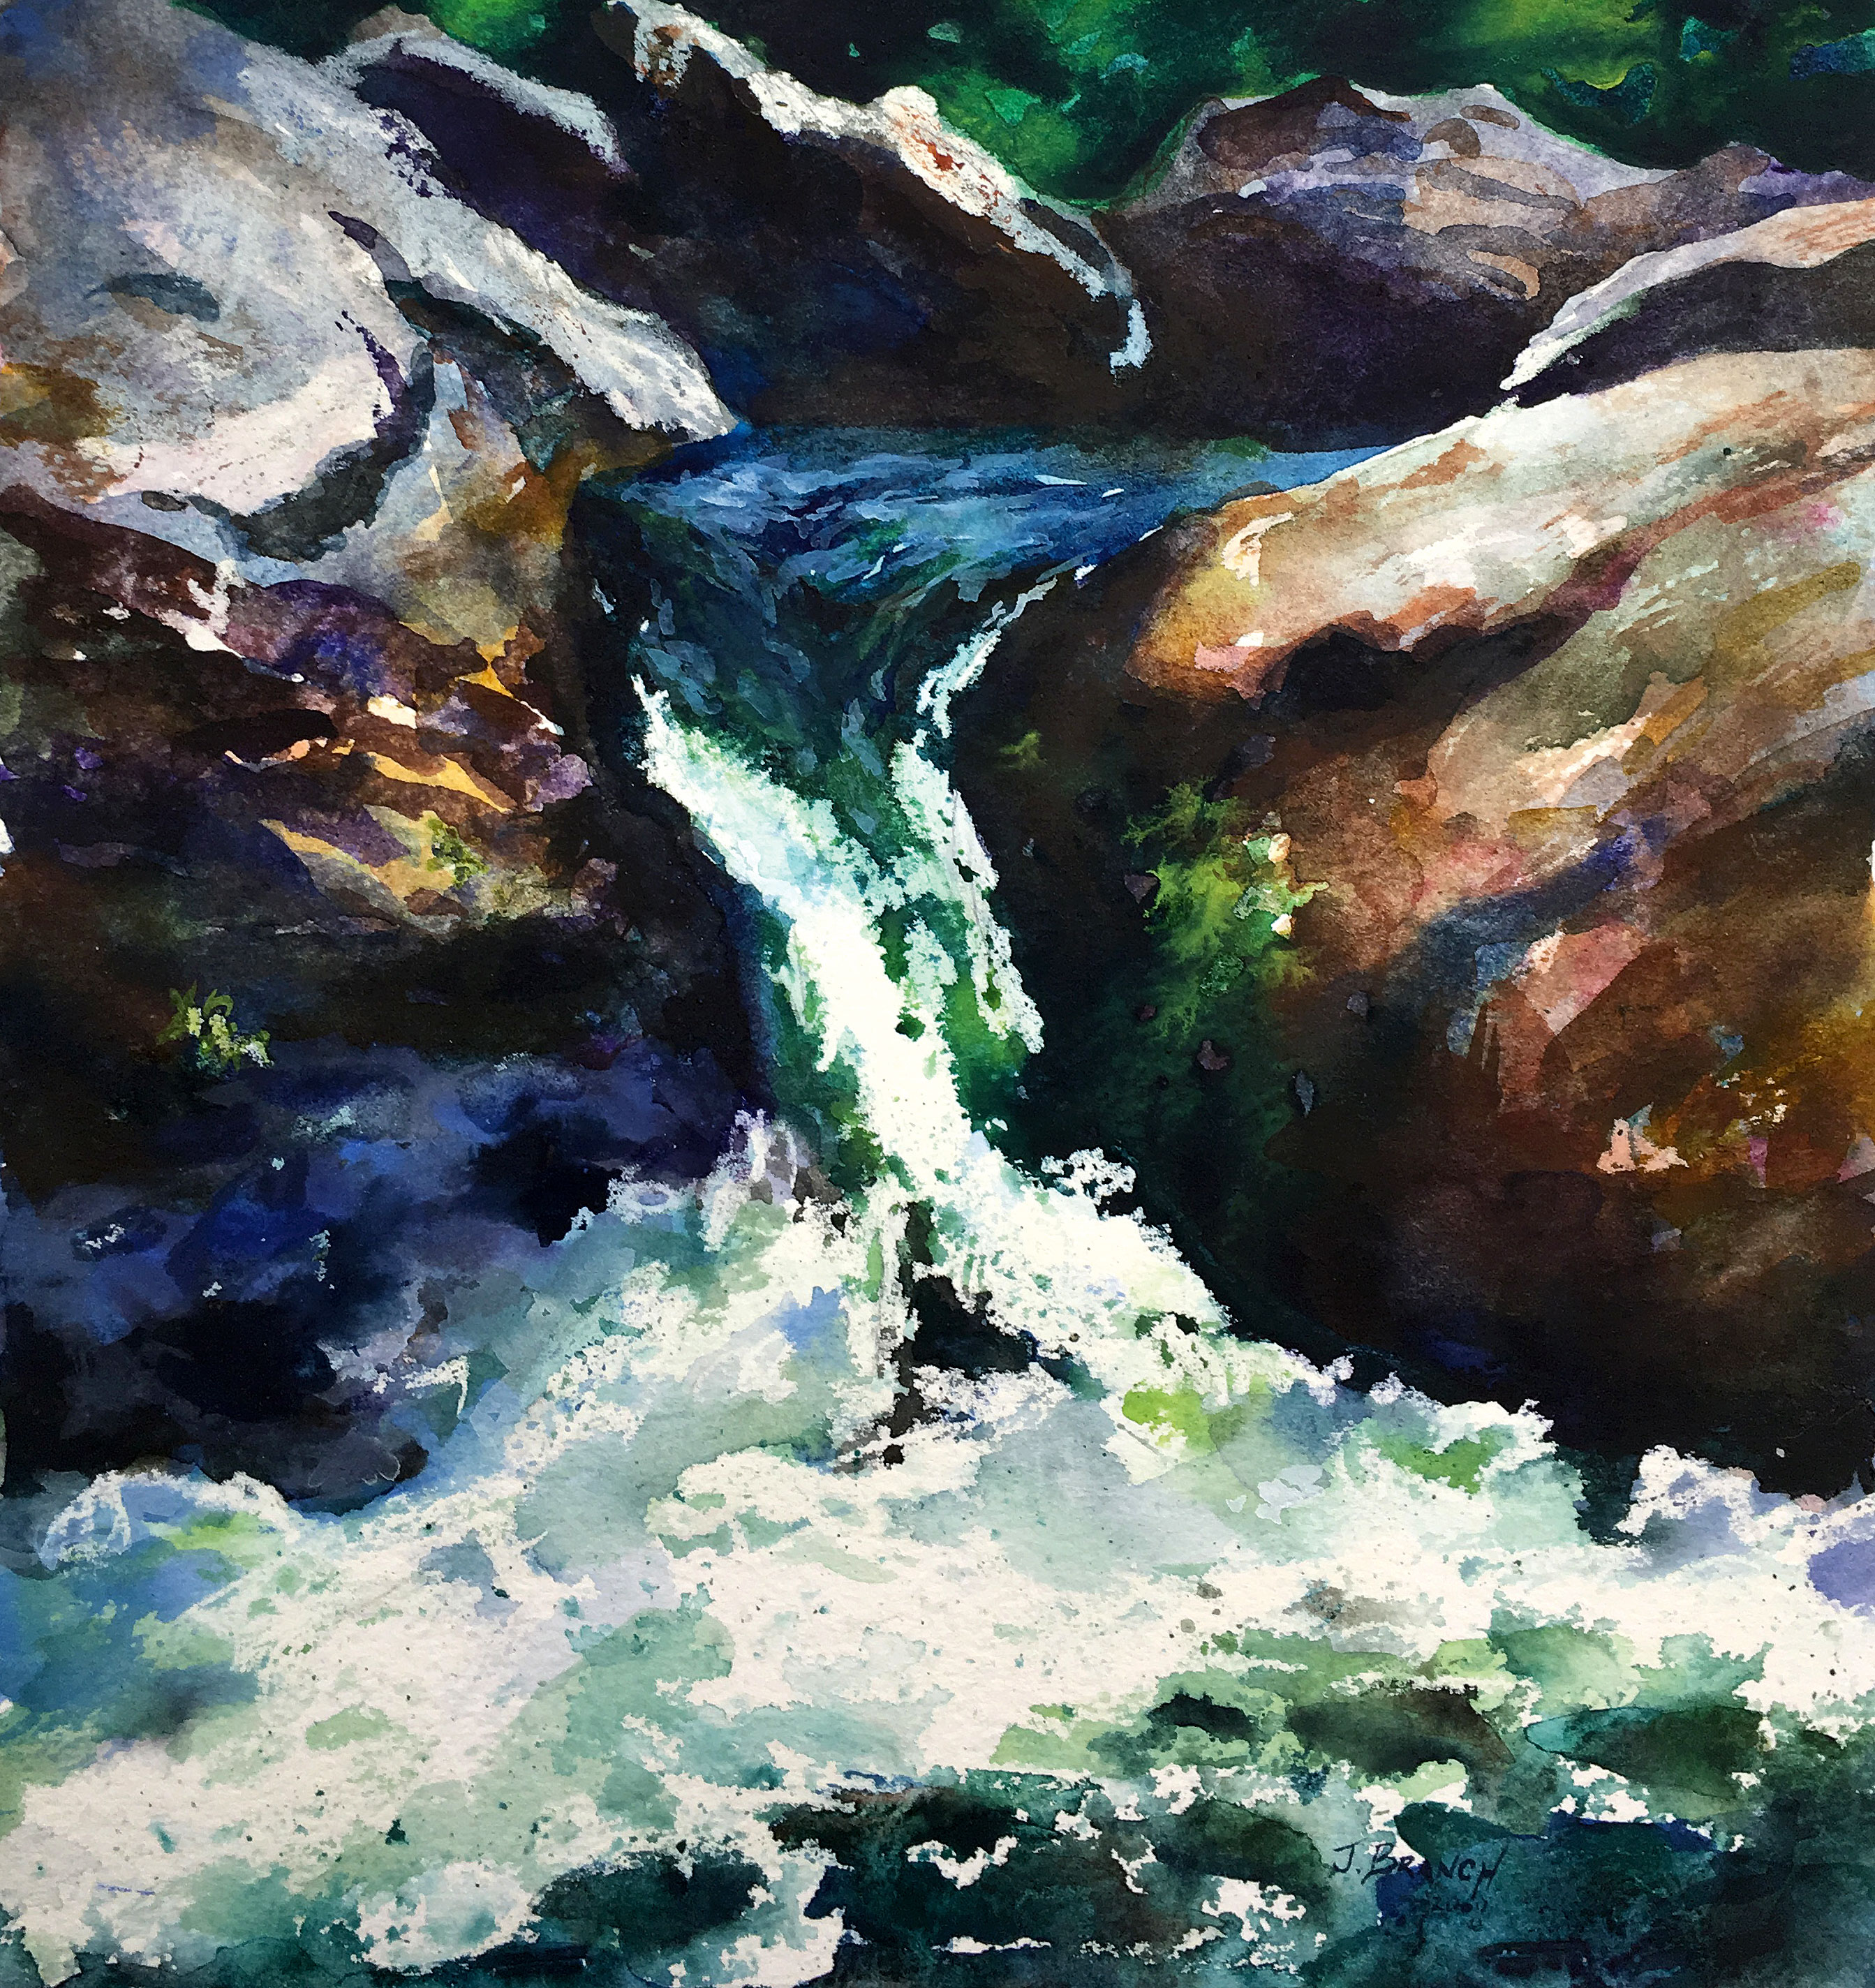
Use a variety of techniques for capturing textured whites. I always like to leave more white paper than I use, as paper is the most sparkling white you have in your toolkit. It’s easy to paint over whites, but you can never get the white paper back.
However, don’t limit yourself to just one shade of white. Permanent wax crayon preserves whites, while white or tinted gouache in a pale colour can give you highlights on the water surface. Lifting pigment softens edges. Wait until your painting is dry, then use a damp rag to pull out pigment.
10. Adjust texture
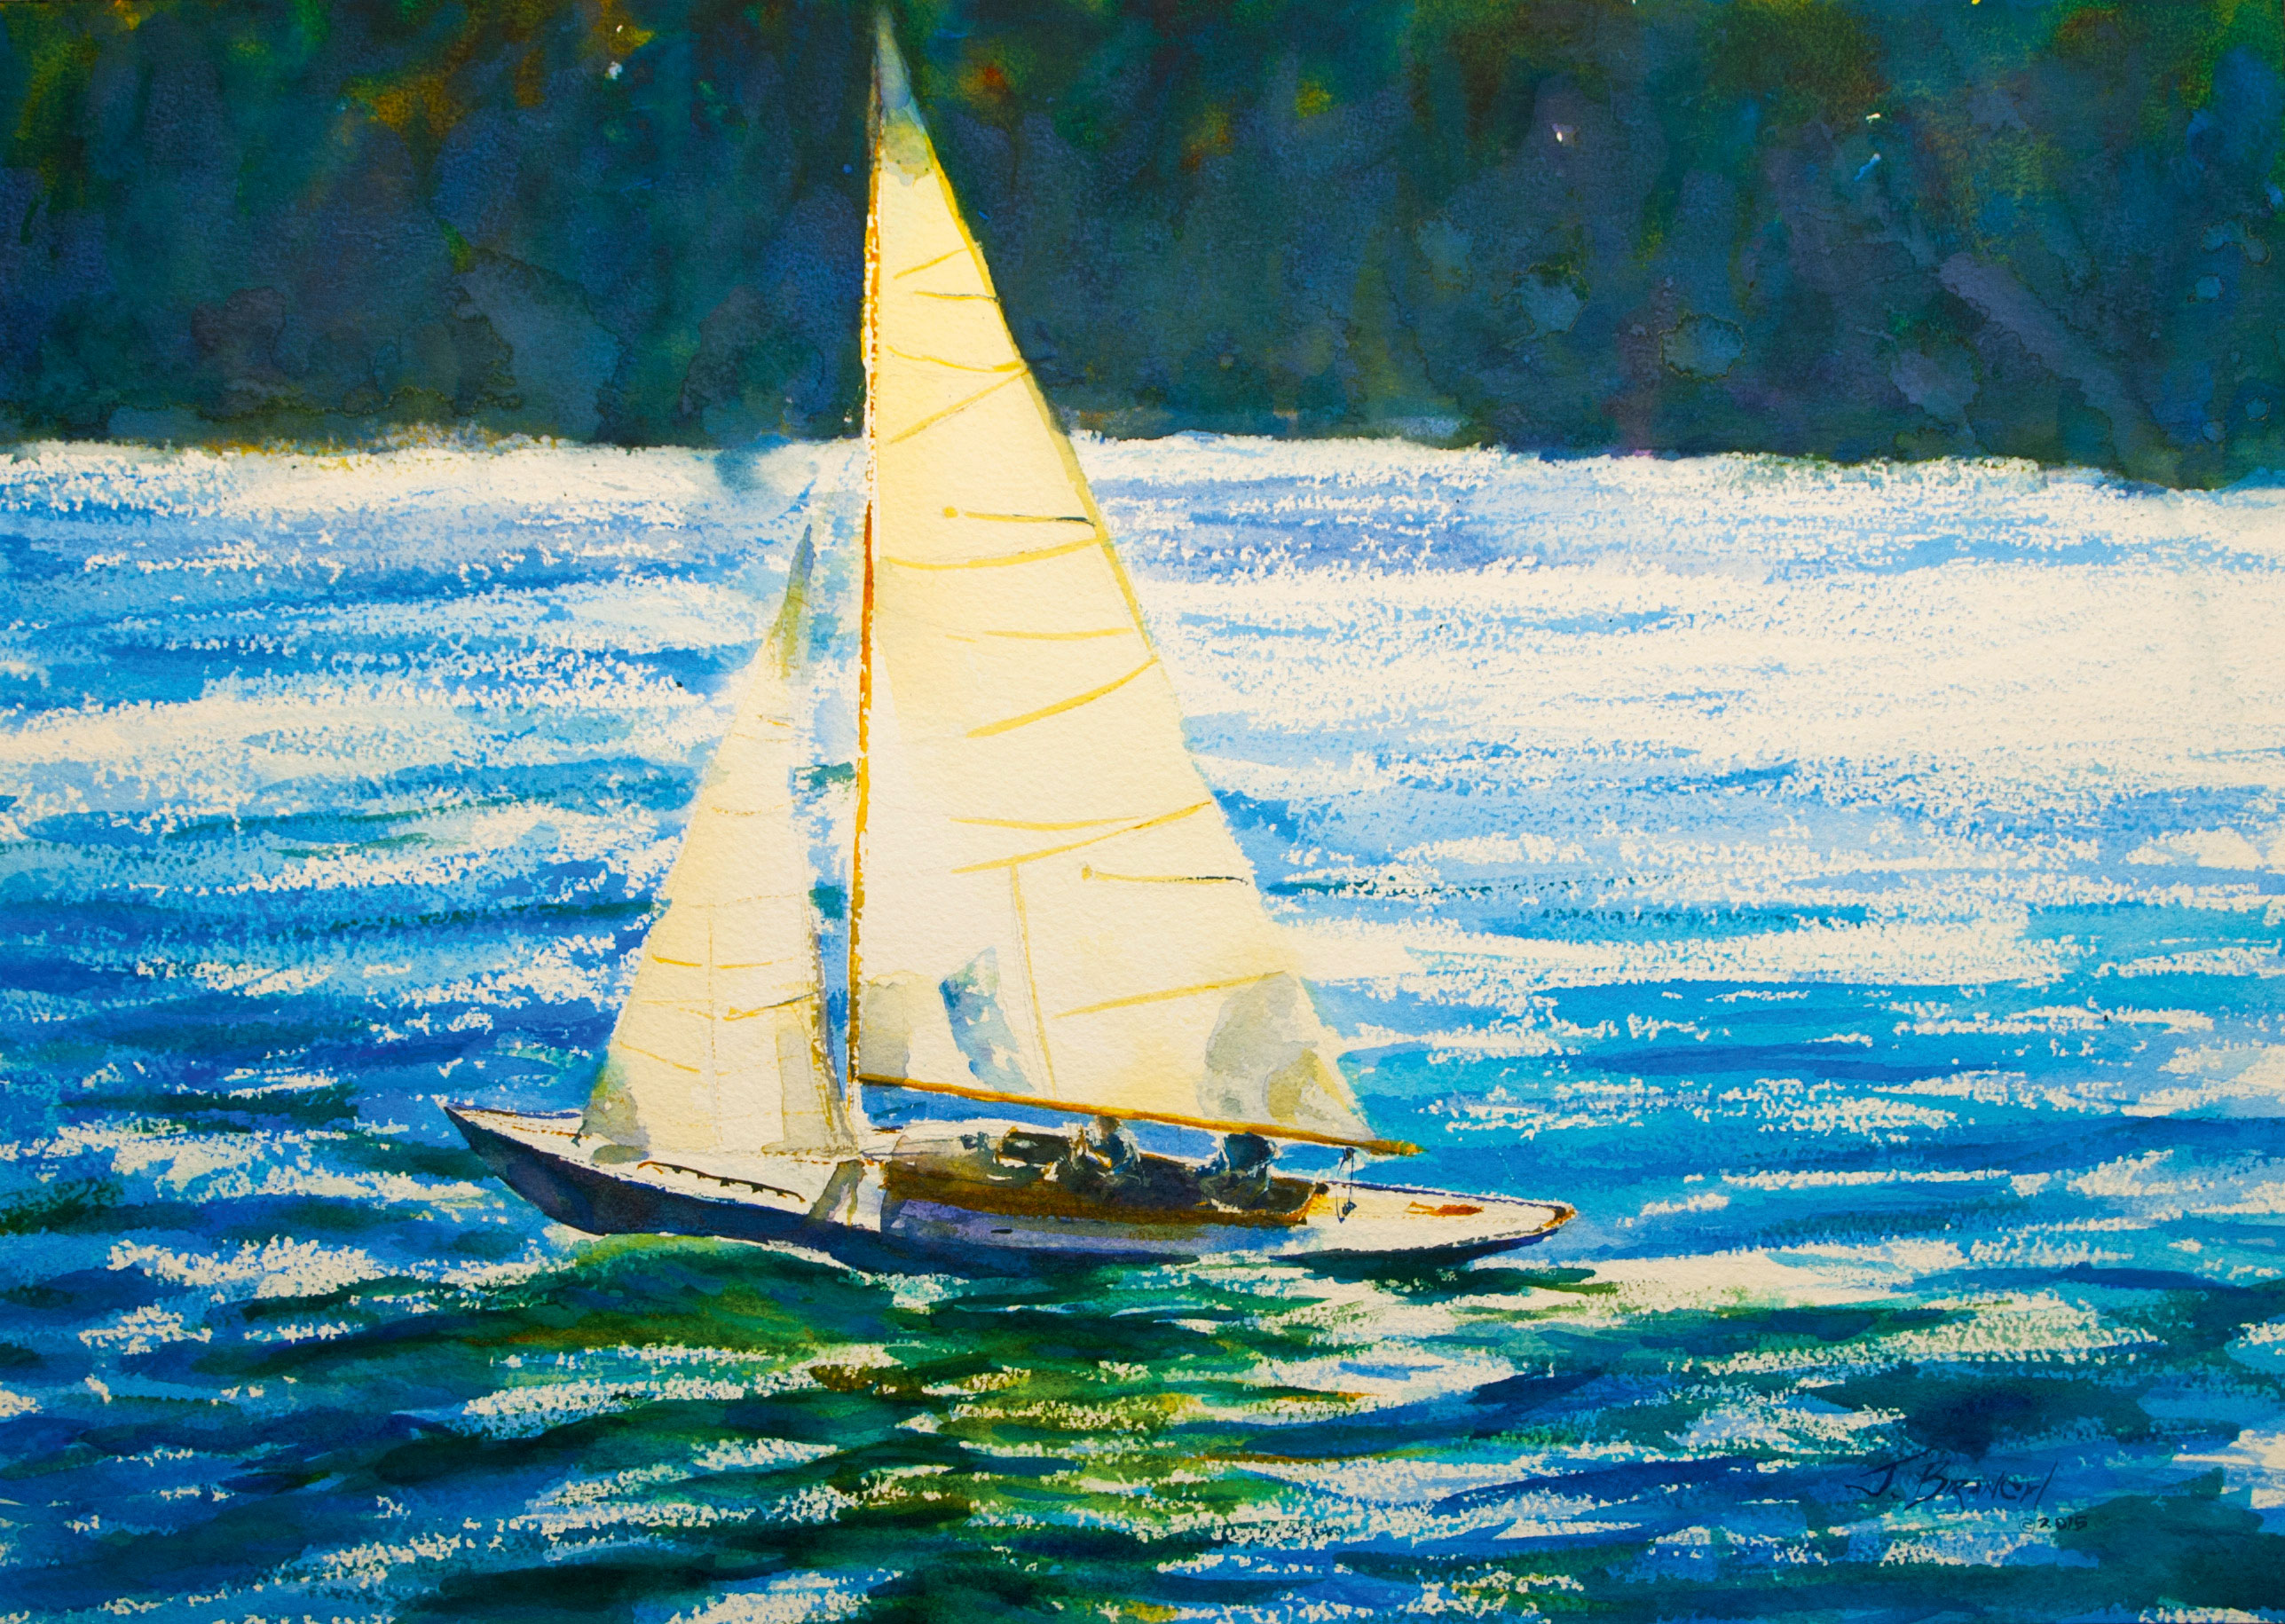
Hot press paper gives you rich colours and a smooth texture, which is ideal for painting water on a foggy day with no sparks of white reflection. You can use a lot of wet on wet brush strokes for blurred edges. Rough press paper gives you dull colours with reflected sparkles and texture, perfect for the seashore with white reflections, surf and rocks. Cold press paper falls between hot press and rough press, giving you a little texture and brighter colours, which is great for recreating a peaceful pond scene with vibrant flowers reflecting.
This article was originally published in Paint & Draw magazine issue 3. Buy it here.
Related articles:

Thank you for reading 5 articles this month* Join now for unlimited access
Enjoy your first month for just £1 / $1 / €1
*Read 5 free articles per month without a subscription

Join now for unlimited access
Try first month for just £1 / $1 / €1
