10 essential ZBrush shortcuts to improve your workflow
While a uniquely creative application, ZBrush can be intimidating for new users. Here's some top ZBrush tips for beginners.
Pixologic’s ZBrush is renowned throughout the CG industry as the sculpting application that everyone should be using. While that’s not necessarily true, ZBrush dominates it’s field the way that Photoshop dominates the image manipulation space. This means that there is a great pressure to learn ZBrush if you want to get into sculpting. The truth, though, is that ZBrush is actually a very handy application for a wide range of 3D tasks and should be in every CG artists arsenal, even if you don’t want to sculpt an Orc.
There are plenty of ZBrush tutorials around to help you out, but if you're a newbie to the sculpting tool, don't miss these 10 top tips to get you started.
01. The Edit Button
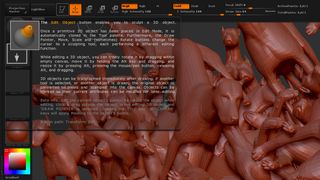
The biggest gotcha for any new user is when adding a new ZTool or imported model into the Viewport and while being able to rotate and zoom around the model, every time the mouse is pressed a new instance of the model is created. This is because ZBrush needs to be switched into ‘Edit’ mode by pressing the Edit button or the T key. Now sculpting can begin, to clear the Viewport of everything but the model that is being worked on, press Ctrl-N.
02. UI
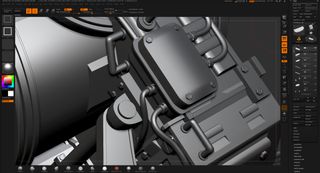
The biggest hurdle any artist has when opening ZBrush is figuring out how to actually use it. There's a reason for this. ZBrush has, shall we say, a very unique UI. Although, to be fair, I've never found ZBrush too confusing, although it can be hard remembering where everything is.
The great thing, though, is that the ZBrush UI is customisable. Menus can be torn off, moved and hidden, just by pressing in the small circle and arrow icon on each menu.
03. Subtools
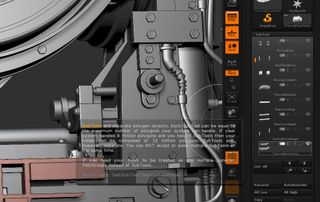
Subtools are a bit like layers in Photoshop, there are layers in ZBrush, but they are used to blend amounts of modelling details on objects. Learning how to use Subtools and the Subtool Pallette can help you get moving when creating, as objects can be versioned by duplications a subtool. One gotcha that can be annoying is trying to add a new subtool. Use the Insert button down by the large duplicate button in the subtool palette to add a new subtool.
04. Deformation Menu
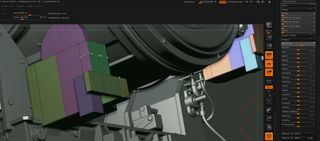
While Models and Subtools can be moved using the Move, Scale and Rotate tools (W,E and R keys respectively) this takes you out of Edit mode and can be fiddly. To do basic movement and scaling I use the Deformation Palette for specific movements on a subtool, also within the Deformation Palette are a whole range of tools which can quickly change a simple primitive into something much more complex very quickly.
Get the Creative Bloq Newsletter
Daily design news, reviews, how-tos and more, as picked by the editors.
05. Dynamic Sub-division
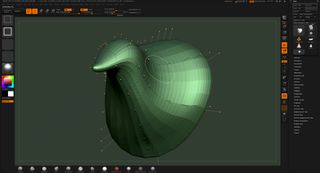
Dynamic Sub-division, which is in the Geometry Palette, allows a preview of what simple box geometry would like if it was actually subdivided. This is useful for a variety of reasons. First it allows gross movements of simple geometry to enable a preview of how a sculpt will look. It uses a lot less polygons, so feedback is quicker, and finally it is similar to similar ‘smooth/sub-division modes' in other 3D software, making the switching to ZBrush easier for existing 3D artist’s.
06. Polygon modelling tools
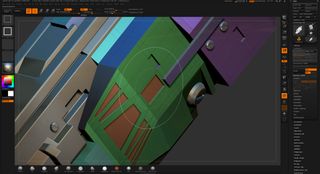
If you haven’t used ZBrush for a while you may have missed the fact that it now has one of the best polygon modelling tool sets on the market. The incredibly intuitive ZModeler Brush allows direct control of any surface or edge. It really is ‘pick up and bevel’ and the snapping and edge loop controls make ZBrush a joy to use if you are into Hard-Surface modelling.
07. Right Click Navigation
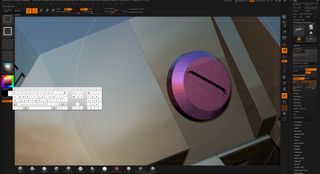
One of the issues some artists (including myself) is the Navigation within ZBrush, the click and use of the Alt and CMD keys I have always found to be a bit of a pin. Even with trick of using the area from the white border to the edge of the viewport to span and Zoom, it can still be fiddly to move around your model. The solution is to use Right-Click instead. Right Click and Alt can be used to Pan and Right-Click and CMD can be used to Zoom.
08. Nanomesh
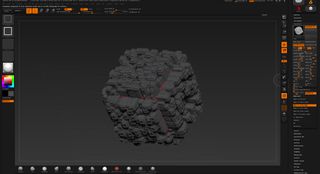
NanoMesh or ‘Amazing Detail Creator’ as I like to call it, is the ability to add multiple versions of a child mesh to selected polygons of another mesh using the ZModeler tool. Nanomeshes are insanely powerful, they can be edited, resized and randomised across the chosen surface to create intricate detail really quickly, which can then be baked using the ‘Convert BPR To Geo’ button to create exportable Geometry.
09. Keyshot Bridge
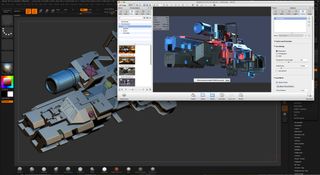
Keyshot, the standalone rendering engine has been around for years. It was famed for its ease of use, with the creation of the Zbrush> Keyshot Bridge. Keyshot works is effectively the default render engine for Zbrush. Keyshot is a joy to use, and can create highly convincing renders with caustics and depth of field, really quickly, with a huge selection of ready made materials and environment to make your models look their best.
10. ZBrush 4R8
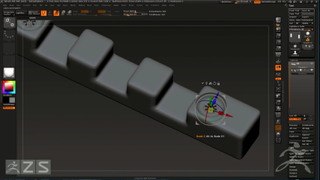
One of the great things about being a ZBrush owner is that, to date, there has never been a cost to upgrade. Which, considering the regular advancements that come with ZBrush, is practically unheard of with any other application. This holds true for the just announced next version of ZBrush 4R8. Some of the new features are a gimbal (at last), which allows models to be moved just like any other 3D application, and an amazing boolean engine which has the potential to make ZBrush near peerless for model creation.

Thank you for reading 5 articles this month* Join now for unlimited access
Enjoy your first month for just £1 / $1 / €1
*Read 5 free articles per month without a subscription

Join now for unlimited access
Try first month for just £1 / $1 / €1
Mike Griggs is a veteran digital content creator and technical writer. For nearly 30 years, Mike has been creating digital artwork, animations and VR elements for multi-national companies and world-class museums. Mike has been a writer for 3D World Magazine and Creative Bloq for over 10 years, where he has shared his passion for demystifying the process of digital content creation.
