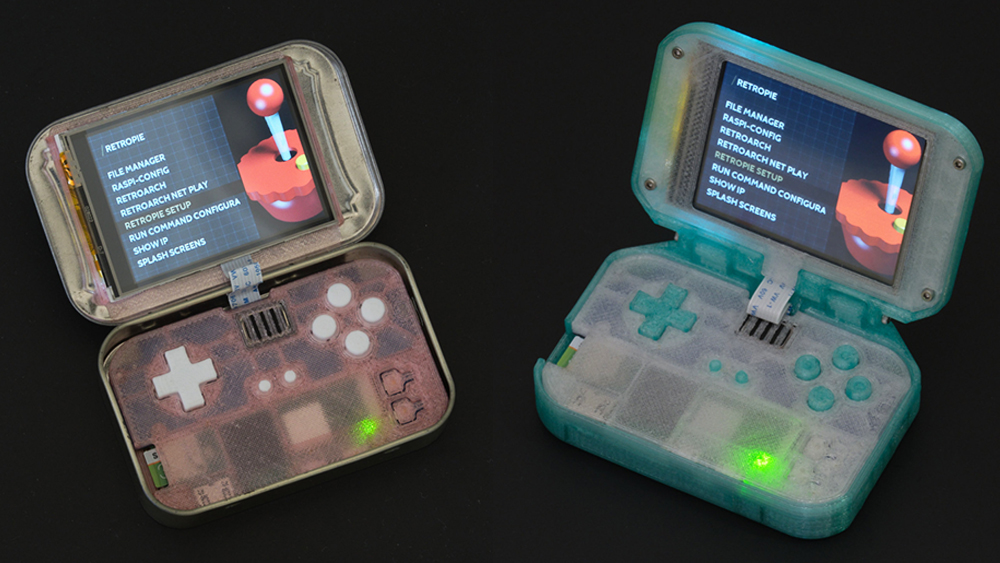
Our pick of the best retro games consoles provides plenty of options for anyone feeling the nostalgia for the video games on yore in these days of ray tracing and DLSS. But there's also always the option of getting hands on and making your own.
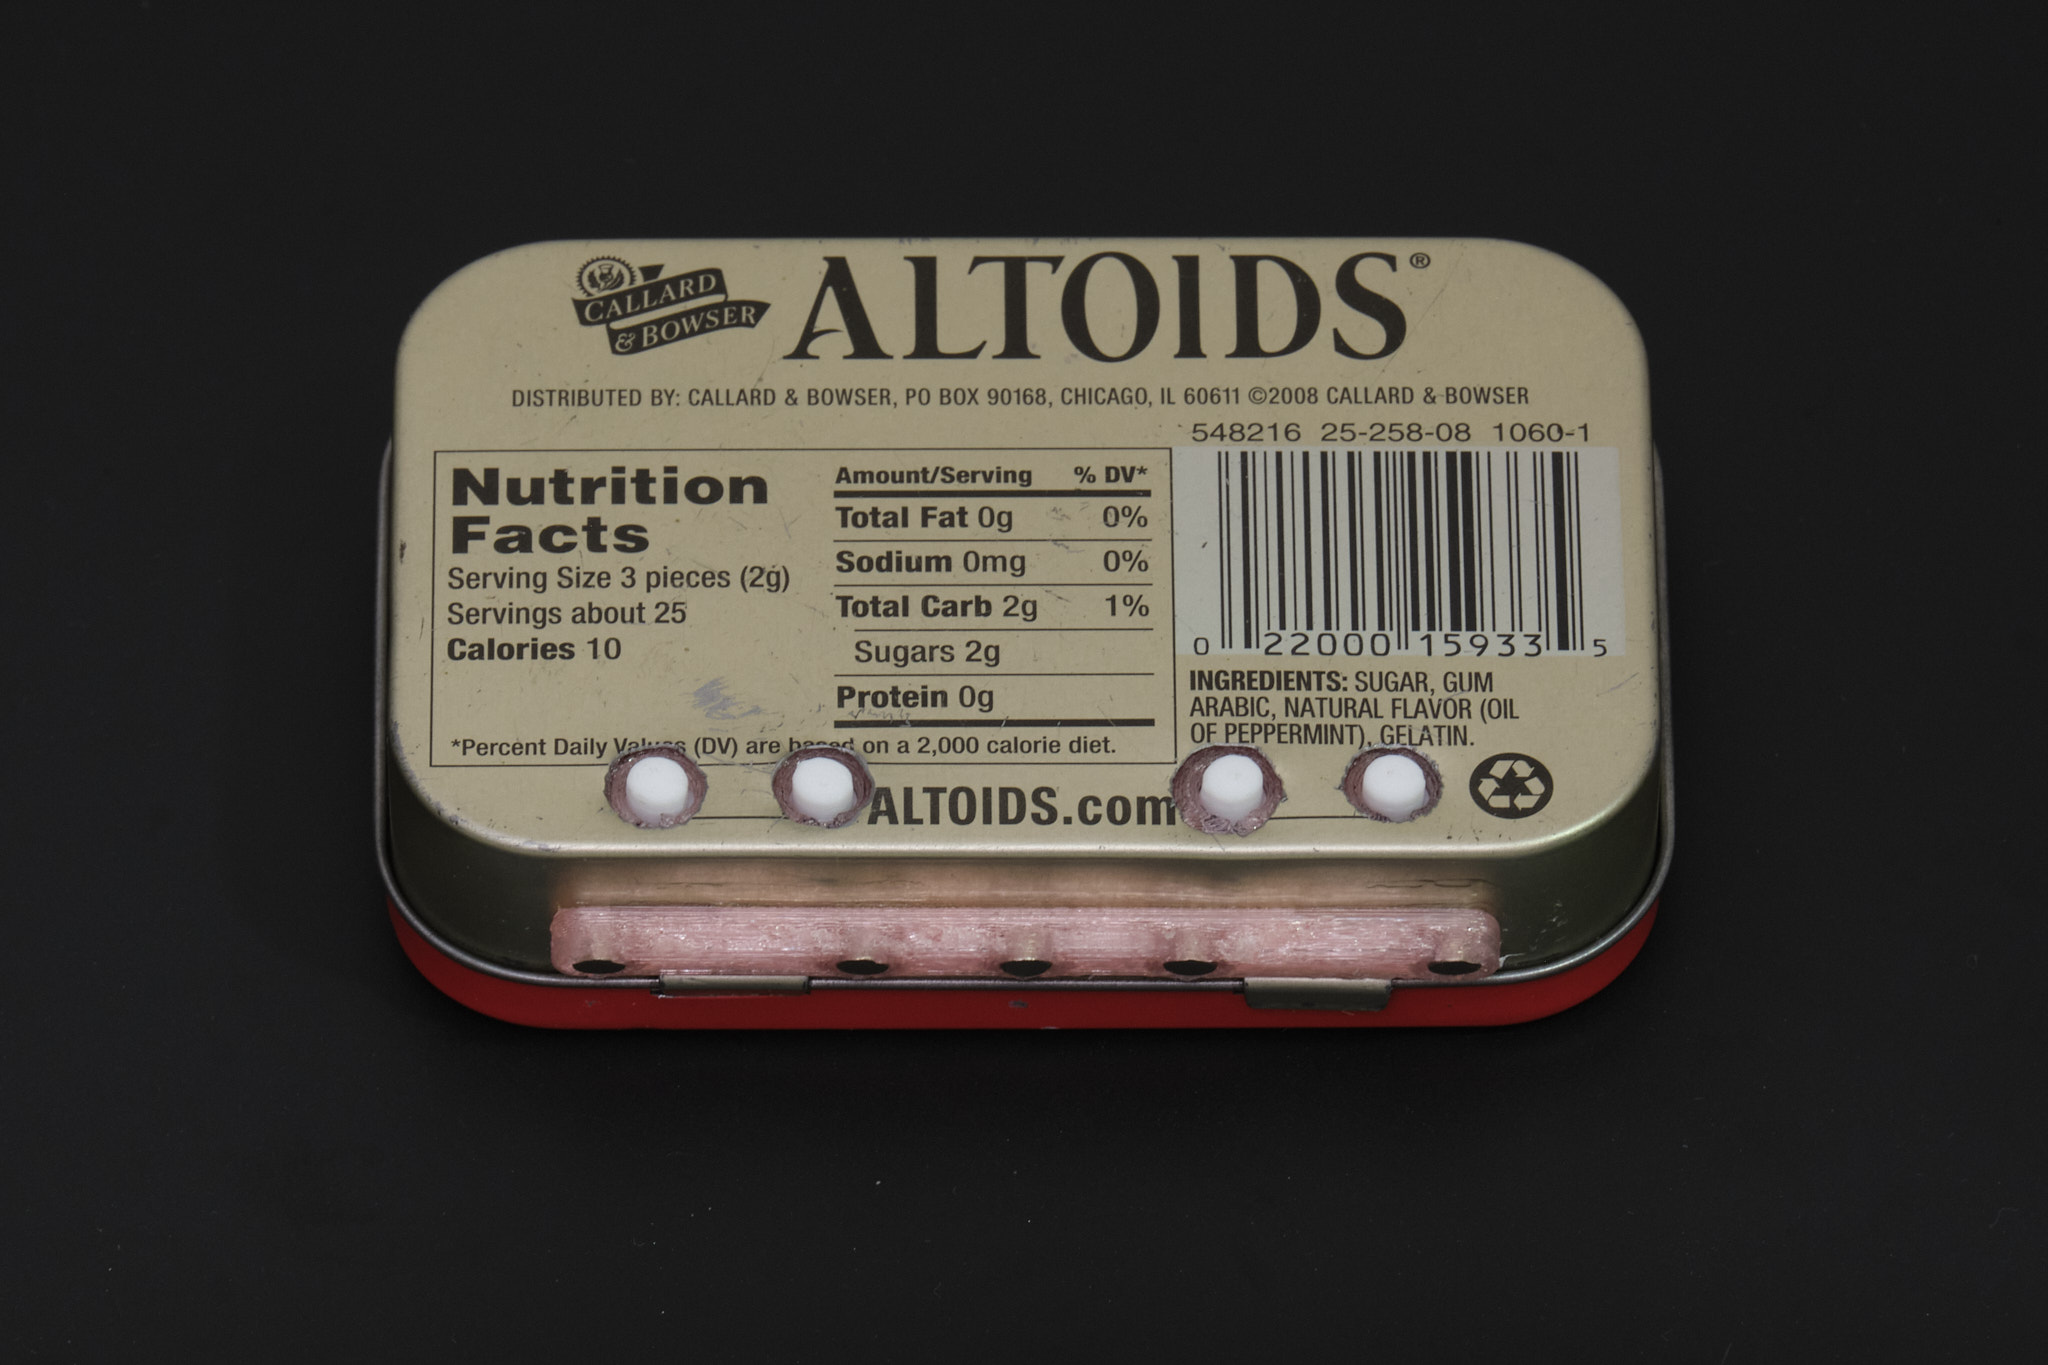
We've seen some ingenious DIY console designs over the years, and yes, we've seen people run Doom to run on pretty much any electronic device. But a Raspberry Pi-powered retro games console small enough to fit in a Altoids mints tin could be just the solution for all those who think the new Nintendo Switch 2 is too big.

A gaming console in an Altoids tin isn't actually a new idea. Several years ago, Wermy shared a guide for building the MintyPi. The problem is that some of the proprietary components are no longer available. In steps Alley Cat Engineering, AKA jackw01 and soaporsalad, to rebuild the concept from scratch as an open-source project. They've shared their plans and files so anyone can build the device, and they've also launched a Kickstarter project.
Dubbed the Pi Tin, the device makes use of a Raspberry Pi Zero 2 W and with a 2.8-inch TFT display, and it supports emulation for SNES, GBA, PS1, Genesis, Megadrive and some N64 games.

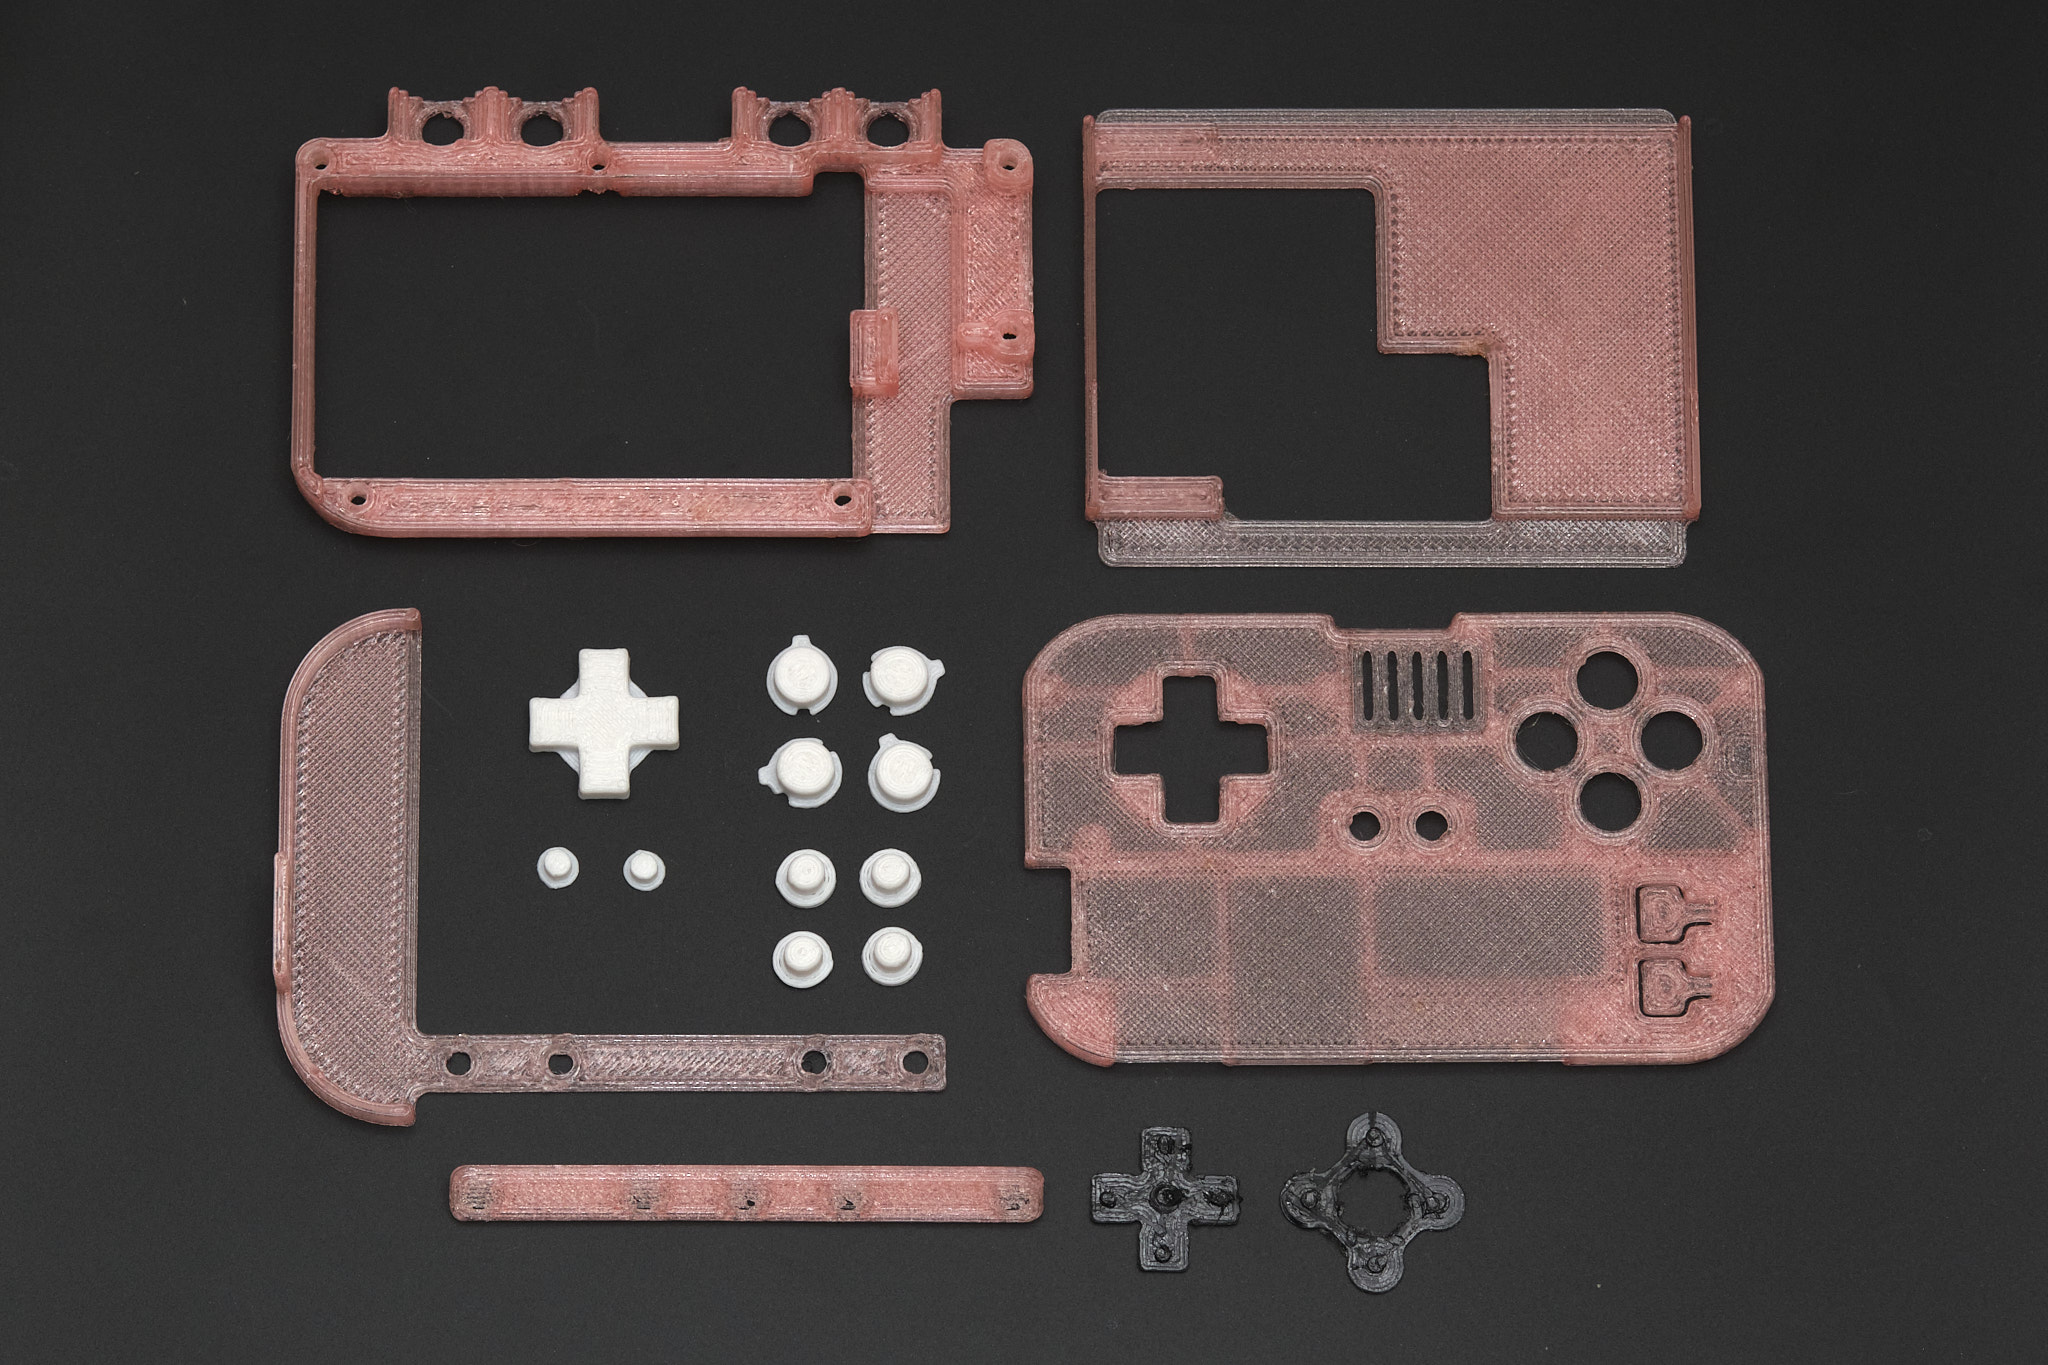
As well as the Raspberry Pi chip, you'll need two custom PCBs, some 3D printed parts and a few other components easily available from distributors. The PCBs can be manufactured low-cost but require advanced soldering skills and ideally a hot plate and hot air station to put them together them by hand, but Alley Cat plans to make assembled kits available to purchase.
The device's gamepad has Alps tactile switches and an elastomer membrane – components used in the Game Boy Advance SP and DSi. There's a soft power button, and the device can be used while charging. It's compatible with USB-C and can apparently run for up to five hours on a 2,000mAh battery.
If you don't have an Altoids tin, you can 3D print a clamshell case. Alley Cat note that the 3D printed version is easier to assemble, requiring fewer tools, while also providing more battery capacity. The Altoids tin option requires three neodymium magnets.
Get the Creative Bloq Newsletter
Daily design news, reviews, how-tos and more, as picked by the editors.
Builders will need to place four rear buttons in the housing and secure the components with six screws and tape to hold the battery and foam tape to center the PCB. The full instructions for both versions are available open-source via GitHub.
Need a 3D printer to print out the parts? See our guide to the best 3D printers for different needs. In the meantime, here's the video of the original MintyPi build.

Thank you for reading 5 articles this month* Join now for unlimited access
Enjoy your first month for just £1 / $1 / €1
*Read 5 free articles per month without a subscription

Join now for unlimited access
Try first month for just £1 / $1 / €1

Joe is a regular freelance journalist and editor at Creative Bloq. He writes news, features and buying guides and keeps track of the best equipment and software for creatives, from video editing programs to monitors and accessories. A veteran news writer and photographer, he now works as a project manager at the London and Buenos Aires-based design, production and branding agency Hermana Creatives. There he manages a team of designers, photographers and video editors who specialise in producing visual content and design assets for the hospitality sector. He also dances Argentine tango.
You must confirm your public display name before commenting
Please logout and then login again, you will then be prompted to enter your display name.

