Paint a moody night scene by candle light
Paco Rico Torres shoes you how to paint a night full of horrors in four simple steps.
Daily design news, reviews, how-tos and more, as picked by the editors.
You are now subscribed
Your newsletter sign-up was successful
Want to add more newsletters?

Five times a week
CreativeBloq
Your daily dose of creative inspiration: unmissable art, design and tech news, reviews, expert commentary and buying advice.

Once a week
By Design
The design newsletter from Creative Bloq, bringing you the latest news and inspiration from the worlds of graphic design, branding, typography and more.

Once a week
State of the Art
Our digital art newsletter is your go-to source for the latest news, trends, and inspiration from the worlds of art, illustration, 3D modelling, game design, animation, and beyond.

Seasonal (around events)
Brand Impact Awards
Make an impression. Sign up to learn more about this prestigious award scheme, which celebrates the best of branding.

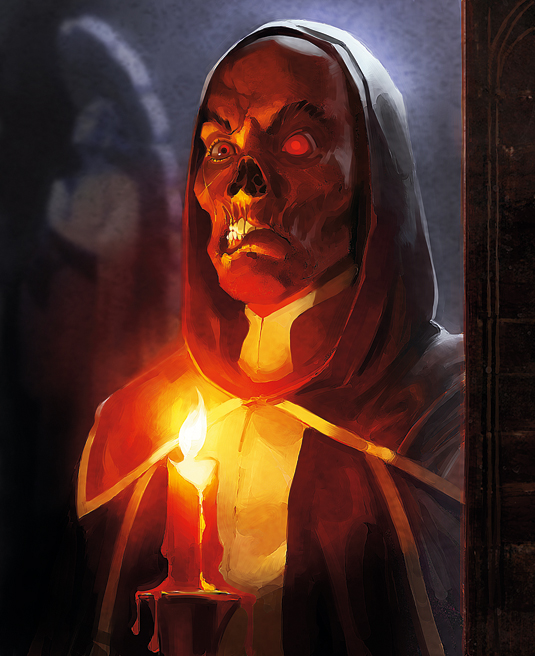
When illuminating a night scene, try using a single flame, like a match, cigarette lighter or candle. Remember, though, that a flame doesn't produce a lot of light: only the closest objects or characters will be affected by its light, and not to any great extent, either.
So you should try to either put all the important elements of the image close to the flame or add a secondary source of light (like the moon, for example – it doesn't need to be a bright source of light, just enough to be able to see something in the darkness).
If you add two sources, you should create two different areas in your painting with two different colour palettes (warm colours in one and cold colours in the other, like orange and blue), because chromatic contrasts always look great when applied to this type of image.
It's also important to place the lights and shadows in the right places. When you want to create a tangible atmosphere in a painting you need coherent, accurate illumination. Take the time to look through as many references as necessary – the final result is the only thing that matters.
To create a sensation of foreboding, the easiest way is to illuminate the scene (or the characters) from below. Obviously, you can choose to illuminate the scene from above and still create a scary-looking painting, but illumination from below is always associated with terror, so it's a good choice if you want to enhance that mood.
01. Harmony from scratch

After doodling a sketch featuring a character lit by a candle, I determine which areas are going to be affected by the light of the flame (I'll paint these using a warm palette), and which are not (I'll use cold tones). Then, in a new document, I create a reference colour palette to maintain the colour harmony of the image.
02. Bring the light

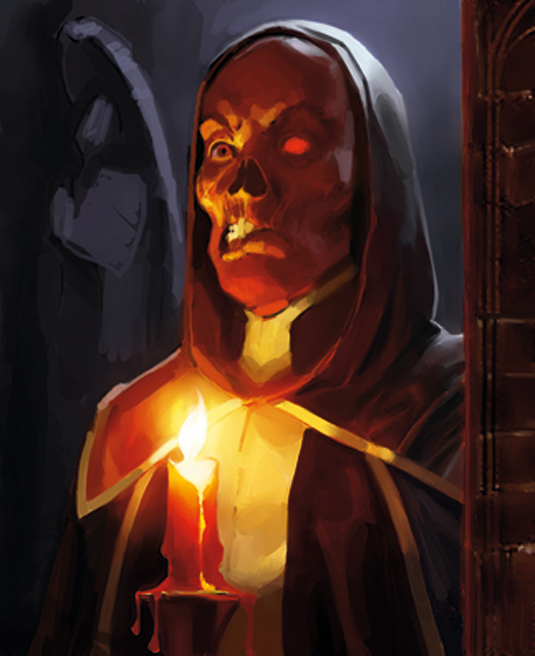
Now I start to paint the scene, trying to achieve realistic and interesting illumination. If I get the illumination wrong now, everything else fails.
Daily design news, reviews, how-tos and more, as picked by the editors.
So I don't waste time trying to polish the image or adding details, I simply focus on illuminating the scene. When this is done well, the rest is straightforward – it just takes time.
03. Details to finish

Now it's just a matter of adding details, adjusting some colours, polishing the surfaces and so on.
I do these things last, because at the beginning of the process it's vital to spend time experimenting, trying to get the core things right. Adding detail earlier in the process makes little sense.
04. Halo effect

To create a halo of light use a combination of layers in Screen, Soft Light and Overlay modes.
To illuminate a scene like this, make the flame the brightest element on the image. Use medium or dark tones for the rest (unless you have a secondary light).
Words and illustrations: Paco Rico Torres
Paco Rico Torres is a freelance illustrator living in Spain who's produced art for several card games, magazines, books and role-playing games. This article originally appeared in ImagineFX.

The Creative Bloq team is made up of a group of art and design enthusiasts, and has changed and evolved since Creative Bloq began back in 2012. The current website team consists of eight full-time members of staff: Editor Georgia Coggan, Deputy Editor Rosie Hilder, Ecommerce Editor Beren Neale, Senior News Editor Daniel Piper, Editor, Digital Art and 3D Ian Dean, Tech Reviews Editor Erlingur Einarsson, Ecommerce Writer Beth Nicholls and Staff Writer Natalie Fear, as well as a roster of freelancers from around the world. The ImagineFX magazine team also pitch in, ensuring that content from leading digital art publication ImagineFX is represented on Creative Bloq.
