How to paint a digital watercolour portrait
Digital artist Te Hu shows you how to mix digital watercolours to create a stunning female portrait.
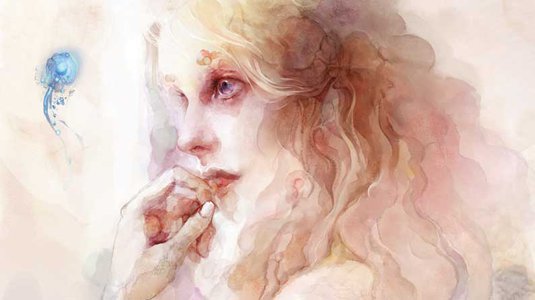
Watercolour as a traditional media offers artists a particularly expressive power. With practice and dedication, it's possible to mix colour and water in such a way as to create fantastic, translucent works.
In the digital realm, Painter is rightly popular for its watercolour-based tools that do a great job of simulating these advantages without the user needing to know how to paint. Thanks to the digital canvas, we can also be more experimental when mixing materials and textures, which are easy to adjust as we go.
In this workshop, I'm going to show you how I use digital watercolour tools to extract a subject from abstract shapes and colours and eventually end up with a fully developed portrait. Using some of the following methods and techniques, you too will be ready to experiment with the basic tools in Painter and ArtRage to craft creatures, portraits, and even entire scenes.
01. Create a background

Usually when I begin a digital piece in Painter, I'll concentrate on the basics. I prefer to just lay some colour on the canvas. You can use a favourite photo or a texture to give you the basic feel and tone of the image. For example, here I've just used a flow of colours that bleed into each other, and in such a way, I have a basic colour palette to choose from.
02. Find a great reference
Once I've decided what I want to paint, I usually find an image reference online or from my personal photos. I try to analyse the basic shape of the image, especially the feeling it evokes. Bear in mind that a work of art is an emotive response to the world around you; keep looking for a reference until you find one that resonates emotionally and inspires you.
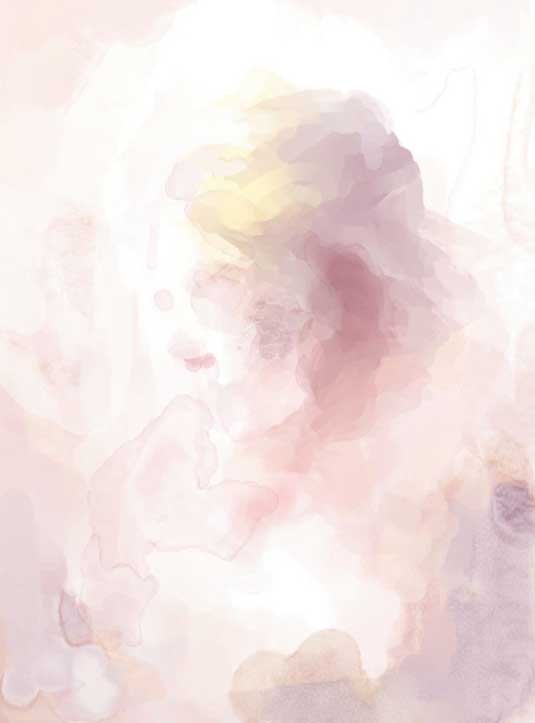
03. Block out big blobs
Once you've found the right reference, the fun can begin. Using the colour palette I set up, I just start blobbing out shapes on the canvas. Just be like a child and go for it – do as you like. In this case, I've made a large area of darker value, because watercolours don't include white.
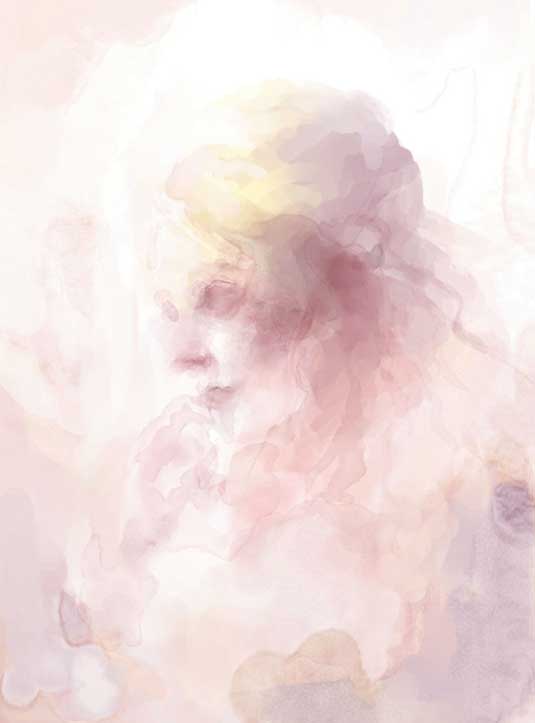
04. Mark the'landmark'
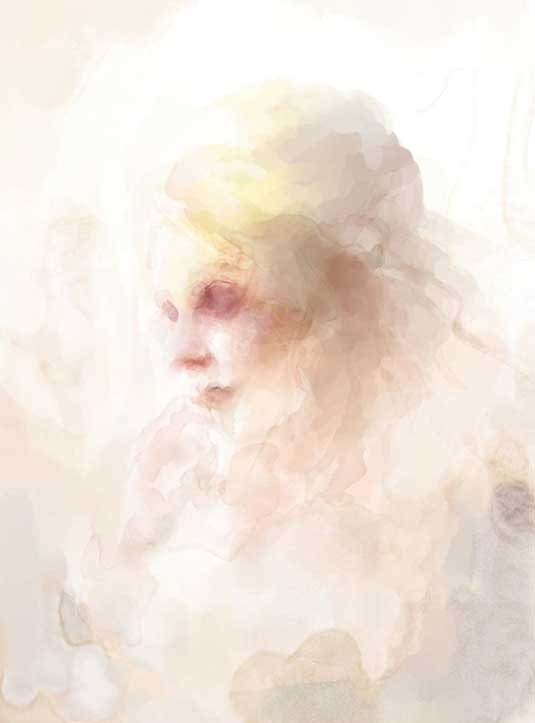
Now I transform abstract colour blocks into something more tangible. When I paint a portrait, I try to work in a traditional way. Try to imitate what you'd do in real watercolour. Paint the eye socket, nose, lips and rough position of the hand. These elements don't need to be precise, but try to use darker or lighter values to indicate their position and shape.
Daily design news, reviews, how-tos and more, as picked by the editors.
05. Refine the overall tone
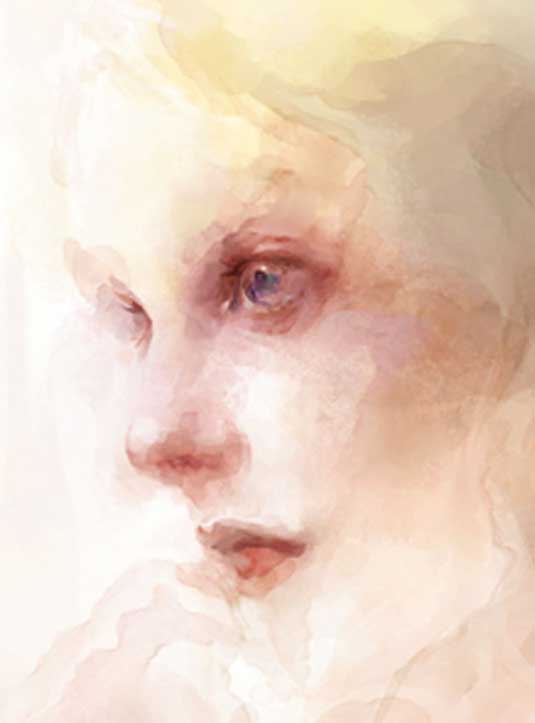
Now I have an idea of what the image is going to look like. I'l usually step back and have a cup of tea or something and then return to see where I'm at. I'll create a layer on top of everything to indicate what needs to be done and what needs to improve. I'd like this image to be warmer and more feminine, so I jump into Photoshop to adjust the colour balance.
06. Start with the eye
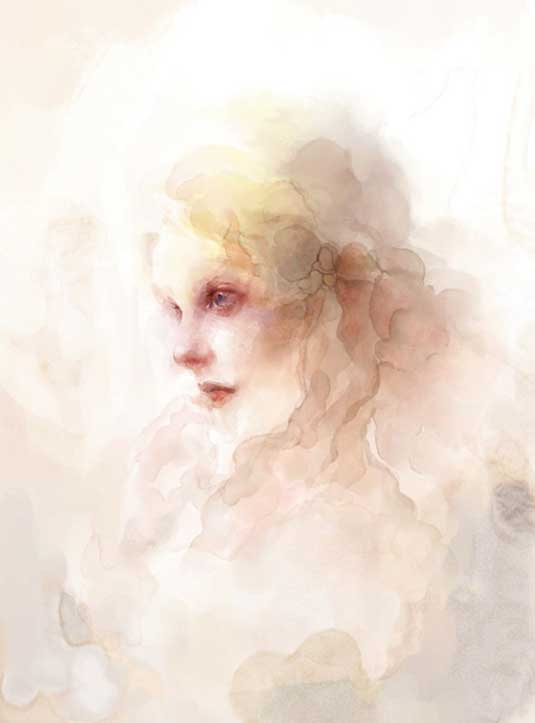
When the blocking stage is finished, you can start on the second layer and begin to lay down the most important features. You can start with the nose, hand, lips or even ears, but I usually start with the eye. As a Disney artist once told me, the eye is a character's most important feature. I'll refine the features to a certain degree until I've achieved the look and feel I'm after.
07. Secondary blocking
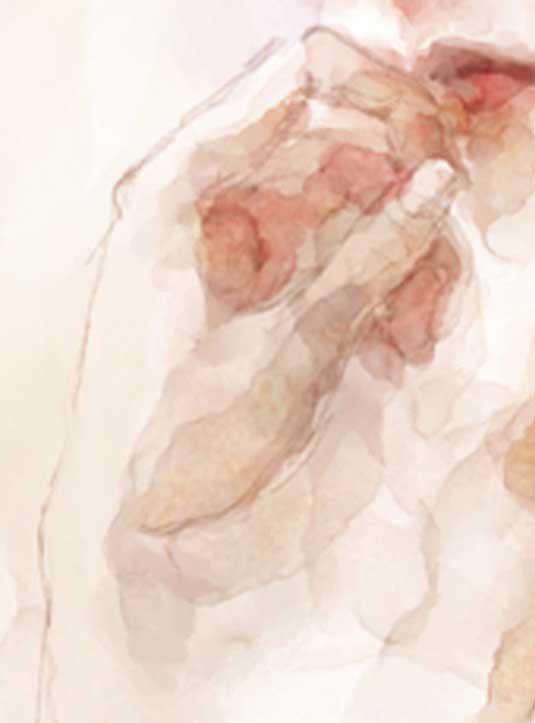
The second most interesting element is the hair. Here I'll use a smaller-sized brush to paint the more intricate shapes. I'll also use layers to paint the strands. That's the good thing about digital watercolouring: you can always tune the intensity of each shape and pattern, and once you're happy you just collapse them into the main layer.
Next page: more on how to create a digital watercolour portrait...

The Creative Bloq team is made up of a group of art and design enthusiasts, and has changed and evolved since Creative Bloq began back in 2012. The current website team consists of eight full-time members of staff: Editor Georgia Coggan, Deputy Editor Rosie Hilder, Ecommerce Editor Beren Neale, Senior News Editor Daniel Piper, Editor, Digital Art and 3D Ian Dean, Tech Reviews Editor Erlingur Einarsson, Ecommerce Writer Beth Nicholls and Staff Writer Natalie Fear, as well as a roster of freelancers from around the world. The ImagineFX magazine team also pitch in, ensuring that content from leading digital art publication ImagineFX is represented on Creative Bloq.
