How to paint translucent wings in 3 easy steps
From fairy wings to dragonflies, being able to create spellbinding translucent wings is a skill every fantasy artist should have.
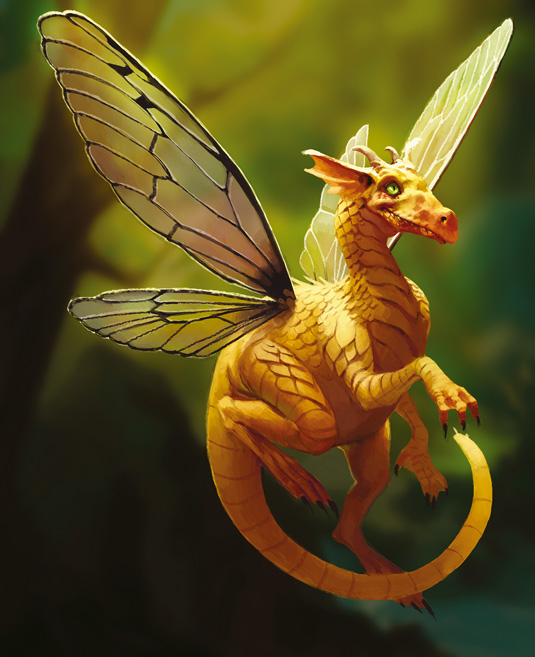
The first thing that you should bear in mind when tackling this subject is that even the translucent matter that makes up these wings is still going to be affected by the lighting in the scene to some degree. A translucent or transparent object can experience specular highlights, and the placement of those highlights vary depending on the position of the viewer.
Hone your Illustrator skills with these brilliant tutorials
For example, if you're walking outside on a sunny day and you notice someone wearing sunglasses, you'll see specular reflections on the lens. If you're the one who's wearing the sunglasses then you won't notice any reflection on the lens of your glasses, because the reflections are on the outside.
The same principle works here. If you paint the side of a wing facing the main light source, you should paint some specular highlights, even if this means losing some transparency. When painting the side of the wing that's away from the light, you can ignore the highlights and focus on creating the transparency effect.
01. Paint it flat
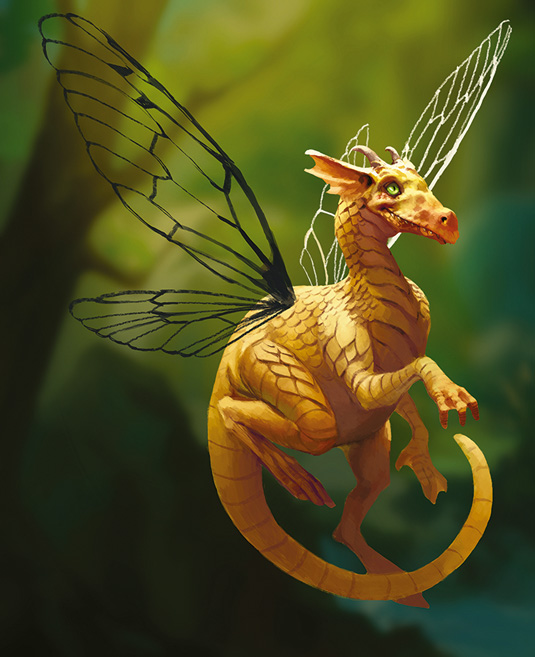
I create the wire structure of the wings. I paint it totally flat, then use the Transform command to achieve a perspective effect. I paint the wing in the foreground black because this is the side of the wing that isn't facing the light. The rear-most wing is white because it's the side that's facing the light.
02. Add translucency
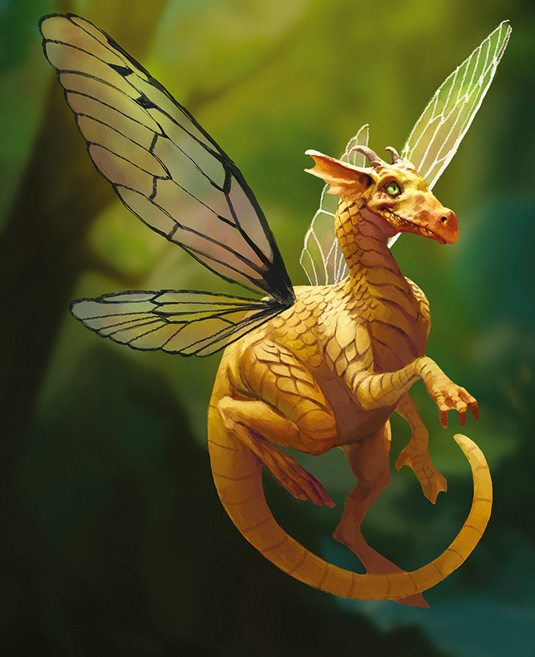
Next I add the translucent element. I paint it using grey on a different layer (below the wire structure) on an Opacity of around 40 per cent, and then I add some colour variations on a new layer set to Soft Light using pink, purple and green to achieve a pearlescent effect. This adds visual interest to the wings.
03. Highlight the finish
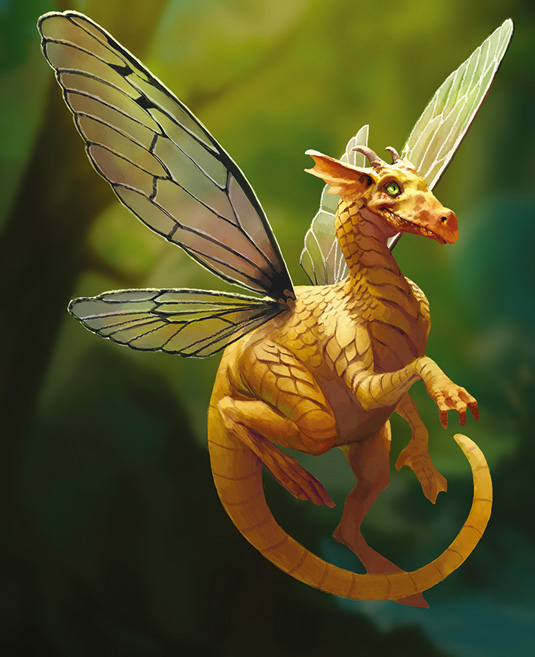
I paint the specular highlights on the bright wing, and some highlights on a layer under the wire structure of the dark wing to represent the side of the wire structure that's facing the light (which we can see because the wing is translucent). Then I add some shadows to the creature's body, and detail the scene appropriately
Tip: Use different layers
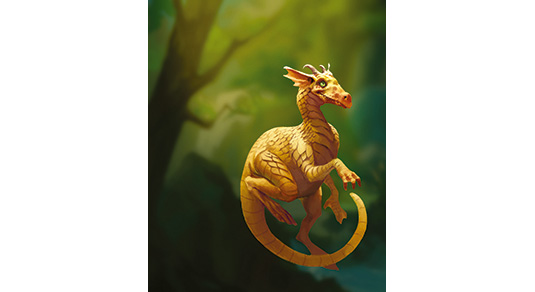
Before painting the wings, copy the body of the creature on to a new layer, and clean the edges of the figure. This will enable you to paint the wings behind the body more easily.
This article originally appeared in ImagineFX issue 120.
Like this? Read these...
- How to create photorealistic slime and shine
- Free Photoshop brushes every creative must have
- Photoshop tips, tricks and fixes to try today

Thank you for reading 5 articles this month* Join now for unlimited access
Enjoy your first month for just £1 / $1 / €1
*Read 5 free articles per month without a subscription

Join now for unlimited access
Try first month for just £1 / $1 / €1
Get the Creative Bloq Newsletter
Daily design news, reviews, how-tos and more, as picked by the editors.

An illustrator living in Spain, Paco has produced art for several card games, magazines, books and role- playing games.
