How to add slime to your artwork
Discover the secrets to creating realistic and repulsive slime for fantasy characters and more.
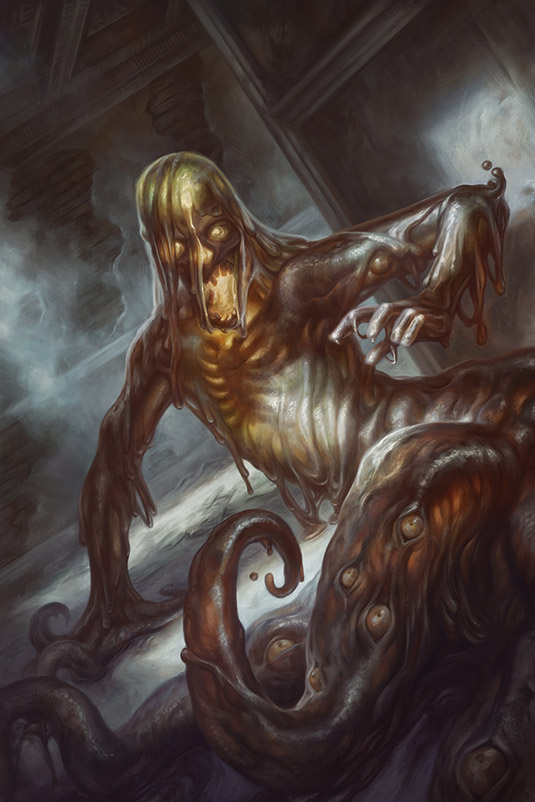
Whether you're learning how to draw a ghost dripping with ectoplasm, or perhaps you're making a gruesome zombie, creating a creature made out of slime requires getting comfortable working with a tricky material to render. There are two key factors to consider: the subsurface scattering that occurs in translucent materials; and the specular highlights that form on wet surfaces.
As with anything unfamiliar you paint, reference is key. However, reference gathering can be more fun than a simple online image search. I use an online recipe to make my own slime using borax, clear school glue and some food colouring. This gives me a great resource to refer back to throughout my process.
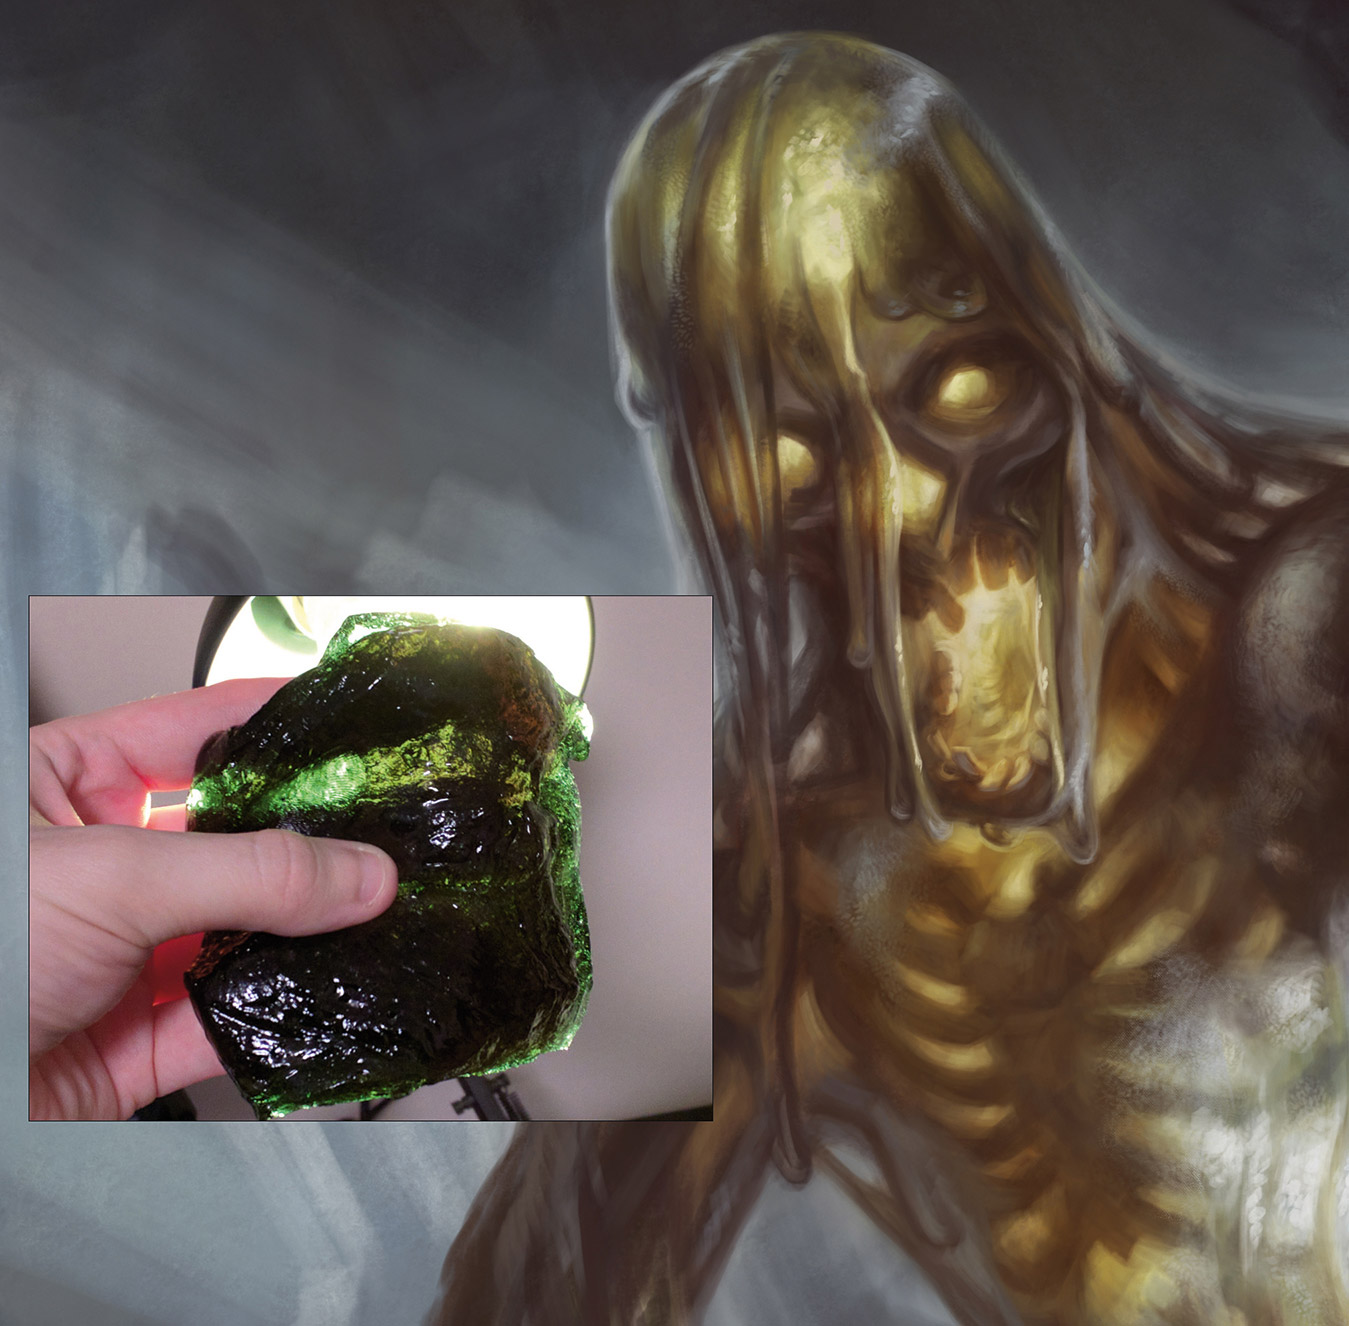
Working in Photoshop, I paint a creature that has a core skeleton inside a mass of slimy tentacles and an eerie internal glow. Getting creative with this effect inside of the creature has the two-fold benefit of creating more light to play off the internal structures, while also helping to create a focal point against the dark background.
When creating lighting effects, whether it be the internal glow passing through the material or the shine on the surface, Overlay layers are an artist's best friend.
They enable the colours underneath them to show through while applying whatever new colour you select, and are a great way to layer in light. I use Overlay layers to punch up the internal glow as well as creating the specular highlights where the light directly hits the slime.
01. Concept sketches
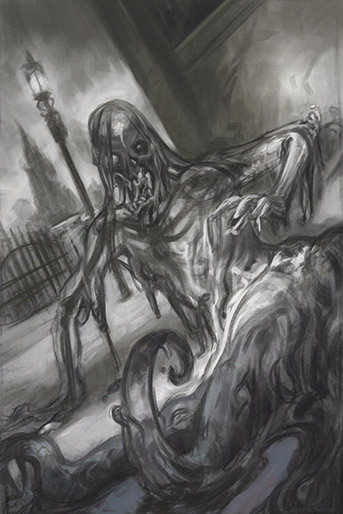
In my initial sketch, I focus on creating the flow of the creature and the dynamics of how the material would move. I include bits of slime that run and droop, bits that fling through the air as a tentacle flips or an arm moves, and parts that clump and smear as they drag on the ground. I keep the pieces ropey so they feel less watery.
02. Soften the slime
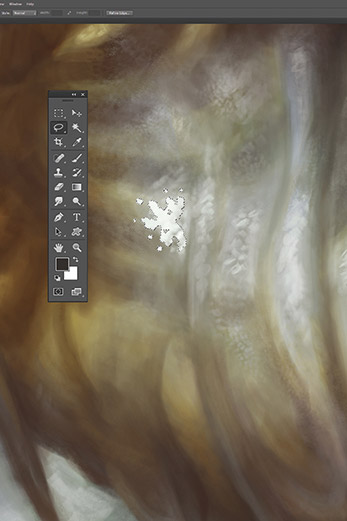
Slime is shiny and irregular. To help create this look I use the Lasso tool on an Overlay layer to paint in the harsh and bumpy shapes of the shine, then softening them with an Eraser as they turn across the form. A Scattered custom brush can come in handy around these harder core highlights, to help round out the form as well.
03. Background detail
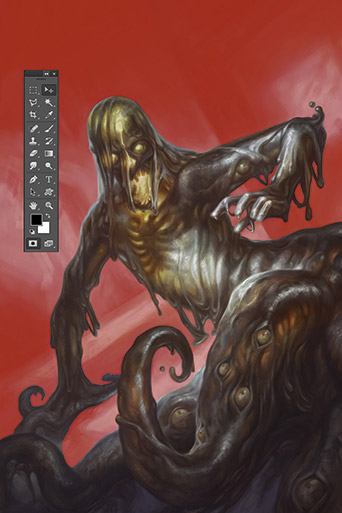
To create a creepy background to ground my creature, I use the Quick
Mask tool (C) to block in the areas I want to work on. Inverting the selection and making a copy via Copy Merged, I create a layer that only has the background area. Now I can paint behind my figure with as many layers as I want, simply by making them clipping masks.
This article was originally published in ImagineFX magazine issue. 134. Buy it here.

Thank you for reading 5 articles this month* Join now for unlimited access
Enjoy your first month for just £1 / $1 / €1
*Read 5 free articles per month without a subscription

Join now for unlimited access
Try first month for just £1 / $1 / €1
Get the Creative Bloq Newsletter
Daily design news, reviews, how-tos and more, as picked by the editors.
