Get more from custom Photoshop brushes
Discover how custom brushes can enhance your workflow and boost creativity.
09. Put Rorschach to the test
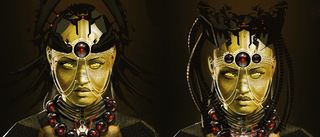
I create some random marks on the canvas. No matter what comes out, I try to see something interesting in the resulting shapes. Then I double them, flip them, rotate them, and manipulate them with the Transform and Warp tools to generate something that looks like either a helmet or a mask that my character would wear.
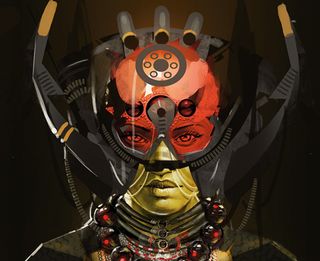
This approach also works well when quickly concepting sci-fi vehicles, ships or robots. Once everything is in place, I often finish either painting my figure or using the rectangular Lasso tool to work my shape into something that's more readable.
Finally, I make a mask out of my shapes and start painting inside and outside of them to incorporate them into my painting.
10. Refine the headdress
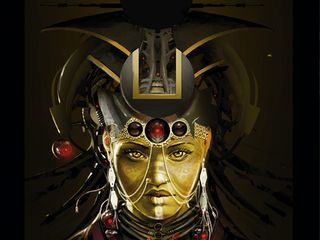
I take a Rake brush with a rust texture inside it and paint lights and shadows so the headdress matches the rest of the painting. You can make your own textures to put inside your brushes by opening a texture photo and then selecting Edit > Define Pattern. It now appears inside your texture tab in the brush preset window. Reduce Flow to better integrate the texture.
11. Depict folded cloth
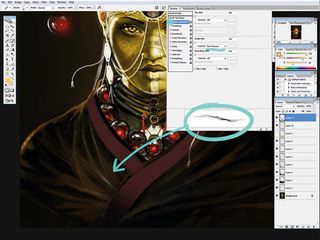
For my character's kimono outfit I create a simple Rake brush. Then I set Angle Jitter to Pen Pressure and add a dirt texture in Color Dodge mode.
I give it a dual-brush setup with a simple Hard round brush, select Other Dynamics and choose Pen Pressure. Now my Rake brush spins around itself in an irregular way – perfect for painting realistic folded cloth!
12. Paint, smudge and erase
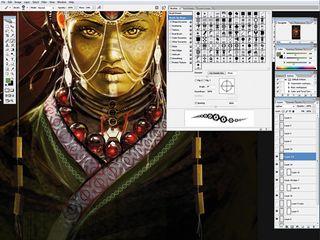
Custom brushes can be used for painting, but also for smudging, erasing, dodging, burning and so on. For example, you could paint a decoration on the clothes with a pattern brush and then erase inside your pattern using another pattern brush to achieve more cool effects and patterns. Dodging with a Dirt brush can also be a great way to obtain realistic metallic surfaces.
Get the Creative Bloq Newsletter
Daily design news, reviews, how-tos and more, as picked by the editors.
13. Add the final touches
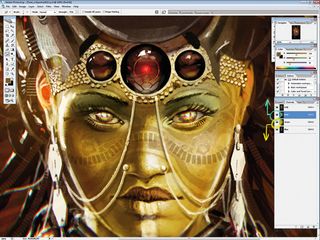
I drop all my layers and duplicate my background. Then I add a noise effect to the layer above (Noise set to 400 per cent). I repeat my noise effect a couple of times and then set the layer to Overlay with between 2 and 5 per cent Opacity.
I also use Gaussian Blur and Filter > Other > High Pass to adjust focus throughout my image. Then I drop all my layers again and then go to Channels. I move the red, green and blue channel each one by one pixel. This creates a pseudo 3D effect. Finally I play around with Color Balance to do my final colour tweaks.
Watch the full tutorial
This article originally appeared in ImagineFX magazine, the world's leading digital art magazine. Subscribe here.
Related articles:

Thank you for reading 5 articles this month* Join now for unlimited access
Enjoy your first month for just £1 / $1 / €1
*Read 5 free articles per month without a subscription

Join now for unlimited access
Try first month for just £1 / $1 / €1
