10 free Photoshop brushes for painting skin and hair
Discover how to make best use of custom brushes in Photoshop and Corel Painter.
Thanks to painting software, artists are not limited to traditional brushes any more, but are encouraged to create their own. In this workshop I will be describing how to use custom brushes to create realistic skin and hair for your characters.
Although I'll mainly be focusing on users of Creative Cloud Photoshop, I will also share tips for Corel Painter users to achieve similar effects. Download all 10 brushes here, or explore more brilliant free Photoshop brushes here.
01. Ragged hard round brush

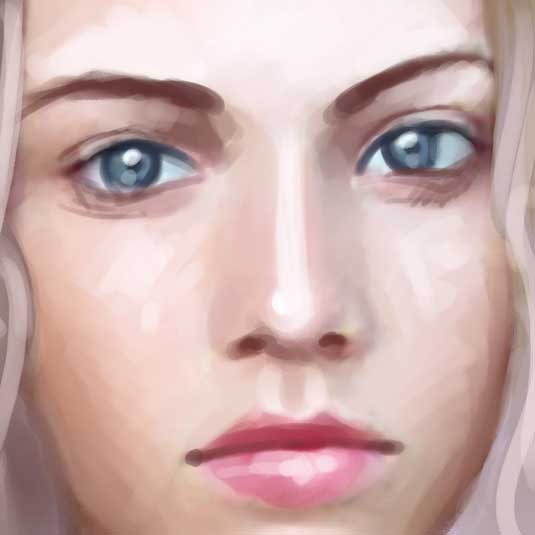
This is the first brush I use for any painting. An altered Hard Round brush with ragged edges is perfect for the first stages of colour blocking, as its edges will prevent the transitions from being too rough. The pressure-sensitive opacity will enable you to create a bigger variety of skin tones.
Photoshop:
- Opacity: 100%
- Flow: 100%
- Spacing: 10%
- Other Dynamics: Opacity and Flow, 0%
- Smoothing: checked
Painter:
- Tinting: Basic Round
- Opacity: 5-15%
- Grain: 0%
- Resat: 20%
- Bleed:100%
- Jitter: 0%
02. Blending spackled brush
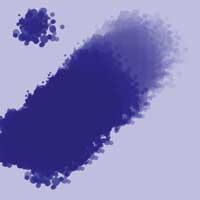
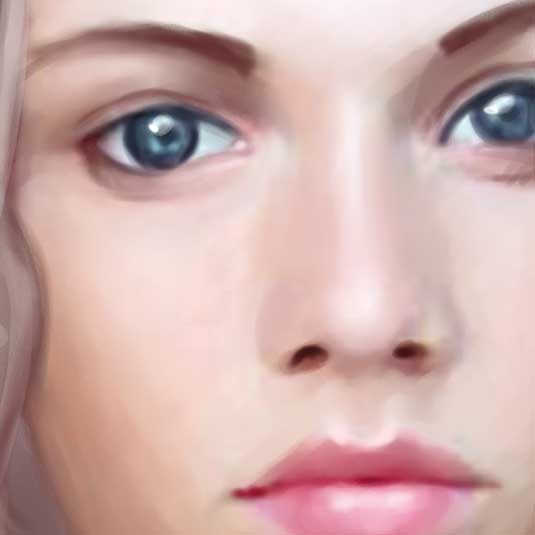
A spackled brush is the best thing to choose when you want to blend facial skin tones. Thanks to its shape and pressure-related opacity, it can blend really well and hint at skin pore texture. Smooth the transitions with this brush, while picking the colours with an Eye Dropper tool. Painter-users can use the Blender brush; while it doesn't render a natural skin texture, it creates satisfying effects.
Photoshop:
Get the Creative Bloq Newsletter
Daily design news, reviews, how-tos and more, as picked by the editors.
- Opacity: 20-100%
- Flow: 100%
- Spacing: 6
- Other Dynamics: Opacity and Flow, 0%
- Scattering: Both Axes, 109%
Painter:
- Tinting: Blender
- Opacity: 15%
- Grain: 0%
- Resat: 0%
- Bleed: 100%
- Jitter: 0%
- Blenders: Just Add Water
- Opacity: 15%
- Grain: 0%
- Bleed: 50%
- Jitter: 0
03. Airbrush
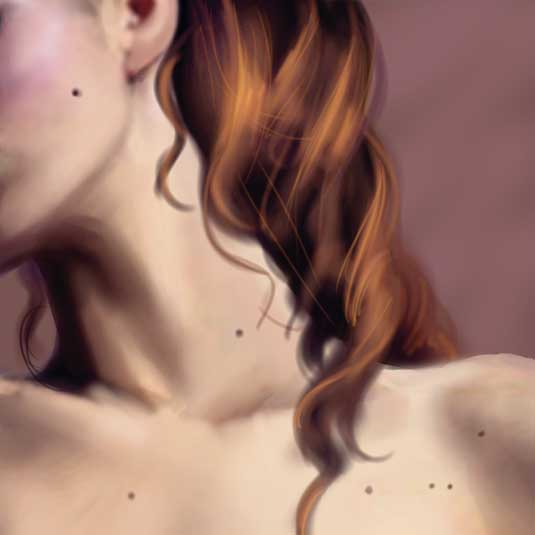
The Airbrush is an extremely flexible tool. It's perfect for adding anything from strands of hair to little details such as blushes and moles. An Airbrush is also a good way to soften the edges of painted objects and those rougher transitions between certain shades, creating an illusion of fleshy softness.
Photoshop:
- Opacity: 80-100%
- Flow: 100%
- Other Dynamics: Opacity and Flow, 0%
- Shape dynamics: just switched on
Painter:
- Airbrush: Soft Airbrush
- Opacity: 5-15%
- Resat: 100%
- Bleed: 100%
- Jitter: 0%
04. Rotating brush
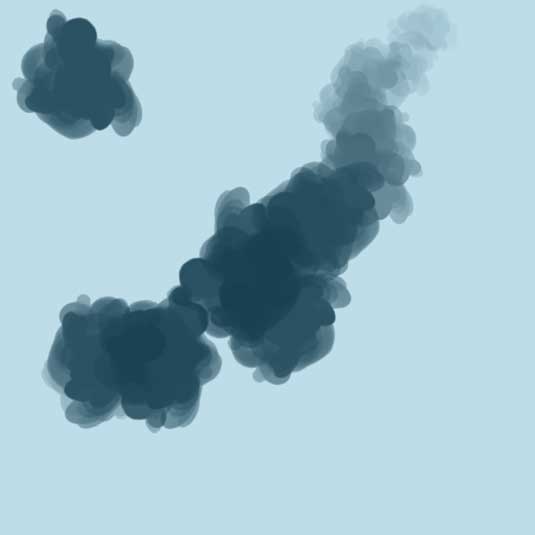
This brush is perfect for enriching the colour palette of an already painted body part. Thanks to its distinctive shape and angle variations, applying new shades in a natural way is extremely easy: just choose a colour and run with it over the painted skin. If you apply the colours carefully on a low opacity, you won't really require any extra smoothing. This brush also works great as a skin tone blender.
Photoshop:
- Opacity: 50%
- Flow: 100%
- Other Dynamics:
- Opacity and Flow, 0%
- Scattering: 100%
- Shape dynamics: just switched on
Painter:
- Airbrush: Detail Airbrush
- Opacity: 2-20%
- Resat: 20-70%
- Bleed: 100%
- Jitter: 2-3
05. Spattery brush
The small spackled brush is great to render skin pores with. Use it on a low opacity setting on a separate layer, so you can play with layer modes later (Soft Light usually gives the most natural effects). To enrich the 'automatic' pore effect, create another layer on top of the existing one and, with an Airbrush, randomly place some small lighter dots on top of the previous ones.
Photoshop:
- Opacity: 100%
- Flow: 100%
- Spacing: 75%
- Other Dynamics: Opacity and Flow, 0%
- Smoothing: checked
Painter:
- Airbrush: Tiny Spattery Airbrush
- Spread: 50%
- Flow: 1
- Feature: 20
- Opacity: 70%
06. Triple dot brush
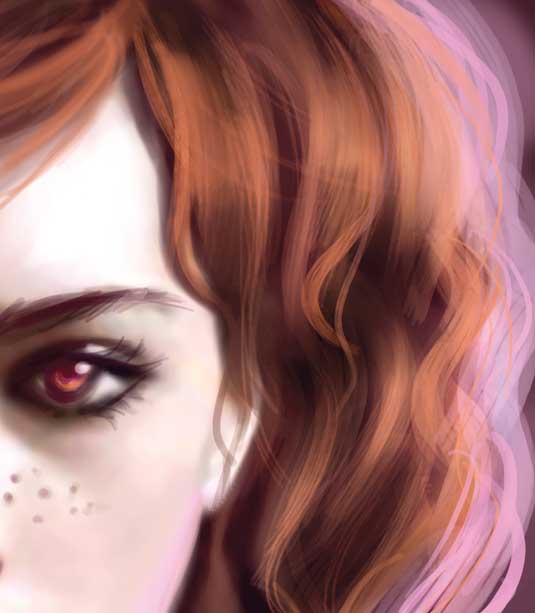
After marking the hair basis with an Airbrush, it's good to start adding some texture. This simple Spackled brush is perfect for this job. Start applying the hair strands, gradually moving from bigger and darker to smaller and lighter.
In Painter, I highly recommend the Acrylic brushes – aside from a 'strandy' feel, they will automatically create a very interesting texture.
Photoshop:
- Opacity: 100%
- Flow: 100%
- Other Dynamics: Opacity and Flow, 0%
- Smoothing: checked
Painter:
- Acrylics: Wet Soft Acrylic
- Opacity: 100%
- Resat: 30%
- Bleed:100%
- Jitter: 0
07. Slimmed brush
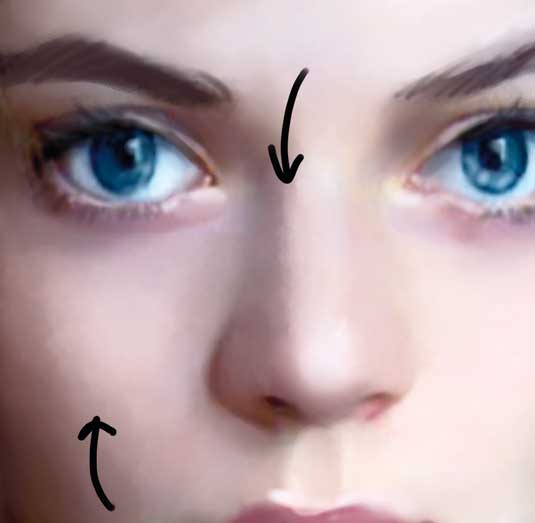
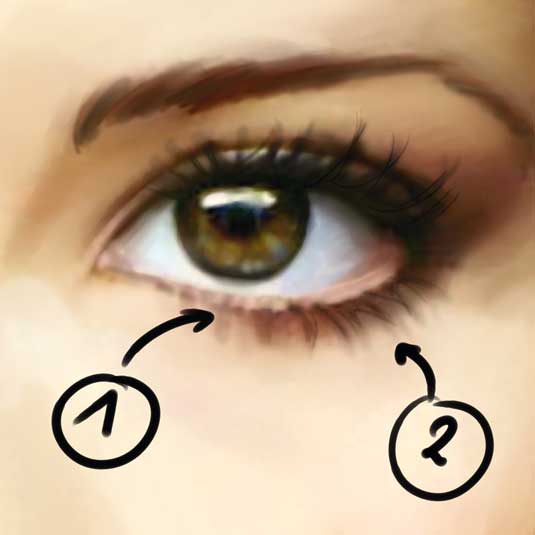
This simple brush, thanks to its pressure adjusted size and opacity, is a natural choice for painting eyelashes. Use it on a low opacity to mark the shades under the eyelashes (1 in the image below). Then, size it down a bit and increase the opacity to mark the actual eyelashes (2). This brush is also a wonderful tool for hair detailing.
Photoshop:
- Opacity: 100%
- Flow: 100%
- Other Dynamics: Opacity and Flow, 0%
- Shape dynamics: just switched on
- Smoothing: checked
Painter:
- PENS: Fine Point
- Opacity: 10-30%
- Resat: 100%
- Bleed: 0%
08. Fairy Dust brush
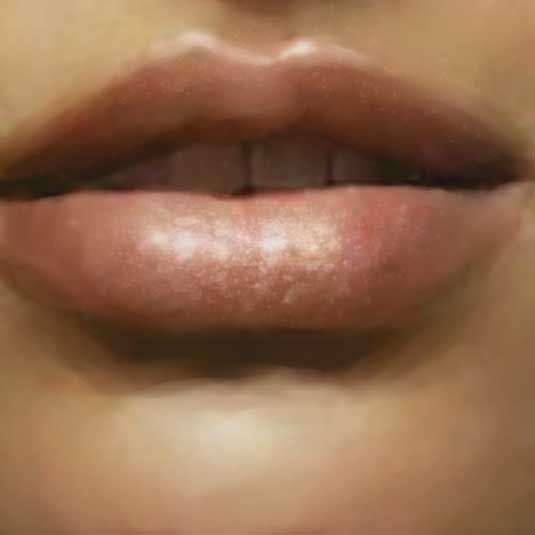
This spackled brush is a great special effects tool. When painting characters, you can use it to texture mouths: choose a light colour and run with the brush over the highlighted part of the lips. To achieve natural effects, switch the sizes and opacity regularly. You can also use this brush to enhance a magic spell rendition, by creating a fairy dust effect. And it's perfect for painting stars!
Photoshop:
- Opacity: 100%
- Flow: 100%
- Other Dynamics: Opacity and Flow, 0%
- Smoothing: checked
- Scattering: Both Axes, 85%
Painter:
- Airbrush: Variable Splatter
- Spread: 90°
- Flow: 5
- Feature: 9
- Opacity: 60-80%
09. Scratch Maker
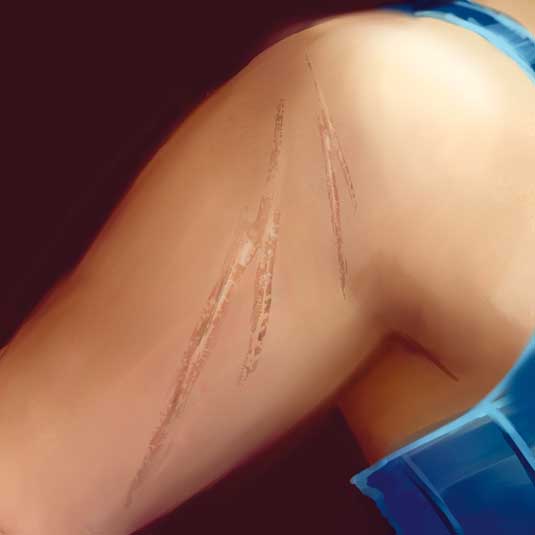
This custom brush was made from a leaf photograph I took. It's perfect for creating scratched surfaces, but most of all for scars. Choose a neutral brown colour and use the brush over the skin (by clicking, not dragging). Then experiment with the layer modes (I recommend Overlay). Later, you might want to shrink the brush and add some lighter textures to some parts of the scar to make it look more natural.
Photoshop:
- Opacity: 30-40%
- Flow: 100%
Painter: Unavailable
10. Dirt brush
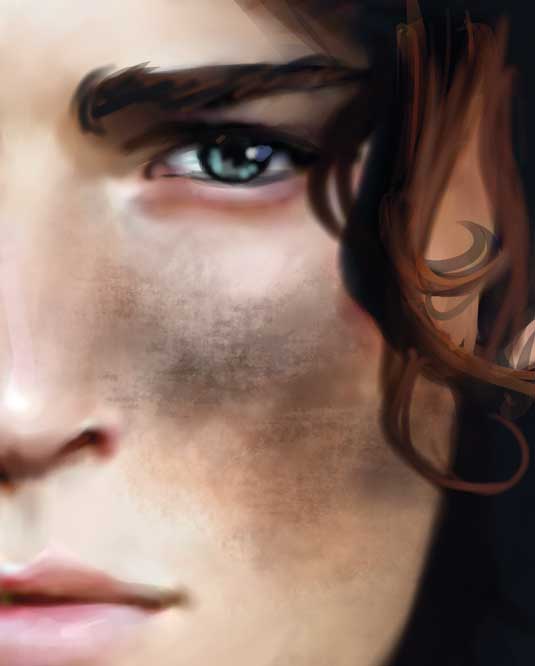
This ragged brush is fabulous for adding dirt effects to the skin and clothing. Simply pick a darker colour and click around the surface, remembering to switch the sizes and opacity regularly. Afterwards, change the Layer mode to Multiply and add some Gaussian Blur to make your brushstrokes look natural.
Photoshop:
- Opacity: 10-50%
- Flow: 100%
- Other Dynamics: Opacity and Flow, 0%
- Smoothing: checked
- Scattering: 33%
This workshop originally appeared in ImagineFX.
Related articles:

Thank you for reading 5 articles this month* Join now for unlimited access
Enjoy your first month for just £1 / $1 / €1
*Read 5 free articles per month without a subscription

Join now for unlimited access
Try first month for just £1 / $1 / €1
