Depict the death of a vampire - 3 pro tips
Paint the moment a vampire is staked and disintegrates with John Peterson's tutorial.
This is a tricky problem, because you have to think about how much detail you want to show and how deep you want to delve into the anatomy of the vampire and the various materials that are expelled by the event.
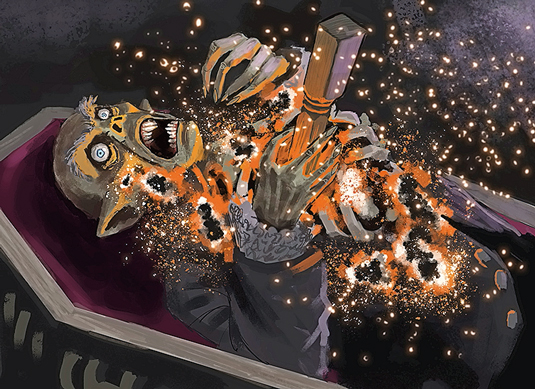
If you watch vampire movies such as Blade, generally the disintegration radiates from the point of impact outward toward the limbs, with burning embers and ash flying all over. Look at some reference photos of fabric and paper burning, and apply that to the areas you want to burn.
I envisage that this is going to be a dark environment – perhaps the vampire's family crypt – and the main light source will be the glowing embers and fire coming from the area into which the stake is penetrating. This will light the vampire's face from below.
I decide I also want to see a few exposed ribs, so the viewer realises that it’s not just the bloodsucking fiend's clothing which is going up in flames. I'm keen to see a lot of energy and chaos in this piece, and I also want the vampire to be clutching at his chest with gnarled fingers and arching his back in pain.
01. Start with shapes

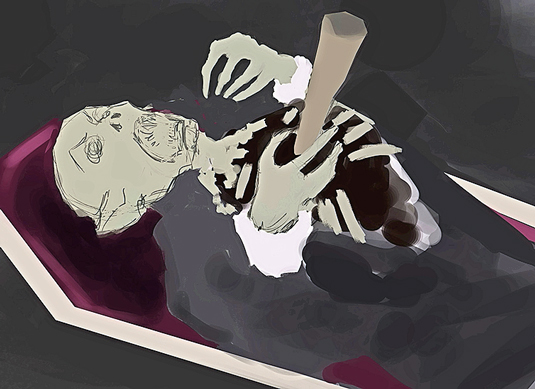
I start in Photoshop, and using a broad brush I proceed to block in large shapes for the head and hands. I switch to a smaller brush for adding detail. The scene is very loose at this point. I then take a pencil brush and lightly sketch in the vampire’s facial features
02. Add your detail

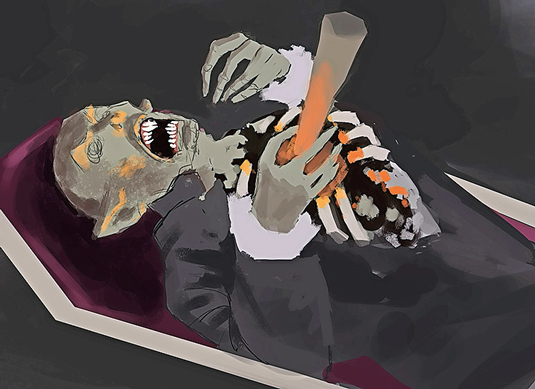
I add more detail to the face, clothing, and centre of mass. I start splashing in the bright orange that will be the light source coming from the stake wound. I reflect that lighting in the lower planes of the face. I use the Rotate Canvas feature a lot in this piece.
03. Use the partical brush

I add detail to the face. To lay in the disintegration effects I take a rough texture brush and lay down some orange. I reduce this brush's size and add the white-hot edge. I use a particle brush to add glowing embers on a separate layer, giving them an orange glow and Gaussian Blur.
Words: John Peterson
An education in biological and pre-medical illustration led US-based John to become an animator and designer. He's also a freelance illustrator. This article originally appeared in ImagineFX issue 112.
Like this? Read these!
- How to paint translucent vampire skin
- The B-movie art that's so bad it's good
- How to use symbolism to give your art bite!

Thank you for reading 5 articles this month* Join now for unlimited access
Enjoy your first month for just £1 / $1 / €1
*Read 5 free articles per month without a subscription

Join now for unlimited access
Try first month for just £1 / $1 / €1
Get the Creative Bloq Newsletter
Daily design news, reviews, how-tos and more, as picked by the editors.

The Creative Bloq team is made up of a group of art and design enthusiasts, and has changed and evolved since Creative Bloq began back in 2012. The current website team consists of eight full-time members of staff: Editor Georgia Coggan, Deputy Editor Rosie Hilder, Ecommerce Editor Beren Neale, Senior News Editor Daniel Piper, Editor, Digital Art and 3D Ian Dean, Tech Reviews Editor Erlingur Einarsson, Ecommerce Writer Beth Nicholls and Staff Writer Natalie Fear, as well as a roster of freelancers from around the world. The ImagineFX magazine team also pitch in, ensuring that content from leading digital art publication ImagineFX is represented on Creative Bloq.
