Design and manufacture a lamp in 7 steps
How designer Kyle Wilkinson created a stunning lamp from scratch in just one month.
Earlier this year, multi-disciplinary designer, illustrator and art director Kyle Wilkinson fancied a challenge - so he set himself the challenge of designing and manufacturing a lamp, made from 30 pieces of laser-cut aluminum, within the month of February. Here Wilksinson recalls the process…
Kyle Wilkinson: Prior to this project I'd created two chairs: Latarus, an outdoor rocking chair made out of Cor-Ten weathering steel, and Phaeton, which was made from Perspex.
This was an area I'd previously had absolutely no experience in, and it was the same with the lamp - but I like a challenge.
This project started because I hated the lamp in my bedroom. I wondered if I could make one and set myself the challenge of completing the project within one month.
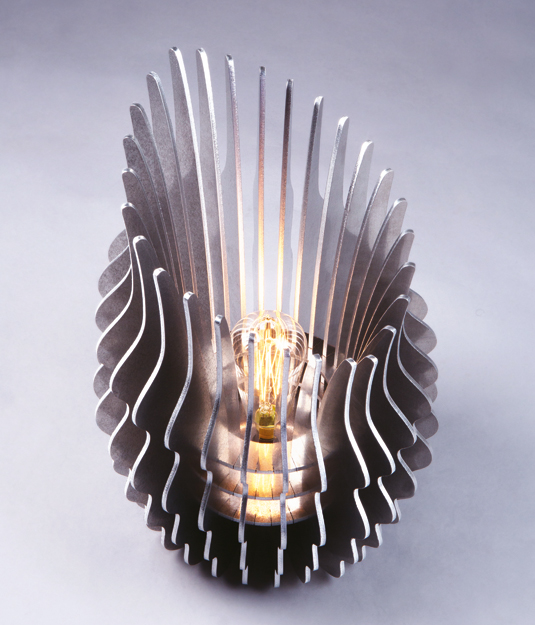
I knew it was going to be a decorative piece rather than a functional anglepoise lamp. I'm a big fan of Gaudi's architecture and the design was partly inspired by the hyperbolic shapes in some of his work. The aesthetics and practicalities came in while deciding on the material.
Having set myself the challenge of doing it all within February, I didn't actually get started on the first day of the month – I began on the sixth.
On top of that, I picked the shortest month of the year, which also turned out to be the busiest month we'd had in quite some time. Here's how I did it...
Get the Creative Bloq Newsletter
Daily design news, reviews, how-tos and more, as picked by the editors.
01. Planning the process
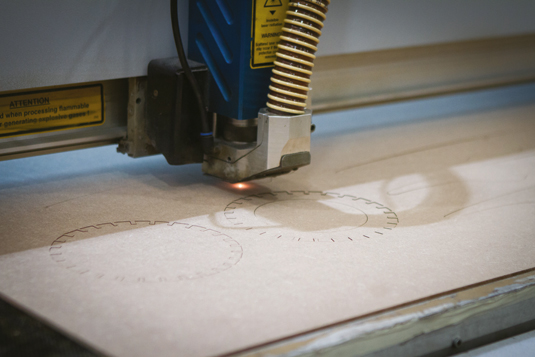
The chairs I made were both laser-cut. Having previously worked with that process, I wanted to use it again – that was the only initial decision I made.
Size and price were considerations, but the manufacturing process was the biggest constraint. The design had to be tied up fairly early in the month.
02. Initial shapes
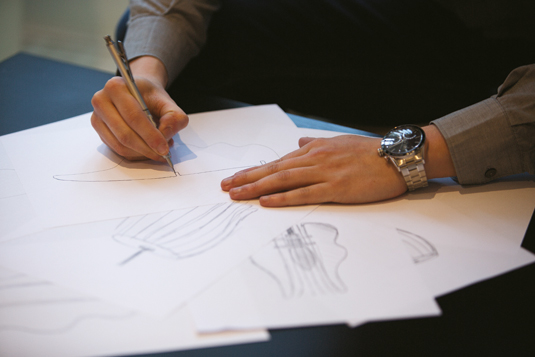
To start with I sketched out some ideas for shapes, thinking about the overall silhouette. Then I moved to the computer to refine the shapes.
I used Illustrator throughout the project, as you can easily edit and play around with form by adjusting different anchor points instead of having to redraw and retrace shapes.
03. Paper and scissors
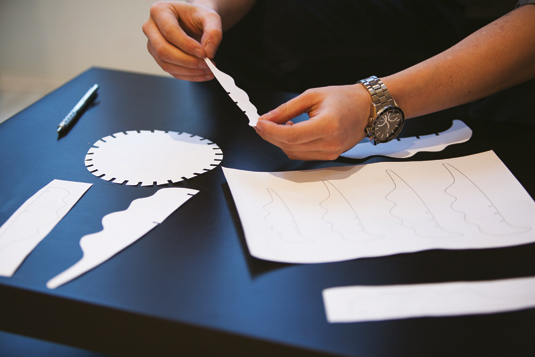
We printed out the shapes to get an idea of the scale and ensure it wouldn't take over the room or blind you. Then we adjusted and refined the design using paper, card and scissors.
With such a tight timeframe to get the design finalised, it was really helpful to be able to move things around quickly.
04. Mass effects
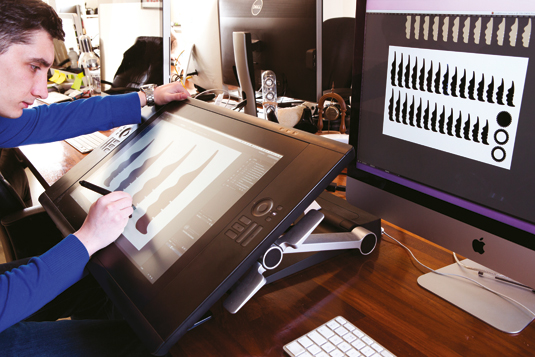
The lamp slots together – it doesn't use screws or fittings. Slot width was determined by the depth of the material – we opted for 4mm so it wouldn't be too weak or heavy.
The slots are equidistant from each other, so we had to calculate how many degrees apart to place them, to make sure the pieces slotted together.
05. Working sample
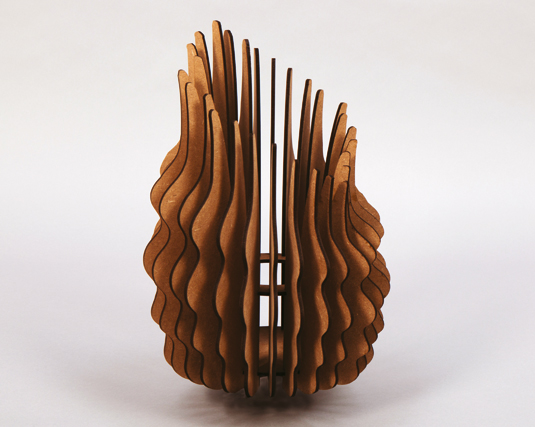
Once the design was finalised, I spoke to the manufacturer and we had a prototype made from MDF to check everything slotted together. The sample was weaker and less rigid, but it indicated scale and size.
We couldn't get multiple prototypes within the timeframe. I used it to read a paper by lamplight – very exciting!
06. Final decisions
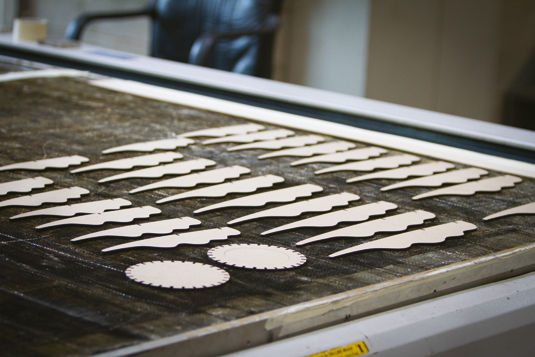
After seeing the MDF sample. Having started the project a week earlier, I'd finished the design – now to make the final version. I struggled to imagine it as a real product. You may think something will look good, but you can never be sure until you actually see it for real.
07. Slot machine
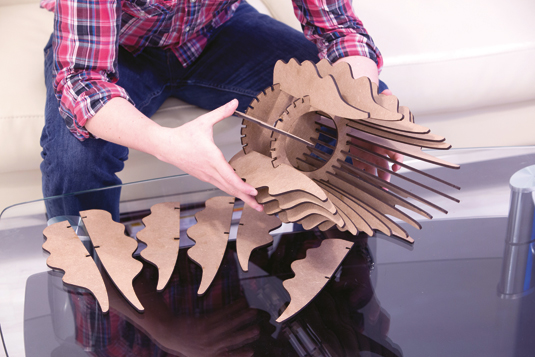
The final design consists of 30 individually laser-cut pieces. Putting them all together was quite time-consuming.
I hope to manufacture and sell these in different sizes and materials, so I might take some samples to a focus group to decide whether it should be flat-packed or supplied partly or fully built.
Kyle Wilkinson
Kyle is co-owner and creative director of design and digital agency DMSQD, working for clients including Bosch, The Art Directors Club and Computer Arts, as well as experimenting with product design.
The full version of this article first appeared inside issue 239 of Computer Arts, the world's best-selling creative design magazine. Get up to 55 per cent off a subscription to CA here.
Liked this? Try these...
- How to get a job at Google Creative Lab
- How to win your dream clients
- Download the best free fonts

Thank you for reading 5 articles this month* Join now for unlimited access
Enjoy your first month for just £1 / $1 / €1
*Read 5 free articles per month without a subscription

Join now for unlimited access
Try first month for just £1 / $1 / €1

The Creative Bloq team is made up of a group of art and design enthusiasts, and has changed and evolved since Creative Bloq began back in 2012. The current website team consists of eight full-time members of staff: Editor Georgia Coggan, Deputy Editor Rosie Hilder, Ecommerce Editor Beren Neale, Senior News Editor Daniel Piper, Editor, Digital Art and 3D Ian Dean, Tech Reviews Editor Erlingur Einarsson, Ecommerce Writer Beth Nicholls and Staff Writer Natalie Fear, as well as a roster of freelancers from around the world. The ImagineFX magazine team also pitch in, ensuring that content from leading digital art publication ImagineFX is represented on Creative Bloq.
