Create monstrous characters with Illustrator CS5's Bristle Brush
Illustrator and web designer Paddy Donnelly shows us how to use Illustrator CS5's new Bristle Brush feature and a Wacom tablet to create monsters
Creating works of art just became so much easier with the new Bristle Brushes in Illustrator CS5. Using a Wacom tablet, you can easily create realistic flowing hair, pressure and direction sensitive sketches, all in vector format. We're going to use them to create some monsters. Let's get cracking.
1. Unleash your imagination
First of all, get your sketchpad and pencil out and let your imagination run wild to create a rough outline of your monster.
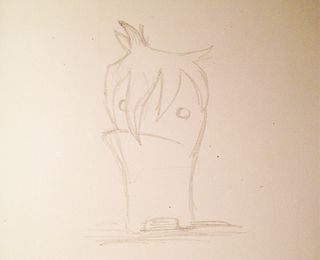
2. Mightier than the sword
Once you've got your rough shape, grab a black pen and go over the sketch, highlighting more of the details. This will make it easier to trace in Illustrator.
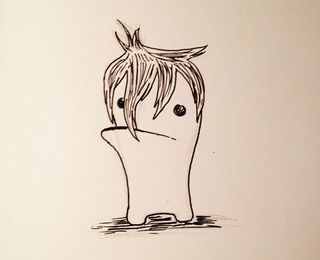
3. Open Illustrator
Scan in your little monster sketch and pop him into your bottom layer in a new Illustrator document. Add a new layer, grab the pen tool and start to redraw him. You can use the Live Trace tool, but I prefer to have more control and redraw it from scratch. Draw the two main parts to the monster, the body and the hair.
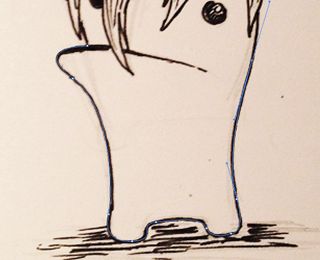
4. Choose your bases
Once you've drawn the basic shapes of your monster, choose some base colours. We're going to be painting over these shapes in layers, so it's a good idea to choose a darker shade of your desired colour as the background.
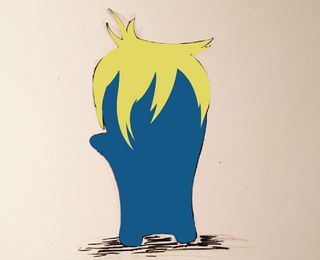
5. Stay inside the lines
Now, to keep ourselves within these shapes that we've just drawn, highlight the body shape and click the Draw Inside icon. This will mean that anything we draw will stay within these boundaries.
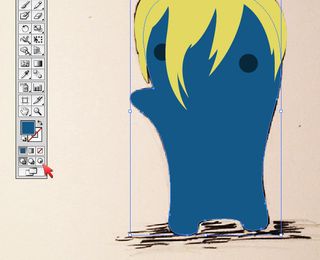
6. Borders
Four borders will appear in the corners of your shape to indicate which shape will be restricting your painting.
Get the Creative Bloq Newsletter
Daily design news, reviews, how-tos and more, as picked by the editors.
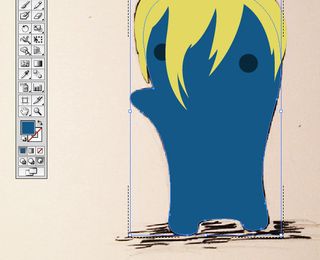
7. Bristle Brushes
Select the brush tool from the toolbar and go up to the Brush Definition menu. Scroll down the list until you find the Bristle Brushes option, then double click it.
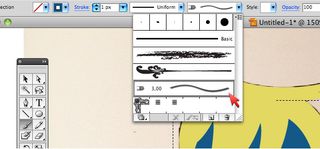
8. Bristle menu
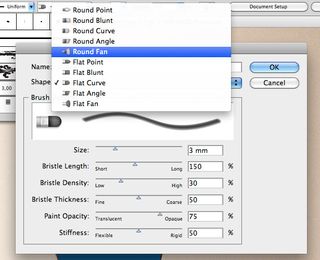
The Bristle Brushes Options box will appear. This is where you can select every aspect of your brush such as length, density, opacity, stiffness etc. It takes a lot of experimentation here to get the right brush for your task so take the time to try some out.
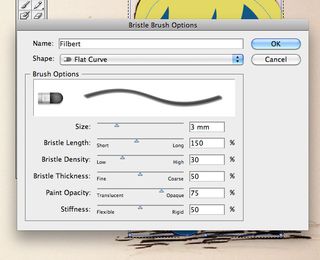
9. Select the fan
Let's select the fan brush type for this stage. This will allow us a broad stroke to paint the main parts of our character.
10. Direction and pressure
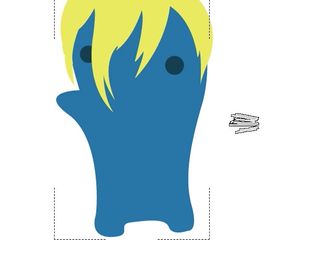
You can see a preview of your brush's direction on the page, matching what you're doing with your Wacom tablet. The Bristle Brushes match the pressure and direction of your flow, allowing for greater creativity than before. You can also use a mouse, but for best results a Wacom tablet is recommended.
11. Start painting
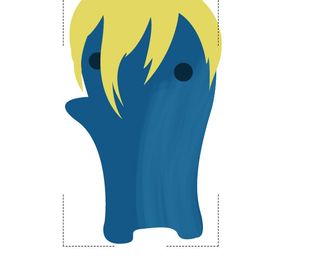
What we're wanting to do now is start layering on the colours. We've got our blue base colour already, so let's select a slightly lighter shade of blue and start covering the body.
12. Staying inside
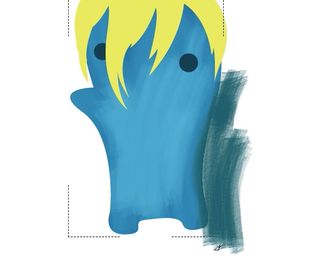
You can see that once you finish a stroke, Illustrator renders it as a smooth vector and keeps it within the boundaries we've set.
13. Shadows
Once you've got a basic body painted, start adding some definition and shadows. A handy tip for maintaining accurate highlights and shadows is to pop a temporary yellow circle on your page to represent the sun, keeping you aware of the light source and remove it when you're done.
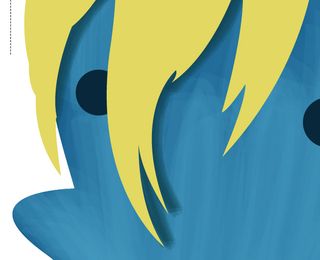
14. Highlights
Layering on the details now, add highlights to the bottom lip and along the edges that face your light source.
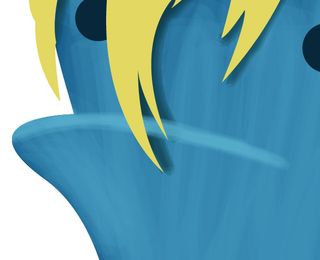
15. Ordering
In our layered approach we are going from less detailed to more detailed. First we cover the majority of the body and then start adding shadows, highlights and details, so think wisely about which order to lay down your colours.
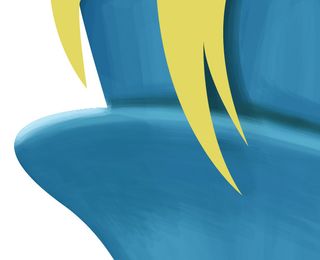
16. The finer points
As we're starting to add the finer details, let's select a different Bristle Brush. Open up the Bristle Brush Options menu again and select a brush with a pointed end.
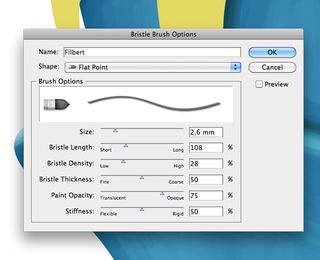
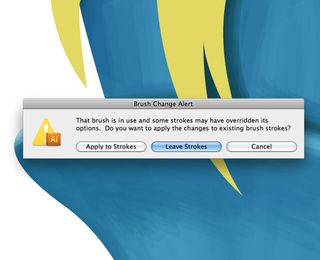
17. Alert
Once you click ok, you'll get an alert that your brush has been changed. Select Leave Strokes to avoid Illustrator redrawing all your previous strokes with the new brush.
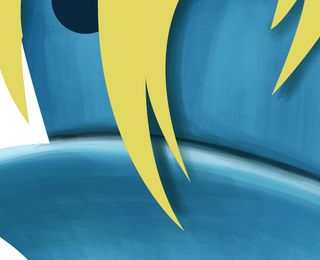
18. Thin lines
Add your finer lines and details to the illustration with your new brush.
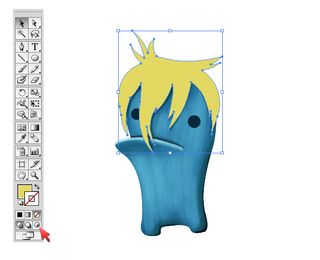
19. Hair
Now we're going to move on to the hair, but we're still bound within the body shape. Simply double click anywhere on the page background to deselect the boundaries. Now, click the hair shape and click the Draw Inside icon again to make it the new working area.
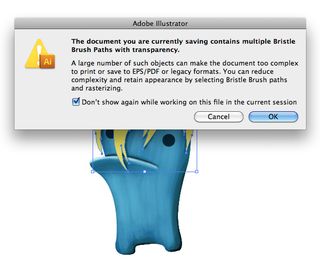
20. Saving
A downside to using Bristle Brushes is that your file can become very, very heavy as these strokes are all vectors. When you try to save the first time you'll get this warning message, which can be hidden during a working session. Saving your file often is a good rule anyway, but especially when working with bristle strokes which can make your computer struggle when they get too large.
21. Something for the weekend, sir?
Using your Bristle Brushes again, add some highlights to the hair. The Bristle Brushes allow you to create realistic hair strokes very easily.
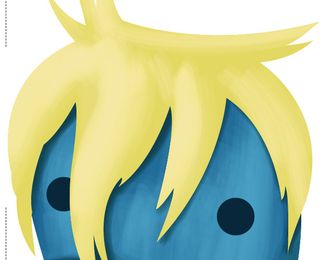
22. Strands
We're now going to add some definition to the hair, so lower your Bristle Brush's length and density and increase its stiffness.
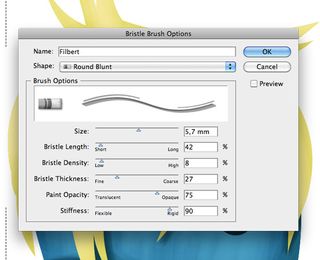
23. Definition
Adding strokes with this brush will allow us to add some definition to our monster's hair strands.
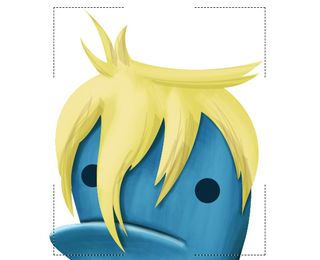
24. More highlighting
This layered process of working is very experimental. And you have to jump between colours and brushes often to get the effect that you want. Take the time to try out different combinations.
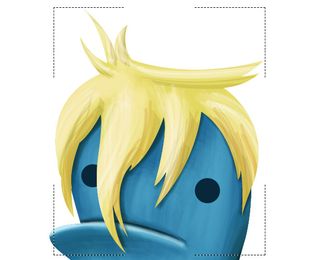
25. Delving into objects
If we want to go back to drawing within the boundaries of the body shape in order to alter shadows for example, we don't have to click the Draw Inside icon again. All we have to do is double click the shape to isolate it and from here we can draw within the shape's boundaries once more.
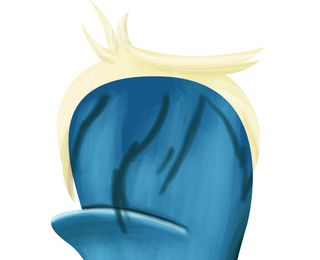
26. Adding and adding
Continue to add definition, shadows and highlights to your monster until you're happy with the result.
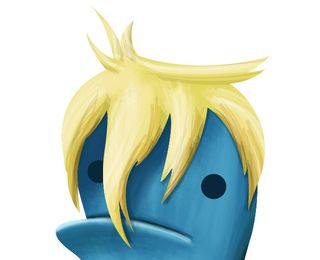
27. Eyes
We popped on some eyes earlier, but let's add some definition. Start by filling it with a gradient.
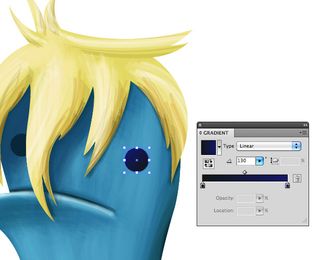
28. Reflection
Add a smaller circle to your main eyeball to indicate a reflection.
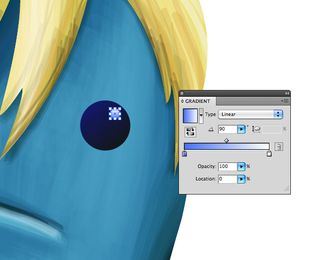
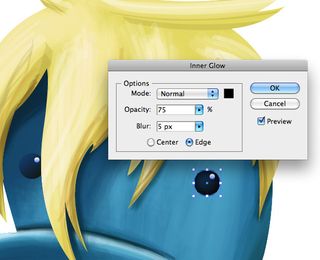
29. Inner glow
Add an dark inner glow to the main eyeball shape, copy both it and the reflection and move it over to the other side of the face.
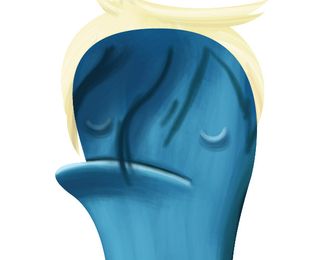
30. Lack of sleep
Double click on our main body shape again to add some shadows and highlights under the eyes.
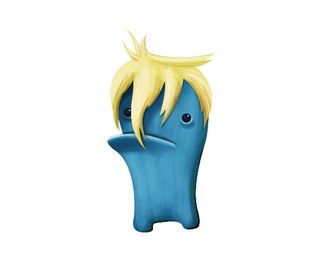
31. Not bad so far
Once you're satisfied with how your monster is looking, let's bring him into Photoshop to add some textures and realism. Select all and copy.
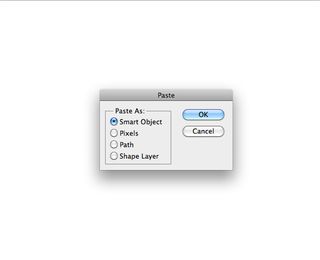
32. Into Photoshop we go
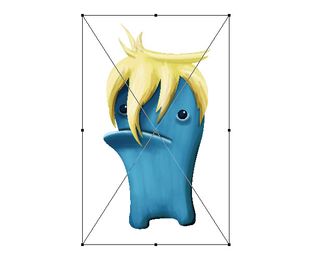
Create a new document in Photoshop and paste in your monster. When pasting from Illustrator, you're presented with a dialog asking how you would like to paste it. In order to preserve all the detail of the original illustration no matter how we edit the image in Photoshop, select Smart Object.
33. Think smart
Place your monster in your Photoshop file. If you ever want to edit the original, you can open it in Illustrator by double clicking on the image in the object's layer. Once you've finished making any changes, save the opened Illustrator file and return to Photoshop to find your smart object updated. You can duplicate your smart object throughout your Photoshop file and if you update one, they will all change. This is very handy when working with buttons and things that appear multiple times throughout a file.
34. Textures
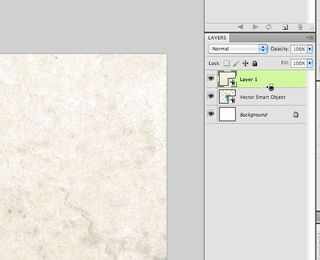
Our monster looks too clean. Let's rough him up a bit. Paste in a grungy texture on the layer above our smart object, hold down ALT and click in between both layers. This will create a mask around your texture in the shape of your monster.
35. Blending modes
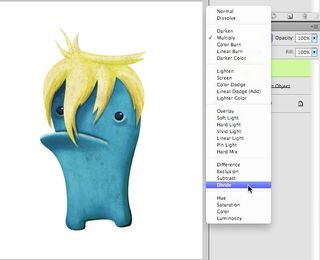
Blending modes are your friend when it comes to textures. You can create a variety of moods and styles using these. It's worth having a flick through these to get the result you want, and a quick way of doing so is by using SHIFT+ or SHIFT- while the layer is selected.
36. Backgrounds
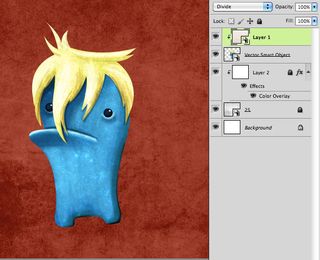
Create an environment for your little fella by adding a textured background.
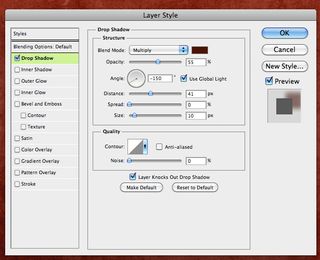
37. Shadows
Double click on your monster layer to open the Layer Style dialog. Here you can add a shadow. Let's add a bit of distance to it and give it a darker shade than our background. Multiply is great for giving realistic shadow colours.
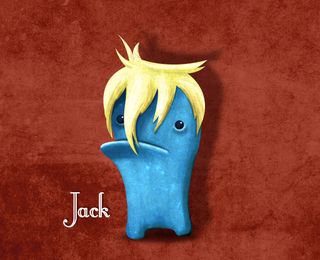
38. Name your monster
Perhaps the most important step in our creative process is choosing a name. Take your time with this one. It's important. He looks like a Jack to me.
39. Add friends
He looks a little lonely, so let's give him some buddies to play with.
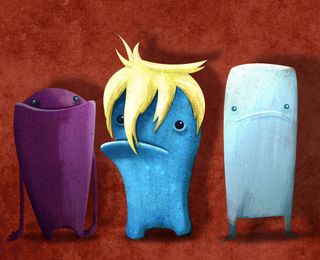
Experiment with colours, shapes, styles, textures to create a little world of mad creatures. You're only limited by your creativity, so go wild with Illustrator's Bristle Brushes to create landscapes, characters, realistic hair, anything!

Thank you for reading 5 articles this month* Join now for unlimited access
Enjoy your first month for just £1 / $1 / €1
*Read 5 free articles per month without a subscription

Join now for unlimited access
Try first month for just £1 / $1 / €1
The Creative Bloq team is made up of a group of design fans, and has changed and evolved since Creative Bloq began back in 2012. The current website team consists of eight full-time members of staff: Editor Georgia Coggan, Deputy Editor Rosie Hilder, Ecommerce Editor Beren Neale, Senior News Editor Daniel Piper, Editor, Digital Art and 3D Ian Dean, Tech Reviews Editor Erlingur Einarsson and Ecommerce Writer Beth Nicholls and Staff Writer Natalie Fear, as well as a roster of freelancers from around the world. The 3D World and ImagineFX magazine teams also pitch in, ensuring that content from 3D World and ImagineFX is represented on Creative Bloq.
