Visualator in practice
Luke O'Neill demonstrates how Visualator can be built into your own designs.
Visualator, our iPhone and iPad app, is available to download now and is a great little tool for creating abstract compositions. With two design platforms, Triangulate and Gradulate, Visualator enables you to design on the fly and then save your art to your device's internal memory.
Although Visualator is fun to use, it needn't be just a fancy play-thing. In this tutorial I'll demonstrate how I took my Visualator compositions and combined them into my own original piece of graphic art using Illustrator and Photoshop.
The possibilities are endless, and this tutorial should act as a starting point for your own experiments. We'd love to see your Visualator creations, whether you've created them in-app or exported the imagery. You can upload your creations to the Computer Arts Visualator Flickr group.
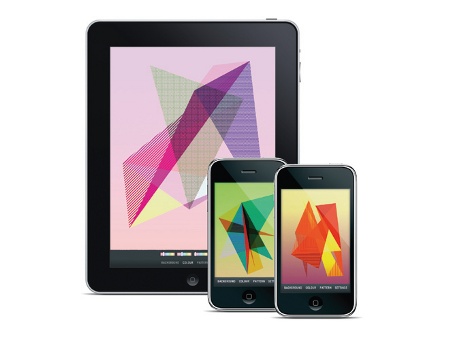
01 To begin with you'll need an iPhone, iPod Touch or iPad with a Wi-Fi or 3G connection. Head to the App Store and download Visualator. The app is free to install, and should take no longer than a few minutes to download.
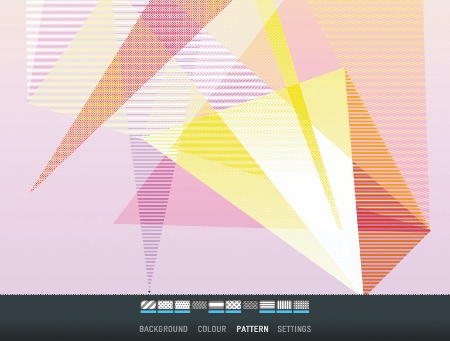
02 Once installation is complete, launch Visualator and choose your drawing mode. For the purposes of this tutorial, I'm using Triangulate, as I want to create an angular, geometric piece. Choose a background colour and a range of colours to draw with, and experiment with toggling the Pattern Modes on and off.
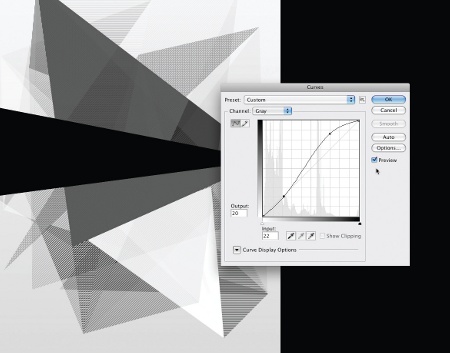
03 Create a number of different, random compositions, connect your device to a desktop or laptop, and import the images. Open them in Photoshop, convert to Grayscale, and up the levels and curves so that the contrast is quite severe. Save all of your black and while images in a folder for use later.
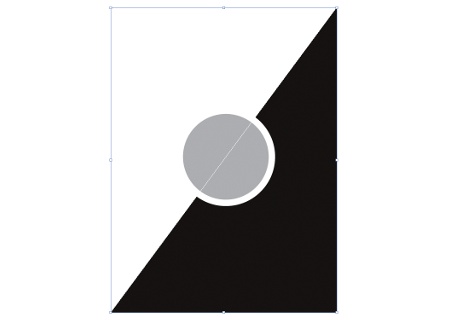
04 Switch over to Illustrator and set up a new document. Using the Pen tool and the Basic Shapes tools, begin to flesh out a rough composition that we'll later drop our Visualator comps into.
Get the Creative Bloq Newsletter
Daily design news, reviews, how-tos and more, as picked by the editors.
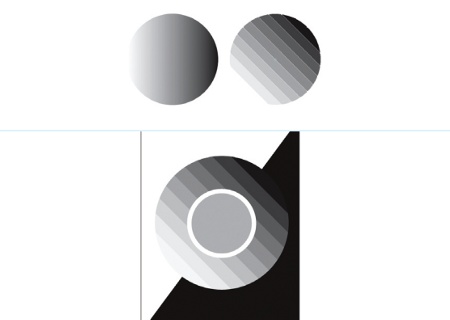
05 To create the circular parallel bars, simply draw a circle and fill it with a Linear Gradient. Now go to Object> Expand and specify 10 objects. Hold Shift+R to rotate the shape, and then select Divide from the Pathfinder palette and hit Ctrl/Cmd+Shift+G to Ungroup the objects.
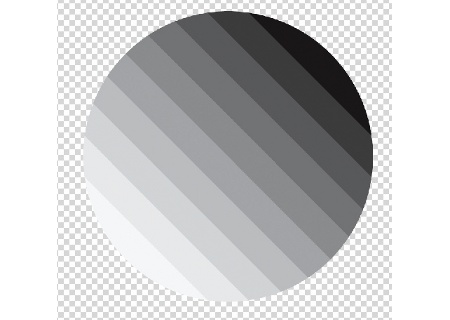
06 Ensure that all your elements are on separate layers, then export your document as a PSD with Write Layers selected. Open it up in Photoshop and turn all the layers off, apart from your parallel lines.
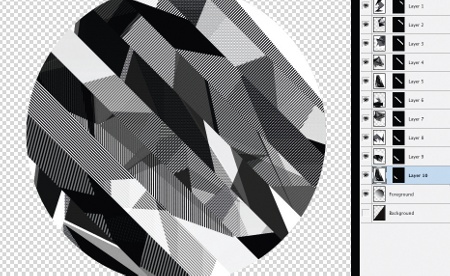
07 Open up one of your black and white Visualator comps and copy it. Back in your main Photoshop document, use the Magic Wand to select one of the parallel lines, and go to Edit> Paste Into. Repeat this process using different Visualator comps for all the separate bars until you have something that looks roughly like the image above.
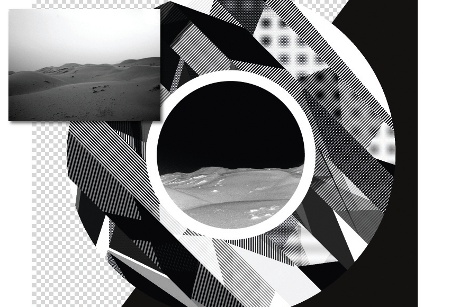
08 Switch your other layers back on, and source some imagery to drop in. I want my piece to have a surreal look so I've found a desert scene from my own iPhoto library. Hit Ctrl/Cmd+I to invert the image, and ramp the contrast right up. Now, using the same technique as before, I paste the desert image into the central circle shape.
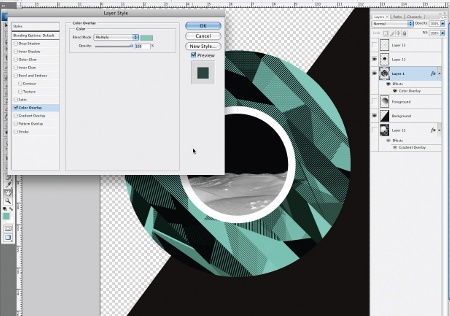
09 Now to add some colour. Select all of your Visualator layers, and click Merge Layers in the Layers palette drop-down menu. In the Layer Styles palette choose Colour Overlay, select Multiply as a Blending Mode, and choose your Overlay colour.

10 To finish off this simple graphic piece, I've pasted a number of inverted Visualator comps into the background, with Lighten selected as the Blending Mode. Experiment with the size and scale of the comps, and try to create some interplay between the angular elements. I've also drawn some diagonal lines and a diamond shape in Illustrator, and pasted them over, knocking the Opacity of the large triangle back to 75%. There you have it: a very quick and easy way to put Visualator to use in your own work.
Luke O'Neill
Deputy art editor of Computer Arts, Luke is a graphic designer and illustrator able to turn his hand to anything from complex layouts to branding projects. He is currently broadening his skill set by working on the design of Computer Arts' next must-have iPad application.

Thank you for reading 5 articles this month* Join now for unlimited access
Enjoy your first month for just £1 / $1 / €1
*Read 5 free articles per month without a subscription

Join now for unlimited access
Try first month for just £1 / $1 / €1

The Creative Bloq team is made up of a group of art and design enthusiasts, and has changed and evolved since Creative Bloq began back in 2012. The current website team consists of eight full-time members of staff: Editor Georgia Coggan, Deputy Editor Rosie Hilder, Ecommerce Editor Beren Neale, Senior News Editor Daniel Piper, Editor, Digital Art and 3D Ian Dean, Tech Reviews Editor Erlingur Einarsson, Ecommerce Writer Beth Nicholls and Staff Writer Natalie Fear, as well as a roster of freelancers from around the world. The ImagineFX magazine team also pitch in, ensuring that content from leading digital art publication ImagineFX is represented on Creative Bloq.
