Video tutorial: Separate colours for screenprinting
Becca Allen shows how to quickly prepare artwork for T-shirt graphics and prints with the Magic Wand tool
Whether you’re looking to screenprint apparel or just a few prints, you need to be able to separate the different colours in preparation for the different films. A simple Illustrator tool that we often don’t use enough – The Magic Wand – can make this process very quick and easy, by detecting block colours and grouping them for you.
In five simple steps, I’ll show you how I go about creating my T-shirt graphics and how I prepare my artwork to send to the factory. I spend most of my time working over the graphics and coming up with the concept, so being able to prepare artwork fast is a necessity. Over the following steps I’ll run through this process and get you set up for print preparation.

01 First draw your T-shirt graphic onto paper using a pencil, then draw over it with a 0.1 Pilot Fineliner, paying extra attention to the details and making sure there are no gaps. When you’re happy with your drawing, rub out your pencil lines and scan in the image as a 300dpi black and white JPEG.
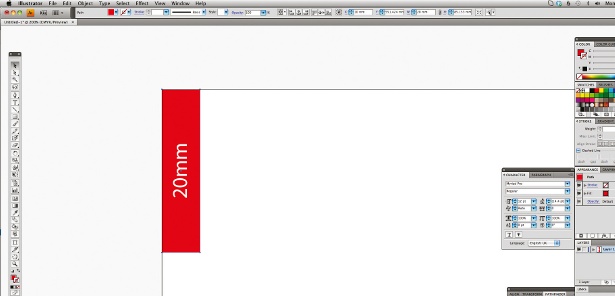
02 Open the scan in Photoshop and double-check you haven’t left any pencil marks – if you have, go to Image>Adjustments>Levels and adjust accordingly. Play with the contrast until there are no grey areas or shading. When your lines are solid black hit Save and open the file in Illustrator. Now live-trace the image, and expand and ungroup the objects so that you are free to colour in the sections of your image.
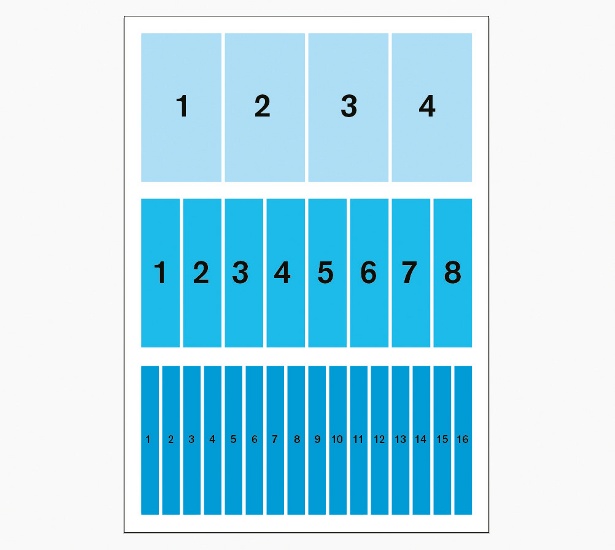
03 I’m going to stick to just four colours because this is practical and cheaper for factory production. The more colours you choose, the more screens are needed – thus incurring extra costs. At this stage, add cross-hair screen guides to each corner of your page to make sure the colours can be aligned once they are separated, and lock these guides.
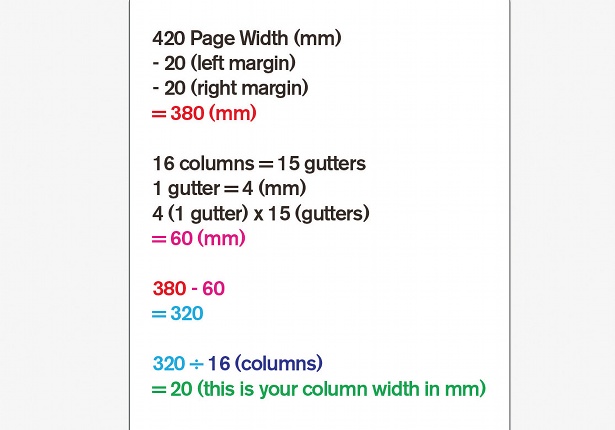
04 You now need to accurately separate your colours for screen application. The fastest way to do this is by using the Magic Wand tool. Select the colour you want to be applied first to the T-shirt with the Magic Wand tool – this usually goes in order from the lightest to the darkest. You will notice all the shapes in this colour have been selected. Lock this selection and delete everything else. Now unlock this colour, turn it to black and save it as a high-res PDF. To avoid confusion, name all your layers according to the number they should be applied onto the garment and state which colour they are, for example: ‘pattern_layer1_pink’. This will give the factory – and yourself – a reminder of what’s what.
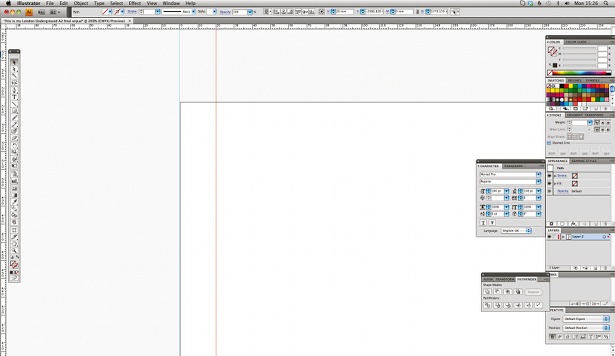
05 Now hit Cmd/Ctrl+V (Undo) until you are back to your full colour graphic and repeat step 04 for each colour, making sure you leave the black outline until last. (If you don’t have an outline on your design, make sure the darkest colour is last.) Finally place your graphic onto a T-shirt block to see how it will look in terms of size and colourways.
Find more great Illustrator tutorials at our sister site, Creative Bloq.
Get the Creative Bloq Newsletter
Daily design news, reviews, how-tos and more, as picked by the editors.

Thank you for reading 5 articles this month* Join now for unlimited access
Enjoy your first month for just £1 / $1 / €1
*Read 5 free articles per month without a subscription

Join now for unlimited access
Try first month for just £1 / $1 / €1

The Creative Bloq team is made up of a group of art and design enthusiasts, and has changed and evolved since Creative Bloq began back in 2012. The current website team consists of eight full-time members of staff: Editor Georgia Coggan, Deputy Editor Rosie Hilder, Ecommerce Editor Beren Neale, Senior News Editor Daniel Piper, Editor, Digital Art and 3D Ian Dean, Tech Reviews Editor Erlingur Einarsson, Ecommerce Writer Beth Nicholls and Staff Writer Natalie Fear, as well as a roster of freelancers from around the world. The ImagineFX magazine team also pitch in, ensuring that content from leading digital art publication ImagineFX is represented on Creative Bloq.
