A guide to rapid prototyping with Photoshop CC
Use Photoshop's toolset to mock up websites quickly and easily.
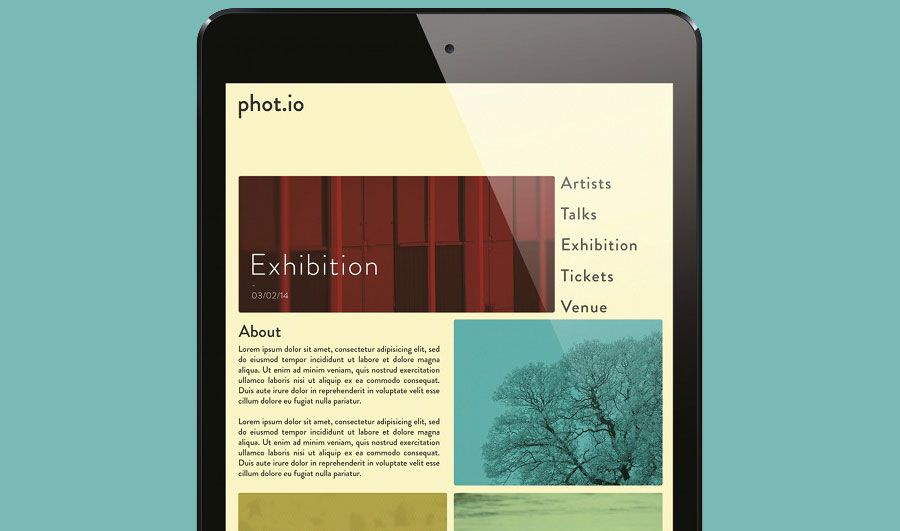
There are now plenty of prototyping tools and methods that will help you create website mockups quickly and easily. You may not realise it, but Photoshop CC is a great tool for rapid prototyping. With every revision, the software has gained more functionality for designers wanting to quickly create wireframes or prototypes to share with a client, or build a design ready for a developer.
The most useful rapid prototyping features in Photoshop CC include the abilities to isolate layers, tweak corners with the live Rounded Rectangle tool, and copy CSS attributes from individual layers. And Creative Cloud setup provides useful collaborative elements, too (subscribe to Adobe Creative Cloud here).
In this article, we'll walk through how to create a rapid prototype in Photoshop, using the breadth of the tools available to create a developer and client-friendly page mockup.
01. Start with a grid
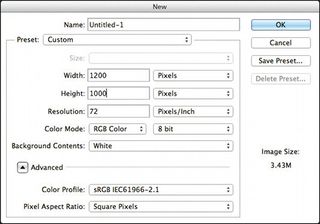
Set up a document with the dimensions of the screen you're designing for (smartphone, tablet and so on). Next, create a grid that will form the base structure – free extension GuideGuide is useful for this. Open the extension up, input your margin widths, number of columns and gutter width. Hit the GG button and you have your grid.
02. Define different areas
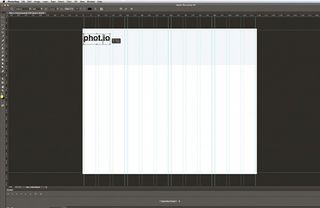
At this point it's helpful to block out key areas of your page layout. Create a folder for your header, footer, content and anything else you need. It's a good idea to define any main areas of the site design – starting with a light grey box to outline them. Here, I've used the Rectangle tool to draw the site's header area (1200 x 240px) and added the title.
03. Add some navigation
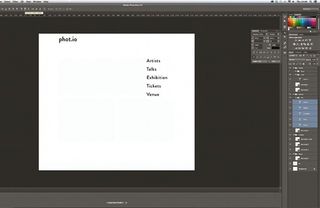
Now add in navigation elements. To duplicate your type, select the layer, hold the Opt/Alt key and drag. Holding Shift constrains the alignment. Align your text layers precisely by selecting all the navigation text, and hitting the Distribute Vertical Centres button in the Tool Options bar. This vertically aligns and evenly spaces your layers, making it ideal for menu items as shown.
04. Round your rectangles
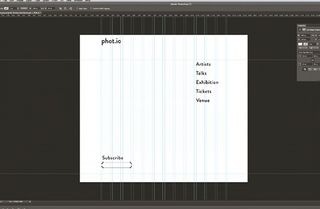
Here we're adding in a sign-up form to the homepage layout, using the Rounded Rectangle tool. Photoshop CC has a live Rounded Rectangles feature, which enables you to tweak the corner radius of your shape. This means you can go back and change your corners at a later time if your design calls for it. This might sound like a minor feature, but it's very handy.
Get the Creative Bloq Newsletter
Daily design news, reviews, how-tos and more, as picked by the editors.
05. Add images
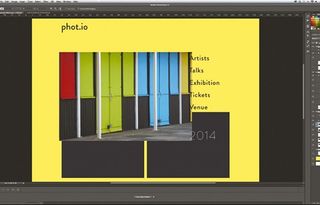
It's worth converting images into Smart Objects, as this makes them easier to update or replace. You can use your placeholder rectangles as vector masks to hold images. Either bring in an image as a new layer, duplicate the rectangle mask and link it to that layer, or make a selection from your rectangle and use Paste Special > Paste Into.
06. Introduce layer styles
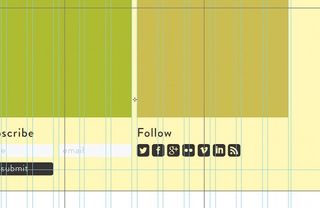
Layer styles are a decent way to add effects. To apply a currently used layer style to another layer in your stack, hit Opt/Alt and drag the FX icon to your new layer. To create a Hover Over layer that can be turned on or off, simply duplicate your background rectangle, and group this layer and your text layer into a layer group.
07. Isolate your layers
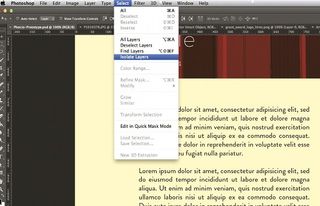
This is another useful feature in Photoshop CC if you want to edit only some of your layers. Select the layers you wish to edit and then go to Select > Isolate Layers. This enables you to focus on the specific areas that need work, without the confusion of other layers cluttering things up.
08. Create image assets
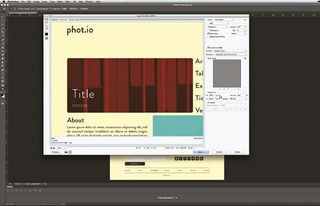
Adobe Generator is a Photoshop CC feature that enables you to create image assets on the fly. Go to File > Generate > Image Assets. Now, in the Layers panel, add a file suffix such as .png or .jpeg to automatically export that layer to a specified folder. We've done it here with an icon file.
09. Copy CSS attributes
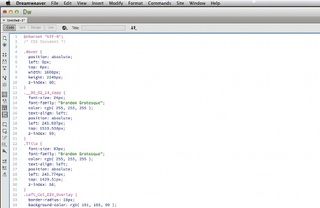
A great feature in Photoshop CC when creating an HTML prototype is the ability to copy a layer's CSS. To do this Ctrl+right click on the required layer, and hit Copy CSS Style to add the code to the clipboard. Open a new document in Dreamweaver, Muse or Adobe XD, and paste in your CSS code.
This article originally appeared in Computer Arts, the world's leading magazine for graphic designers. Subscribe here.
Related articles:

Thank you for reading 5 articles this month* Join now for unlimited access
Enjoy your first month for just £1 / $1 / €1
*Read 5 free articles per month without a subscription

Join now for unlimited access
Try first month for just £1 / $1 / €1


