Create shapes faster in Illustrator
Jonny Wan explains how to meet tight deadlines by mastering the Pathfinder panel
Every illustrator will have experienced the pressures of a last-minute job – the one that comes in at the end of a Friday afternoon and is due to be signed-off first thing Monday morning. It’s at times like these where you really need to be aware of all the tools at your disposal in Illustrator that can help save you time. In this walkthrough we’ll be using a recent promotional poster that I created for Ford, looking at how the Pathfinder panel played a key part in speeding up my workflow, giving me more time to incorporate client feedback and amendments.
The Pathfinder panel is the quickest and most efficient way of manipulating paths and shapes, providing you are clear as to the outcomes of each action. Mastering the tools on offer can make creating the most complex shapes almost instantaneous. By the end of this tutorial you’ll have a good grasp of the basics, and be able to develop and incorporate these skills into your own workflow.
01 Here’s the rough sketch that I sent to the client for some immediate feedback. This mainly serves to confirm the art direction that you’re heading in, before you start working digitally. It’s also a great opportunity to reassure the client that you’re reliable, and provides an opportunity to clear up any questions about the brief.

02 Using the Pen tool, begin creating the linework. For this image, use the Pathfinder panel (Window> Pathfinder) to subtract the lower portion of the face where the lips will go. Create the shape for the mouth area and place it where relevant. Now select both shapes and click the Minus Front command from the Shape mode in the Pathfinder panel.

03 The Minus Front command will take anything on top of the backmost item and remove it – like a cookie-cutter. Make sure the shape you want to ‘cut out’ is on top in the Layers panel.
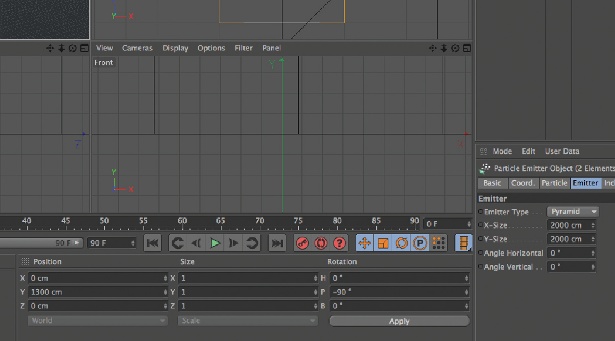
04 Next, use the Pen tool to create the brim of the eye and expand it so that only the outline stroke is left. Now create two circles and place them either side of the path. Select all the shapes and hit Merge in the Pathfinder panel. As the name suggests, all the items will merge into one complete shape.
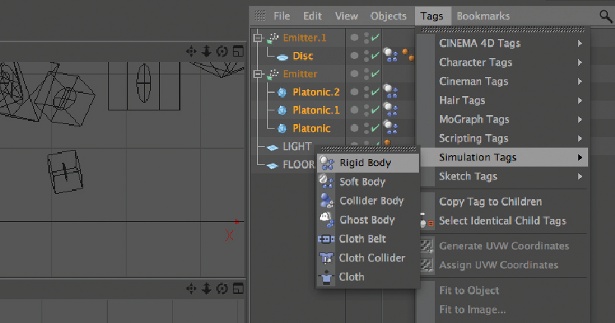
05 Reflect the shape created in step four, and rotate it into place so that it’s looking more like an eye. To create a border around the eye and the area where the pupil will sit, merge both parts of the eye and create an offset path (Object> Path>Offset Path) of 20px. Carry on combining shapes until all the main features of the face are done.
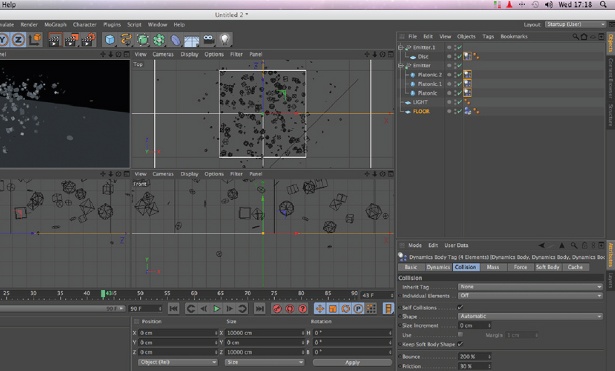
06 Now that we’ve explored the Minus Front and Merge commands, we can use these tools to build up the other main features of the image, and add the relevant logos and type. For the detail, I took some shapes from my personal library and implemented them as placeholders.
Get the Creative Bloq Newsletter
Daily design news, reviews, how-tos and more, as picked by the editors.
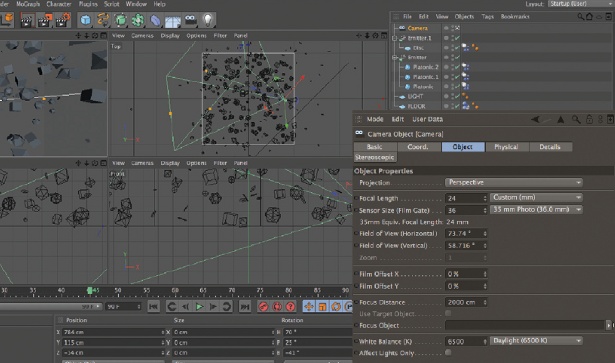
07 The next step is to add a bit of colour before sending it off to be proofed. Be wary of committing to colours early on if you don’t know what kind of palette the client will favour. I often stick to a few grayscale shades to add a bit of depth, making it easier for the client to assess.
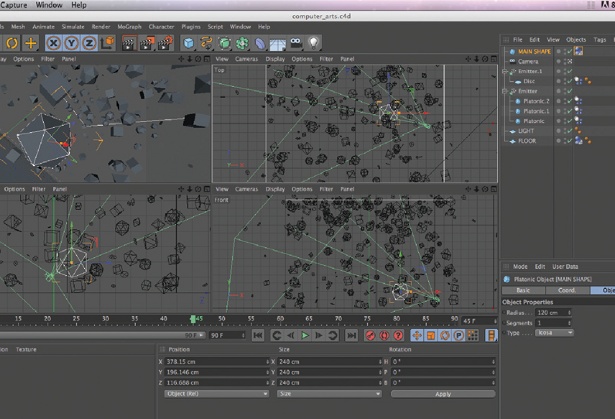
08 In this brief, the feedback that I received from the client resulted in the need for heavier detail and more mechanically inspired shapes, so I began creating simple shapes inspired by nuts and bolts. For these, use the Shape tool to draw a hexagon, and then draw a smaller circle and use the Align and Distribute panels to make sure that they are evenly spaced vertically and horizontally.
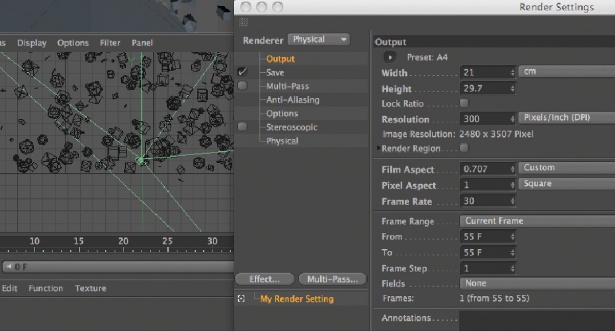
09 Now use the Shape tool to draw a square, making sure one of its sides is piercing through the shape created in step eight. Select all, and click the Divide tool. This will break the objects up into smaller pieces. I’ve moved the pieces away from each other to show how the shape is broken down.
10 After you’ve created all the necessary shapes, start implementing them within the design. Finally, add colour: a quick way of colouring is to use the Magic Wand tool. By selecting this tool and clicking on an area of colour, you’ll select every shape that has the same colour, enabling you to re-colour multiple objects at once and save time.

Thank you for reading 5 articles this month* Join now for unlimited access
Enjoy your first month for just £1 / $1 / €1
*Read 5 free articles per month without a subscription

Join now for unlimited access
Try first month for just £1 / $1 / €1

The Creative Bloq team is made up of a group of art and design enthusiasts, and has changed and evolved since Creative Bloq began back in 2012. The current website team consists of eight full-time members of staff: Editor Georgia Coggan, Deputy Editor Rosie Hilder, Ecommerce Editor Beren Neale, Senior News Editor Daniel Piper, Editor, Digital Art and 3D Ian Dean, Tech Reviews Editor Erlingur Einarsson, Ecommerce Writer Beth Nicholls and Staff Writer Natalie Fear, as well as a roster of freelancers from around the world. The ImagineFX magazine team also pitch in, ensuring that content from leading digital art publication ImagineFX is represented on Creative Bloq.
