Create generative artwork in Flash
Scott Oppenheim demonstrates how to set up a generative art drawing engine to create unique prints.
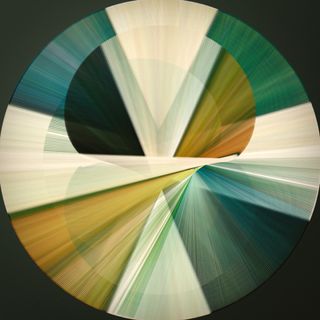
In this tutorial, we’ll explore how to set up a drawing engine in Flash to create generative abstract prints. You’ll learn how to use an image as the source for your colours, as well as how to create a function that lets you animate. We’ll also explore Flash’s drawing API to create a unique piece of art, and I’ll walk through how to export your final composition from Flash as a transparent .png file so you can edit it in Photoshop.
You’ll need the Adobe AIR SDK installed for this tutorial and you’ll find all the additional code required in the support files.
Download the support files here
Step 01.
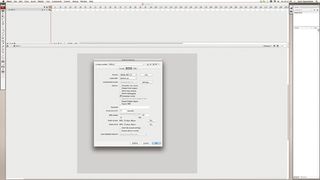
Open Flash and create a new ActionScript 3.0 file (Ctrl/Cmd+N). Open the Document Settings dialog (Ctrl/Cmd+J) and change the stage size to 960x960px. I set the background to a light grey and left the frame rate at 12fps. Now go to File>Publish Settings and tick the Flash option at the top. Set Version to Adobe AIR.
Step 02.
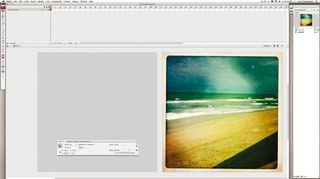
Create a new movie clip (Insert>New Symbol), name it ‘image_ mc’ and hit OK. Import Beach.jpg from the support files (Ctrl/Cmd+R) and align the top left corner of the image to the stage (Ctrl/Cmd+K). This image will be used as a source for the colours of our design. Finally, drag an instance of this movie clip to the stage (positioned to the right of the canvas) and give it an instance name of ‘image_mc’.
Step 03.
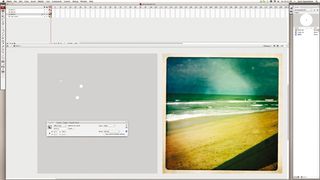
We’re going to animate a few points on the stage and use the drawing API to connect them with strokes. Let’s set up these movie clips: insert another new symbol and draw a white circle (25x25px) centred on the stage - the size and colour isn’t important. This shape will act as a visual guide so you can see where your points are animating. Drag three instances of this movie clip from the library to the stage and give them instance names of ‘point_A’, ‘point_B’ and ‘point_C’.
Step 04.
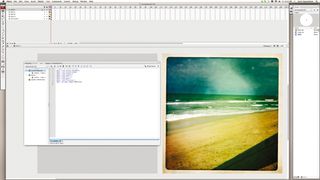
It’s time to add some code. Create a new layer and name it ‘actions’. It’s always a good idea to name your layers. With the first frame of your actions layer selected, open the Actions panel (Window>Actions). The first thing we need to do is import the classes we will use in our code.
Step 05.
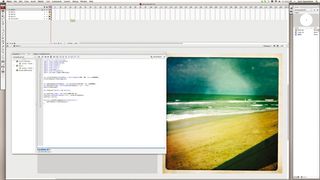
Here we create a new bitmapData object and use the draw() method to store the colour information from image_mc into our new bitmapData. Next, we create a new sprite (drawLayer) to draw into. Later on we’ll clear this sprite every frame - performance can be a real issue. We use a timer to copy drawLayer into a new bitmapData object. This object is not itself an image, so we need to pair that with an instance of the bitmap class so we can display the image on screen.
Get the Creative Bloq Newsletter
Daily design news, reviews, how-tos and more, as picked by the editors.
Step 06.
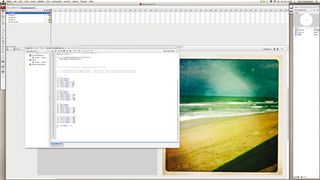
We’re going to animate the points we set up earlier using the equation for a spirograph. x = offsetX+(rOuter+rInner)*Math.cos(time) - (rInner+offset) * Math.cos(((rOuter+rInner)/ rInner)*time); y = offsetY+(rOuter+rInner)*Math. sin(time) - (rInner+offset) * Math.sin(((rOuter+rInner)/ rInner)*time); We declare and initialise our variables for our three points. I’ve left the centre and offset variables the same for all the points, but experiment with giving each a unique centre and offset.
Step 07.
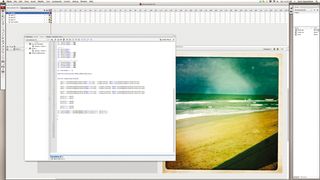
In ActionScript, animation can be produced by repeatedly calling a function that makes visual changes. We use an Event.ENTER_FRAME listener function to repeatedly call our function, drawLines, every frame (12fps). We store the X and Y coordinates of our points into our variables, and then assign those positions to the .x and .y properties of our points. Next, we use the getPixel() method to sample a colour from the colorBitmapData object we set up earlier and assign it to a variable. We will use this colour variable in the next step, when we define our line styles.
Step 08.
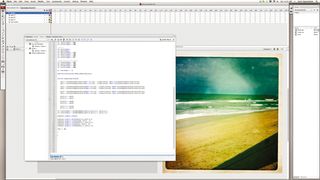
It’s time to draw. The graphics class connects our points with strokes. The moveTo() method moves the drawing pen to the first point. The lineStyle() method sets the stroke’s size, colour and alpha values, and uses the lineTo() method to draw a line from point_A to point_B. We change the line style and draw a stroke from point_B to point_C. (We use the clear() method before drawing our lines.) We’re drawing into a sprite but the image is copied into the bitmapData object we created earlier. Now you should test your movie (Control>Test Movie).
Step 09.
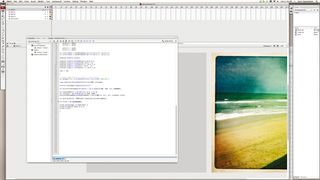
Create a function that executes on a KEY_DOWN event. Inside, we create a new file and use the .desktopDirectory property and the resolvePath() method to create a new file that will save to your desktop. We create a new, larger bitmapData object to copy our image into, and a new transformMatrix to scale it up 300%. Next, we create a rectangle that will be passed into the draw() method as the area our bitmapData object will fill. Finally, Adobe’s pngEncoder class and the FileStream object saves our bitmapData as a .png file. Hit Ctrl/Cmd+Return to test your movie and then any key when you’re ready to capture and save your image.
Step 10.
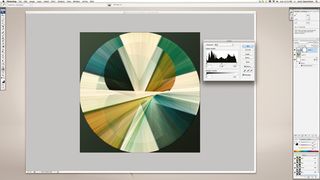
We’re done in Flash. You should now have a file named ‘image’ saved to your desktop. To create the final composition, open the file in Photoshop and create a background. With your layer selected, hold Ctrl/Cmd and press the New Layer icon in the Layers palette to create a new layer beneath the design. I then added a gradient overlay with the colours #45584b and #040908 onto the background layer. Finally, I added a new Levels adjustment layer to bring the white levels up.
Words: Scott Oppenheim
Interactive designer Scott Oppenheim has created designs for the likes of Audi, Microsoft, and Disney. He pursues generative art as a hobby and has prints for sale online.

Thank you for reading 5 articles this month* Join now for unlimited access
Enjoy your first month for just £1 / $1 / €1
*Read 5 free articles per month without a subscription

Join now for unlimited access
Try first month for just £1 / $1 / €1
The Creative Bloq team is made up of a group of design fans, and has changed and evolved since Creative Bloq began back in 2012. The current website team consists of eight full-time members of staff: Editor Georgia Coggan, Deputy Editor Rosie Hilder, Ecommerce Editor Beren Neale, Senior News Editor Daniel Piper, Editor, Digital Art and 3D Ian Dean, Tech Reviews Editor Erlingur Einarsson and Ecommerce Writer Beth Nicholls and Staff Writer Natalie Fear, as well as a roster of freelancers from around the world. The 3D World and ImagineFX magazine teams also pitch in, ensuring that content from 3D World and ImagineFX is represented on Creative Bloq.
