Create a four-colour pattern swatch
Design your own T-shirts, cushions, tea towels and more with Becca Allen’s pro tips for designing your own fabric
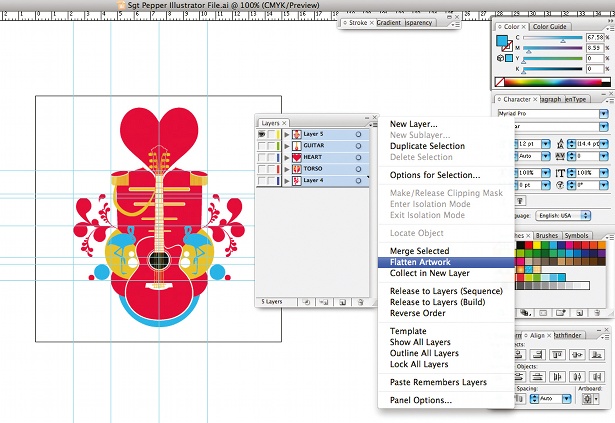
08 Next, unlock the black square, flip it back to outline and re-lock it. You can now see all the edges of your pattern. Now for the fun bit: start filling in the middle of the swatch and moving objects around until you’re happy with the composition.
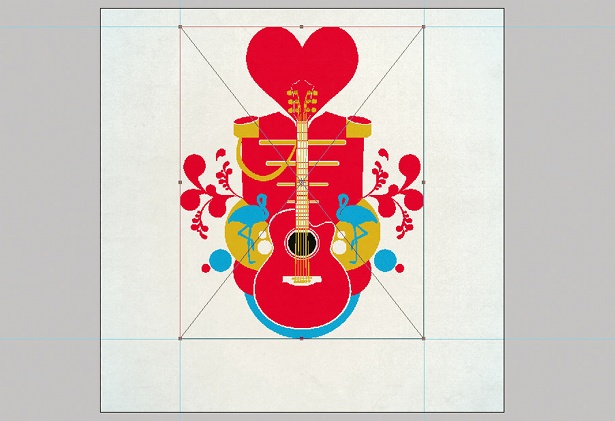
09 Once you’re finished, do a quick test to check it works as a swatch. Group the whole image and use Opt/Alt+Shift to drag a duplicate to the left and align it to the edge of the original box. Then reselect both swatches and use Opt/Alt+Shift to drag them to the bottom. This enables you to get a rough idea of your pattern before colouring and finalising it. If you’re unhappy with the way it looks, undo it, go back to your original swatch and re-jig your images.
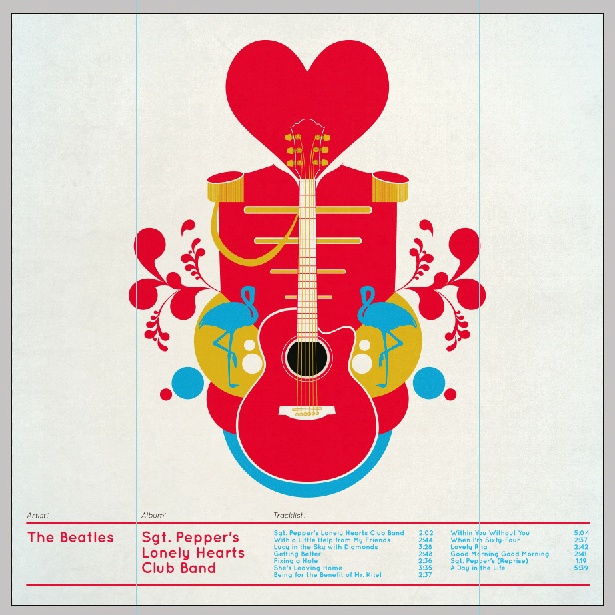
10 At this point you can unlock and extend your square so it fills your four swatches to make one big swatch – but remember to ungroup all your objects. This gives you room to play around with your composition and jumble the pattern up a bit. Then unlock your square and flip the fill, colouring it brightly so that you can see it aligning to the edges of the shapes perfectly.
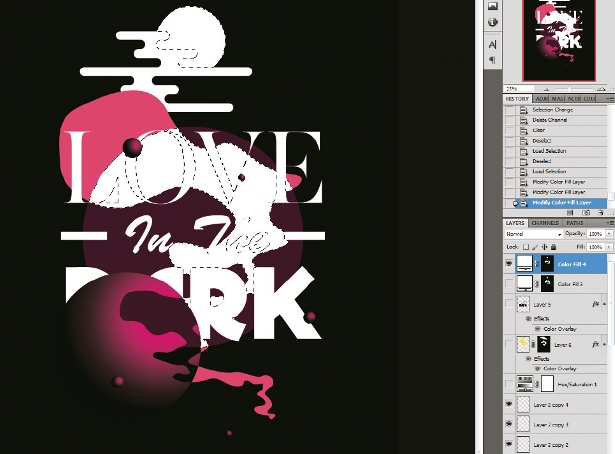
11 Re-jig some of your shapes and use the ‘Add to shape area’ option on the Pathfinder panel to ensure all your objects are a solid shape and fill. Repeat step 09 to check you’re happy with the composition. Now start to colour your swatch using four colours. I’m keeping a white base and colouring elements on top of this. Remember that when colouring your elements on the edge of the box, you need to colour the joining shape on the opposite side (the section that has been cut and moved). Repeat step 06 to check your colours match up and work together.
12 I’m now happy with the look of my swatch so I’m going to make it functional. Select all, hold Shift and click your white background square: now only your shapes are selected. Group them, deselect and click on your white background square. Copy the square and go to Edit>Paste In Front. Hit Cmd/Ctrl+Shift+] to bring the square to the very front. Lock this top square, select all the objects underneath and group them.
13 You now have two sections: the bottom swatch, which is grouped; and the top white square. Select everything and create a clipping mask (Object> Clipping Mask> Make). You now have one grouped object confined within the parameters of the white square.
14 Expand your swatch (Object>Expand Appearance). With everything still selected, use the Pathfinder tool to trim the swatch. This is now ready to be dragged into your Swatches panel. You can increase or decrease the size of your swatch before adding it to the panel, or do a few scale variations.
Get the Creative Bloq Newsletter
Daily design news, reviews, how-tos and more, as picked by the editors.
15 You can now apply this swatch to any object. It’s great for product tech packs and apparel mock-ups. It’s also easy to separate the colours into four layers for screenprinting. Pick the Direct Selection tool, select a colour and go to Select>Same>Fill Color. Lock this selection, delete everything else, turn the selection to black and save it as Spot_green, for example. Repeat this for the other three colours and you’re ready to go.

Thank you for reading 5 articles this month* Join now for unlimited access
Enjoy your first month for just £1 / $1 / €1
*Read 5 free articles per month without a subscription

Join now for unlimited access
Try first month for just £1 / $1 / €1
The Creative Bloq team is made up of a group of design fans, and has changed and evolved since Creative Bloq began back in 2012. The current website team consists of eight full-time members of staff: Editor Georgia Coggan, Deputy Editor Rosie Hilder, Ecommerce Editor Beren Neale, Senior News Editor Daniel Piper, Editor, Digital Art and 3D Ian Dean, Tech Reviews Editor Erlingur Einarsson, Ecommerce Writer Beth Nicholls and Staff Writer Natalie Fear, as well as a roster of freelancers from around the world. The ImagineFX magazine team also pitch in, ensuring that content from leading digital art publication ImagineFX is represented on Creative Bloq.
