Create an abstract collage effect
DINES from Studio Blup walks through how to inject life into your work by manipulating found imagery and natural elements
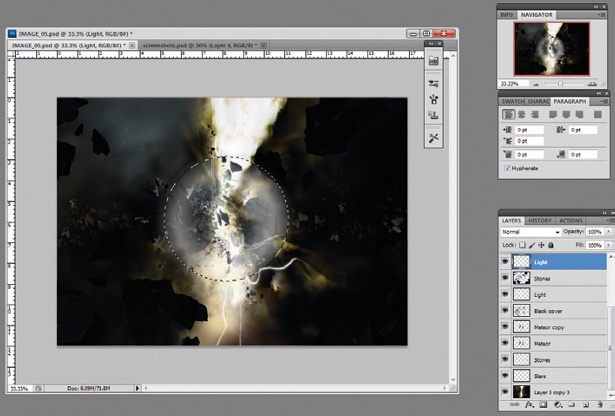
08 Place the purple vectors from the support files onto your design, and use the Transform tool to decide how big you want them to be. Keep in mind that you want the focus to be on the natural elements, so don’t overuse these vector shapes.
09 Next, begin to cut the tree stump out. Adjust the levels of this to 40 black, 0.50 grey and 225 white. The white output level needs to be at 124. Once this is done, place the stump onto the back layer of your image.
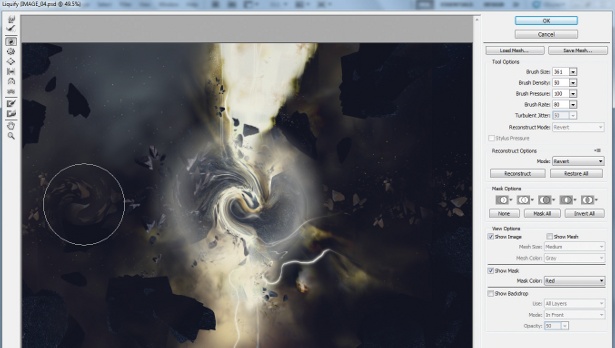
10 When you’ve added in these various elements, you can begin to bring the piece to life. You want to create the impression of movement and organic life by wrapping the warped tree stumps around the arms and faces of the dancers. To do this, select any stump with the Free Transform tool, and adjust and rotate to the desired size.
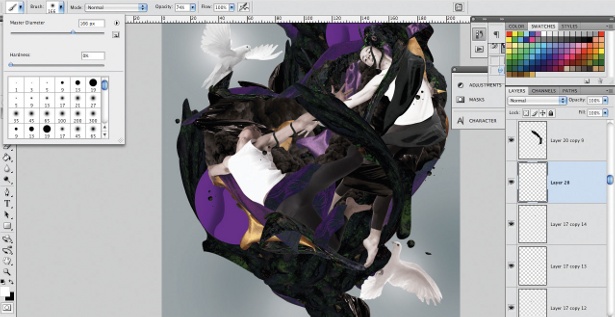
11 Continue to build up your design with different items – I’ve included doves, a large warped log, gold fabric and spots on your disc. At this stage, you also want to consider your background. I changed the background colour to a light grey and darkened it in areas by applying a deeper shade of grey with a soft brush tool.
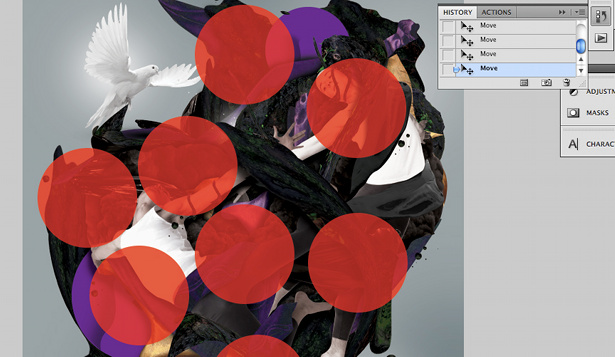
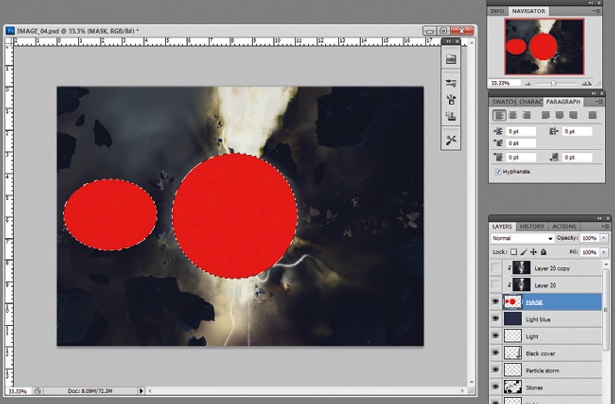
12 Now to add a sense of dimension to the piece by adding a shadow effect. Begin by mapping out the areas where you think a shadow would naturally fall. I tend to look out for curves and sharp edges as indications of where the shadows should go. You can insert red circles to act as a guide to where you will be placing your shadows. I set the opacity to 78% so that I could still see through to the artwork underneath.
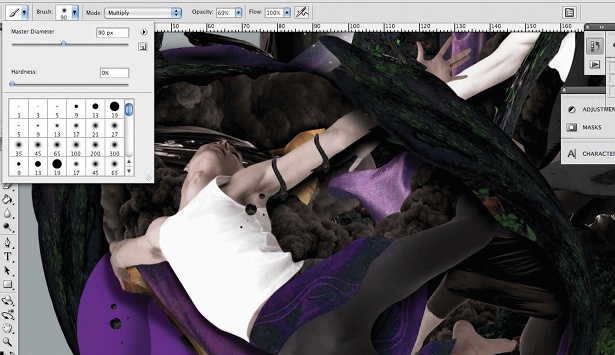
13 Once you’ve mapped out where they should go, you can begin to cast your shadows. To create the shadows, select the soft brush tool and set the master diameter to 90px, the hardness to 0%, the blend mode to Multiply and the opacity to 69%.
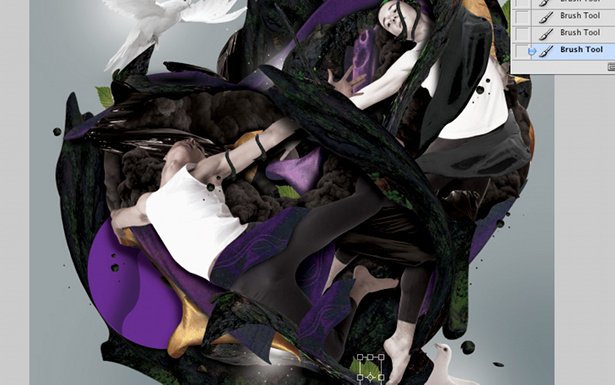
14 Add the finishing touches to your artwork by bringing in more natural imagery – I’ve chosen some leaves. Use the Duplicate command to place these throughout the design. Feel free to adjust the sizes and colours to help blend these into your image. I’ve also put in some white highlights behind the doves to create a soft glow and really accentuate the sense of movement.
Get the Creative Bloq Newsletter
Daily design news, reviews, how-tos and more, as picked by the editors.
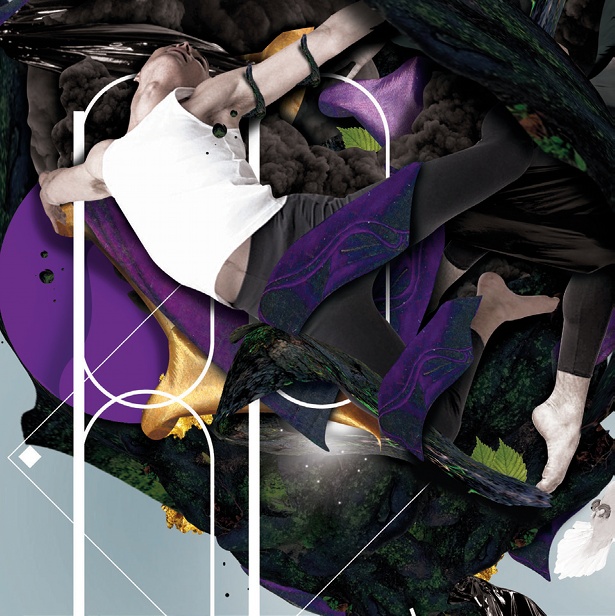
15 Finally, add a vector from Illustrator. I’ve created my own typeface – the lettering reads ‘BE’ to fit the title of the artwork ‘Be Free’. Copy and paste your vector into your image in Photoshop, and position it or layer it as you wish.

Thank you for reading 5 articles this month* Join now for unlimited access
Enjoy your first month for just £1 / $1 / €1
*Read 5 free articles per month without a subscription

Join now for unlimited access
Try first month for just £1 / $1 / €1

The Creative Bloq team is made up of a group of design fans, and has changed and evolved since Creative Bloq began back in 2012. The current website team consists of eight full-time members of staff: Editor Georgia Coggan, Deputy Editor Rosie Hilder, Ecommerce Editor Beren Neale, Senior News Editor Daniel Piper, Editor, Digital Art and 3D Ian Dean, Tech Reviews Editor Erlingur Einarsson, Ecommerce Writer Beth Nicholls and Staff Writer Natalie Fear, as well as a roster of freelancers from around the world. The ImagineFX magazine team also pitch in, ensuring that content from leading digital art publication ImagineFX is represented on Creative Bloq.
