Create an abstract collage effect
DINES from Studio Blup walks through how to inject life into your work by manipulating found imagery and natural elements
In this tutorial I’ll explain how to create a stunning piece of artwork using found natural elements and hidden shapes within objects. By creating a story within your work, you can really bring your artwork to life – the theme for this piece is ‘be free’.
When you get yourself out into a natural environment and photograph found objects, you’ll discover inspirational shapes and textures everywhere. I’ll talk you through how to warp and abstract these images to bring your artwork to life.
Learn how to print a poster: the designer's guide, over at Creative Bloq.
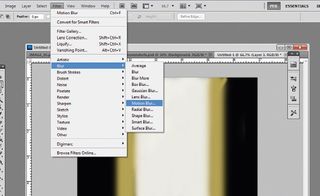
01 The first step is to source images from your local surroundings. Hunt out textures and interesting visuals – in this particular design I’ve included natural elements. These will form the key focal point in the final collage. Look out for unusual and abstract shapes that you think will work well in your design.
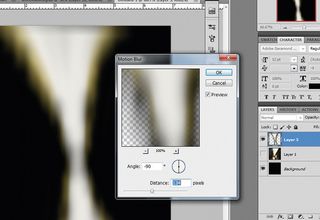
02 Take your images and cut them out in Photoshop using the Pen tool, with feather settings at 0. My cut-outs can be found in the support files if you prefer to use them.
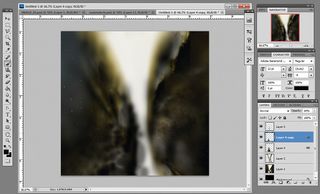
03 Add a coloured circle (mine is yellow): this will act as a guide for the core shape of your artwork. You can now begin adding in elements to your collage by selecting the clouds and dancers from your disc and placing them on your art board. Use the Transform tool to play about with the size of your images.
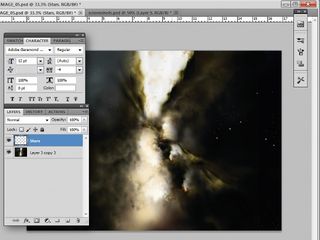
04 Start selecting interesting shapes and contours to use in your collage. Look for contrasting textures – I’ve used sharp edges as well as the soft curve highlighted in sections 2 and 4 of my bin bag image.
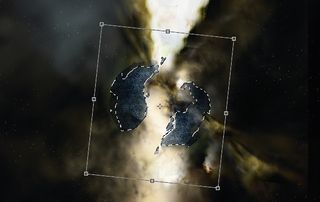
05 Cut out your chosen sections and position them on your art board. I’ve also added sections of purple cloth, which can be found on your disc, to build up my design. At this stage, experiment with the shapes in your collage and try out different arrangements to create the effect you want within your image.
Get the Creative Bloq Newsletter
Daily design news, reviews, how-tos and more, as picked by the editors.
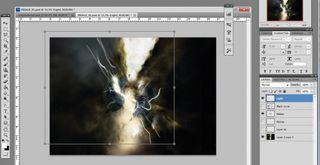
06 Now sharpen the colour contrasts of the dancer figures. Firstly adjust the saturation to -83 and then change the levels to 25 black, 0.48 grey and 223 white. The white output levels need to be set at 213.
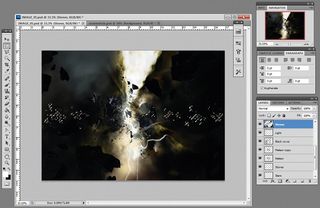
07 Select the tree stump from the support files and place it onto your art board. Use the Warp Transform function on this image and adjust its levels to help the object blend into the collage effectively. You can duplicate as many of these as you want.

Thank you for reading 5 articles this month* Join now for unlimited access
Enjoy your first month for just £1 / $1 / €1
*Read 5 free articles per month without a subscription

Join now for unlimited access
Try first month for just £1 / $1 / €1
The Creative Bloq team is made up of a group of design fans, and has changed and evolved since Creative Bloq began back in 2012. The current website team consists of eight full-time members of staff: Editor Georgia Coggan, Deputy Editor Rosie Hilder, Ecommerce Editor Beren Neale, Senior News Editor Daniel Piper, Editor, Digital Art and 3D Ian Dean, Tech Reviews Editor Erlingur Einarsson, Ecommerce Writer Beth Nicholls and Staff Writer Natalie Fear, as well as a roster of freelancers from around the world. The ImagineFX magazine team also pitch in, ensuring that content from leading digital art publication ImagineFX is represented on Creative Bloq.
