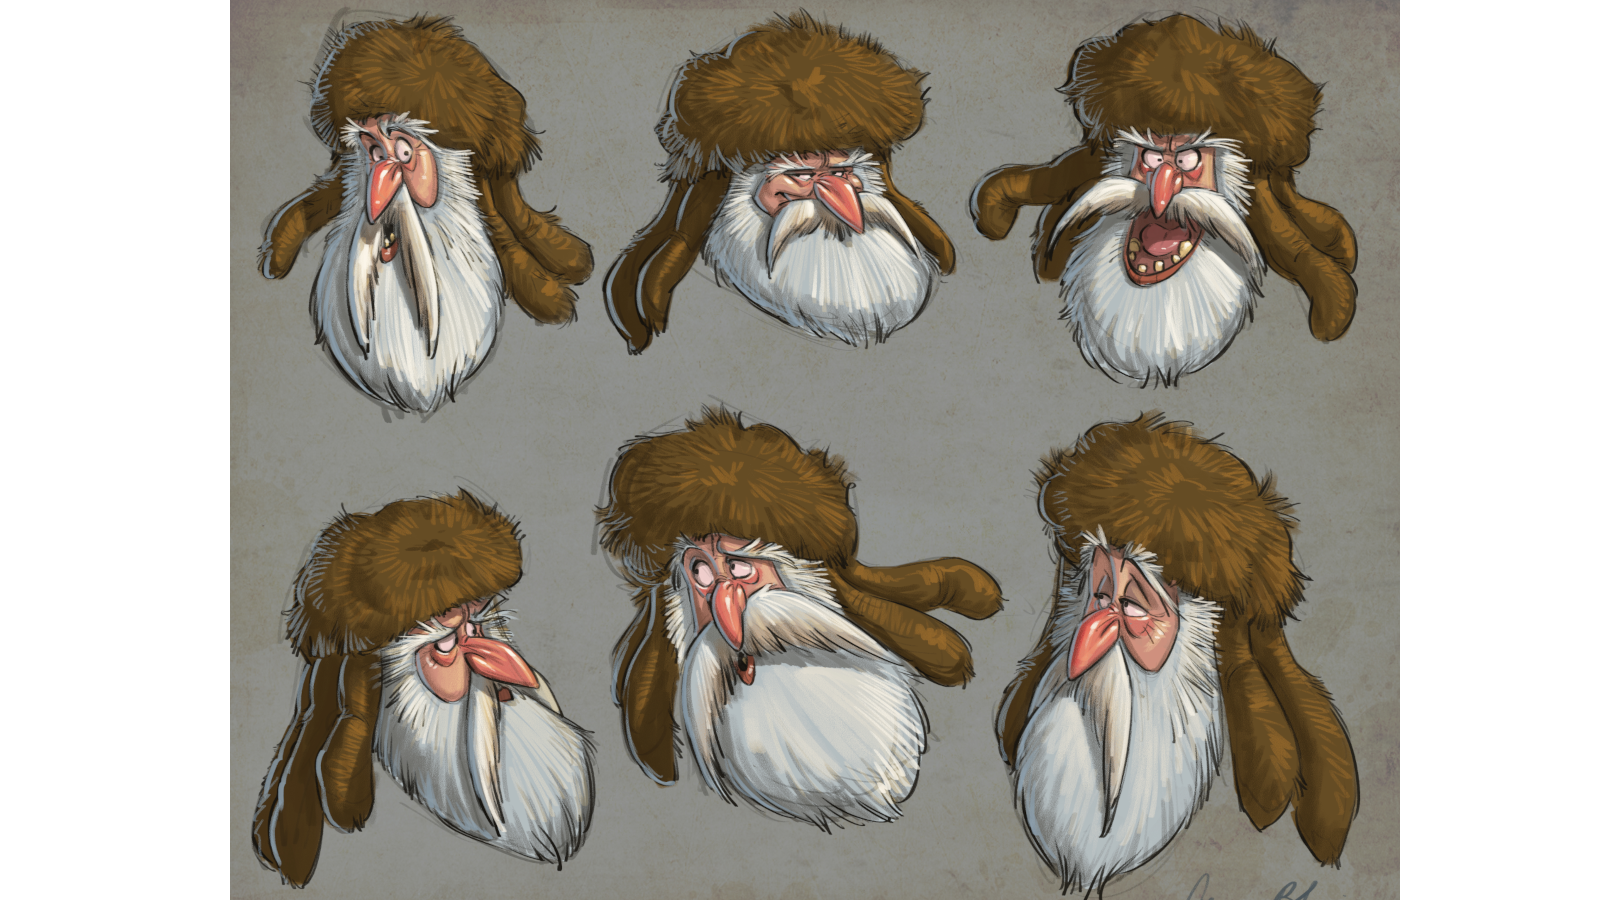
Build your own bespoke brush library
Stamp your mark across your work with a unique catalogue of custom-made brushes, says Tom Lane
I love spending time in my day turning my back to the computer, putting some music on and getting my box of tricks out to create textures and shapes for my illustrations.
I much prefer to get my own hands dirty and put some time and effort into experimenting than to simply buy textures and brushes from the web (though you can find some great free Photoshop brushes online). With that in mind, I'm going to give you a few tips so you can get busy experimenting for yourself and create your own brushes in Photoshop. In addition, I'll show you a handy way to keep organised so you can quickly get the best out of all your hard work splashing paint around.
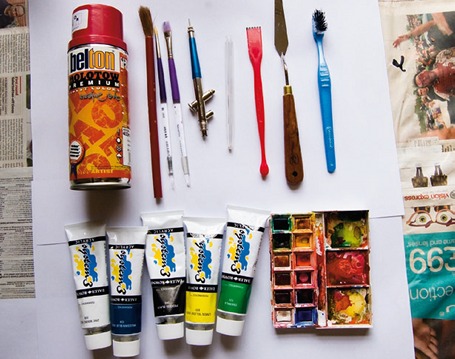
01 Your first task is to look at all the things you can use to create your own brushes. I have acrylic paints, watercolours, a toothbrush, an airbush, spray cans, biros and a palette knife. Gather anything you think might help create some interesting results. You can use different surfaces as well.
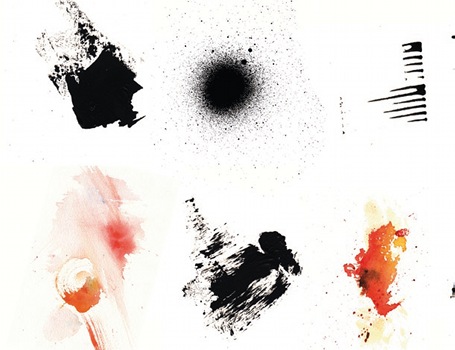
02 Aim to create interesting shapes with varying levels of contrast between the paint and the white of the paper. This will make your brush more dynamic and create better results in Photoshop. I've quickly made a set using a selection of the tools I have to hand.
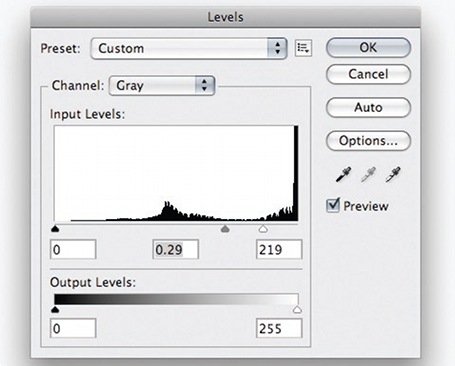
03 Scan in your pieces at a minimum of 300dpi. Separate each element into its own 2500x2500px file at 300dpi and in Grayscale mode. Save each file. Now go to Image>Adjustment>Levels, and experiment with the sliders to create more contrast. Repeat for each of your creations.
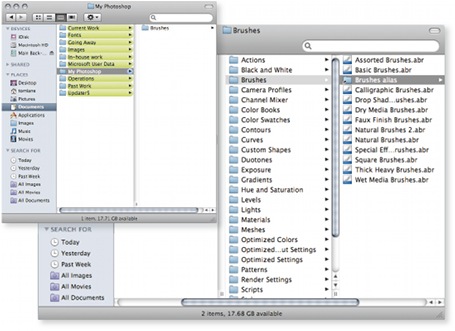
04 Create a folder named My Photoshop in your Documents folder. Make a sub-folder called Brushes. Create a shortcut to this folder in Photoshop's Default Brushes folder (Applications>Photoshop>Presets>Brushes). Now your brushes will be quickly to hand. Open the Brushes palette in Photoshop and clear all the current brushes.

05 It's good practice to save brushes as small collections and load each collection one at a time. For each new image, select all (Ctrl/Cmd+A) and choose Edit>Define Brush Preset. Save the brush to the palette and complete this for all images. When done, save the collection to your new folder.
Get the Creative Bloq Newsletter
Daily design news, reviews, how-tos and more, as picked by the editors.

Thank you for reading 5 articles this month* Join now for unlimited access
Enjoy your first month for just £1 / $1 / €1
*Read 5 free articles per month without a subscription

Join now for unlimited access
Try first month for just £1 / $1 / €1

The Creative Bloq team is made up of a group of art and design enthusiasts, and has changed and evolved since Creative Bloq began back in 2012. The current website team consists of eight full-time members of staff: Editor Georgia Coggan, Deputy Editor Rosie Hilder, Ecommerce Editor Beren Neale, Senior News Editor Daniel Piper, Editor, Digital Art and 3D Ian Dean, Tech Reviews Editor Erlingur Einarsson, Ecommerce Writer Beth Nicholls and Staff Writer Natalie Fear, as well as a roster of freelancers from around the world. The ImagineFX magazine team also pitch in, ensuring that content from leading digital art publication ImagineFX is represented on Creative Bloq.
