Break the JPEG code
Stephen Hislop shows you how to manipulate the code of an image
As a designer, I’m always looking for ways to break the mould and move away from rules within design. Sparked by a passion for the Dada period and a fascination with the element of chance, I’ll show you a way to not only break the rules but actually break the code of an image.
In this tutorial we’ll focus on how to deconstruct an image into its most basic form, before breaking that form and fixing it back together again. The way in which we do this is very much inspired by the element of chance, so we won’t know how the final image will look until the process is finished. After learning the skills covered here, you’ll be able to break free from the boundaries set by design and technology, making your work become truly free and without limitations.
01 First copy an image to your desktop and begin by editing the file type. Simply click Rename and replace the .jpg with .txt – when the dialog box appears select Use .txt. For best results use smaller compressed files or those downloaded from the internet.
02 Open the .txt file with TextEdit or another word processor. You will notice that there is a vast array of code and numbers, but don’t worry. Much like HTML, the top section of the code tells the image what to do when opened, so we will leave that alone for now. Scroll approximately 1/8th of the way down until you see an area like the one highlighted above.
03 Next, you need to simply highlight a section of code and cut it from the document. However big or small you go is up to you: the simple rule is the more code that you highlight, the bigger the area of distortion in the final image. The same goes for smaller highlighted sections, producing smaller areas of distortion.
04 Once you have cut a section of code, scroll down the document and paste it back into any random place. The further away you scroll from the original selection, the larger the gap will be between each distorted piece in the final image.
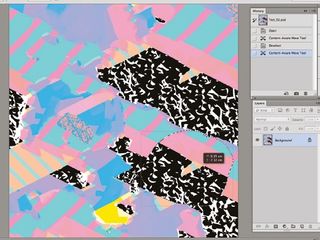
05 Select another section of code from the document. This time we will copy this piece to see how it varies from the cut selection that we made in the previous step.
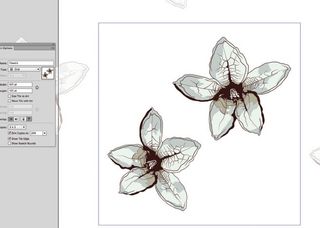
06 Again, scroll further down the code and paste the text back into the document. Keep repeating these steps all the way down until you reach the bottom 1/8th of the document. The key thing to keep in mind whilst doing this is that each selection is a part of the image, and by copying and pasting it somewhere different you are simply moving the selection to a new place within the original image.
Get the Creative Bloq Newsletter
Daily design news, reviews, how-tos and more, as picked by the editors.
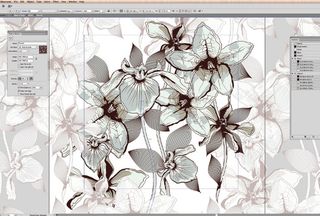
07 Once you’re finished, save the document and exit back to the desktop. Again, as in the first step, we need to change the file extension back to .jpg. Simply select Rename and change the file back to .jpg. You will now have your image back again – but this time it is distorted. (If not, you might have broken the top code. To be safe, first experiment with the code in the middle of the document.)

Thank you for reading 5 articles this month* Join now for unlimited access
Enjoy your first month for just £1 / $1 / €1
*Read 5 free articles per month without a subscription

Join now for unlimited access
Try first month for just £1 / $1 / €1
The Creative Bloq team is made up of a group of design fans, and has changed and evolved since Creative Bloq began back in 2012. The current website team consists of eight full-time members of staff: Editor Georgia Coggan, Deputy Editor Rosie Hilder, Ecommerce Editor Beren Neale, Senior News Editor Daniel Piper, Editor, Digital Art and 3D Ian Dean, Tech Reviews Editor Erlingur Einarsson, Ecommerce Writer Beth Nicholls and Staff Writer Natalie Fear, as well as a roster of freelancers from around the world. The ImagineFX magazine team also pitch in, ensuring that content from leading digital art publication ImagineFX is represented on Creative Bloq.
