Back to the drawing board
If you're after realistic-looking sketch and paint effects, forget using filters. It's always best to begin with the real thing.
At this point, we're going to assume that you've seen the effects of a typical prefab sketch filter - one that boosts contrast in an image and introduces a repeating distressed tile effect, emulating pencil effects on paper in the most horrible way imaginable. Such filters don't recreate anything like authentic sketch effects. Trust us, there's a much better way of doing things. When you draw on fibrous paper with a pencil, you have so much more control. You can press lightly and apply less lead. You can use a dull or sharp pencil tip. You can draw thick, heavy lines, or light, sharp lines. For authentic sketch effects in Photoshop, there really is nothing quite like doing it for real.
This is why, rather than rely on a prefab filter effect, we're going back to the drawing table for this tutorial. While some may argue that Painter's natural media tools, combined with a pressure-sensitive tablet, can deliver the goods, drawing for real still has its advantages. Hold up a piece of onionskin paper and look at the fine random and fibrous texture within it. Draw a few lines on it and look at how different each stroke is from the next. Even the best software can't recreate such real-world complexity.
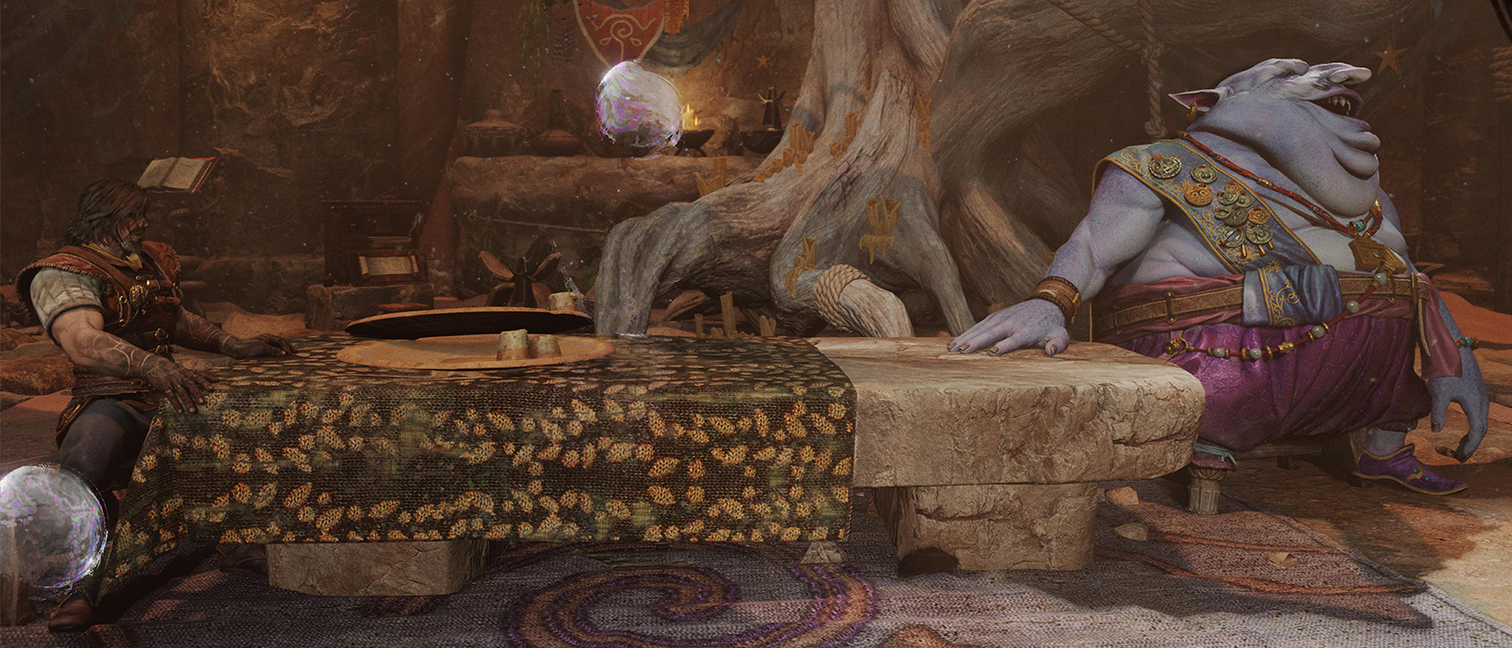
The same rings true when it comes to creating dry brush or splattered paint effects. Start with the real thing and in the long run you'll be much happier. Photoshop is such a flexible application, its tools will enable you to create realistic drawing and painting effects as easily as it enables you to manipulate and enhance your photography. The secret lies in understanding how the procedure works. Over the following pages, we'll show you how to scan your drawings and paintings, bringing them into Photoshop and using them as raw materials to create the stunning illustration you see here. If you are less inclined to get your hands dirty, worry not. All the sketches, painted strokes and ink splatters are included in the support files.
Click here to download the support files (398KB)
Click here to download the tutorial for free
Get the Creative Bloq Newsletter
Daily design news, reviews, how-tos and more, as picked by the editors.

Thank you for reading 5 articles this month* Join now for unlimited access
Enjoy your first month for just £1 / $1 / €1
*Read 5 free articles per month without a subscription

Join now for unlimited access
Try first month for just £1 / $1 / €1

The Creative Bloq team is made up of a group of art and design enthusiasts, and has changed and evolved since Creative Bloq began back in 2012. The current website team consists of eight full-time members of staff: Editor Georgia Coggan, Deputy Editor Rosie Hilder, Ecommerce Editor Beren Neale, Senior News Editor Daniel Piper, Editor, Digital Art and 3D Ian Dean, Tech Reviews Editor Erlingur Einarsson, Ecommerce Writer Beth Nicholls and Staff Writer Natalie Fear, as well as a roster of freelancers from around the world. The ImagineFX magazine team also pitch in, ensuring that content from leading digital art publication ImagineFX is represented on Creative Bloq.
