Bring a new retail brand to life
Emma Jones shows you how to quickly mock-up multiple applications of a new retail brand
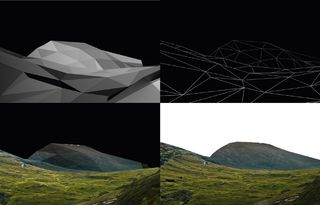
08 Inside the LiveSurface folder you’ll find both an Illustrator and Photoshop template. First open the Illustrator template to create the design layout – I’m making a bold pattern using the logo that bleeds across both panels. Use the guides provided in Illustrator to create your design, then copy and paste each panel into a new Photoshop document.
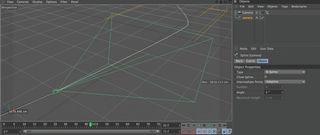
09 Next open the LiveSurface Photoshop template and select the artwork layer for the plane on which you want to place your design. In this case, we’ll do the large window first, so select the Windows Artwork layer. Then select the Vanishing Point tool from the Filter menu and paste in your design layout from the Photoshop document you just created.
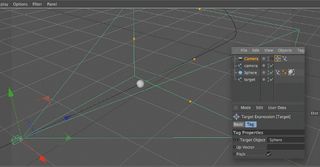
10 Reposition your graphics so they sit within the pre-existing Perspective Plane (shown by the blue guides) and you’ll see Photoshop automatically apply both the perspective and mask. Then use the Vanishing Point Transform tool to scale the graphics. When you’re happy, click OK. Select the Windows Material layer and repeat the process using the graphics you prepared for the door panel.
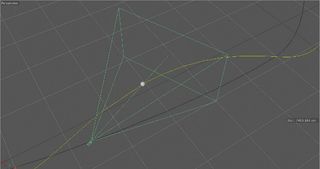
11 Save this as a layered file for future editing and also as a JPEG to reduce your file sizes later on. Repeat this process for the rest of your visuals. I’ve created a tote bag and a T-shirt, but you can create anything from packaging to billboards.
12 Now I need to add more artboards to accommodate these extra visuals, but I want to replicate the existing guides. Open the Artboard panel and unlock your guides (Cmd/Ctrl+Opt/Alt+;). Choose Duplicate in the Artboard panel drop-down menu to create three boards.
13 As we’re creating a multi-page PDF straight from Illustrator, we may now need to reorder the artboards. First rename the artboards using the Artboard tool, by typing into the Name field in the Control Panel along the top of the window. Then it’s easy to reshuffle them, as you would layers in Photoshop. The boards won’t visibly move, but any output (PDF, for example) will follow the order shown in the Artboard panel.
14 To include an overview page of a couple of applied items (here the T-shirt and tote bag), drag the T-shirt image onto the tote bag artboard, then select the Artboard tool and click once onto the T-shirt image and once on the tote bag image. This will create an artboard to match the size of each image and, when exported, Illustrator will generate three PDF pages – one with both items together and one of each individually.
Get the Creative Bloq Newsletter
Daily design news, reviews, how-tos and more, as picked by the editors.

15 Finally I’m going to add a title to each page and a common footer throughout the document. Add these to the first artboard, then hit Cmd/Ctrl+X followed by Cmd/Ctrl+Shift+Opt/ Alt+V to paste them in place on every artboard (you may want to delete them from the T-shirt and tote bag artboards). Then edit the headings to reflect the contents of each page. Lastly, save the document as a multi-page PDF.

Thank you for reading 5 articles this month* Join now for unlimited access
Enjoy your first month for just £1 / $1 / €1
*Read 5 free articles per month without a subscription

Join now for unlimited access
Try first month for just £1 / $1 / €1
The Creative Bloq team is made up of a group of design fans, and has changed and evolved since Creative Bloq began back in 2012. The current website team consists of eight full-time members of staff: Editor Georgia Coggan, Deputy Editor Rosie Hilder, Ecommerce Editor Beren Neale, Senior News Editor Daniel Piper, Editor, Digital Art and 3D Ian Dean, Tech Reviews Editor Erlingur Einarsson, Ecommerce Writer Beth Nicholls and Staff Writer Natalie Fear, as well as a roster of freelancers from around the world. The ImagineFX magazine team also pitch in, ensuring that content from leading digital art publication ImagineFX is represented on Creative Bloq.
