How to use gold leaf in your multimedia art
Tips making your artwork stand out by applying gold leaf.
Learning how to draw with mixed media is not easy. However, experimenting and combining various materials for original mixed media art can be hugely rewarding (not to mention fun). In this tutorial I'll be creating a piece inspired by The NeverEnding Story, with the spirit of the Golden Age. You can see the final artwork below. I'll mostly be using graphite, so you'll learn some key pencil drawing techniques, but I'll also show you how to apply gold leaf to add a special touch to your work.
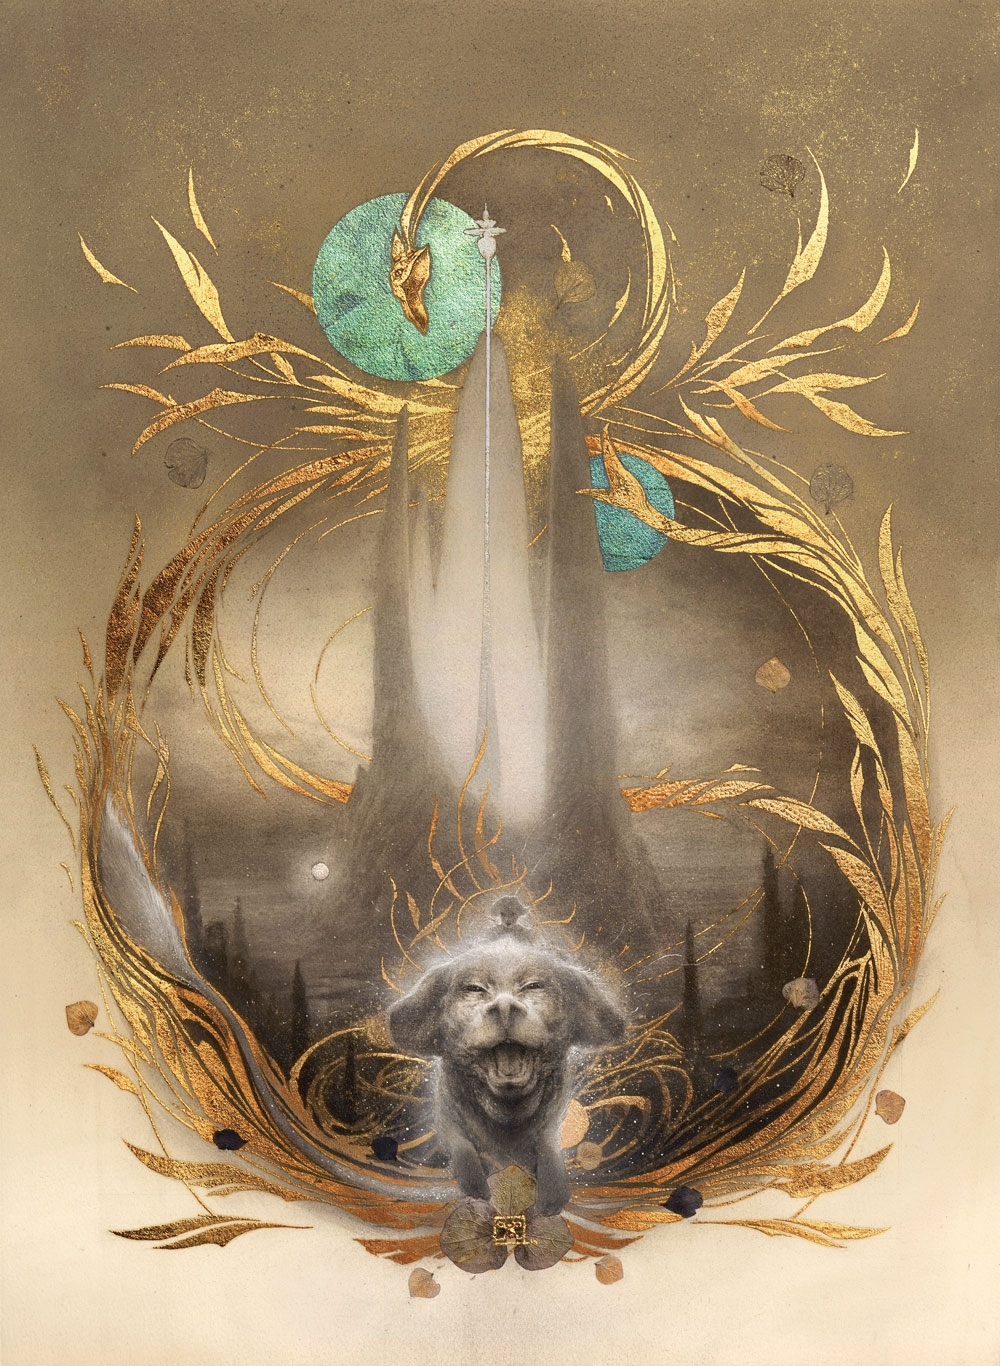
The illustrators of the Golden Age, the Symbolist painters and the Pre-Raphaelites have all influenced my art. There's a wide palette of emotions in these images tinted with lyricism and sprinkled with symbolism.
I've been working with graphite and gold leaf for many years now, creating bright ornamentations or golden backgrounds. This approach enables me to create the illusion of depth, despite the two dimensional canvas. I like to add a natural touch, symbolised by the petals that I fasten on paper.
01. Start sketching
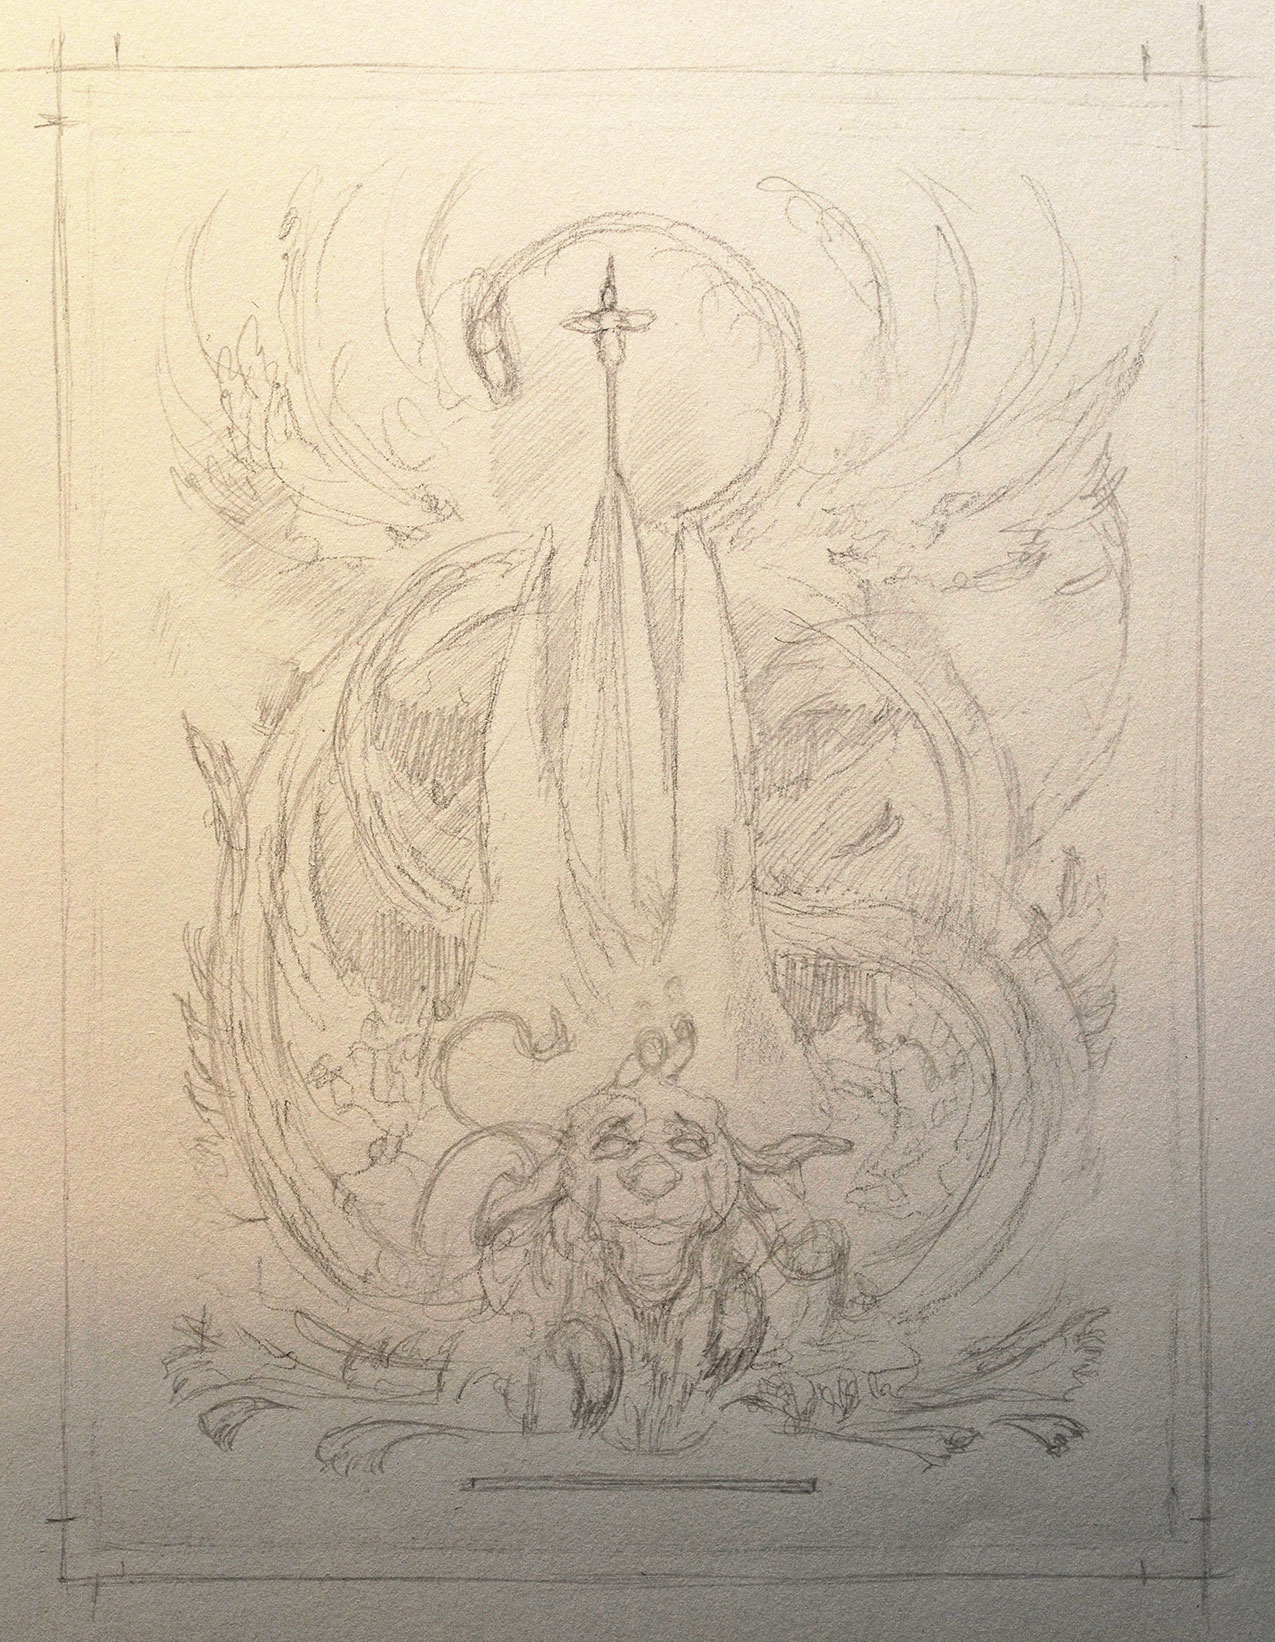
Producing rough sketches enables me to visualise on paper the image I've mentally built up. It's an interesting step that highlights the limits of my materials. In contrast, there are no limits in my mind: I can change the shape, colour and proportions of objects. It's now time to choose an idea and confirm that my intuition is correct.
02. Consider the composition
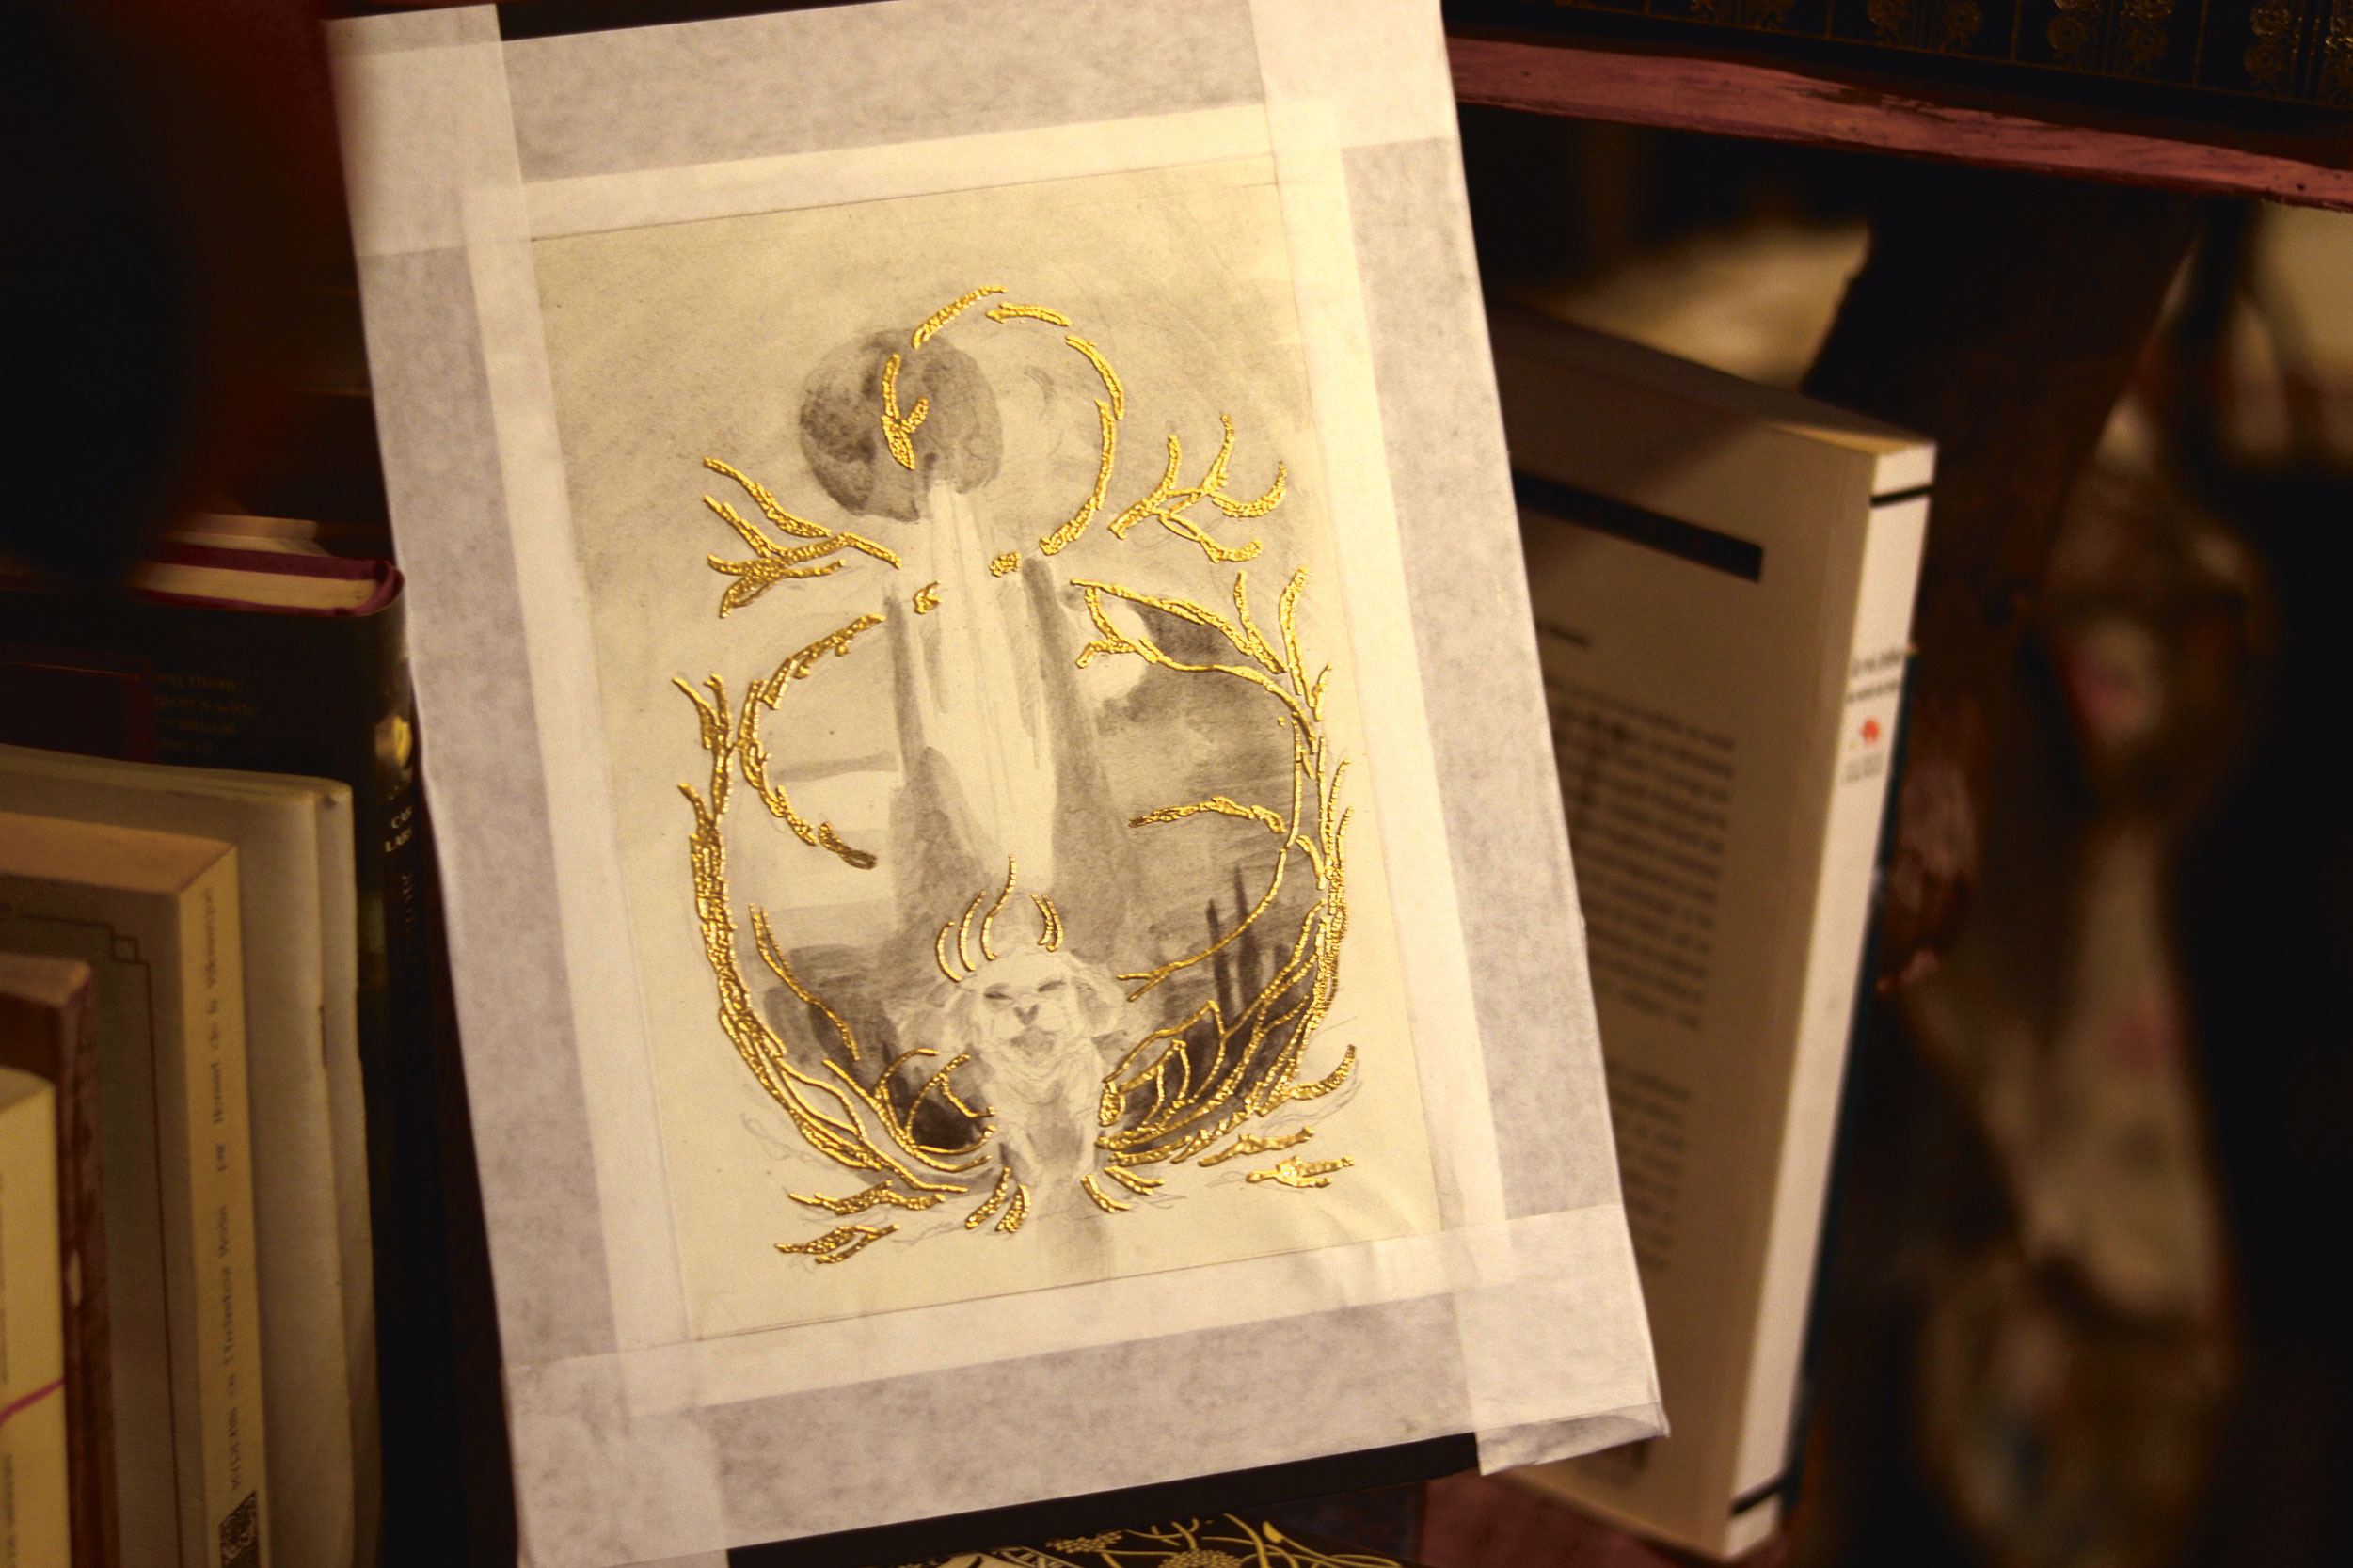
Composition is an art unto itself, a domain where you can play with shapes and guide the viewer. Everything must serve the idea. You have to give the illusion of life on a two-dimensional canvas. To check that the composition is working, I use gold paint to indicate where the gold leaf will eventually be placed. This saves time – and money – later on.
03. Prepare the paper
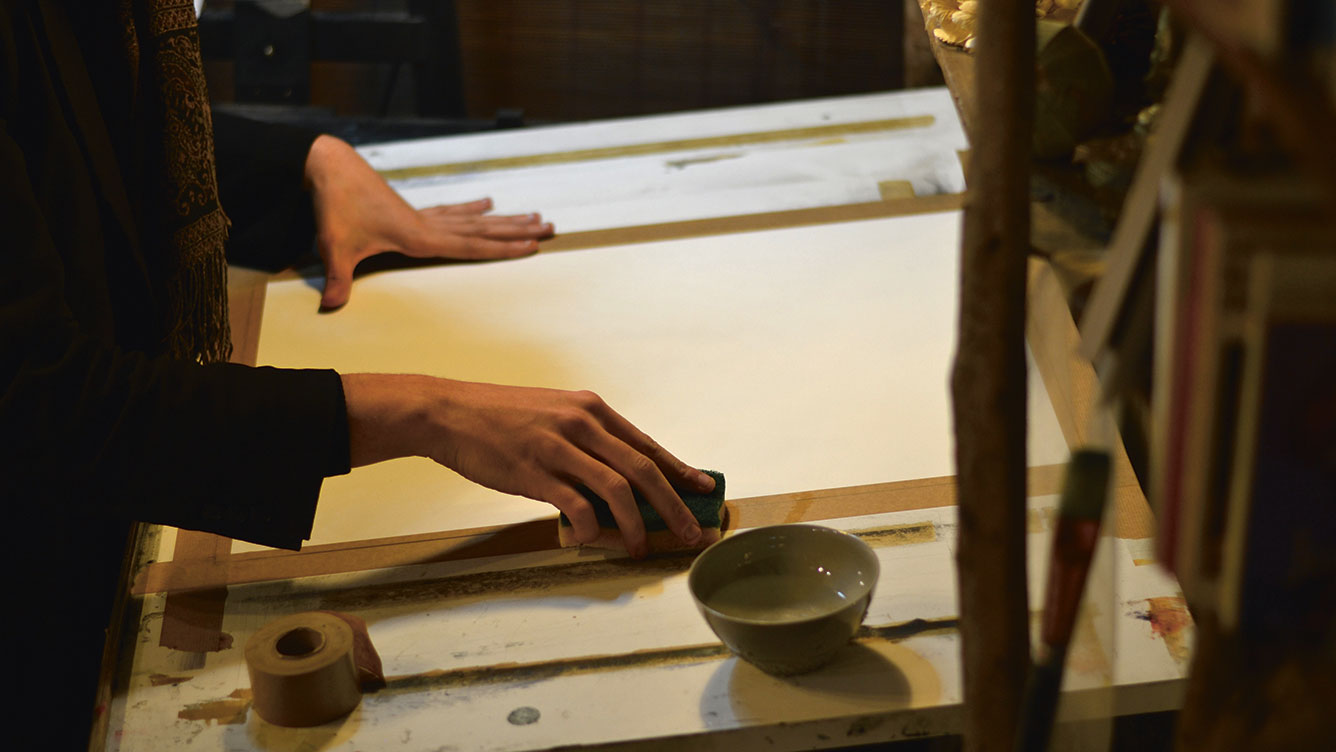
Because I plan to use a graphite wash technique, I need to stretch my sheet of paper to prevent it from crinkling. I soak the back of the paper, then flip it over and fasten it with strips of kraft. As it dries, the paper will shrink and take its final dimensions.
04. Generate a detailed drawing
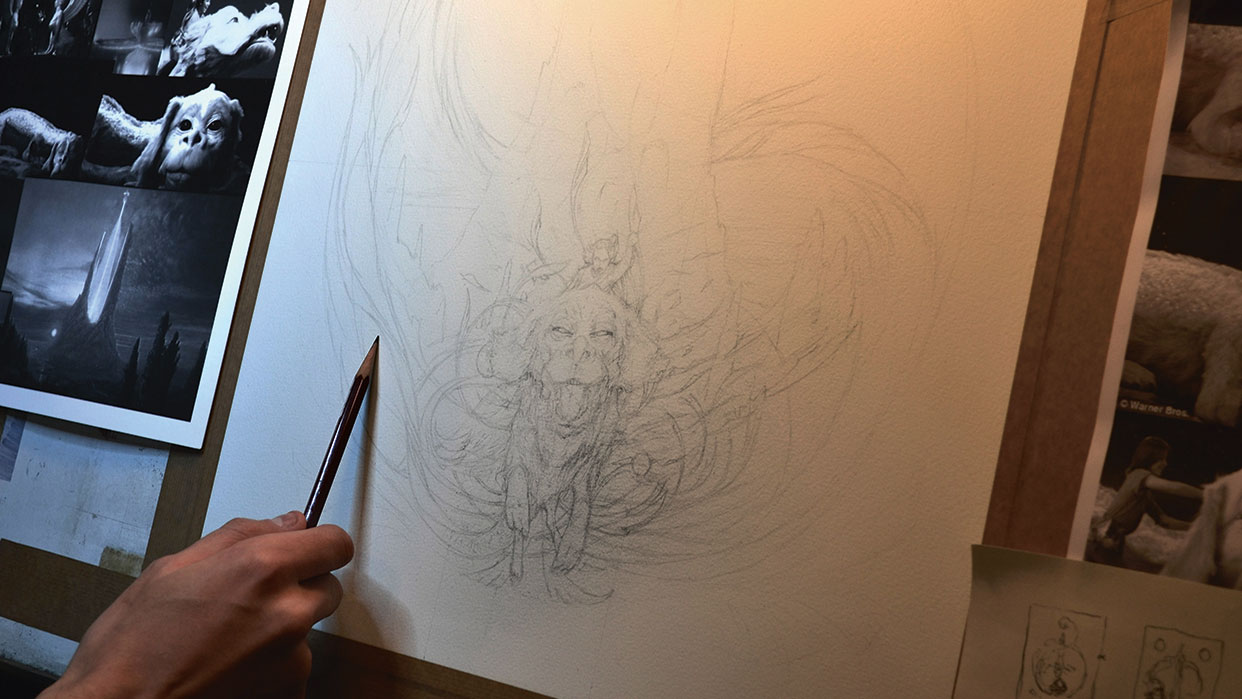
My art process always involves developing an initial sketch, which will be loose, enabling me to develop the composition as I see fit without any limitations. I organise the primary elements, and this gives an impulse, a movement, to the scene. I use pencils ranging from 3H to H.
Get the Creative Bloq Newsletter
Daily design news, reviews, how-tos and more, as picked by the editors.
05. Establish an atmosphere
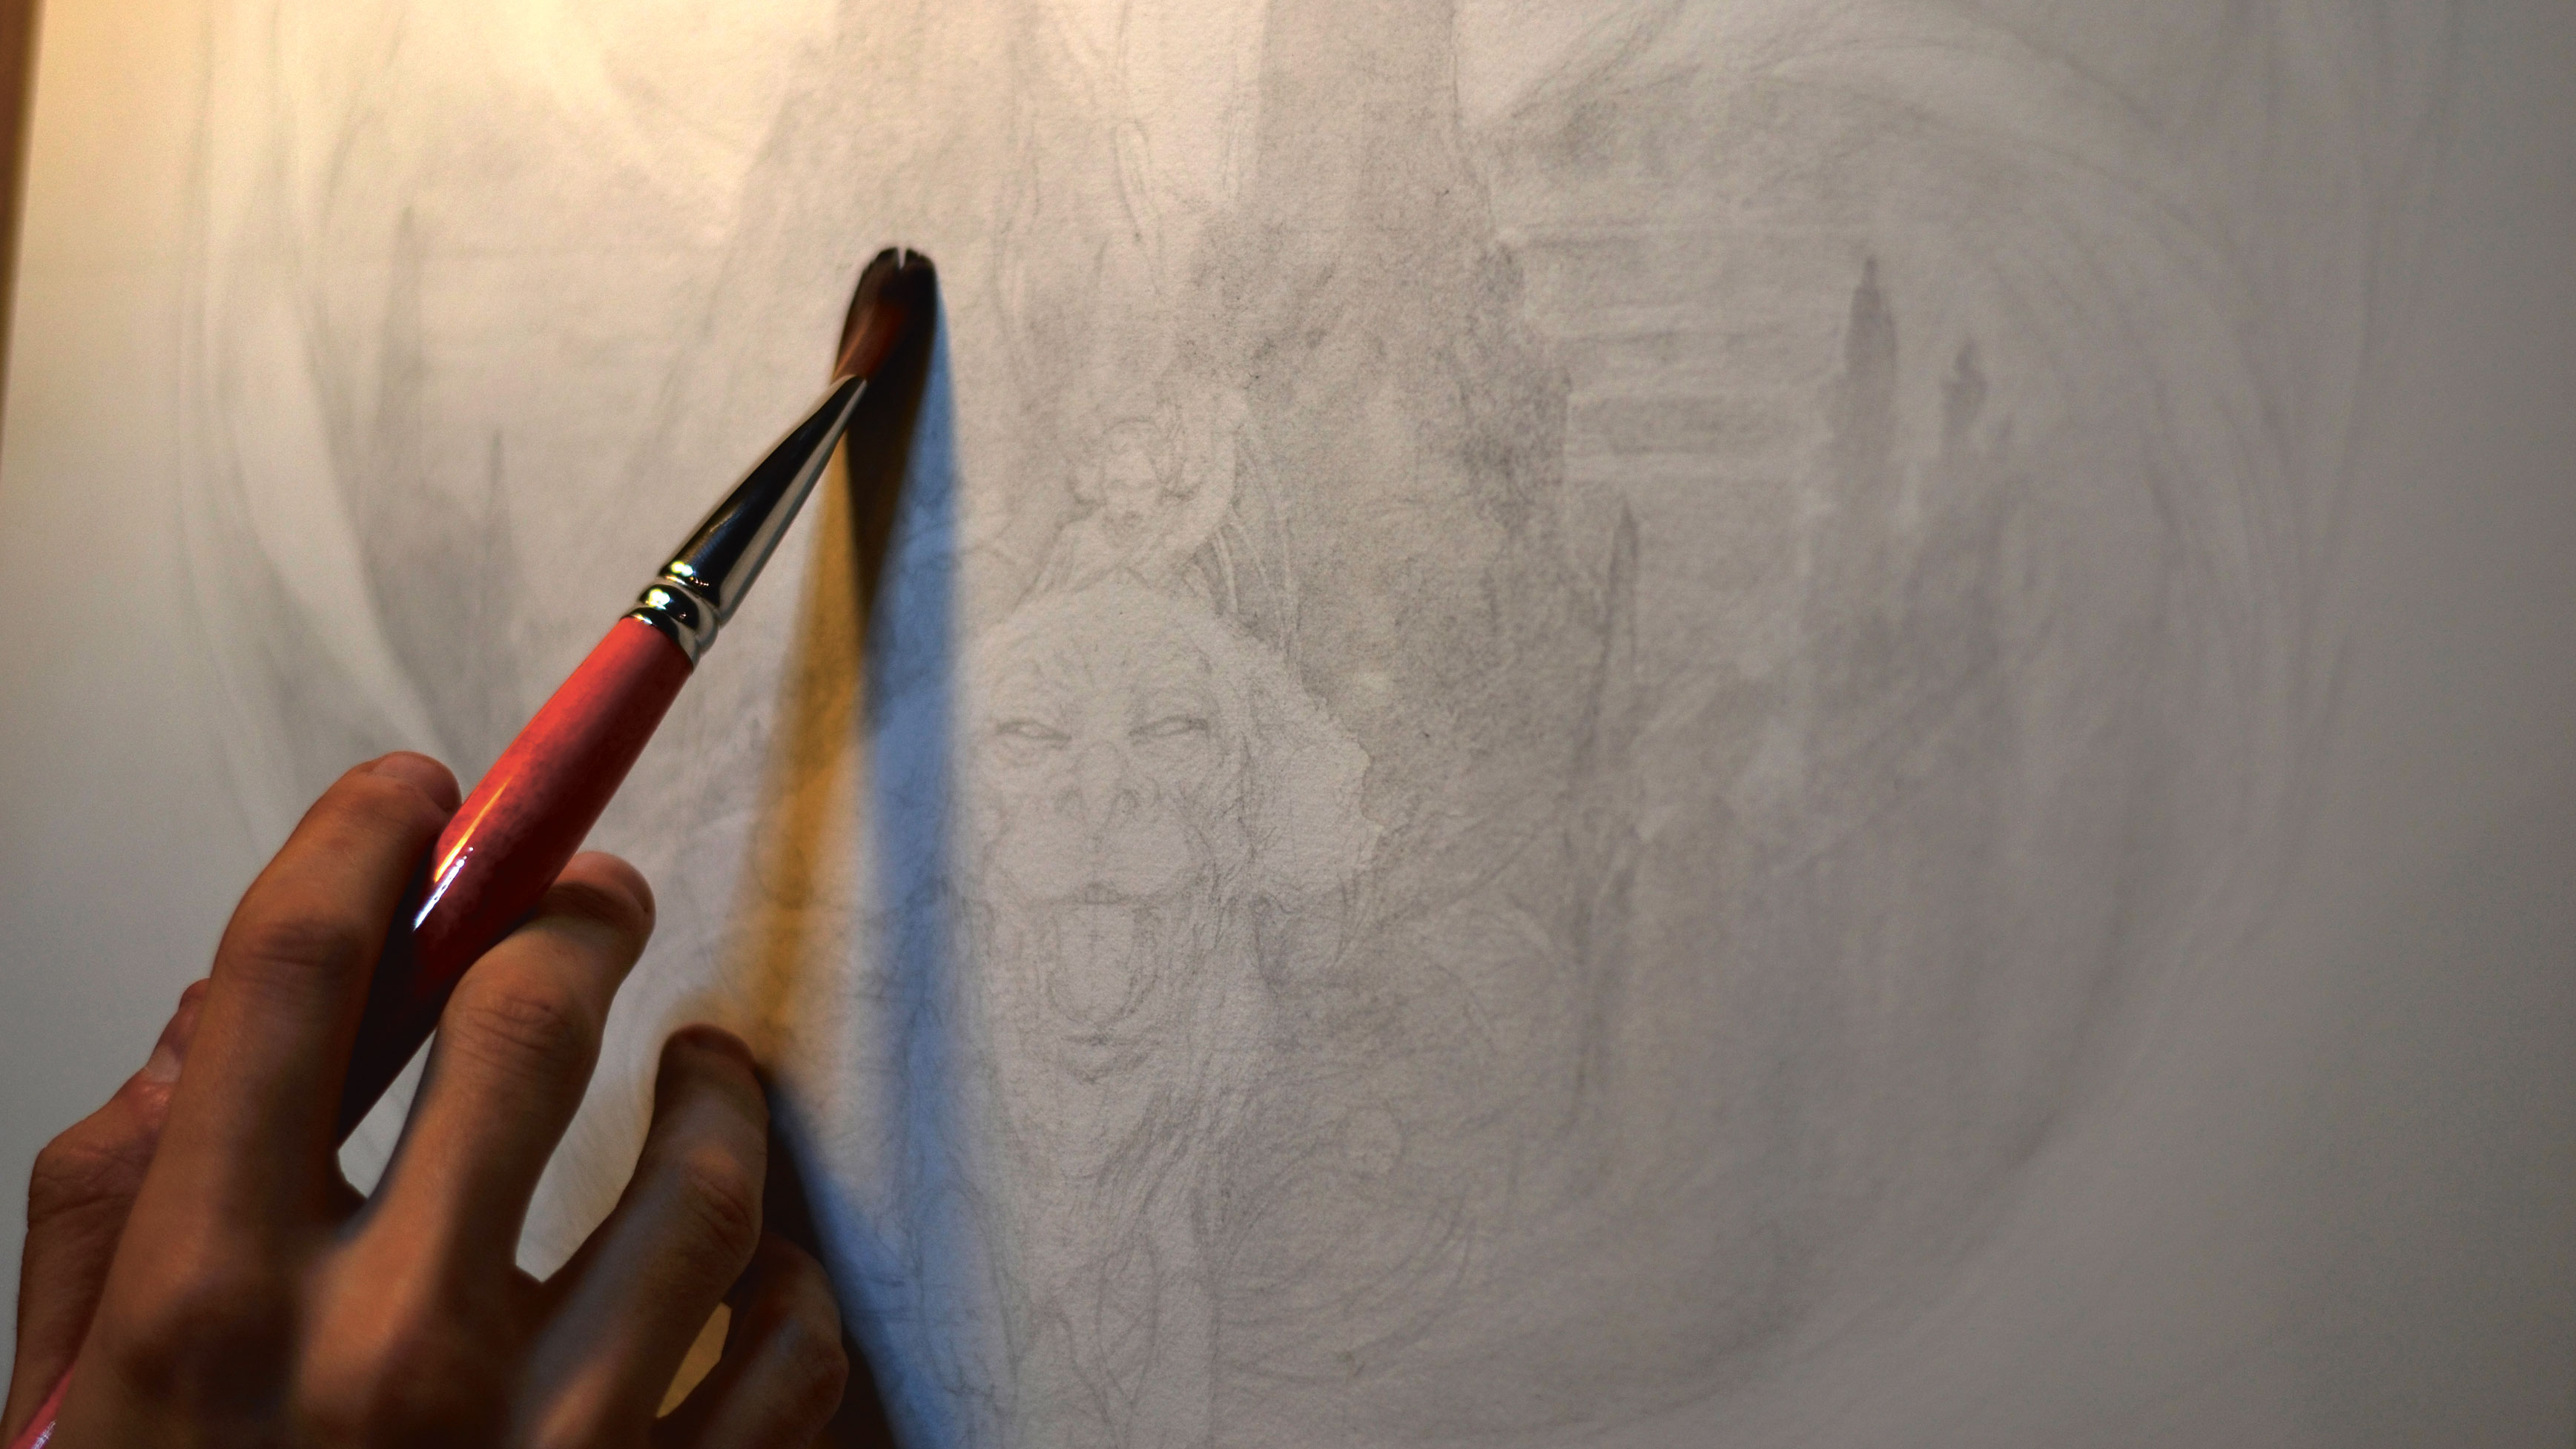
I create an atmosphere using a graphite wash. This stage has two functions: it helps to get me into the topic, and it defines the lighter areas of the illustration. I prefer to retain the white of the paper in my art, in a similar manner to painting with watercolours, and so I use a special type of watercolour graphite.
06. Get into the subject
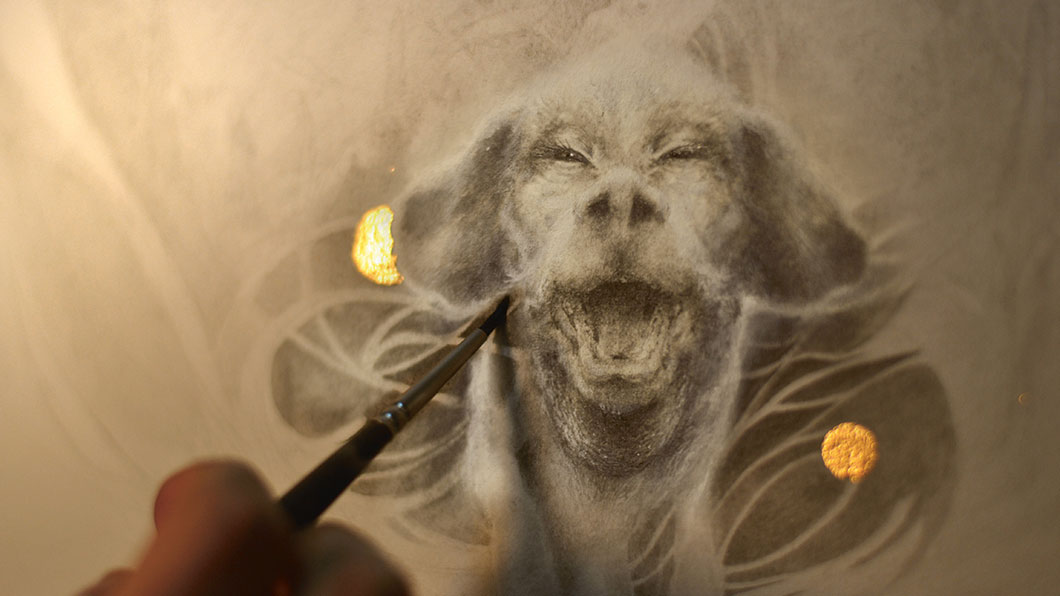
I always start the detailing stage by tackling my main subject first, which I shape slowly. I want Falkor to evolve throughout the painting process; I have the idea that he's living as I paint, growing stronger with each step. I work with pencils, graphite wash and some white gouache, which gives the graphite a light blue tone.
07. Develop the second background
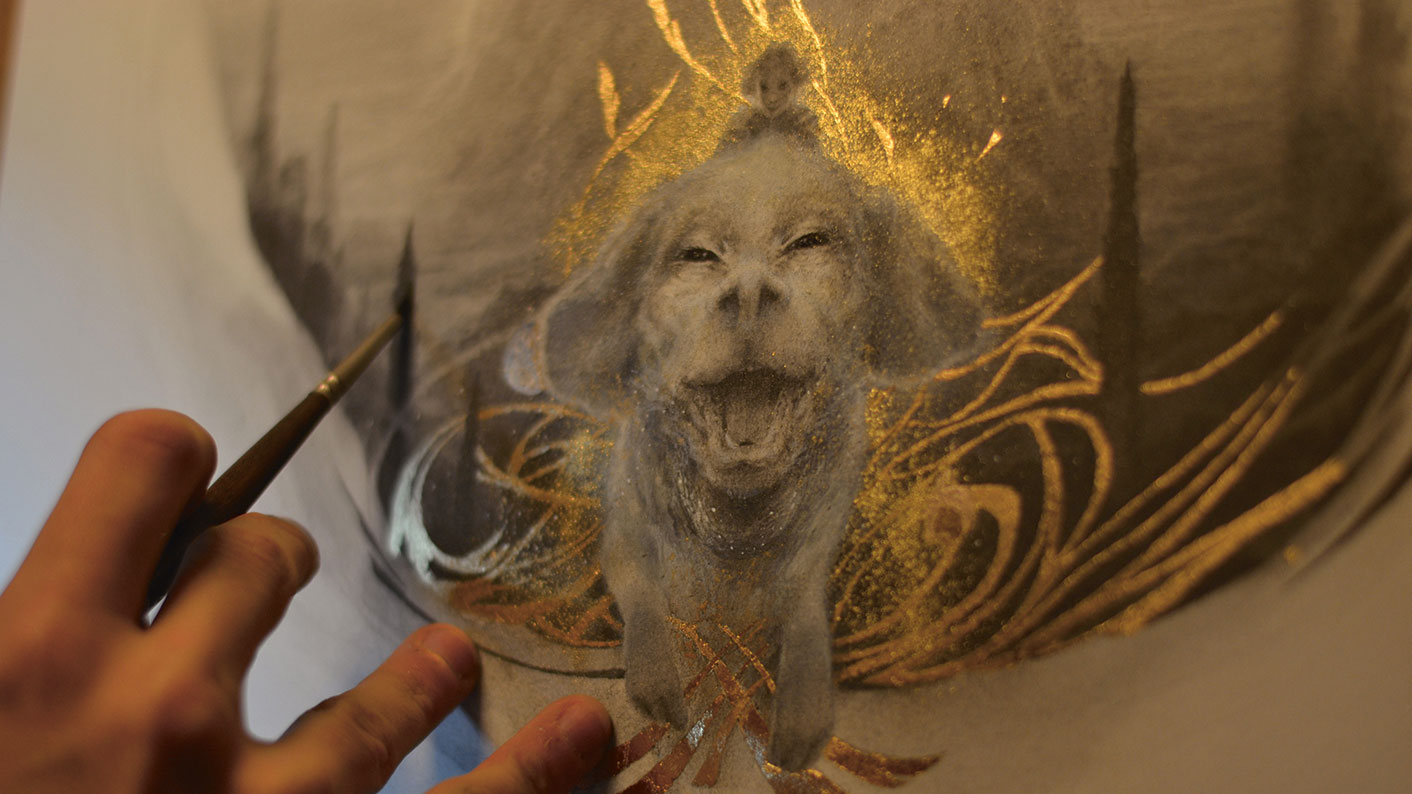
Based on the appearance of Falkor, I work out the shades of grey I'll need to create the different background planes in my image. I decide that I need a second dark background to bring out Falkor. It also gives me a larger palette of nuances to help develop the final background. I work on this with my graphite wash.
08. Add the third background
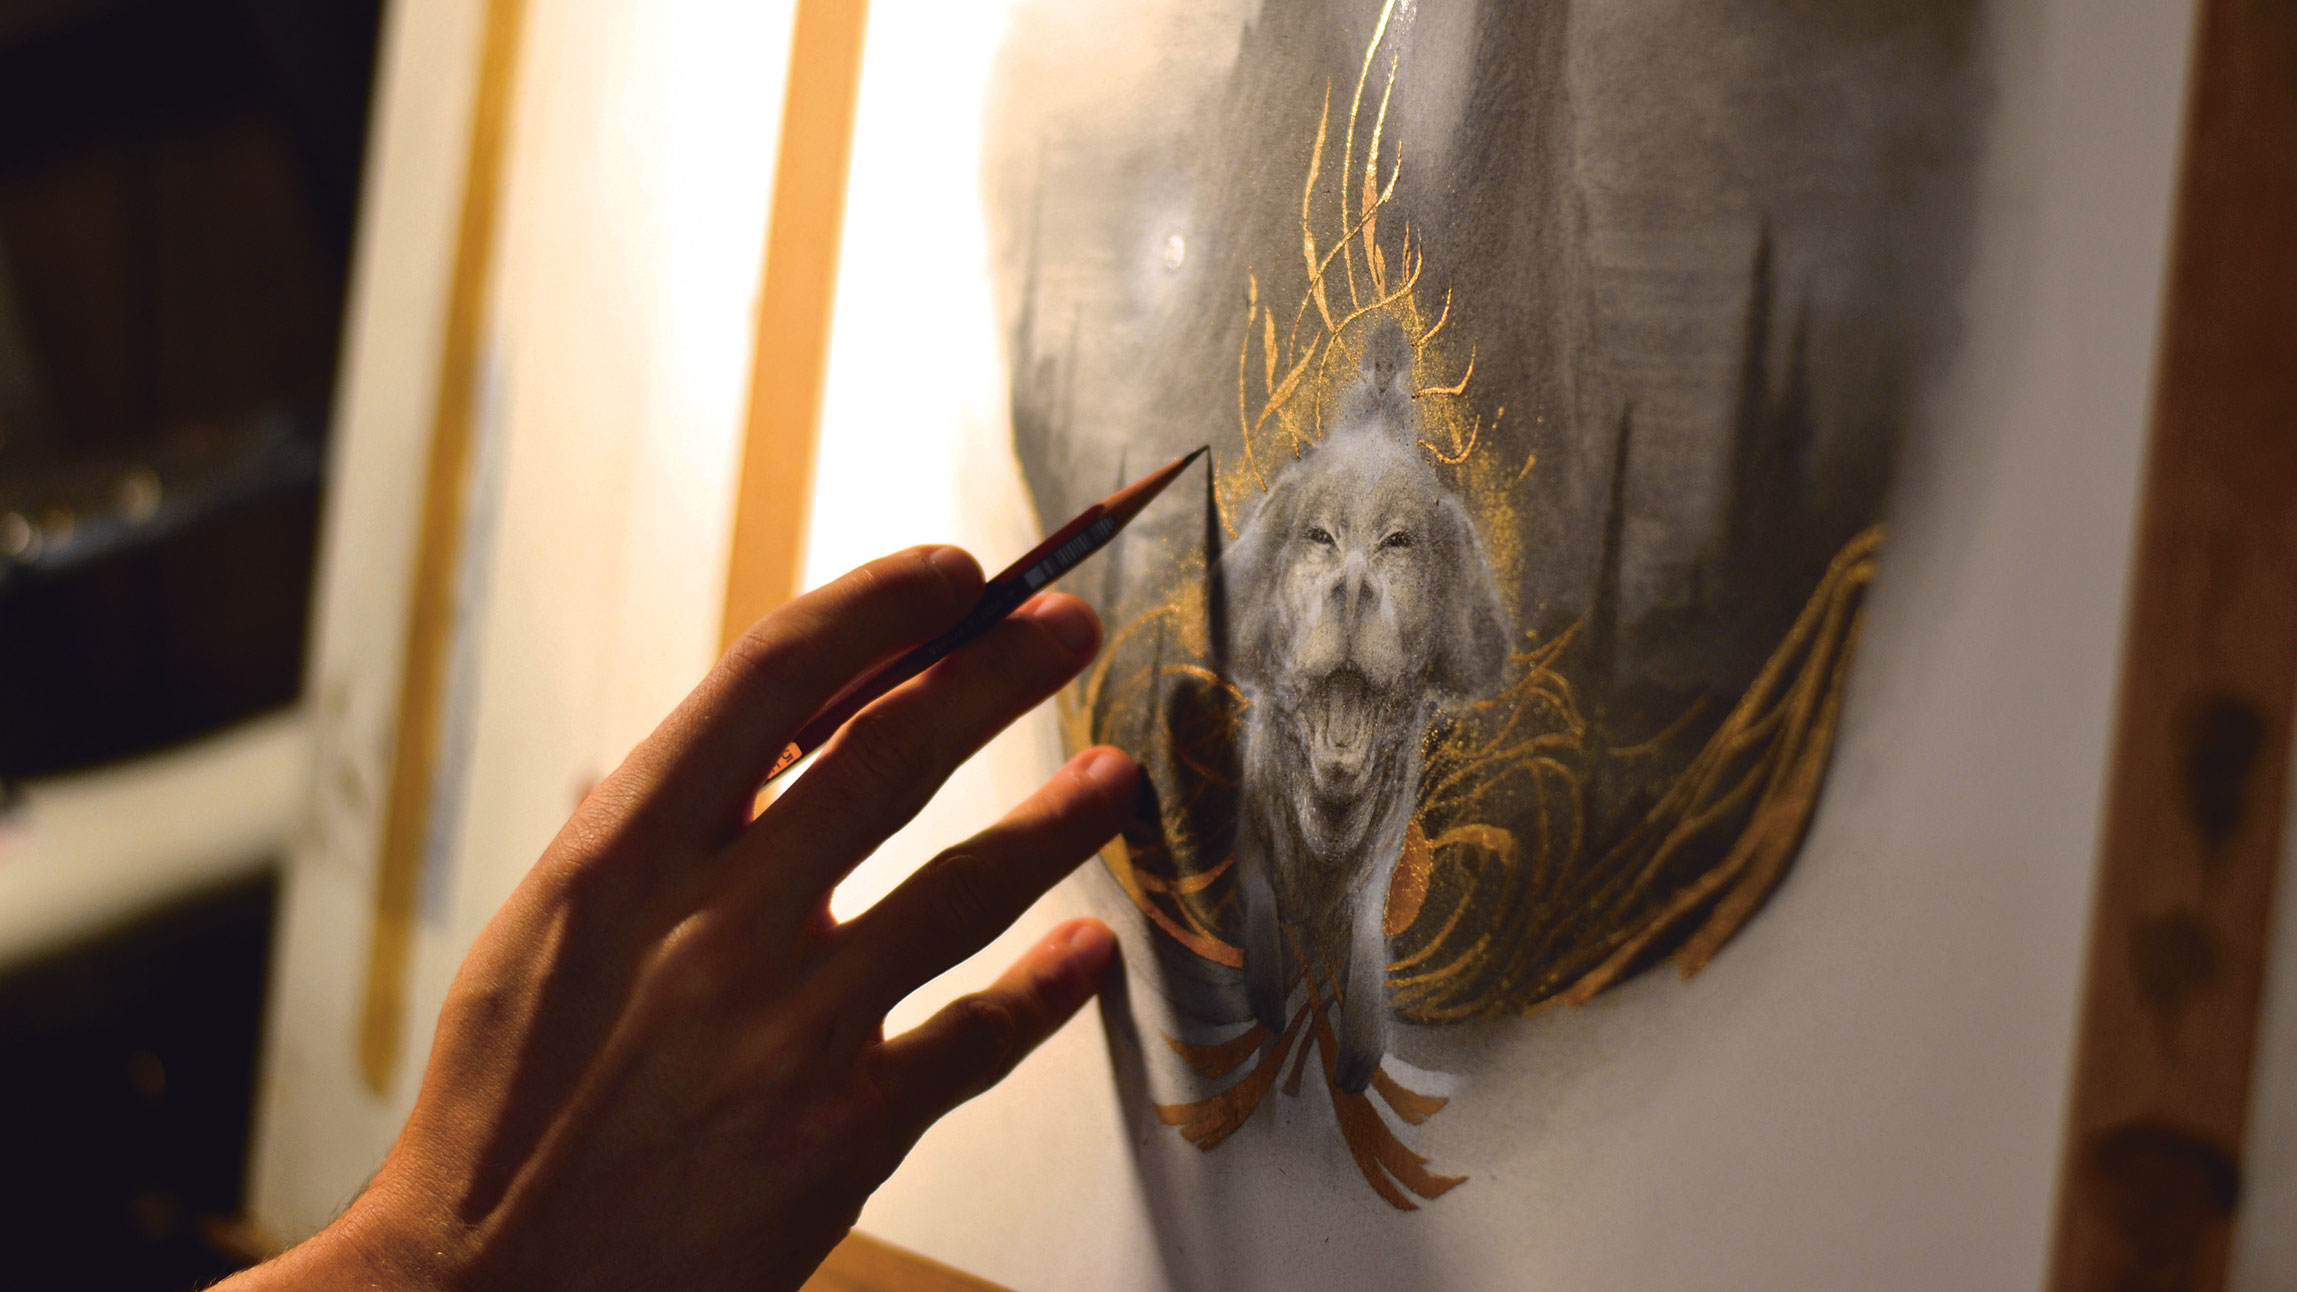
I move on through the planes in my image. The final one is a little odd because it shows the Ivory Tower. I have to create the illusion of a massive construction that's far off in the distance. I use several dry pencils, ranging from 5H to 2H, and a graphite wash.
09. Create light
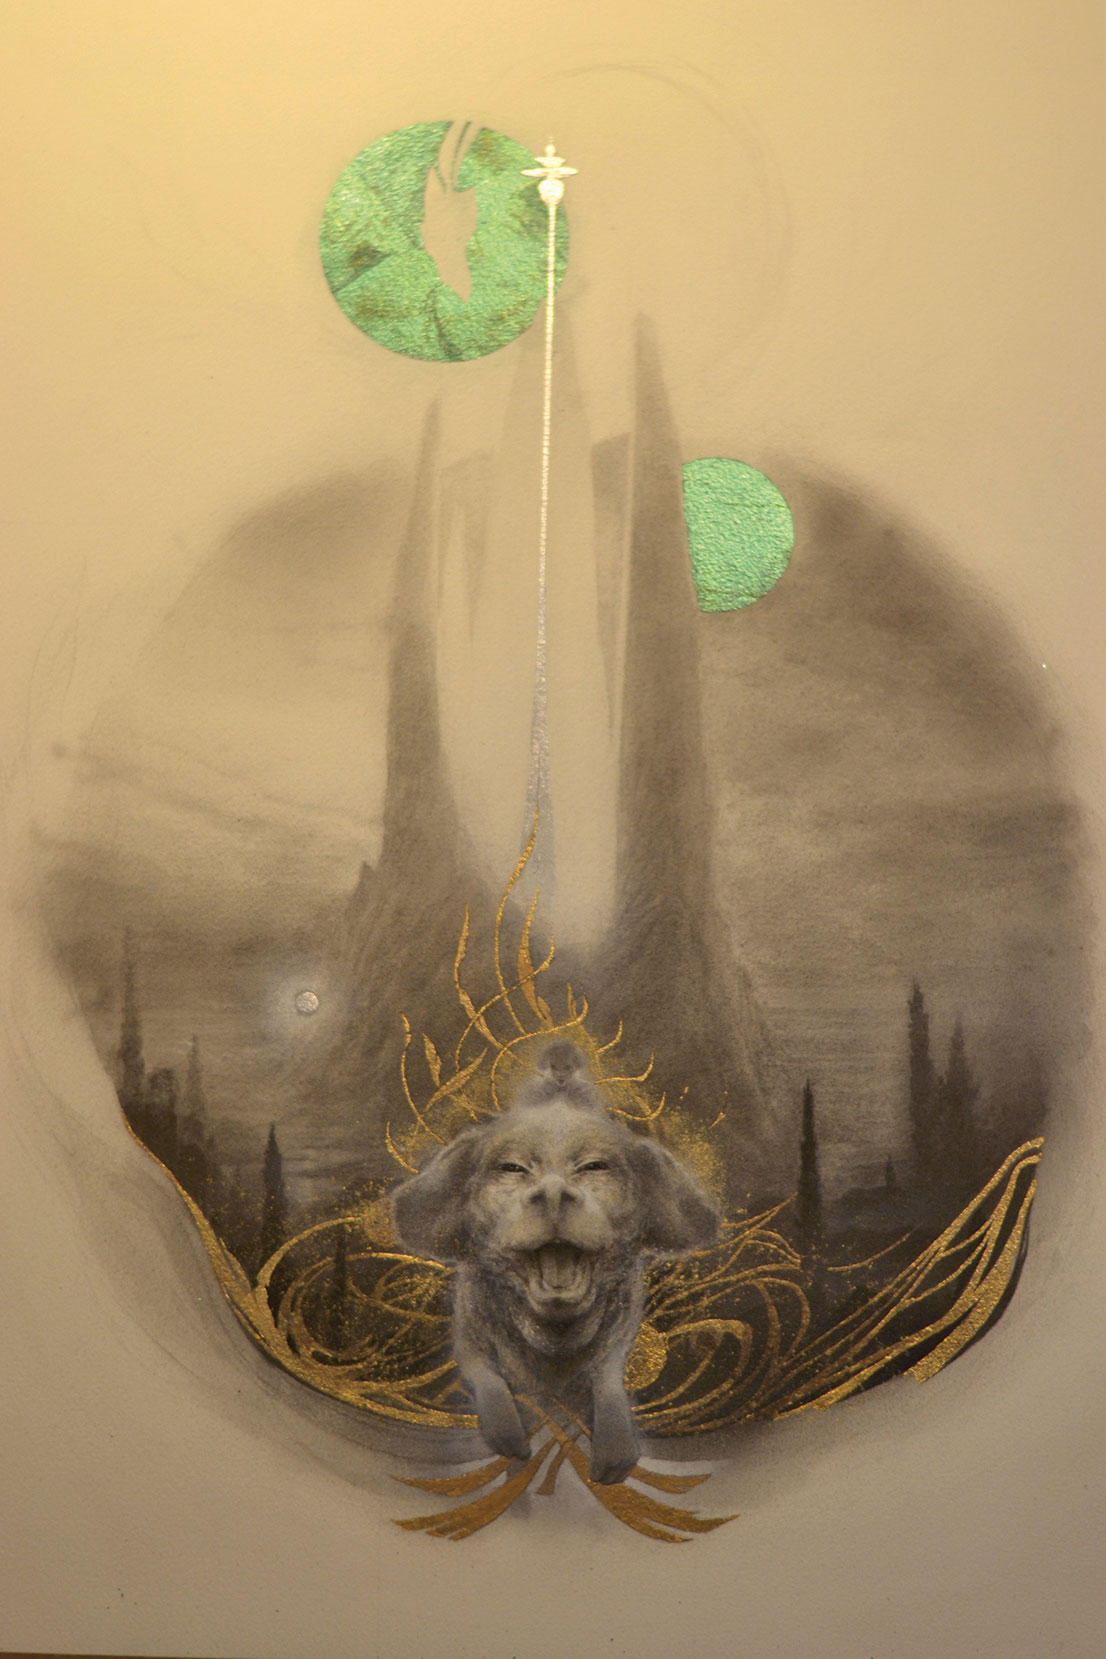
For this step I use oxidised silver leaf, which has a beautiful water-green tone. I use it to give the illusion of reverse lightning. I define two little green moons, which helps me to add depth. These simple geometric shapes enhance my composition.
10. Prepare the ornamentation
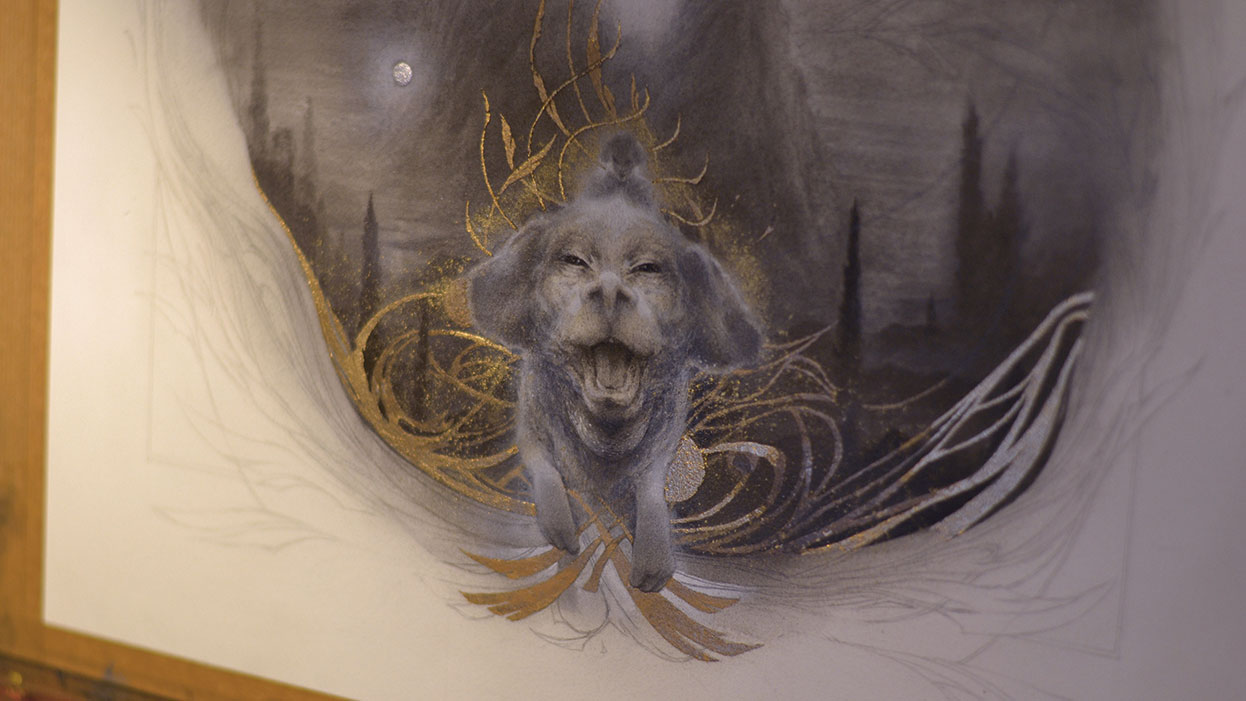
I draw in the details of the ornamental figures that surround my central medallion. I'm keen to accompany the movement to create a style on its own that also matches the main subject. I like my illustrations to suit the spirit of the Golden Age of Illustration.
11. Apply gilding and glue
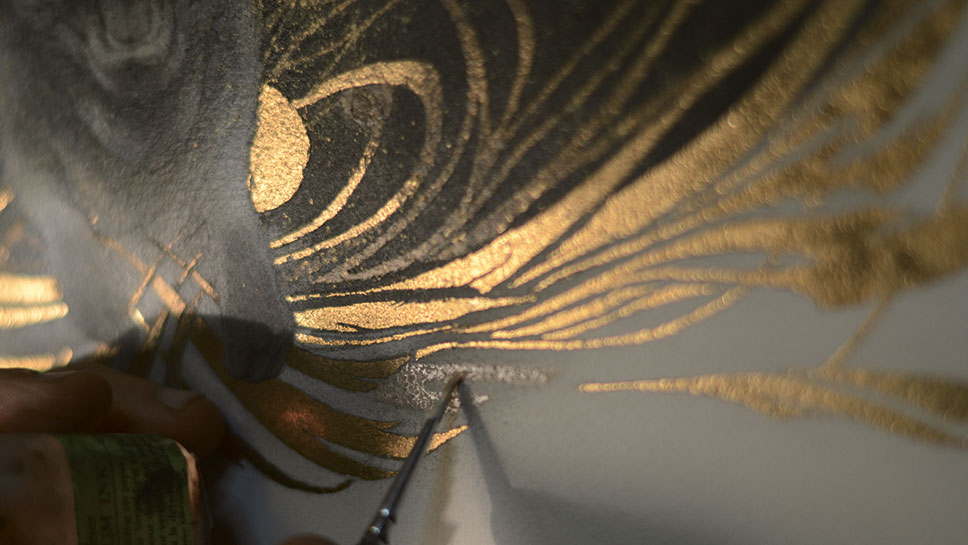
Now that my Arabesque decorative motifs are in place, I apply gold mixtion to one bit of the pattern at a time. There are many different kind of mixtion available, with various drying times. I mostly use the illumination mixtion manufactured by Kölner. I also use the three- and 24-hour mixtions, depending on the pattern I'm working up.
12. Apply the gold leaf
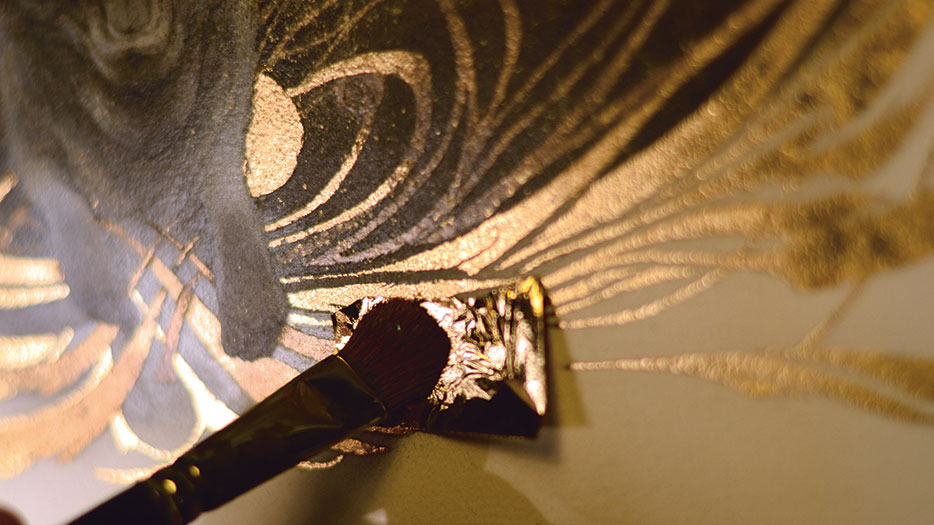
When the mixtion is finally ready to receive the gold leaf, I cut it meticulously and apply it with a brush. The gold leaf is fragile, and needs to be handled with care. I use a filbert sable brush to place the gold leaf on to the glue. This brush also enables me to remove any excess gold leaf.
13. Make precision cuts
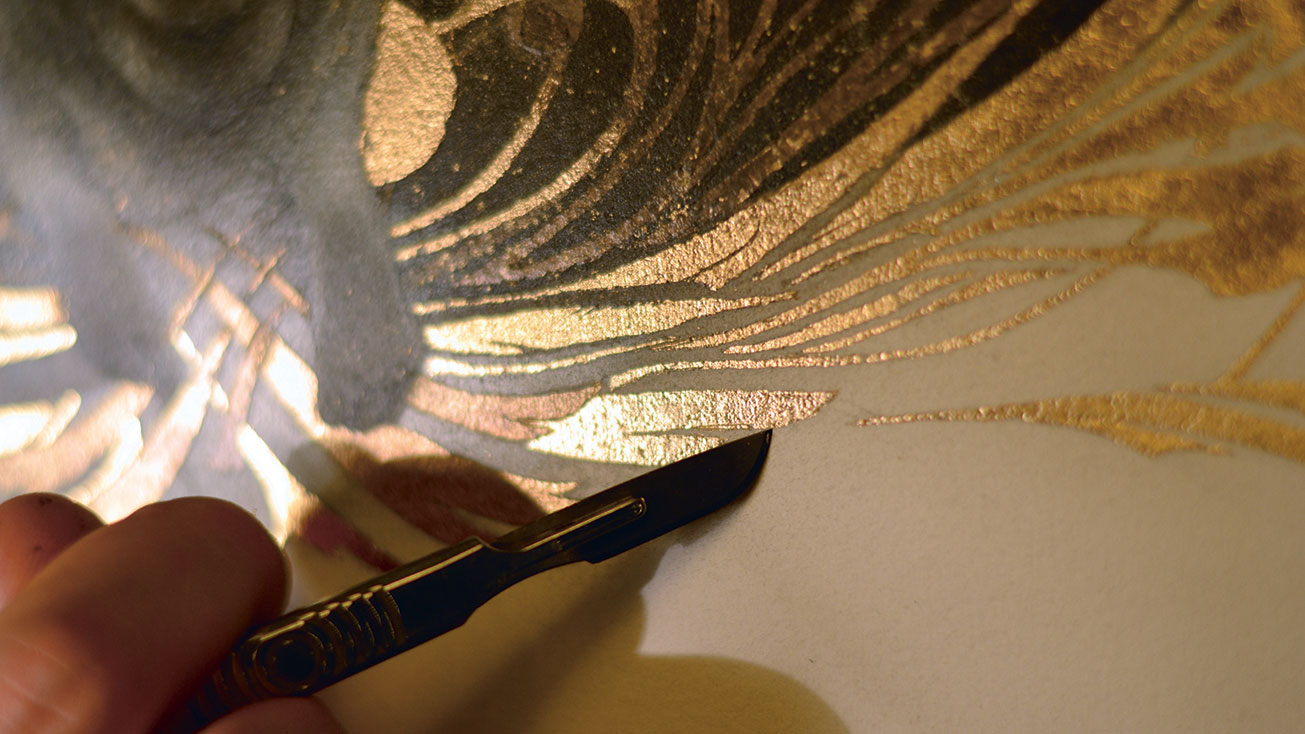
Using a scalpel, I define the gold leaf's outlines. This stage is all about removing the last bits of excess gold leaf and refining the contours of the motif. I use a range of different sized scalpel blades, depending on where I am in the creative process. A good, sharp tool is needed, especially on this step where precision and a light touch is all you can rely on.
14. Enhance the medallion
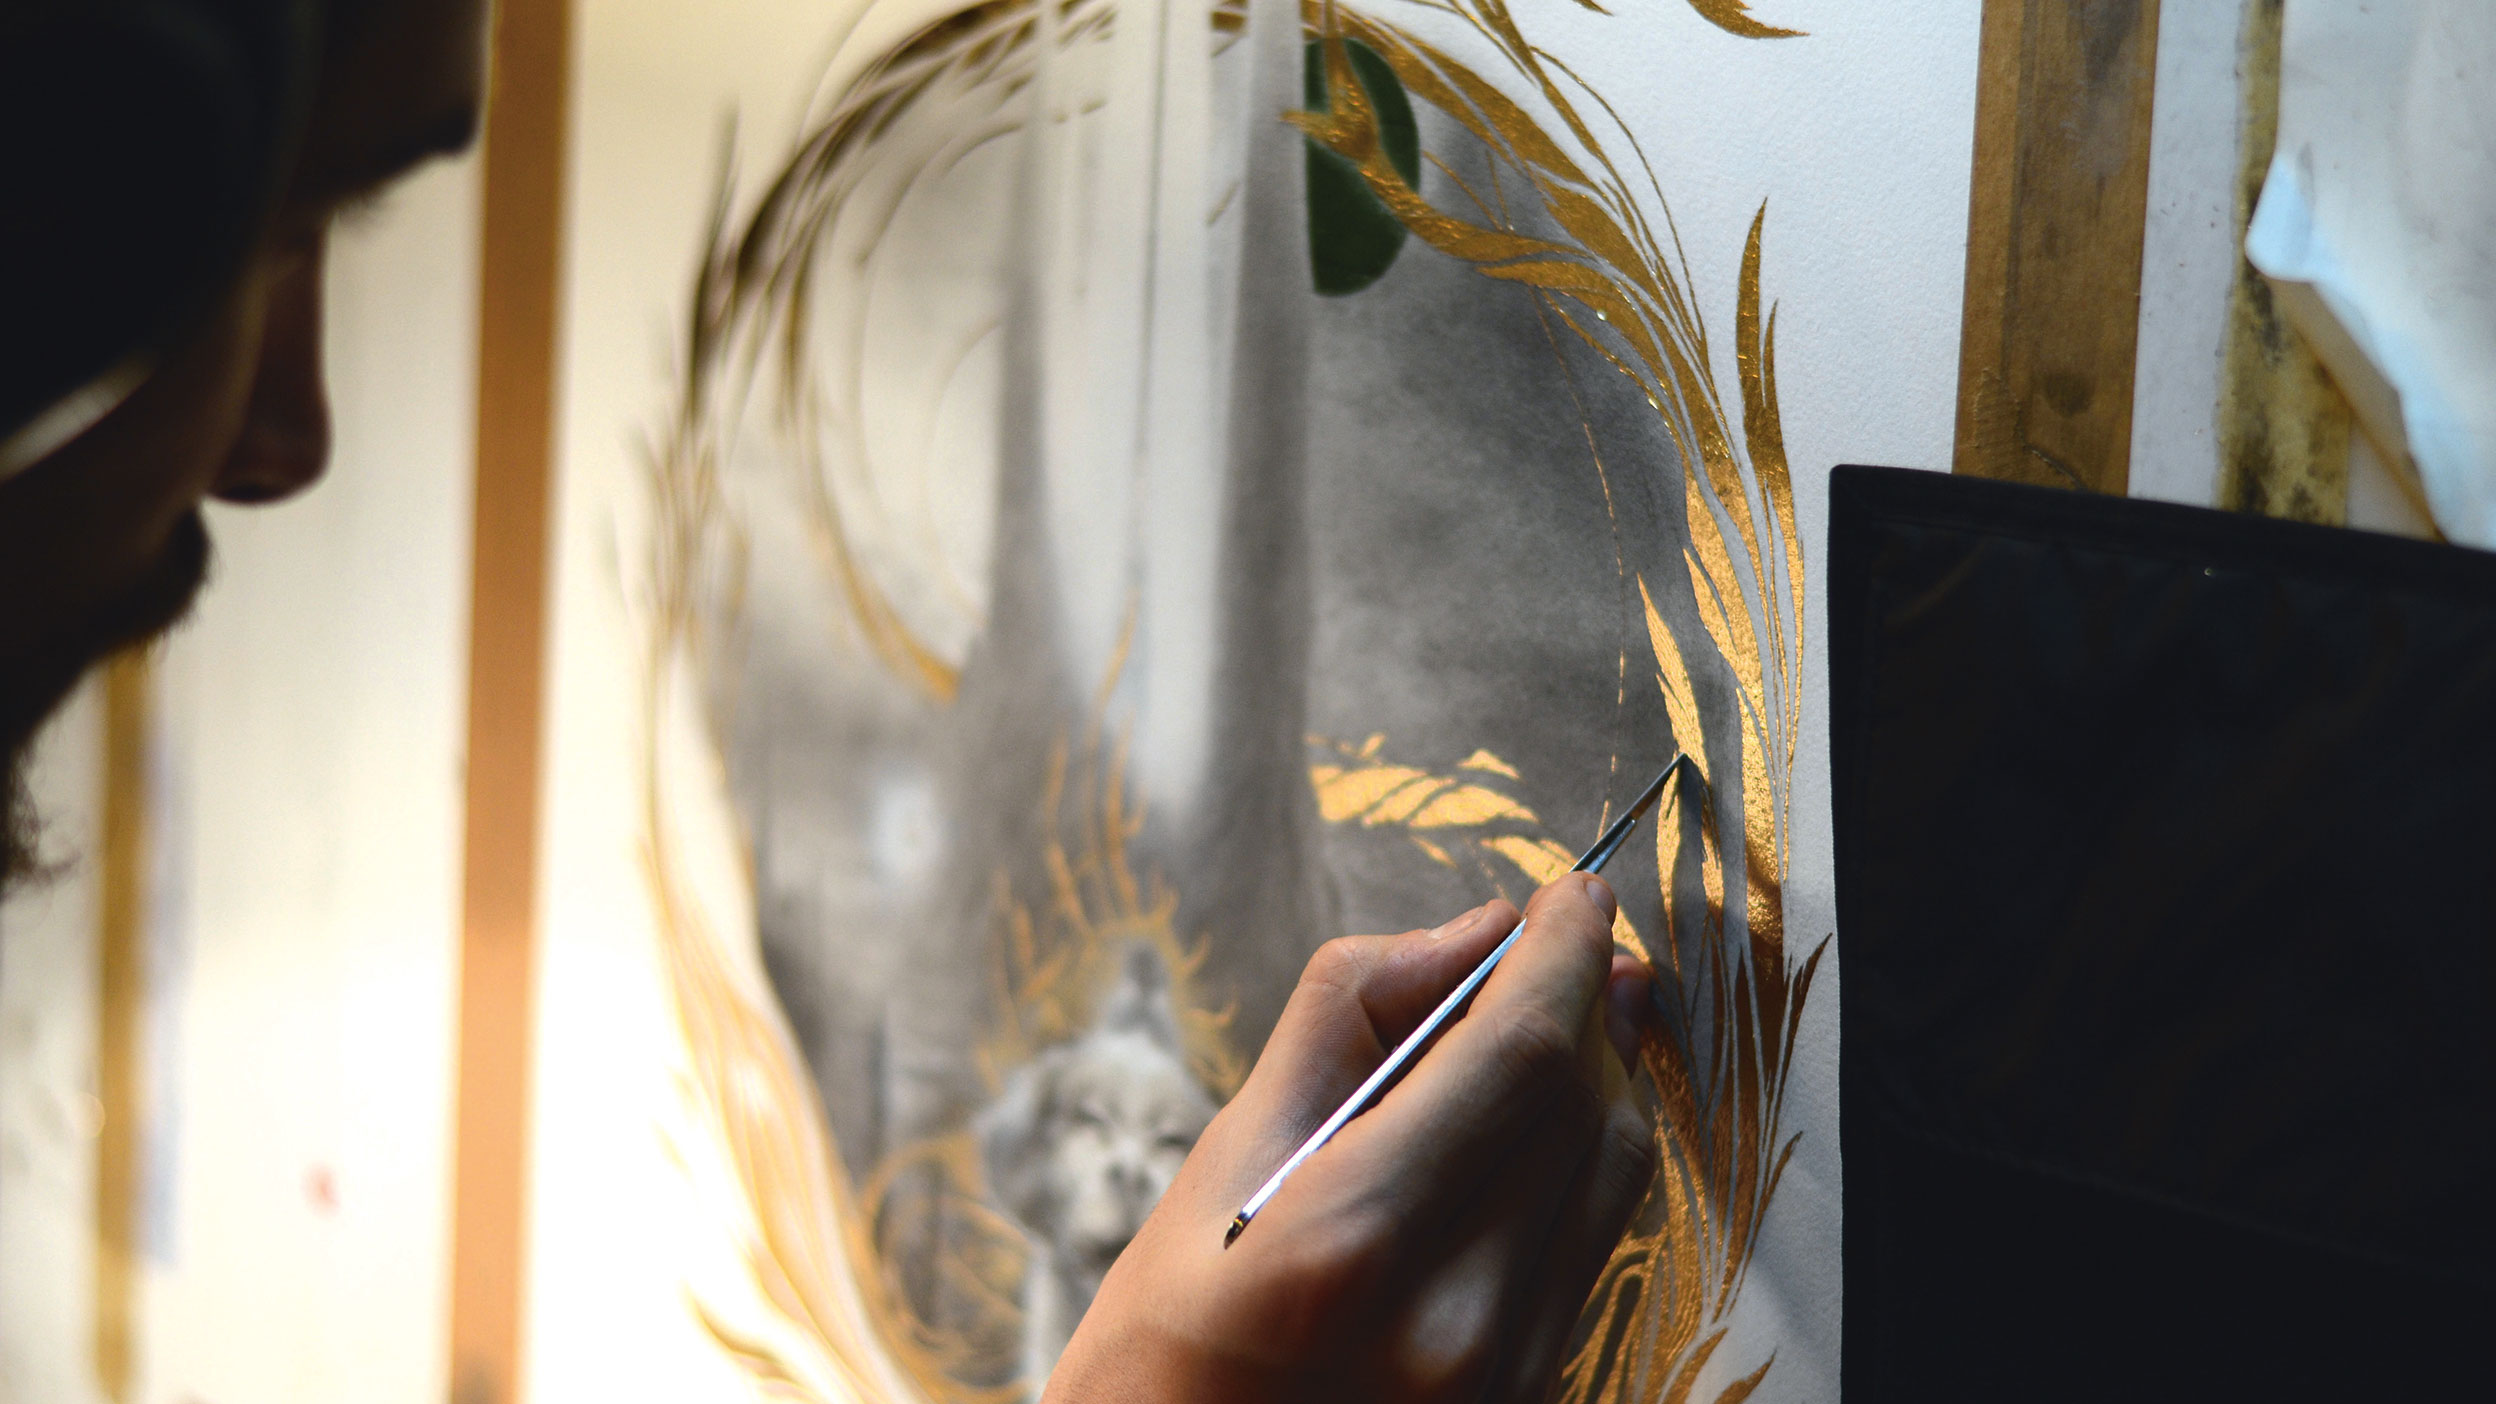
Very slowly, I gild my pattern, going around my medallion. I maintain a balance in the final pattern by rubbing some parts with an agate, which creates gradations within the gold. I gild some parts of my image early in the process, so that I'm able to create these gradations. Indeed, using the graphite wash obscures my first gilding efforts.
15. Adjust contrast
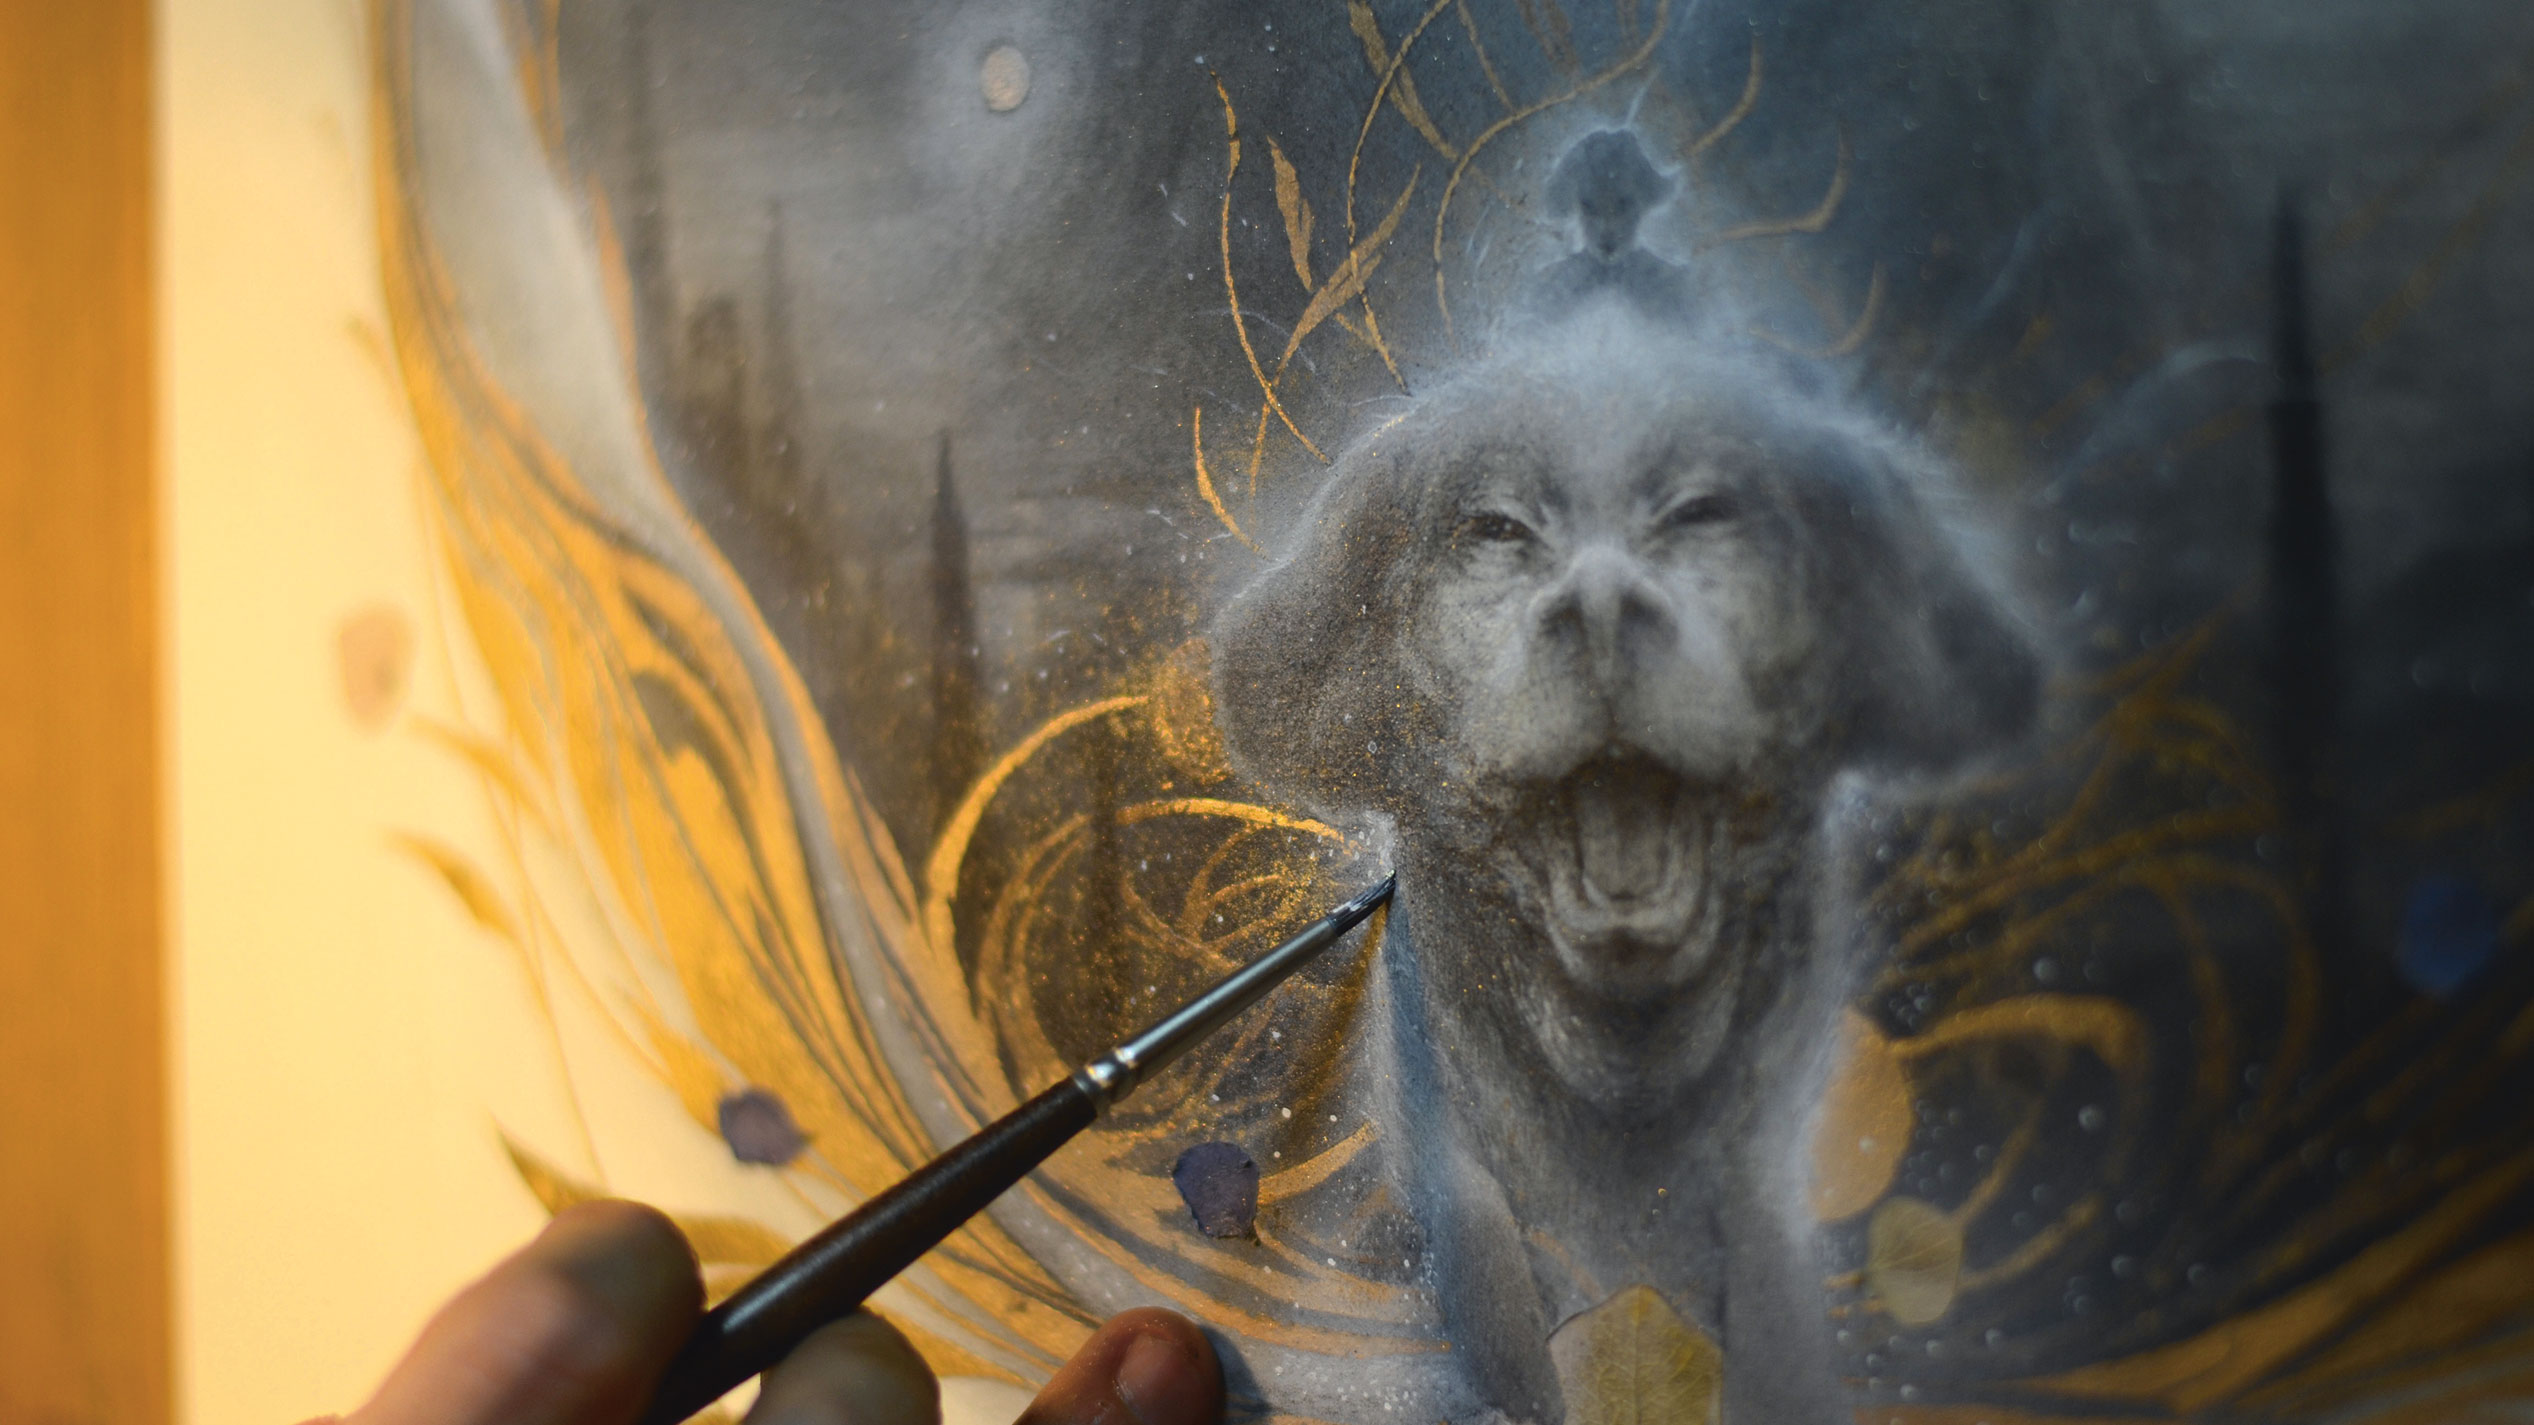
In this final step, I rely on my gilding work to adjust any visual nuances in the piece. Some parts of my image need to be darkened, while others should be enhanced. In this case, I decide I have to bring out more of Falkor. So I apply white gouache to him using an airbrush. Because the light from the gold leaf is so strong, it needs to be balanced by other areas in the image. Then I step back from the artwork and call my take on The Neverending Story finished.
This article originally appeared in ImagineFX How to Paint & Draw bookazine.
Related articles:

Thank you for reading 5 articles this month* Join now for unlimited access
Enjoy your first month for just £1 / $1 / €1
*Read 5 free articles per month without a subscription

Join now for unlimited access
Try first month for just £1 / $1 / €1
