Animate using expressions
Designer and illustrator Jing Zhang reveals how to manipulate layer properties and effects to dramatically improve your workflow
For any company with lots of employees, a good manager is essential to keep everything in check.
But just as strong management is important in business, it's equally valuable in After Effects - if your project has a well-planned structure, it'll remarkably improve your efficiency.
Dozens of layers with hundreds of keyframes are a real pain. Knowing how to use and control your expressions will help speed up your workflow, especially when you need to animate an organic, spontaneous motion scene. In this tutorial I'll explain how to manage your layers with expressions, and save time.
For further information, check out these online resources: MotionScript, JJ Gifford's Expressions in AE pages, and Mograph Wiki.
Click here to download the support files (52.6MB)
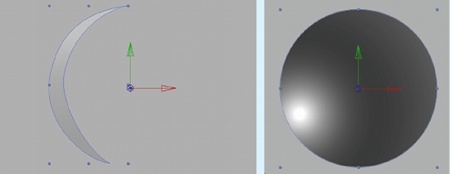
01 Copy the disc folder onto your computer and open 'main.aep'. Now create a new After Effects composition at 758x642 pixels, and name it 'Circle Lotus'. Drag 'circle white only' from the Tutorial folder in the Project Panel to the middle of the Circle Lotus stage, and create two highlight shape layers that look like the images above, by going to Layer>New>Shape Layer. Next, play with their blending modes to make them look shiny. Go to the bottom bar and hit the Toggle Switches/Modes button. Create two black and white layers for lighting. The top one should be a highlight shape, with its blending mode set to Add. The lower layer should be the same, but filled with a black and white Radial Gradient. Set its blending mode to Overlay.
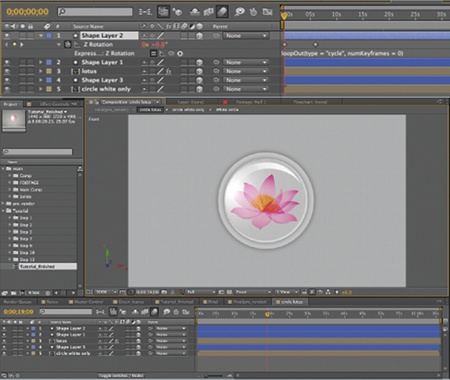
02 Next, we can make Circle Lotus spin by animating the Z Rotation property. Alt/Opt+click on the stopwatch symbol next to Z Rotation. In the Expression box, enter the code: 'loopOut(type = "cycle", numKeyframes = 0)' to make it loop. Open 'lotus' from the Tutorial folder. Enable Time Remapping (Ctrl/Cmd+Alt/Opt+T), and apply the same script as above.
Daily design news, reviews, how-tos and more, as picked by the editors.
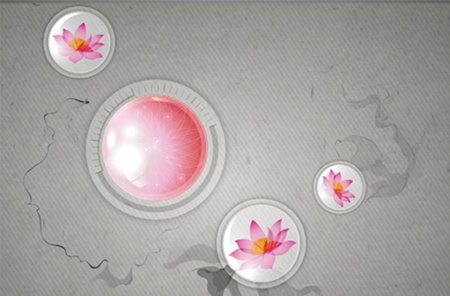
03 Open 'base' from the Tutorial folder. It's now time to create some flakes falling from the top lotus using the Expression function in After Effects. We need to plan which attributes are to be animated: in this case they'll be Scale, Position, Orientation, Z Rotation and Opacity. For the duration of each flake, let's say between one to seven seconds. It's a good idea to make a record of this in your notepad.
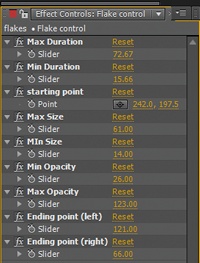
04 Now go to the Tutorial folder and open 'flakes'. Create a Null Object (Layer>New>Null Object) and name it 'Flake Control' - this will be the master control of this comp. We're going to apply Slider Control and Point Control from the Effects & Presets window to Flake Control lots of times. Then we'll rename and adjust the slider controls, and set values as in the image above.
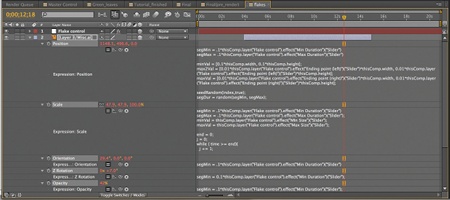
05 Enable the flake layer's 3D property. Copy the random motion script (found in the support files) accordingly to the layer's Position, Scale, Orientation, Z Rotation and Opacity expression box. Now you can glide through the timeline to test the animation. You can always customise your animation by changing the random motion script.

06 In the Position expression, this line: thisComp.layer("Flake control").effect("starting point") ("Point") in the ease() interpolation method tells you that the flake's starting position is controlled by a point control called Starting Point in the null object. This can come in handy if you - or a client - want to make lots of changes.
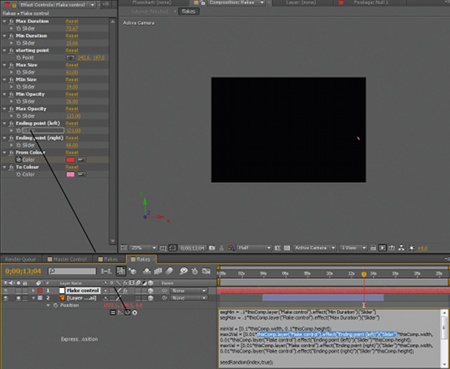
07 You can also randomise the value using 'seedRandom()' method. Here, I've used two sliders - Ending point (left) and Ending point (right) - to manipulate the randomisation range of the ending position. When editing your script, you should always lock the control layer's Effect panel so you can let the Pick Whip write it for you.

08 Check to make sure you've finished scripting. If you have, you can go on duplicating the layers many times (hit Ctrl/Cmd+D to duplicate), and all animations will be conditionally randomised. Manually drag the layer bar along so they'll start at different times.
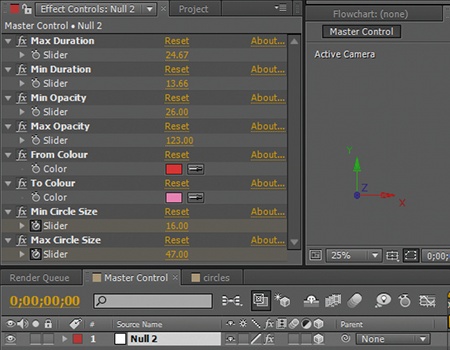
09 We need a Master Control comp to manage your motion script without the hassle of changing all of them (Composition> New composition, and rename it as 'Master Control'). Then create a Null Object in the same way as you did earlier. Apply Expression controls to the null object, depending on your requirements.
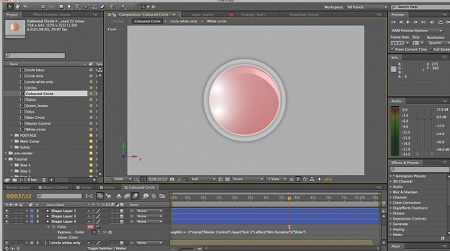
10 Open the Coloured Circle comp in the Tutorial folder. On Shape Layer 4, paste the appropriate script from your disc under its attribute colour. Set the value of From Colour to red and To Colour to pink on Null 2 from the Master Control. If you're writing your own script, the value returned from Colour Control needs to be multiplied by 255 before it can be used for RGBA.
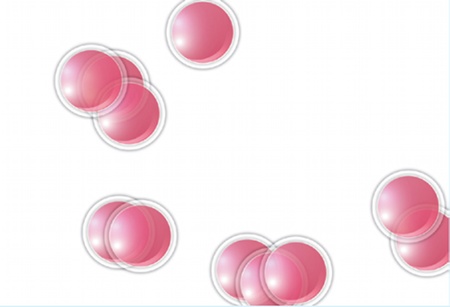
11 Next, open 'circles' from the Tutorial file. Here you can see 'Coloured Circle' duplicated 10 times. All the comps look exactly the same, although random colour script has been applied to them because expressions can't be stored in memory and randomisation can't transfer across hierarchy. Therefore, random motion script requires all layers to remain in one comp.
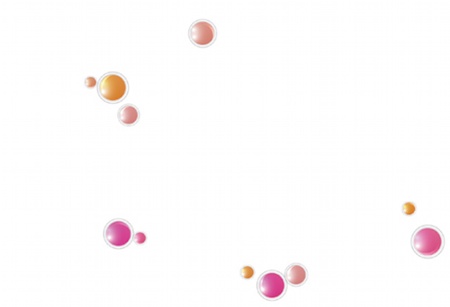
12 Theoretically, colour random script should be applied under the Coloured Circle comp. However, we only want a small part of our comp to be coloured, not the whole thing. So, instead of applying the colour random script to the whole Coloured Circle comp, let's apply Enable Time Remap and randomise its remapping to get the message across to each child comp.
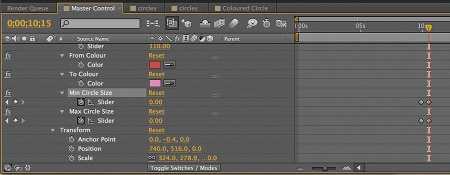
13 The sliders in Master Control also enable us to animate the scale range of the bubbles through the timeline simply by clicking the stopwatch - so we can make all of them diminish at some point. At 0:00:09:26, click on the stopwatch of Min Circle Size and Max Circle Size, glide the indicator to 0:00:10:15 and then change both values to 0.
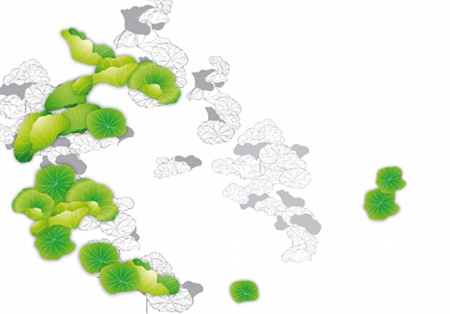
14 Open 'Green_leaves' from the Tutorial folder. First, animate the scale of the leaves in a batch: hit Ctrl/Cmd+A to select everything, press S to bring up the Scale property, and then adjust the number. Now we'll use the Sequence Layers function to set a time order for their appearance. To do this, select all the layers and go to Animation>Keyframe Assistant>Sequence Layers, tick the Overlap box, and put in a value slightly shorter than the whole comp. Use a linear (time, tMin, tMin+duration, value1, value2) interpolation method to control the fading in animation, and manipulate the duration through slider control.
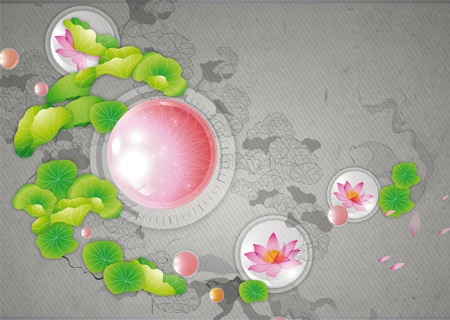
15 Now finish the animation by putting all the comps together. If you have an ending scene, the quickest way to make everything leave the stage is to use a camera, providing they all have 3D attributes. To do this, Right/Ctrl-click on Layer>Create New Camera, and click OK. Hit C twice, then pan around the scene, as though you're recording a film. You might find it isn't easy to glide through the timeline due to the amount of layers, comps and expressions. For a fast preview and render, pre-render an RGB+alpha .mov file for each of the 'heavy' comps. All finished comps can be found in Comp folder in the Projects panel.
Jing Zhang
London-based Jing is a creative designer and self-proclaimed "code wannabe", with clients including 3 Mobile, Ford, Osiris Shoes and The Lonely Planet. Her work involves design, animation and lots of ActionScript. www.mazakii.com

The Creative Bloq team is made up of a group of art and design enthusiasts, and has changed and evolved since Creative Bloq began back in 2012. The current website team consists of eight full-time members of staff: Editor Georgia Coggan, Deputy Editor Rosie Hilder, Ecommerce Editor Beren Neale, Senior News Editor Daniel Piper, Editor, Digital Art and 3D Ian Dean, Tech Reviews Editor Erlingur Einarsson, Ecommerce Writer Beth Nicholls and Staff Writer Natalie Fear, as well as a roster of freelancers from around the world. The ImagineFX magazine team also pitch in, ensuring that content from leading digital art publication ImagineFX is represented on Creative Bloq.
