Video tutorial: Replace a dull sky in After Effects
Christopher Kenworthy shows you how to create that post-apocalyptic look with a rich, dark atmosphere
Sky replacement isn’t just a technique used in post-apocalyptic movies – it can also be brought into more everyday shots to turn a dull landscape into something more interesting. It’s sometimes assumed that sky replacement is extremely difficult, but you can use a fairly loose approach that gets the job done.
With the technique I’ll show you here, you allow the sky to multiply with parts of the foreground, but these ‘errors’ are hidden by the overall look and the inclusion of a bright sun flare. Tracking the sky into place takes some precision, but the masking, positioning and grading can be done rapidly and without too much precision.
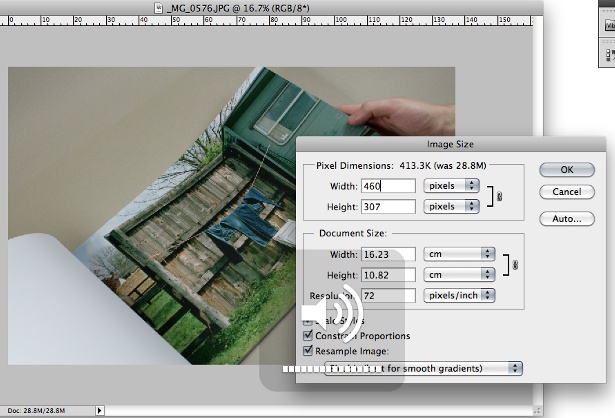
01 With the Plate.mov file in the timeline, drop the NewSky.tif into the timeline, change its blending mode to Multiply, and click the eye icon to make it invisible. Open the Tracker controls and click Track Motion. Select an area of high contrast and click Track Forward. Apply the track to NewSky.tif.
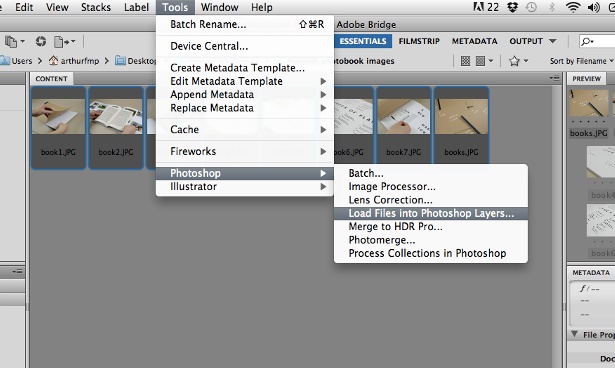
02 Select the NewSky.tif and hit the A key to bring up the Anchor controls. Adjust these, by dragging on their numerical values, to move the relative position of the sky without affecting its track. Check through the length of the clip to ensure the sky is positioned correctly, with the sunset close to the tree.
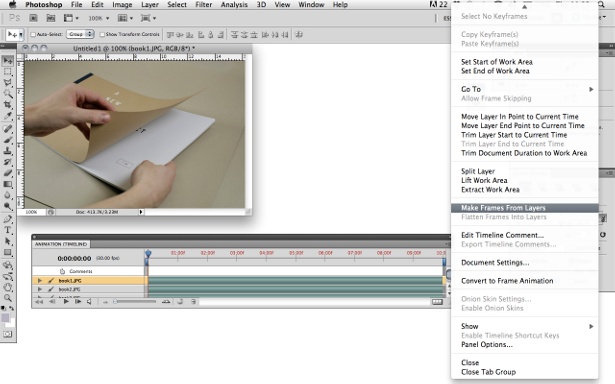
03 Hit the G key to select the Pen tool and draw a rough mask beneath the tree line, and around the upper part of the image. This doesn’t have to be too accurate, and because there is no motion in the sky or trees, it’s okay for the sky to show through them. Hit F, and adjust the feather to smooth out the composition.
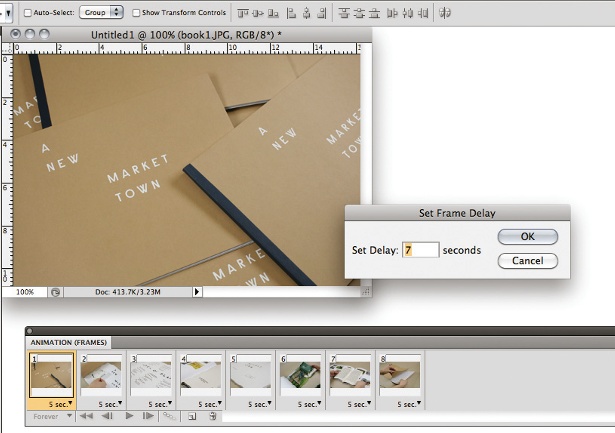
04 To help the two layers blend, bring in Sunshine.psd, and change its blending mode to Add. With Sunshine.psd selected, use the Parenting Lasso (or the parenting drop-down menu in the timeline) to select NewSky.tif. Hit A and adjust its anchor points until the sun is on the horizon, close to the tree.
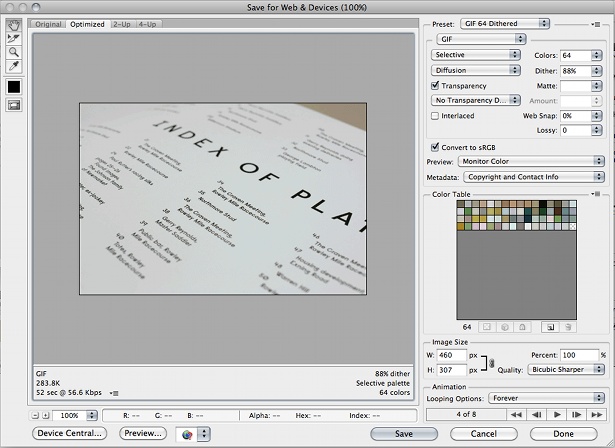
05 Unless you’re lucky, your sky and the original plate will have quite different colour values. Apply a colour grade to the clip by selecting all the layers, going to Layer>Pre Compose, and using the colour correction tools. In this example, Magic Bullet Mojo has been used, but After Effects’ own filters can create the look.
Read the After Effects CS6 review at our sister site, Creative Bloq.
Get the Creative Bloq Newsletter
Daily design news, reviews, how-tos and more, as picked by the editors.

Thank you for reading 5 articles this month* Join now for unlimited access
Enjoy your first month for just £1 / $1 / €1
*Read 5 free articles per month without a subscription

Join now for unlimited access
Try first month for just £1 / $1 / €1

The Creative Bloq team is made up of a group of art and design enthusiasts, and has changed and evolved since Creative Bloq began back in 2012. The current website team consists of eight full-time members of staff: Editor Georgia Coggan, Deputy Editor Rosie Hilder, Ecommerce Editor Beren Neale, Senior News Editor Daniel Piper, Editor, Digital Art and 3D Ian Dean, Tech Reviews Editor Erlingur Einarsson, Ecommerce Writer Beth Nicholls and Staff Writer Natalie Fear, as well as a roster of freelancers from around the world. The ImagineFX magazine team also pitch in, ensuring that content from leading digital art publication ImagineFX is represented on Creative Bloq.
