How to manage colours in Photoshop
We explore the colour management basics you need to know.

Colour management is a huge topic. While it isn't something we'll be able to completely master in one sitting, this article will provide a great overview for users who are new to colour management, with practical advice for managing colours in Photoshop CC.
On this page, we'll show you how to convert your images from RGB to CMYK mode, and the effect this will have on the colours within your image. Jump to page 2 to find out how to customise your colour settings to suit your particular needs.
Finally, on page 3 we'll show you how to sync your colour profile across all of your Adobe CC apps, add a particular colour profile provided by your printer, and preview a CMYK version of your design without losing any RGB information.
To put your new skills into action, take a look at our list of the best Photoshop tutorials, or make your setup even more personal with Photoshop plugins or Photoshop brushes.
How to convert RGB to CMYK
When you're working on images at our computers, you are looking at the RGB (red green blue) colour space. In RGB you have access to many more colours than you do when you're going to output for print. When you're printing your images, you have access to cyan, magenta, yellow and black (CMYK, where the 'K' stands for 'key').
When you start off with a document that's in RGB mode and you convert to CMYK, you're definitely going to lose some of the colours and some of the vividness inside that image. The reason that this happens is because the RGB colour space has many more colours than CMYK. One way to avoid this is by using Photoshop's native colour management system.
Let's take a look at what happens when you convert an RGB image to CMYK for print.
01. Find your image mode

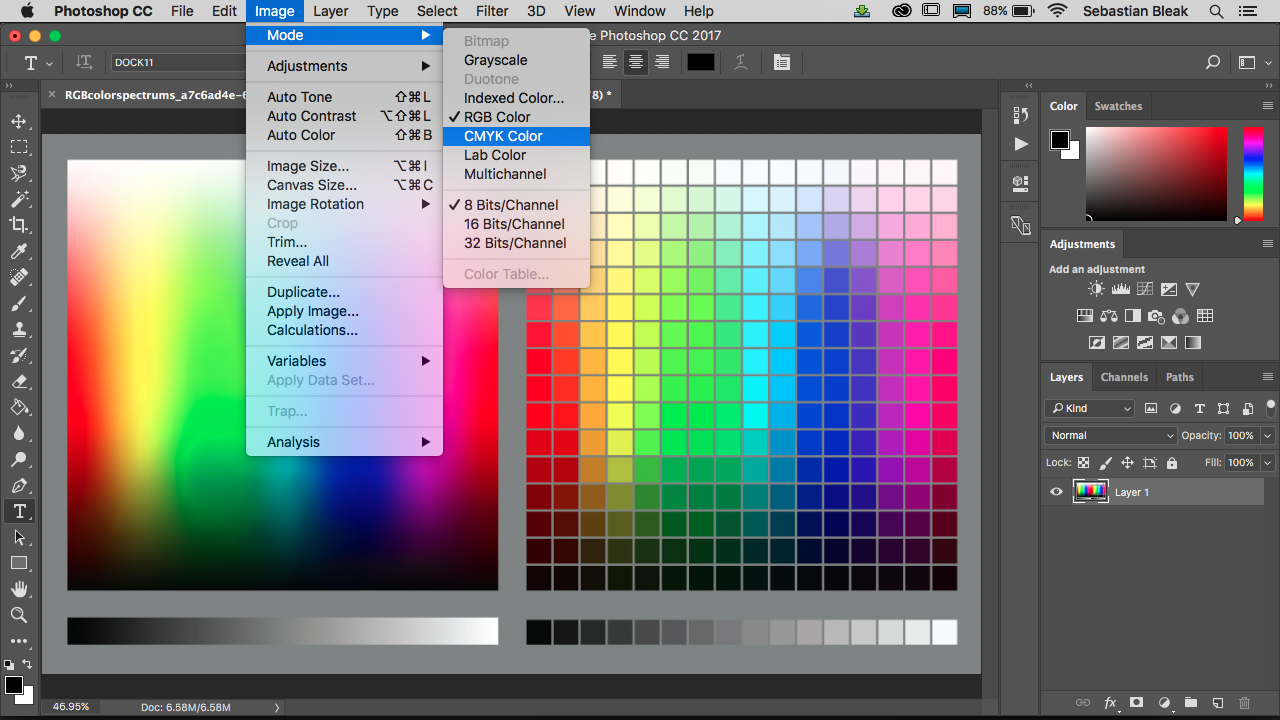
To reset your colour mode from RGB to CMYK in Photoshop, you need to go to Image > Mode. Here you'll find your colour options, and you can simply select CMYK.
02. Note your colour profile

Once you do that, Photoshop will give you a warning letting you know that you are about to convert to CMYK using the specific profile that will be listed in the warning. The warning lets you know that this may not be what you intend to do and it even shows you where you can go to choose the correct profile.
03. Implement the change


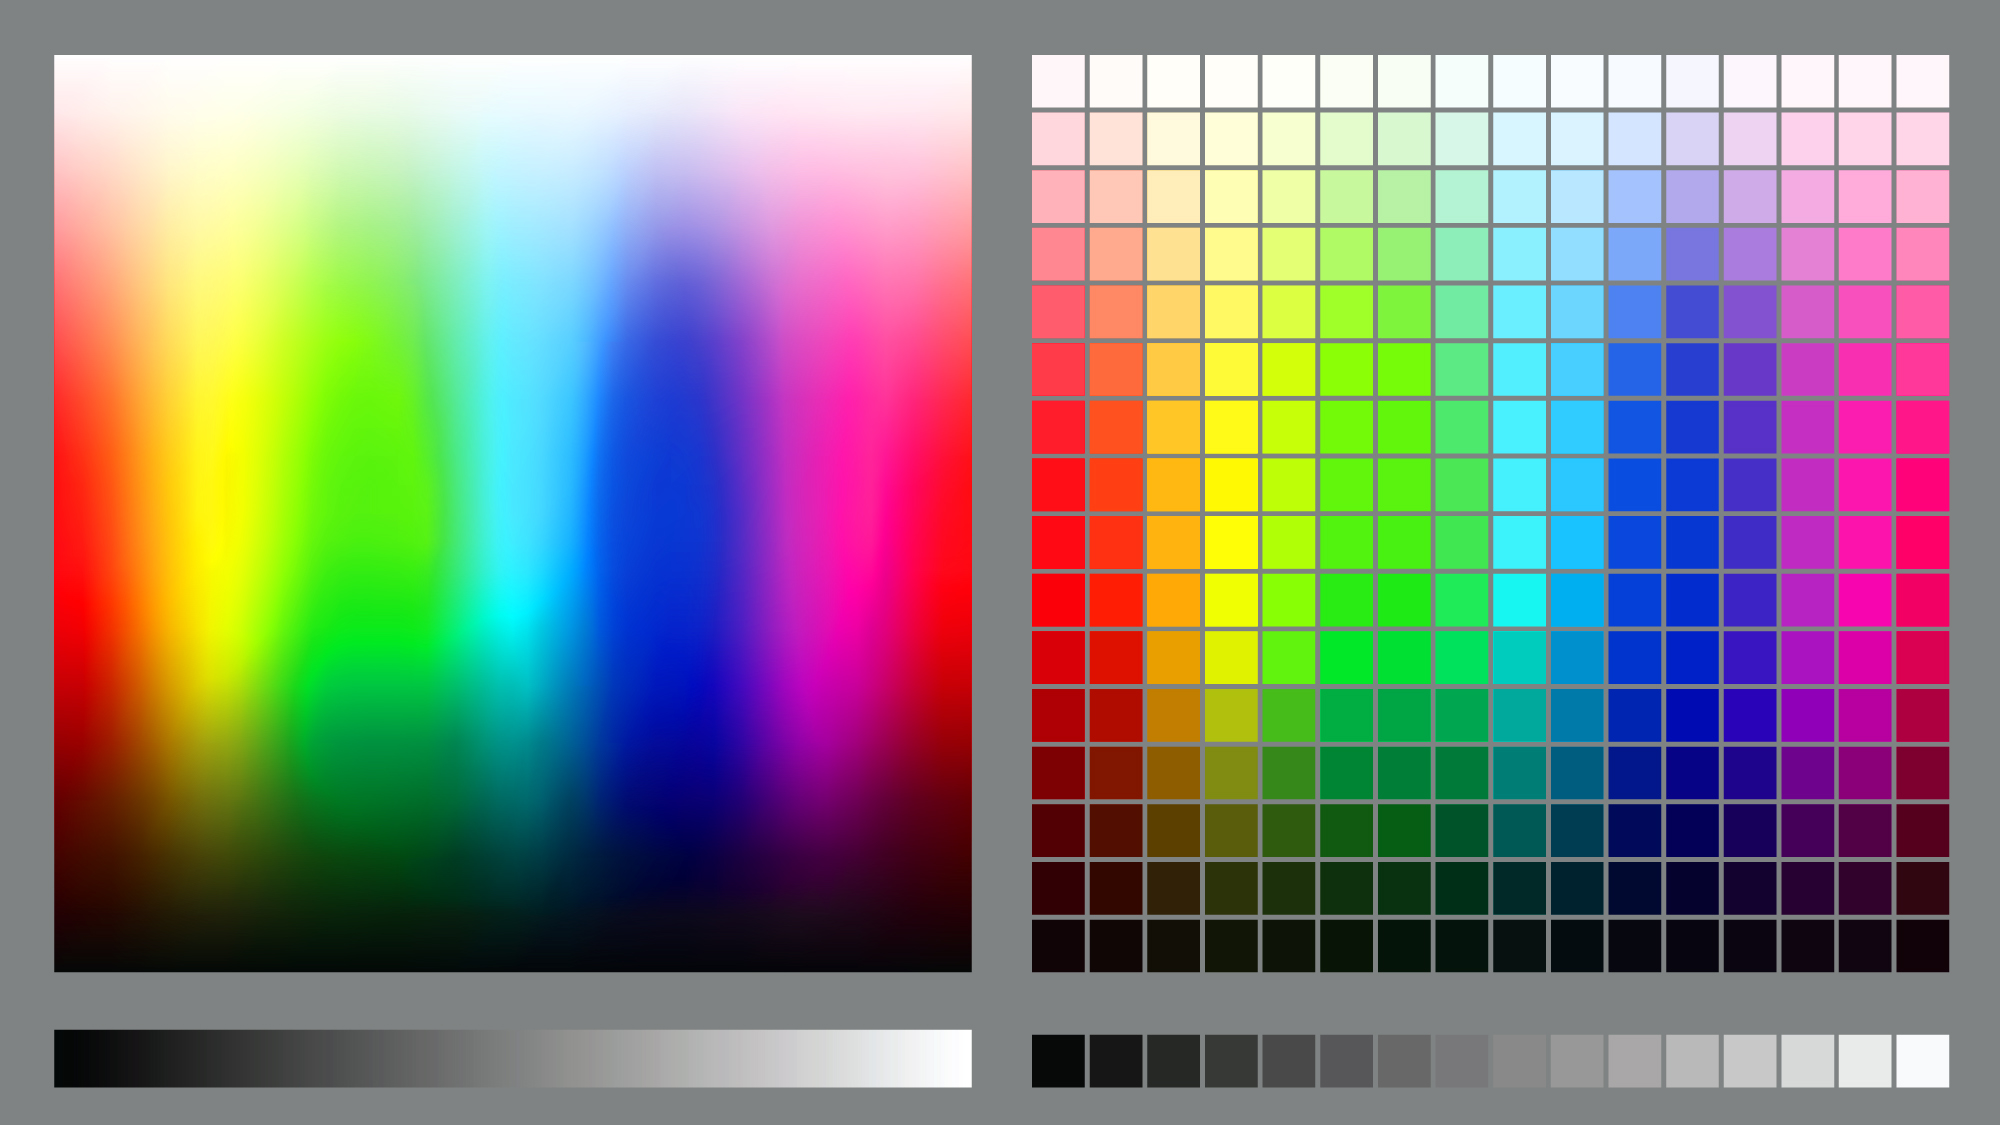
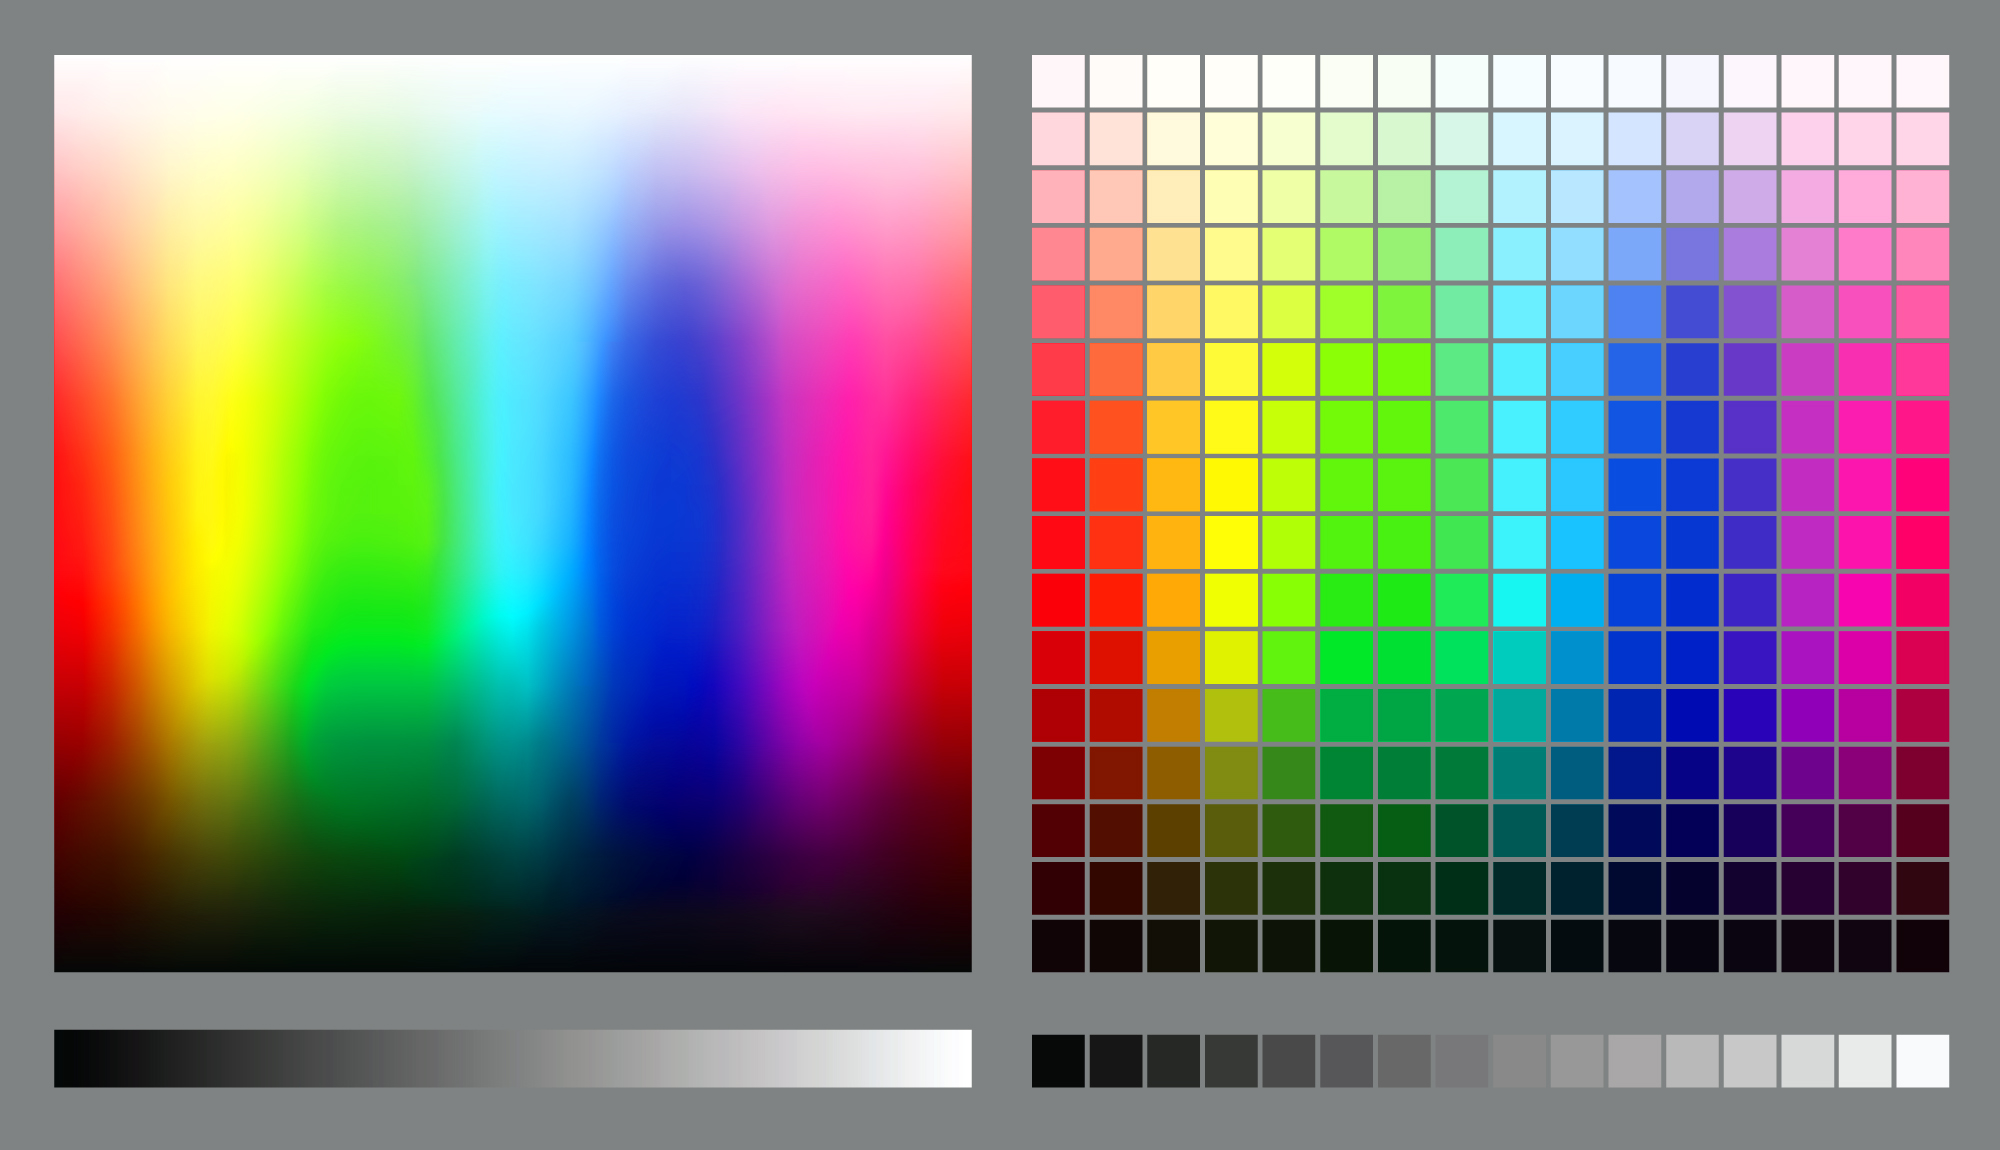
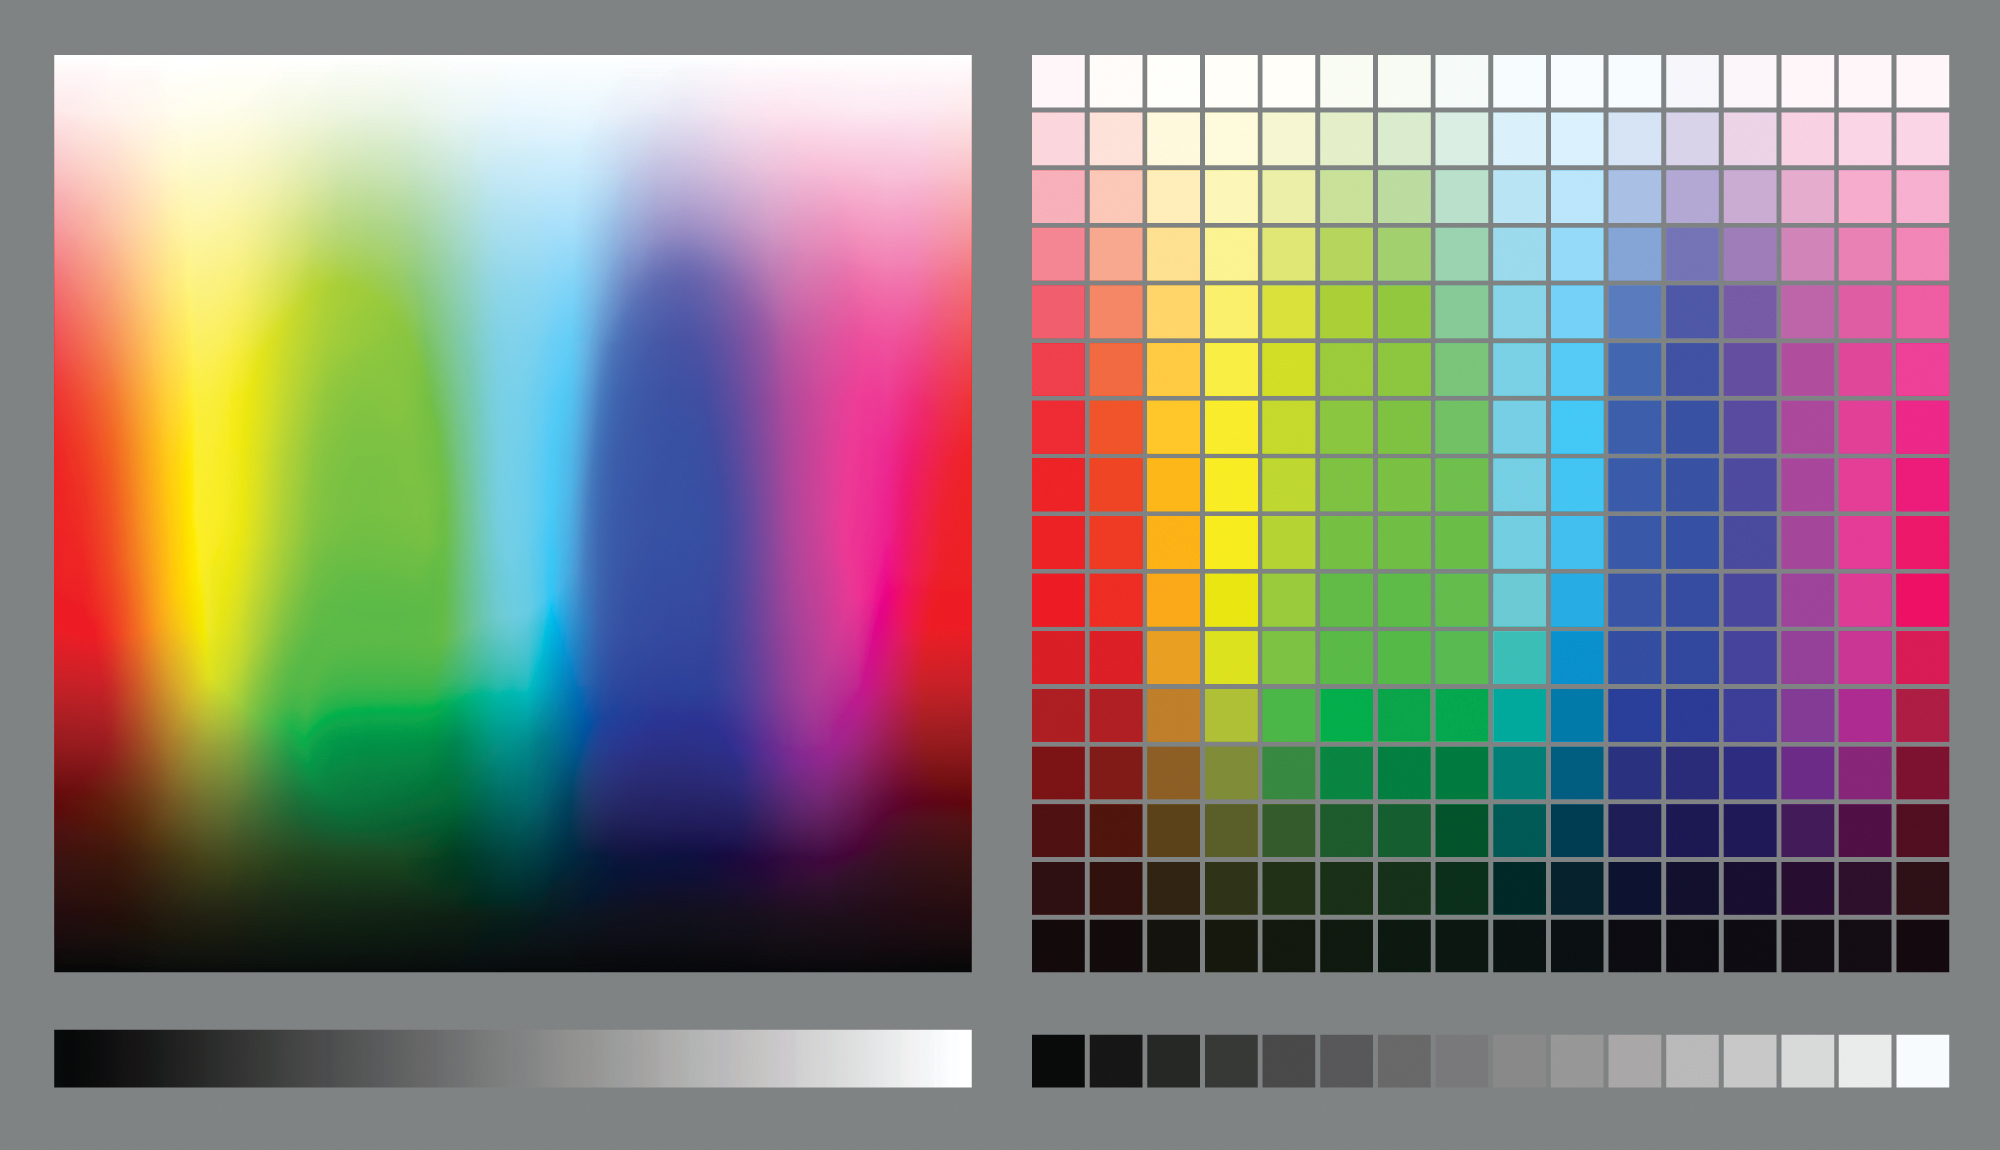
Once you click OK you should see a slight shift in colour. You are now in the CMYK colour space. Were you able to see the difference in vibrancy and the reduction in colours? It might be a subtle change, depending on your monitor. Hit the arrow icons above to compare the two images.
Try this out on a couple of different images to see the results you get. This will allow you to get familiar with the changes. One thing that is unavoidable is a shift in colour when you're going from RGB to CMYK. In some cases the change will be more dramatic than others, so be prepared for that.
Next page: Adjust and sync your colour settings

Thank you for reading 5 articles this month* Join now for unlimited access
Enjoy your first month for just £1 / $1 / €1
*Read 5 free articles per month without a subscription

Join now for unlimited access
Try first month for just £1 / $1 / €1
Get the Creative Bloq Newsletter
Daily design news, reviews, how-tos and more, as picked by the editors.
