Capture natural light in your paintings
Here's a simple technique to convey beautiful natural light with gouache, painting en plein air.
Painting outdoor scenery is a great way to discover new painting techniques and the best way to learn how to capture the essence of natural lighting. One of my favourite exercises is painting urban street scenes with cars. It may seem complex at first, but if you treat them as just simple shapes – either squares or box-like forms – they become a lot less intimidating.
To help simplify the shapes and focus your attention on the lighting in your scene, group big masses of value shapes together and don't worry yet about the likeness of each element. This also helps you narrow down your composition and avoid painting too much of the scene. Then you can approach the painting almost like a colouring book, filling in the shapes with the colours that closely relate to the value in those shapes.
In this cloudy street scene, most of the elements – such as the cars and trees – are relatively dark, so I group them together. The next shape group is the street, which sits in the middle of the value range. A bit of warm light hits the distant house, so I group the sky and houses together as my lightest value.
By using simple shape grouping, you can make something that initially seems complex become a lot more manageable. Then you can focus on observing, mixing colours and filling in those shapes.
01. Narrow down your composition
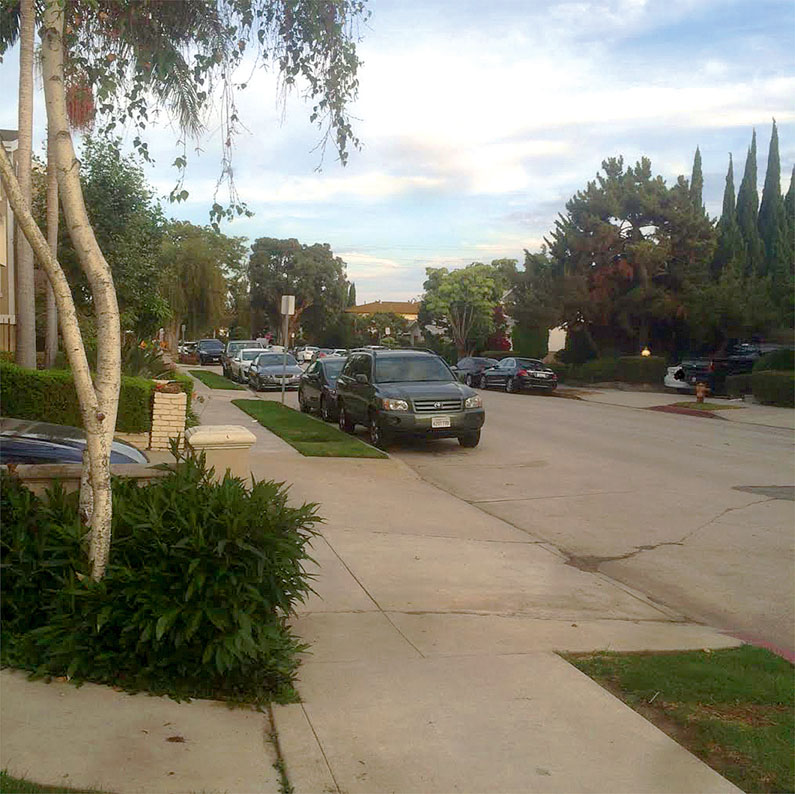
Try not to overwhelm yourself by painting everything you can see around you. Instead, narrow down your focus to pick out the things you find interesting. Your smartphone camera is a brilliant viewfinder, because it enables you to zoom in and out, to find your composition. Then do a small sketch using just value shape groups to organise your thoughts, and use this as a guide for your painting.
02. Roughly lay in
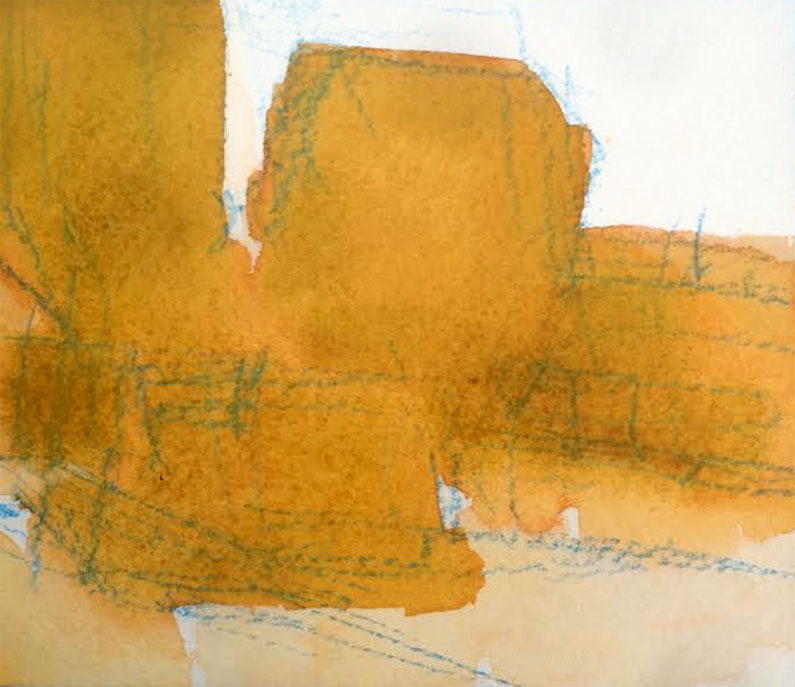
Keep your initial sketch rough and don't get too carried away with drawing in the details. Yellow Ochre is naturally a medium value colour, so it's great to lay in an initial wash of it to set up your values. Depending on the amount of water you add, you can achieve different levels of darks with Yellow Ochre.
03. Paint into the shapes
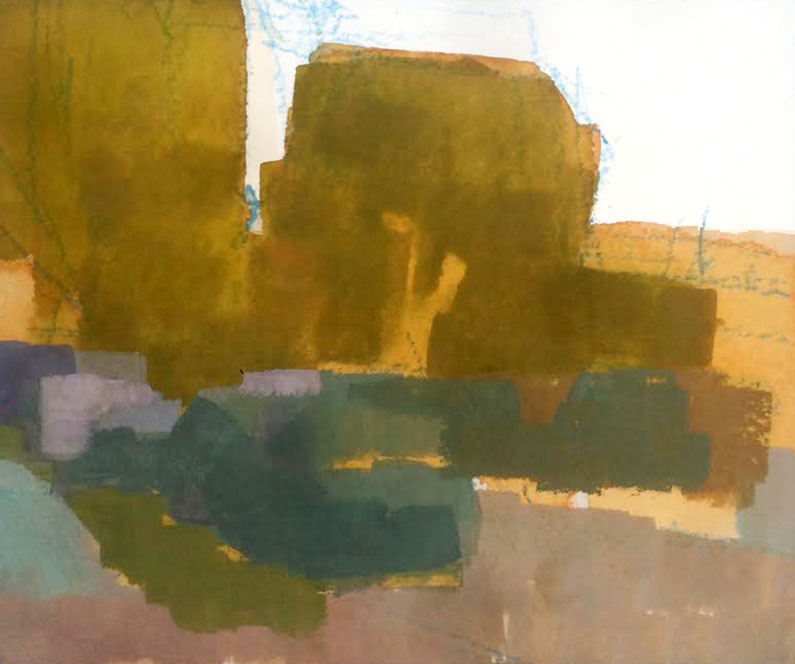
Start to paint into the shapes that are already blocked in and further define the separate areas of cars, trees and the ground. Keep working roughly, to capture the impression of the scene. As you progress, you can break down these big shapes into smaller ones. It's like painting with puzzle pieces.
04. Introduce shade
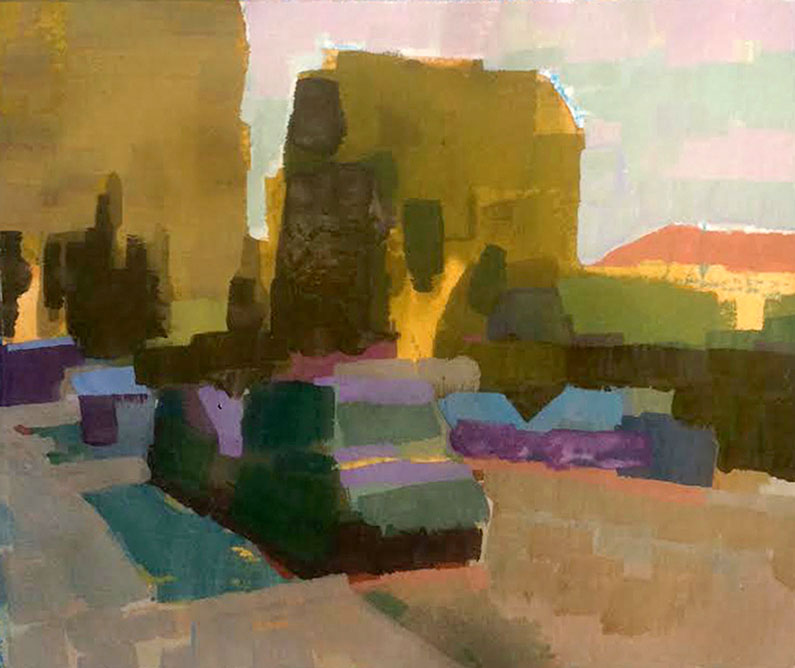
Once you're comfortable with your value shape groups you can have fun with colours. Add darker colours to the shadow side of the objects to indicate their three-dimensional form. Treating the objects like simple boxes enables you to focus on the light and dark areas rather than their complex details.
05. Add details
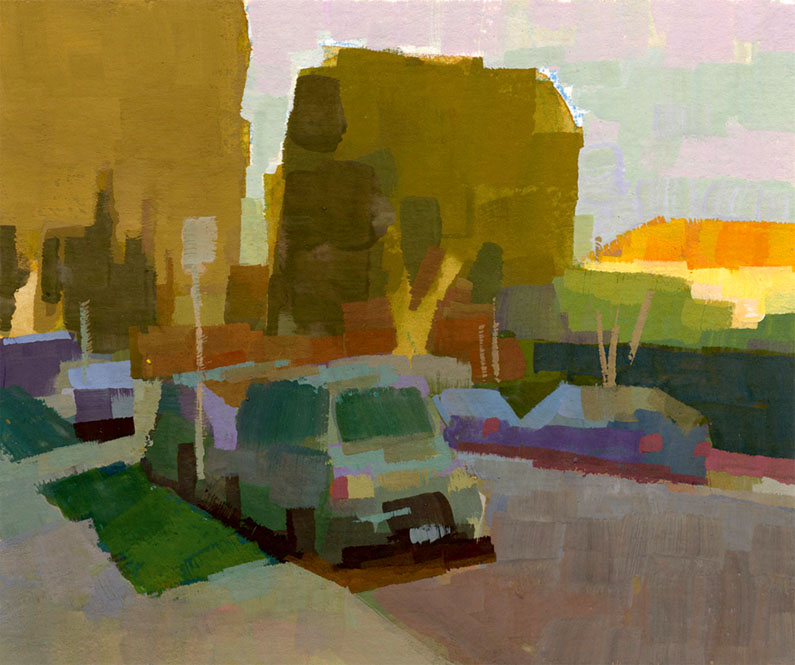
Adding details during the finishing stages should be kept to a minimum. Simply add small dabs of red and yellow for car lights and dabs of dark for tyres. As you can see, it won't take much to make those boxes look like cars. Also add some vertical line elements for street signs and branches, to help add some more likeness to the street scene.
This article was originally featured in Paint & Draw issue 03; buy it here.
Related articles:

Thank you for reading 5 articles this month* Join now for unlimited access
Enjoy your first month for just £1 / $1 / €1
*Read 5 free articles per month without a subscription

Join now for unlimited access
Try first month for just £1 / $1 / €1
Get the Creative Bloq Newsletter
Daily design news, reviews, how-tos and more, as picked by the editors.
