8 super tips for Substance Painter
Improve your texturing and start creating more realistic work.

No matter what you’re working on, how you apply textures to your model will make the difference between a final project that’s outstanding or just mediocre.
There’s no point putting hours into producing a fantastic sculpt only to let it down with some subpar texturing, so we’ve collected advice from concept artist Daniel Hahn and character artist Jakub Chechelski on advancing your technique to help you produce realistic, compelling texturing effects in Substance Painter.
For more great tips on Substance Painter, check out our event Vertex, where founder and CEO at Allegorithmic Sébastien Deguy will be giving an insightful talk!
01. Create a texture library
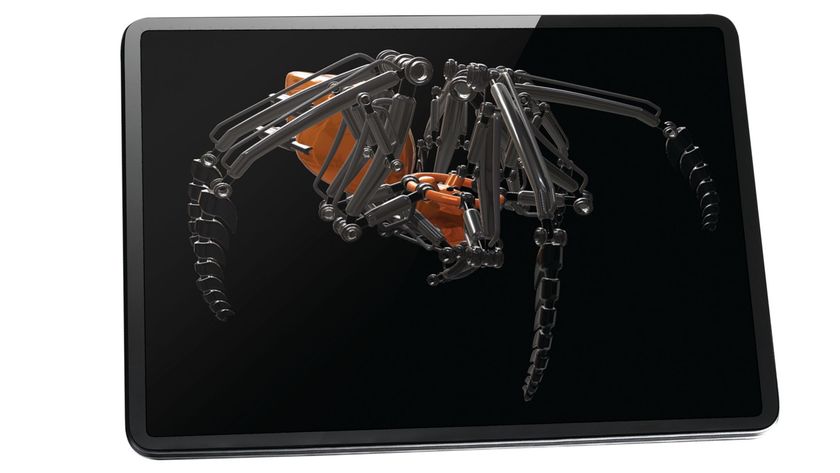
Daniel Hahn: "If I don’t want to go through the whole process of creating UV maps for my robots I usually render the models out in three to four different material passes for the same perspective. This way I can decide really late in Photoshop where to put which materials.
"The Photoshop layer masks come in handy in that process. I have a designated folder for my textures, where I have dirt stains, oil leaks, rust textures and logos. The best thing is to have them ready as PNGs with no backgrounds so you can throw them on quickly."
02. Consider the lighting
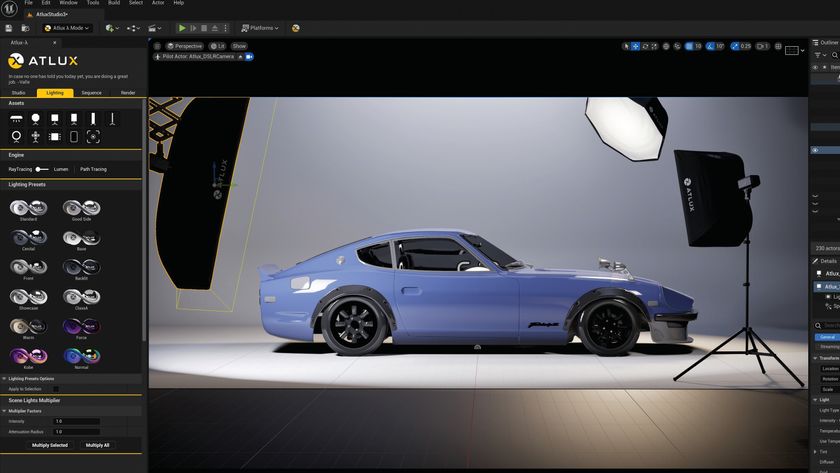
Jakub Chechelski: "Be aware of the lighting that you use in Substance Painter during texturing. Every environment will make your colour look different, because of the source of the light. The safest bet is to use one of the studio light environments, as the light is white."

03. Keep your workflow non-destructive
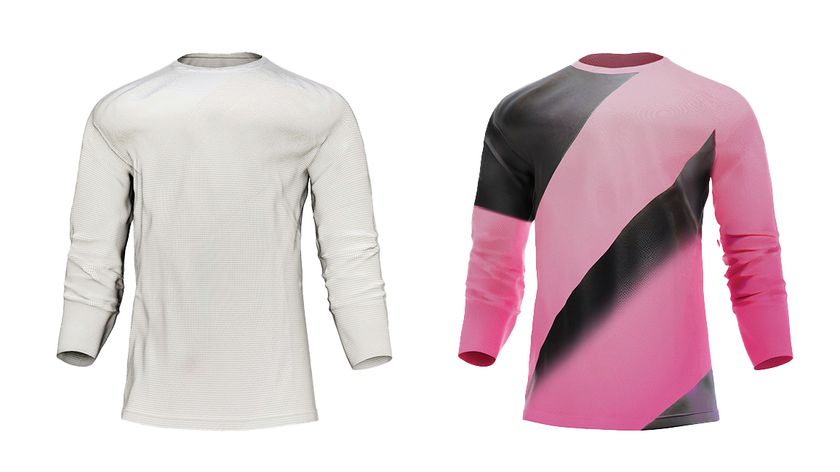
Jakub Chechelski: "Probably the best way to texture in Substance Painter is by using Fill layers, instead of general layers. You can choose your fill colour (e.g. red), mask it and paint your mask. That gives you the ability to change the hue of your fill to a darker, lighter or completely different colour."
04. Start early with dirt and decals
Daniel Hahn: "Get textures, decals, labels and logos in place early on, as this way you can get an impression of the big picture along the concepting process. It’s important not to lose the overall concept idea when it comes to the details.
I try to do this in 2D as well as in 3D. ZBrush has a great way of Polypainting along the concepting process. In 2D, just be sure to only flatten the logo layers when you are sure you want to mirror the concept, otherwise you end up with flipped texts. I usually want to have the possibility to decide very late whether I flip the image or not."
05. Smart masks and generators
Jakub Chechelski: "These two are a great addition to Substance Painter, as they enable you to create a really interesting look within seconds. Keep in mind that it is always a good idea to break them up even more: add another paint layer over your generator/mask and paint out details in some places, break the opacity!"
06. Create a strong base
Jakub Chechelski: "I always try to create a base for every material that looks interesting. Firstly, you can always reuse it and secondly, it makes material look realistic. Instead of making your leather pure black, give it a few extra layers with different shades of black, purple and dark red.
The same thing applies to the roughness channel; just make sure not to overdo it – the last thing you want is to make your character look like a Christmas tree."

07. Make use of UV Maps
Daniel Hahn: "Substance Painter is a good choice as a 3D texturing tool when you want to show a character in more than one view or scene. Uncharted 4 from Naughty Dog and Robo Recall from Epic Games were mainly textured using Substance Painter – it works for real-time rendered gaming characters and for ray-traced ones alike.
The crucial thing to do is to create a solid and clean UV map of your character. As I model in ZBrush, the tool to do that is the UV Master in the plug-ins section. With a nice UV map, Substance Painter’s smart materials can create edge damages and great wear effects."
08. Think through your wear and tear
Jakub Chechelski: "This is where you have to think about how your character will move, which part of their clothing/armour is going to touch and wear off, and what parts are prone to damage. Just because the shoes look muddy or dirty, this doesn’t mean that you need to add mud on the face.
"The same thing applies to damage; if your character has a shield, it is most likely going to be worn and scratched, but the same thing doesn’t apply to his belts."

Get your ticket to Vertex 2018 now!
For more insight into the future of CG and Substance Painter and Substance Designer, don't miss Allegorithmic founder and CEO Dr Sébastien Deguy at Vertex, our debut event for the CG community. Book your ticket now at vertexconf.com, where you can find out more about the other amazing speakers, workshops, recruitment fair, networking event, expo and more.
Related articles:

Thank you for reading 5 articles this month* Join now for unlimited access
Enjoy your first month for just £1 / $1 / €1
*Read 5 free articles per month without a subscription

Join now for unlimited access
Try first month for just £1 / $1 / €1
Get the Creative Bloq Newsletter
Daily design news, reviews, how-tos and more, as picked by the editors.
