3 top tips for creating aquatic art
Learn how to create realistic water scenes and effects with this expert advice.
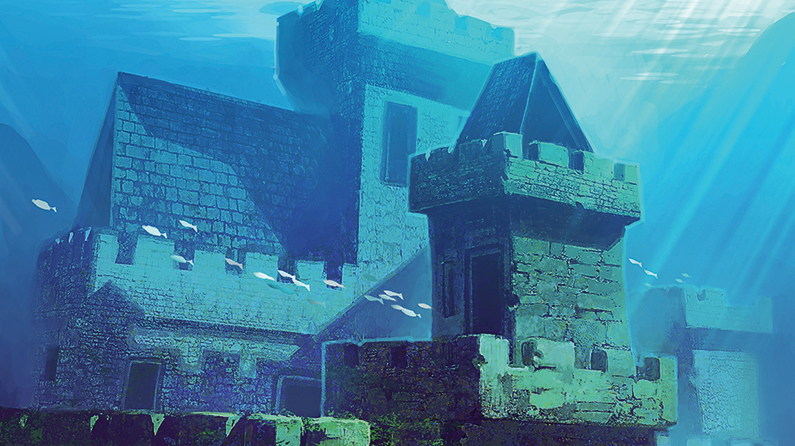
It makes up two thirds of the world's surface, but do you know how to paint convincing water? To give you an idea of how to create lifelike aquatic scenes and water effects, leading artists share their top tips, including how to create convincing waves and underwater castles, and exploring ways to depict a glistening water finish.
01. How to create realistic crashing waves
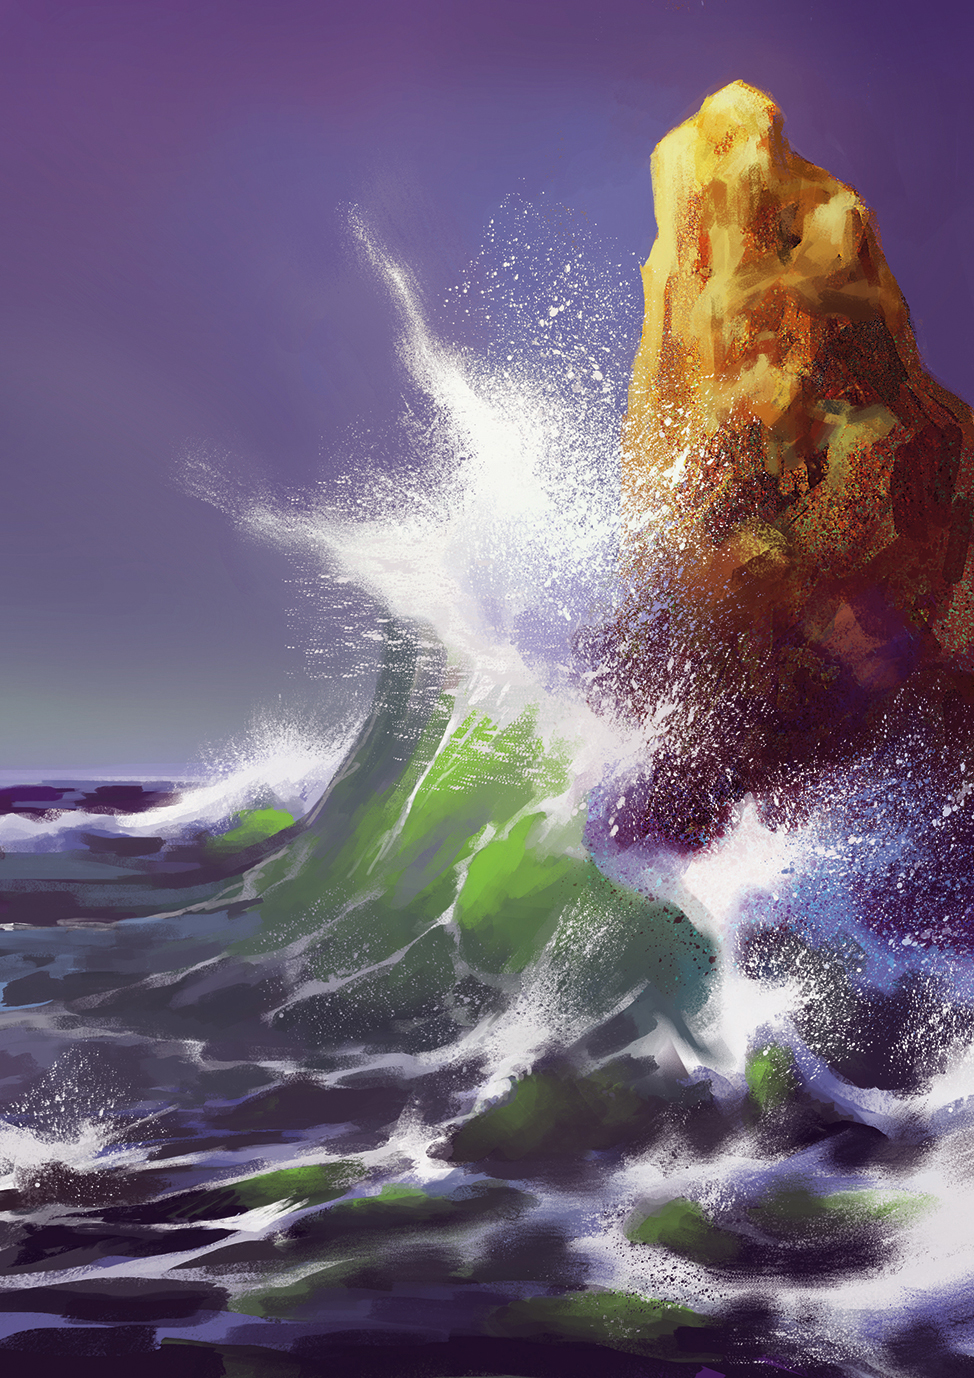
The key to painting waves is to understand their shape and how the light affects them. First let’s consider their shape. The ocean is just one big mass of water, so all the waves are connected. I tend to think of a wavy sea as a mountain range: there are mountains and there are valleys, and all of them are connected to each other. A wavy mass of water has a similar shape.
When painting the light in the scene, you should bear in mind that the water will reflect the light much like a mirror, but also enables the light to pass through it. The water will also reflect – at least partially – any surrounding colour (normally the sky’s colour). Because light passes through water, the highlights aren’t always on the surface. If sunlight is passing through the wave, you should paint a light inside the wave, with an intense colour such as blue or green, depending on the water’s colour. This will be different to the colours of the reflections of the sunlight or the sky.
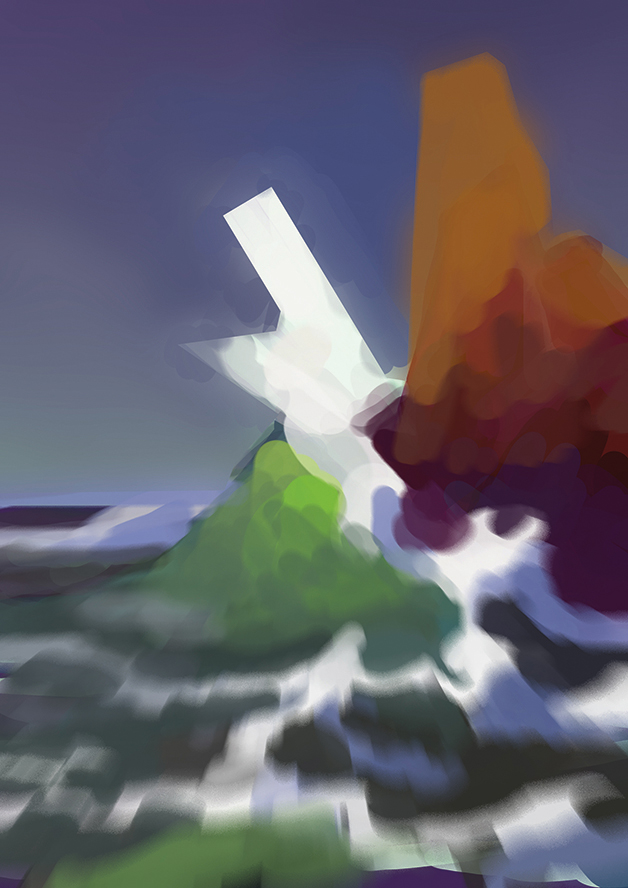
If a wave is crashing, then you should paint sea foam and a big splash. Avoid soft and blurry brushes: instead, paint the main body of the foam with a hard, irregular brush. Be sure to paint highlights and shadows, and don’t paint it all white just because it’s supposed to be white. Then add the splash using a “splashy” brush: either create one or download a free one (search online for ‘water splash brushes’). Paint all over the sea foam.
Artist's secret - Don't forget the light
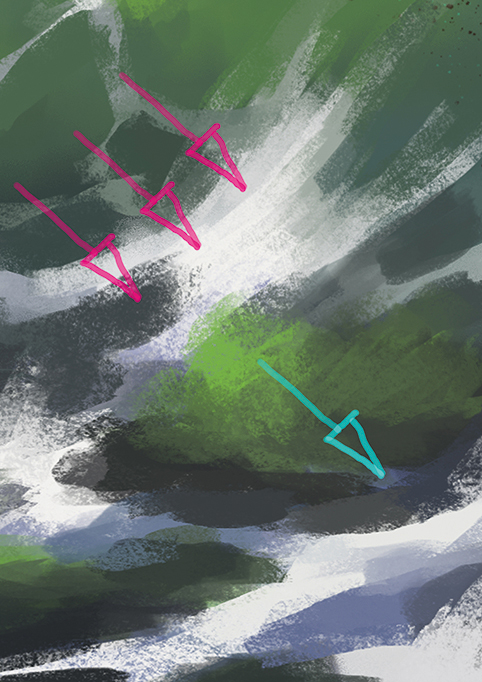
Paint reflections of the sky on the parts of the waves that are facing upwards. Add some light on the parts without reflection, because the light can pass through the water and create some highlights on places where technically there should be shadows.
02. How to paint a dripping wet character
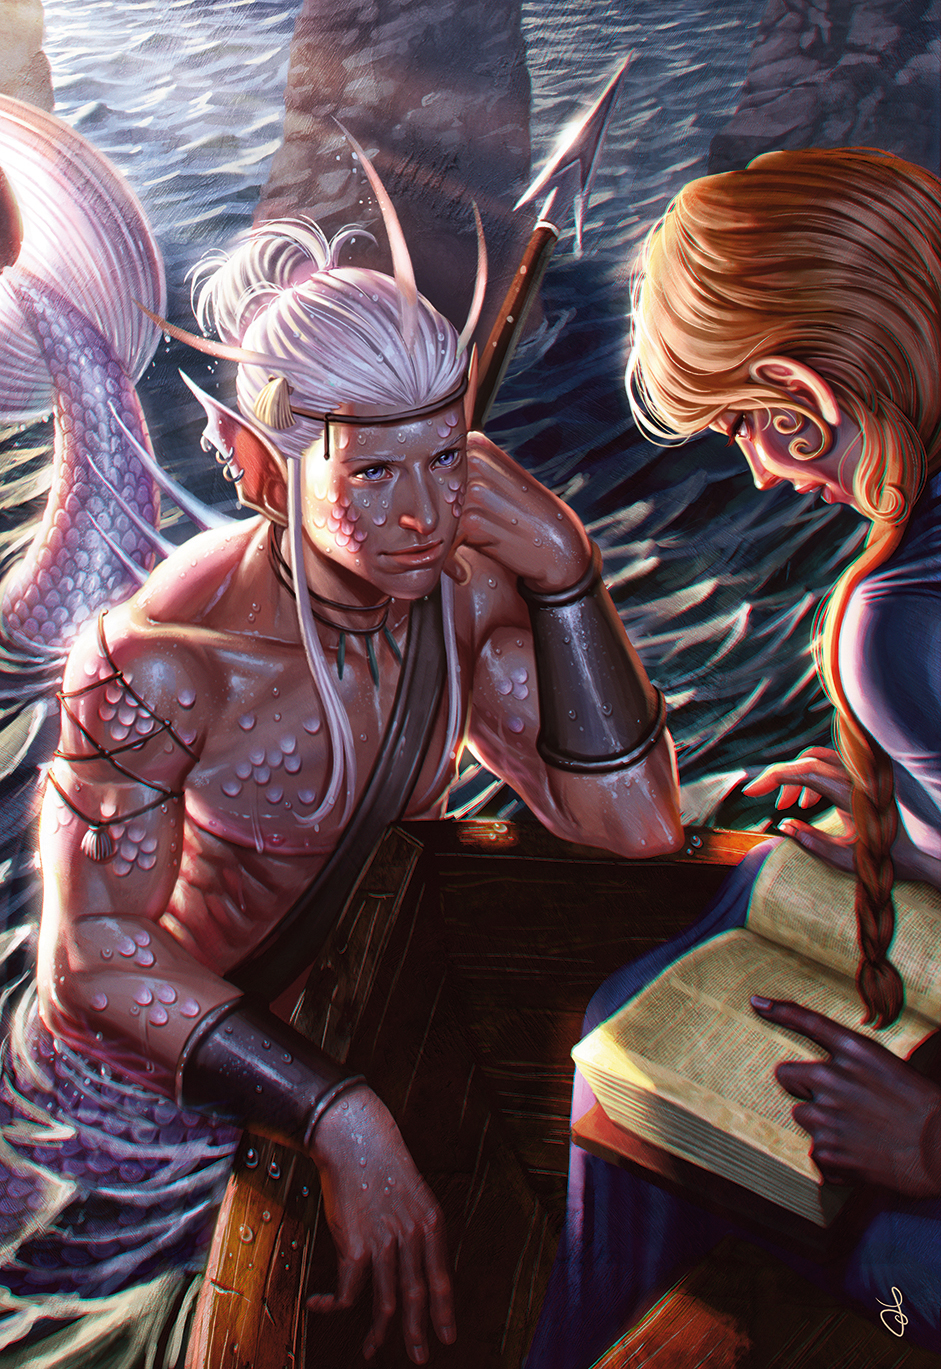
When I approach a drawing, I like to imagine its back-story. For this article I choose to represent a merman who’s climbed out of the water to listen a girl while she’s reading a book.
I choose a point of view slightly from above, which enables me to show the merman’s watery environment, his relaxed posture that he adopts while listening, his tail, part of the boat and the girl. I place her on the side of the image, so that the merman remains the focus of the scene. Next I sketch the background, so I can choose where to place the primary light source. Its position is crucial because of the reflective surface of the sea water. Then I add the waves and the background rocks.
Now I can start to paint the merman. I choose a slightly cool shade for the skin because most of the character will be in the key light shadow and there’ll be a cool blue colour for the ambient light. I don’t introduce too many highlights because later on I’ll define the body with a shining colour to simulate wet skin.

01. Laying down the light
After laying down the background I paint the merman’s skin. I don’t worry about depicting its wetness. Instead, I only sketch the primary light source (which in this case is also a very warm rim light), the shadows and the cold ambient light that’s reflected from the sky.
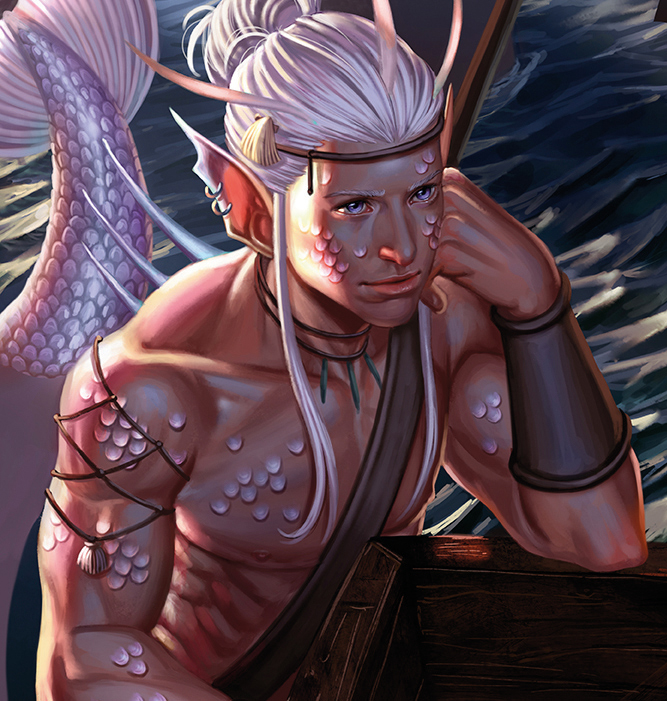
02. Adding body texture and colour
I create an Overlay layer, choose a light blue and paint the scales one by one following neat rows. You could also use a texture for this stage. I ensure the direction of the scales follow the merman’s body and tail. Some scales on the arms and torso enhance the amphibious look.
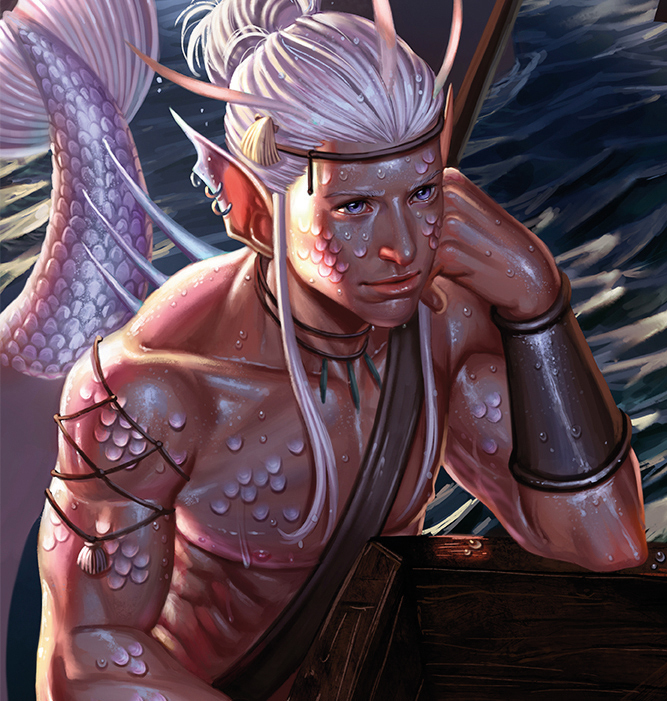
03. Painting a damp sheen
To depict wet, shiny skin I select a light colour that’s close to the shade of the light source, then apply brushstrokes to all the volumes of the body. I choose a brush with a rough texture. In areas like the elbows, chest and chin I add the highlights of reflected light from the water.
03. How to paint an underwater castle
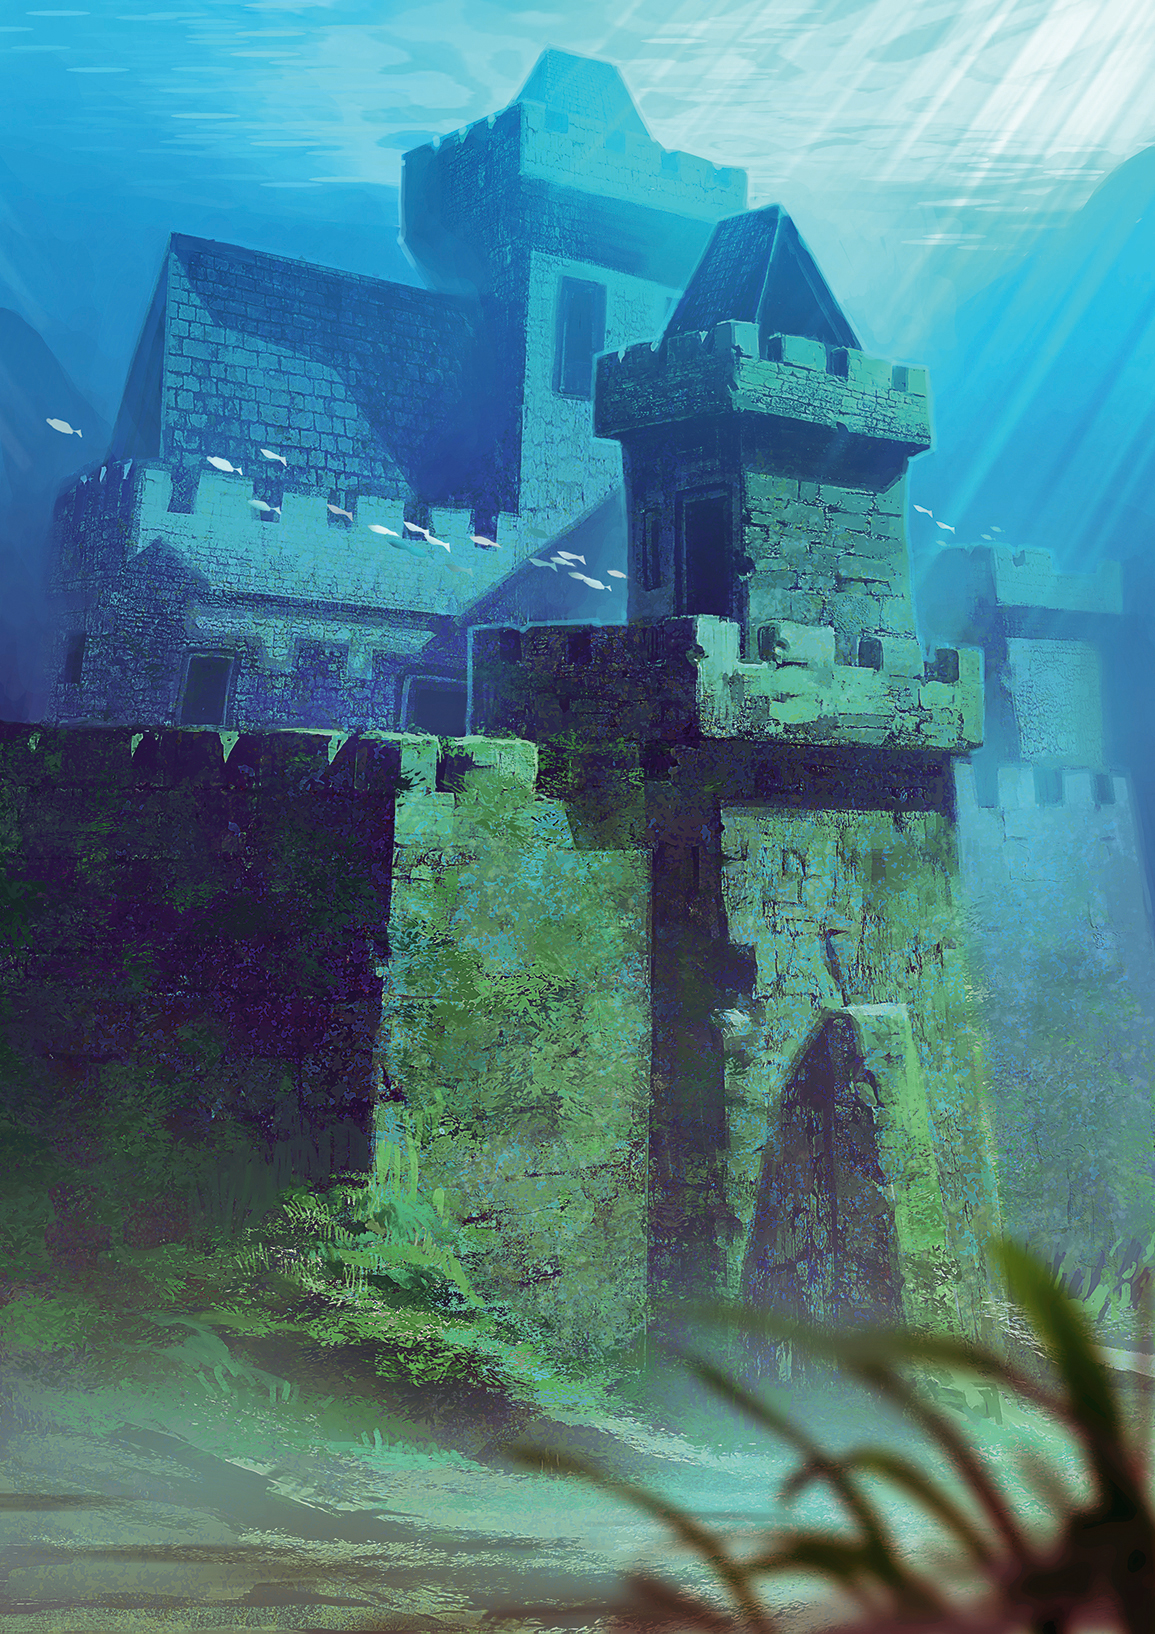
A castle that’s underwater is much like a castle on land. The main difference will be in the depiction of the environment and atmosphere, because the structure is submerged.
Normally, if you’re underwater you’ll notice that the water absorbs a good amount of daylight. There’ll also be floating particles, such as sand or mud, that creates a colour cast on the immediate surroundings, and objects that are all but obscured and blend into the background because of the reduced clarity of the water and lower light levels. With a few tweaks, a painting of a murky, foggy afternoon can resemble an underwater setting. However, bear in mind that everything depends on the type of water you want to depict.
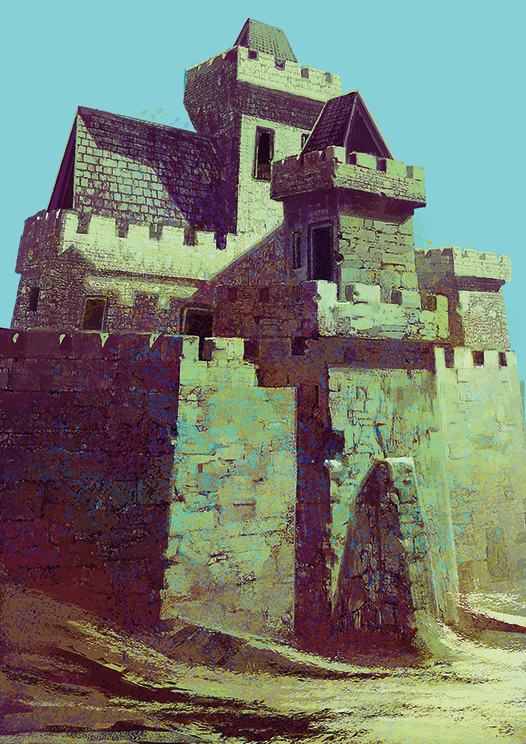
My approach for this article is to first paint a castle with an appropriate light source, possibly from the sun above the water, but perhaps from somewhere underwater. Next, I add the desired amount of weathering to the castle, caused by erosion, seaweed growing on the walls, and so on. Then I apply a unifying colour to the image: this could be blue, but I also consider green or brown. Finally, I paint over the distant parts of the castle to blend them into the background. I’m happy to lose detail, or make some parts of the castle almost exactly like the background.
Artist's secret - Don't use just one layer
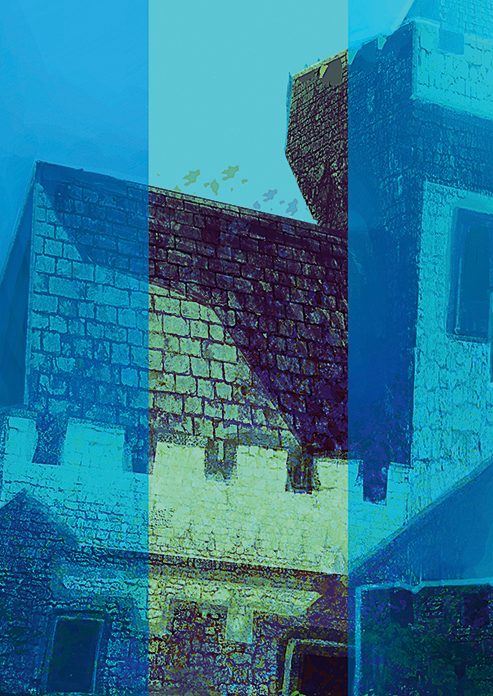
The easiest way to unify the underwater scene is to combine Color layers, and layers of different blend modes. Using Lighten layers or correcting with adjustment layers is useful for blending the distant castle areas with the background.
Contributions: Paco Rico Torres
These tips were originally published in ImagineFX magazine issue 136. Buy it here.

Thank you for reading 5 articles this month* Join now for unlimited access
Enjoy your first month for just £1 / $1 / €1
*Read 5 free articles per month without a subscription

Join now for unlimited access
Try first month for just £1 / $1 / €1
Get the Creative Bloq Newsletter
Daily design news, reviews, how-tos and more, as picked by the editors.

Sara Forlenza creates art for book covers, cards and RPGs. After many years using traditional media, she was introduced to the world of digital art.
