10 ways to create more expressive character rigs
Apply these simple tips to help give your cartoon character rigs more fluidity and flexibility.
Sign up to Creative Bloq's daily newsletter, which brings you the latest news and inspiration from the worlds of art, design and technology.
You are now subscribed
Your newsletter sign-up was successful
Want to add more newsletters?
The process of creating 3D art isn't an easy one, with many artists struggling, in particular, with rigging. When building a good character rig you need to have some knowledge of animation – and this also applies in reverse. If using a rig to animate, it’s useful to know the basics of how one is constructed, not only to help with bug fixing but so you can also aid with its construction and tailor it to your animation style.
How the character is going to be animated also has a huge impact on the rig. A cartoon character, for example, is going to need to move in a completely different way to a realistic human one.
The film Who Framed Roger Rabbit is a classic example of this. You have the real-life actors like Bob Hoskins, next to traditional cell animated characters like Roger – so both extremes. Roger is a lot more fluid and flexible than Bob, so to rig these they would have to be planned differently. The body would need the ability to bend, squash and break and the face would have to be almost fluid.
Here are 10 things to look out for when creating your next cartoon rig.
Download follow-along assets here
01. Limb Flexibility
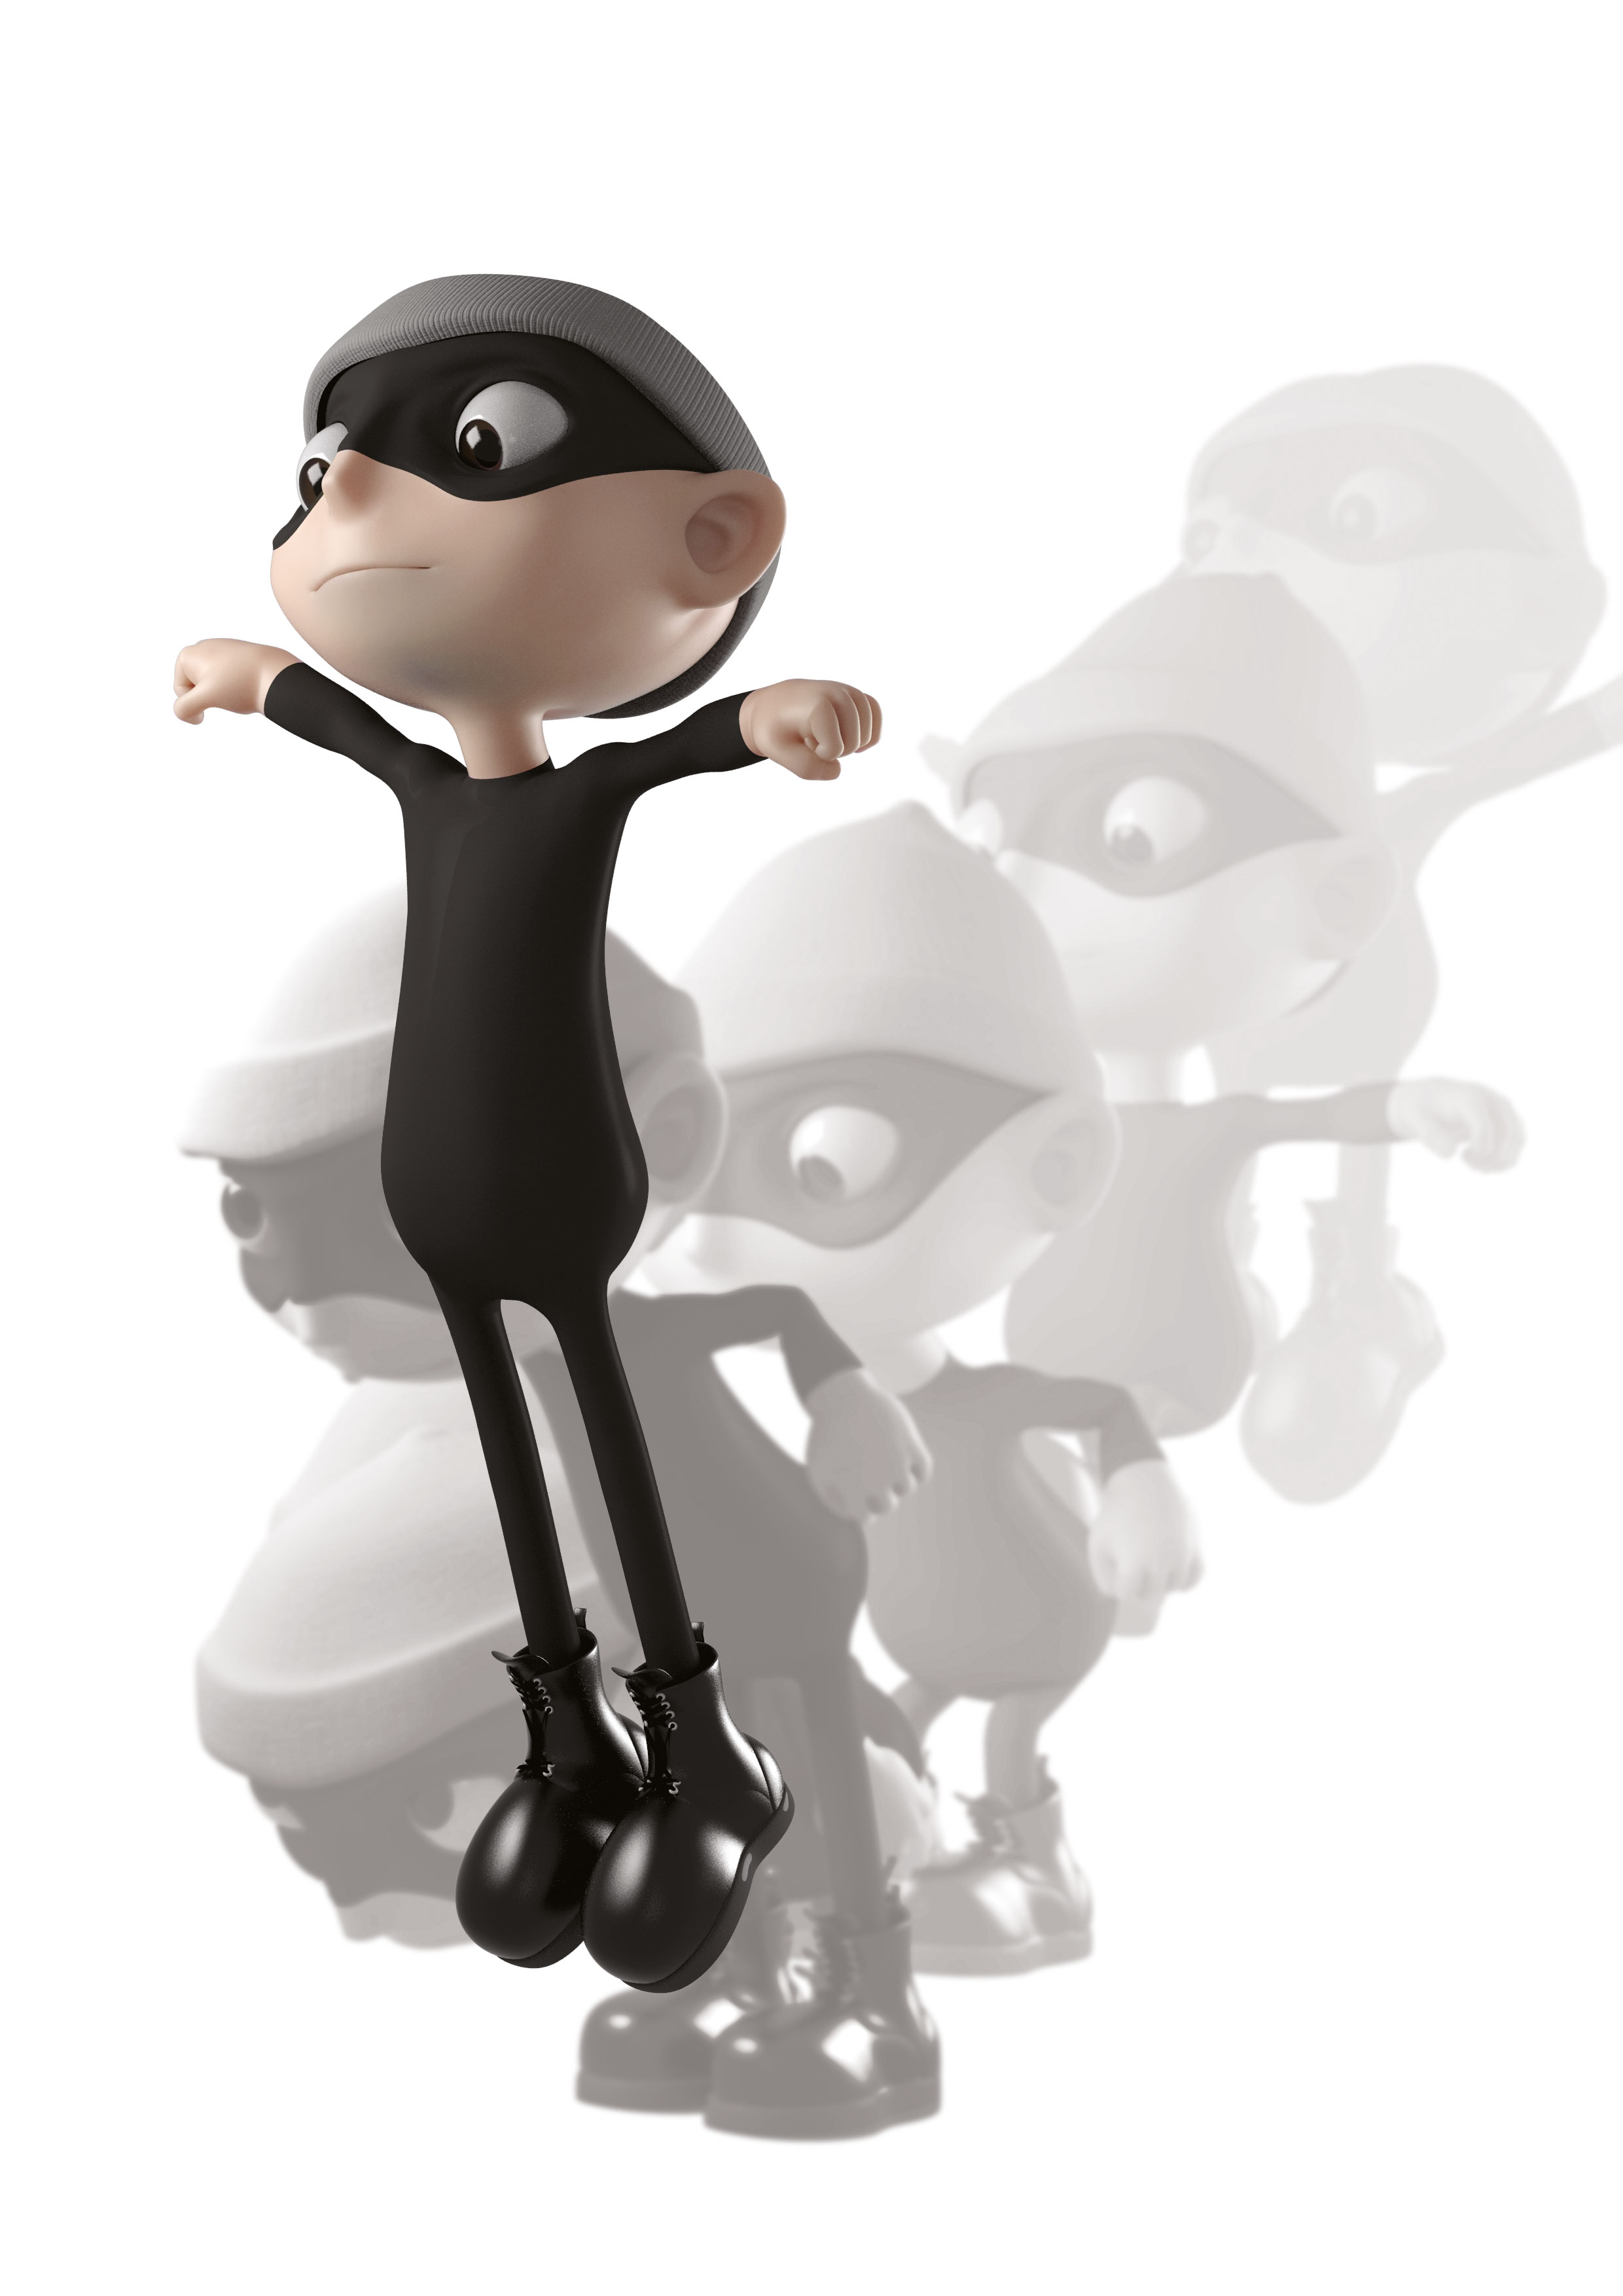
Squishiness and stretchiness are fundamental to a good cartoon character rig. Being able to compress and elongate its limbs will give added emphasis to your character’s movements. There are more than a few ways to accomplish this in Maya using its many nodes, however for a quick and easy setup download Bonus Tools, where you will find a Stretchy IK tool nestled within its drop-down menus.
02. Torso Squash and Stretch
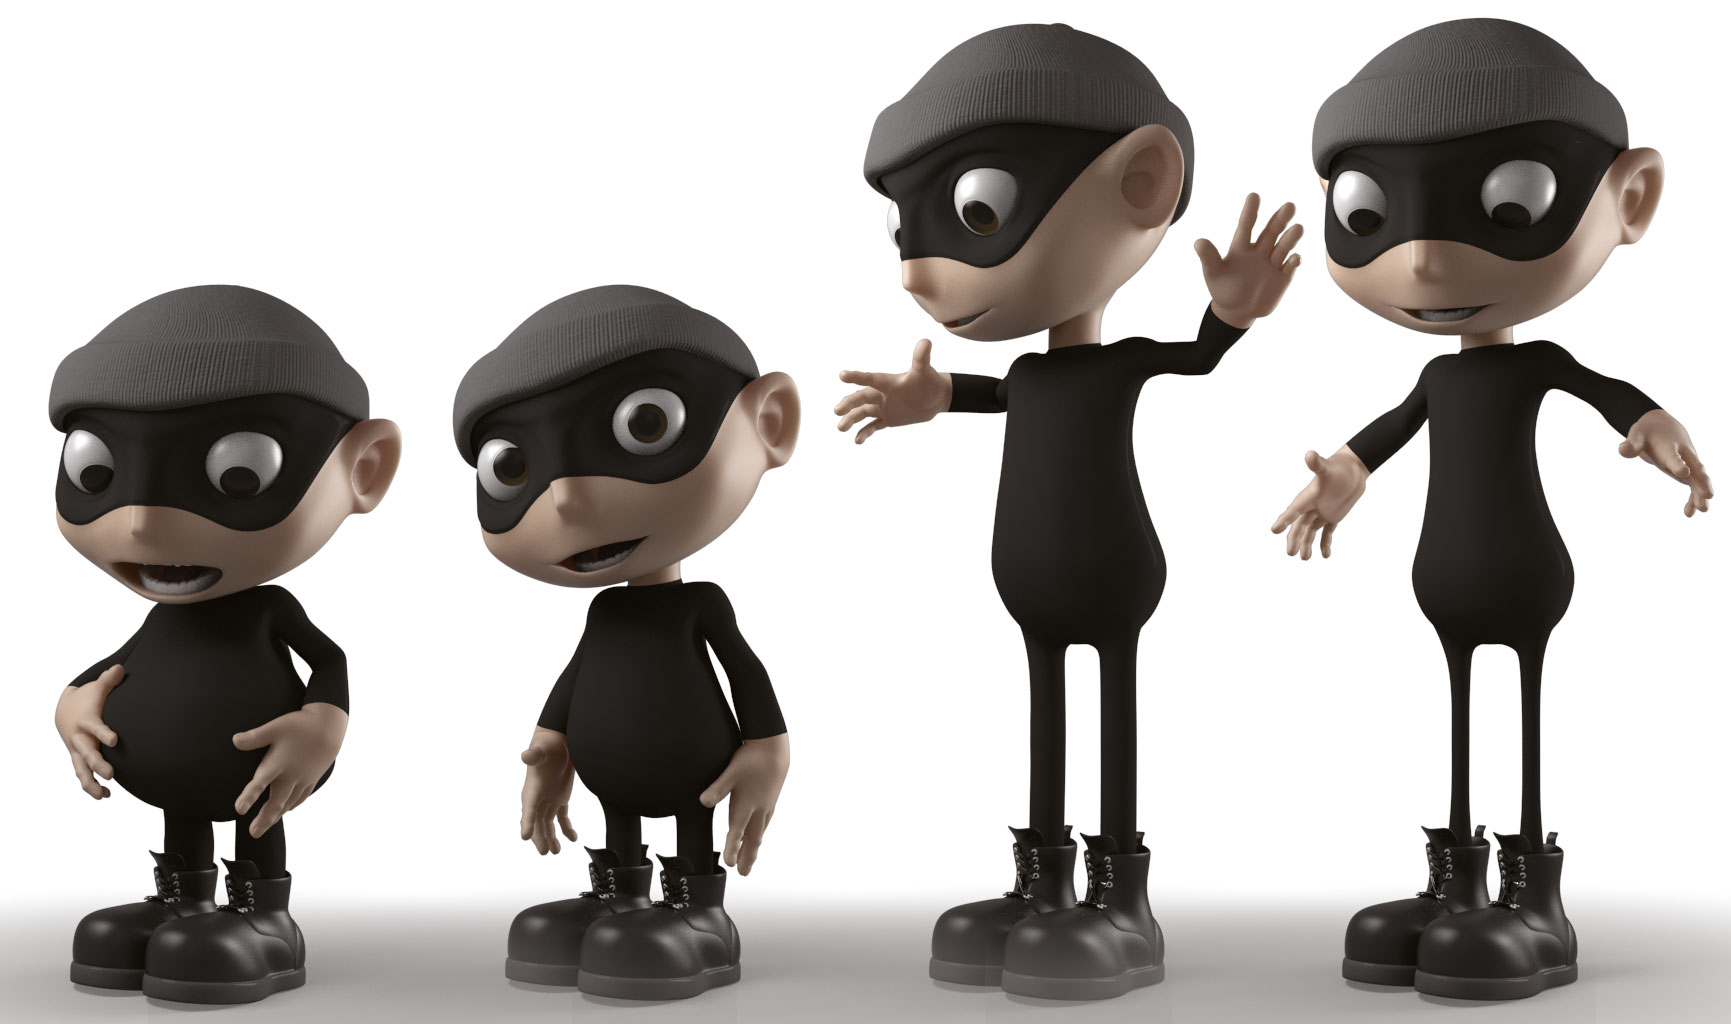
It’s not just the limbs that benefit from flexibility, the torso is also a key area to compress and elongate to emphasise movement. You can’t use the same approach used for the limbs; you’ll need the same stretchiness, but not based on a standard IK chain. Employ an IK spline whose control points can be controlled by Cluster deformers. These can sit under your controls to provide maximum control.
03. Breaking Limbs
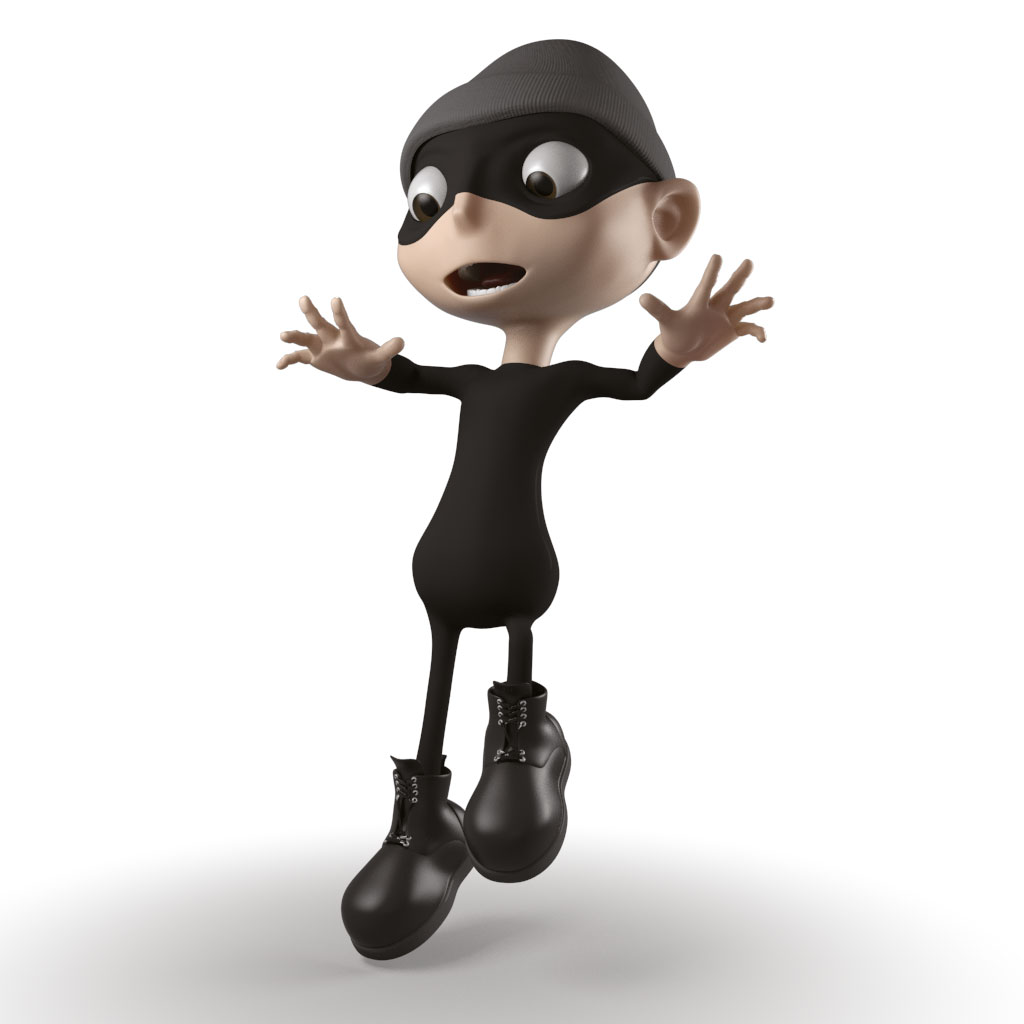
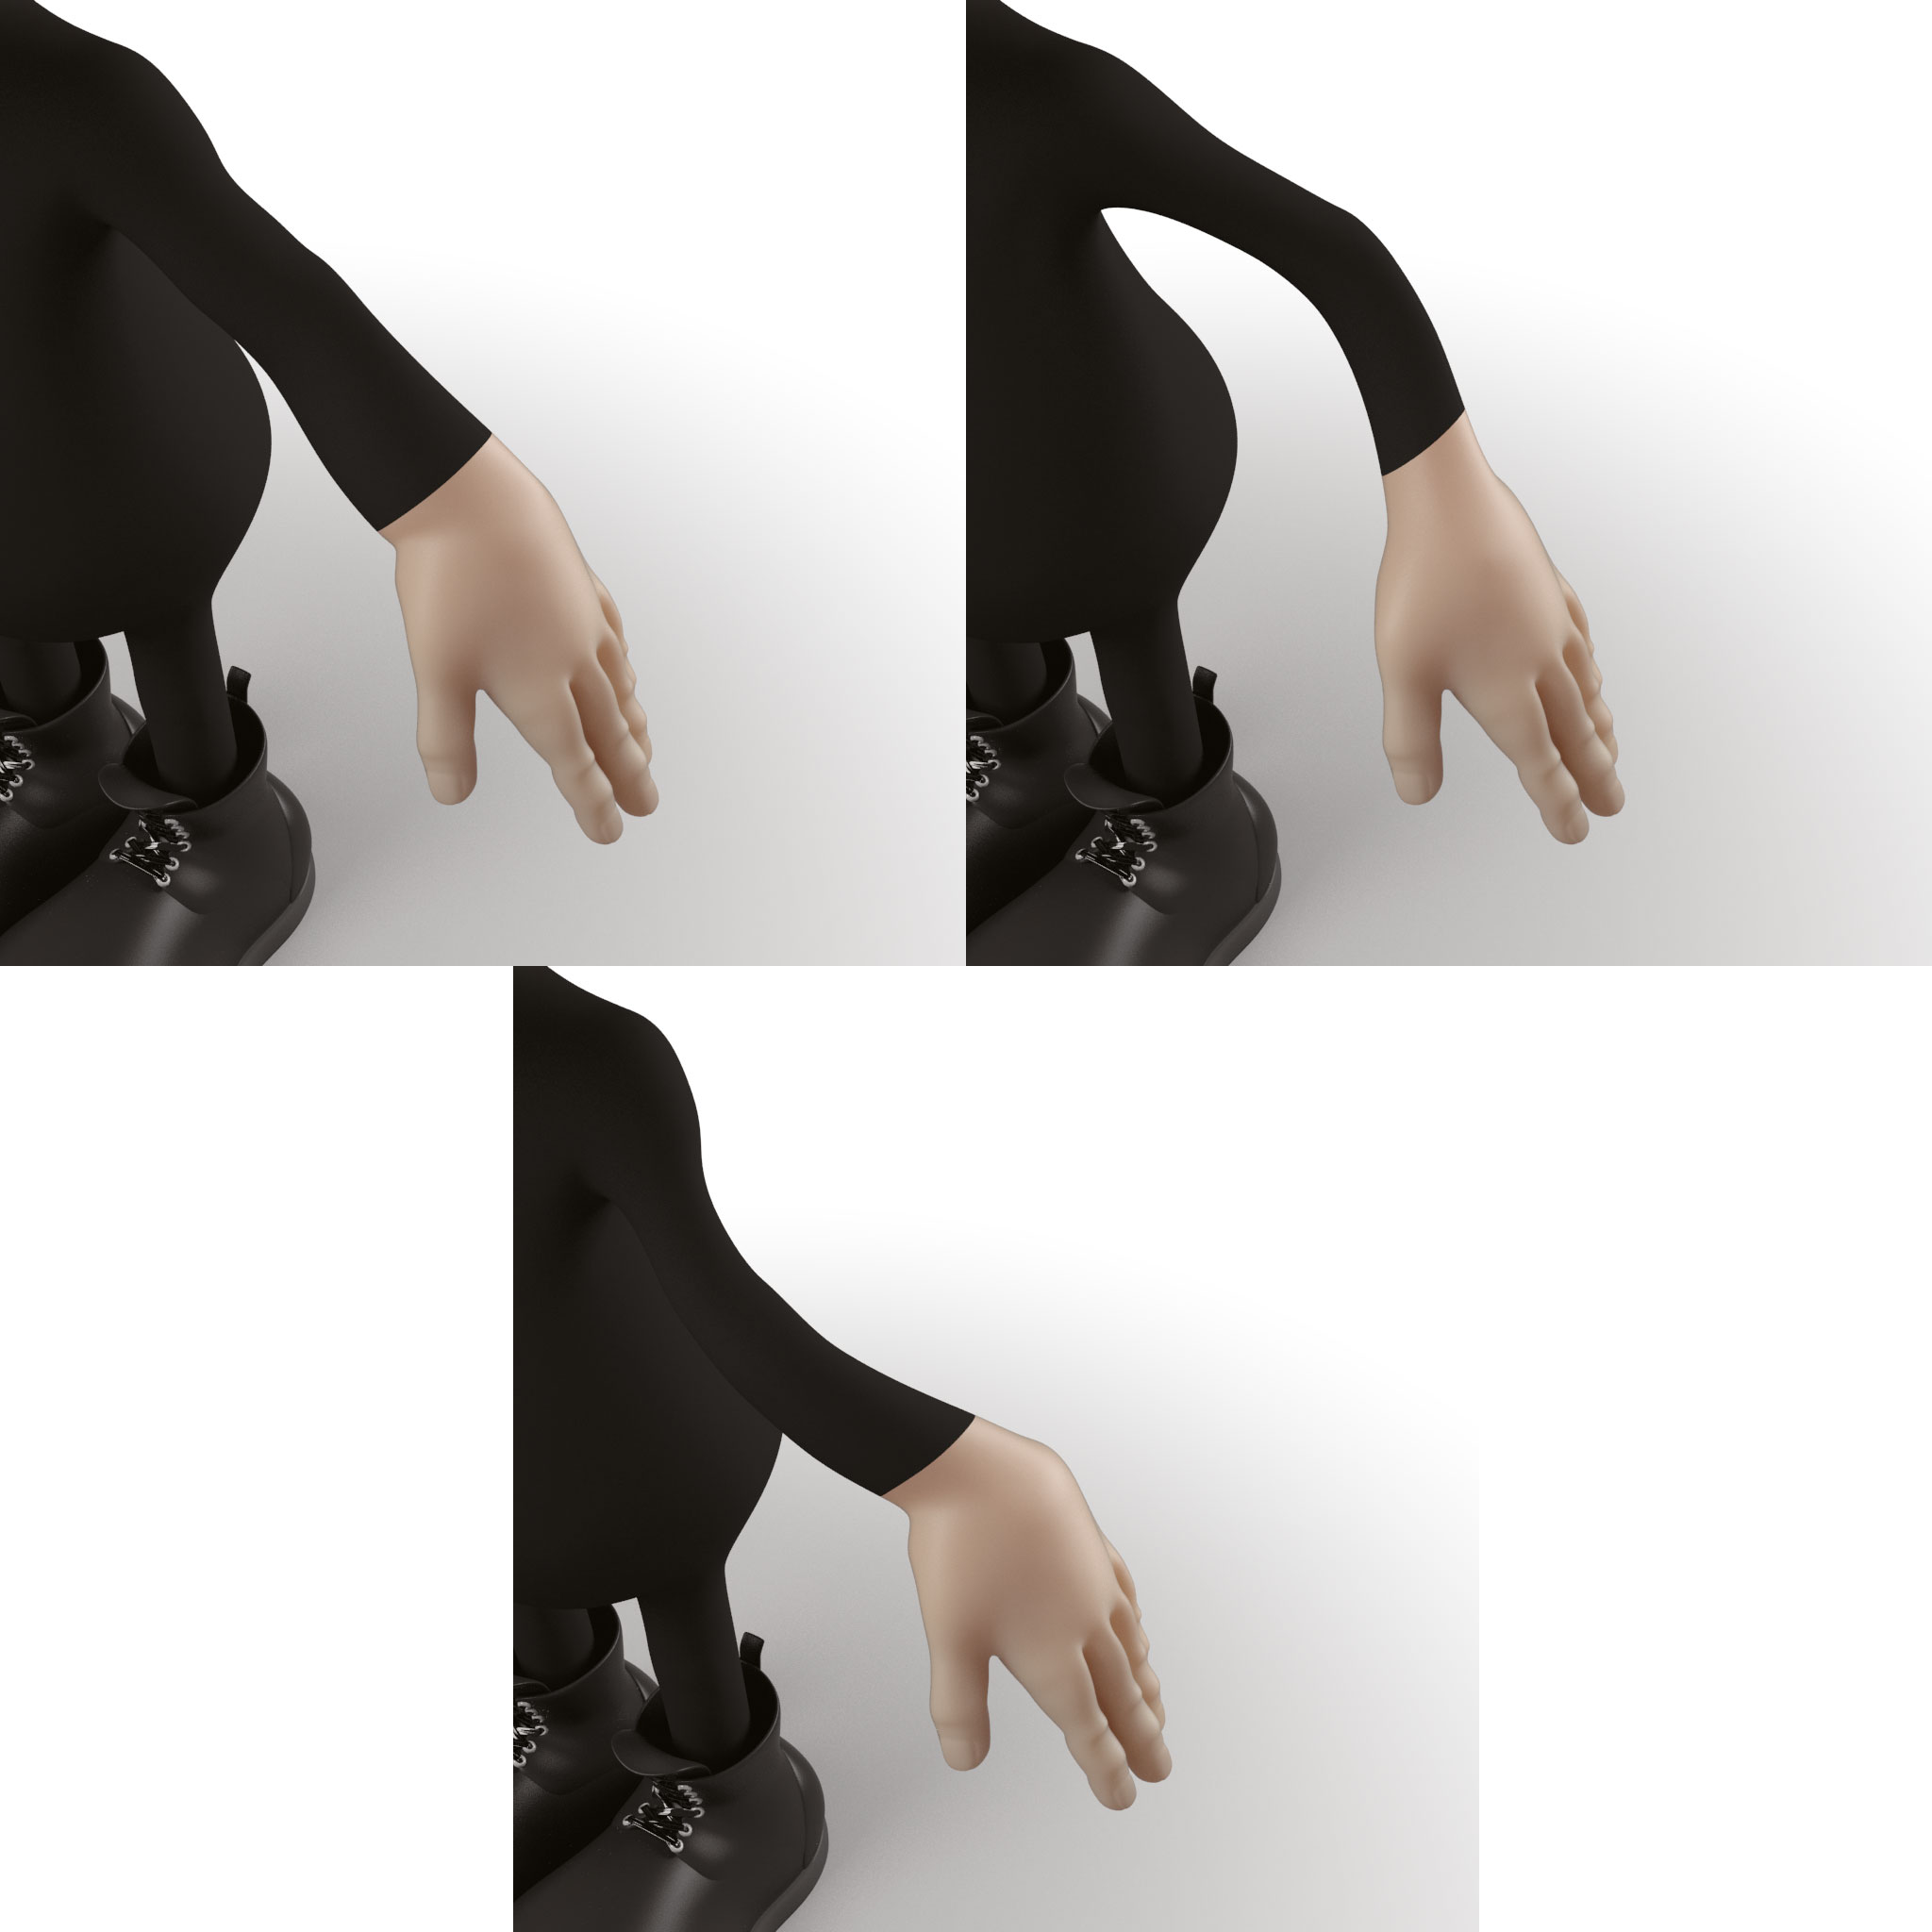
When you think of your standard rig setup the arms and legs need to only bend at the elbow or knee. With a cartoon rig they need to be much more flexible, to the point where the whole limb may need to deform in an unnatural way. To achieve this, you could add a third skeleton in addition to your standard IK and FK setup. This could then be posed, possibly with Spline IK, meaning you can bend it into any shape.
04. Volume Correction
If you pull apart something stretchy, like a Stretch Armstrong doll for example, you will notice his limbs and torso don’t keep their volume, they do in fact get slimmer.
When you then squash it the opposite applies; they expand as the volume inside is distributed to take into account the new shape. With a stretchy rig, your model won’t do this by default so use corrective blendshapes, or simply scale your base joints to compensate for this effect.
05. Mouldable Features
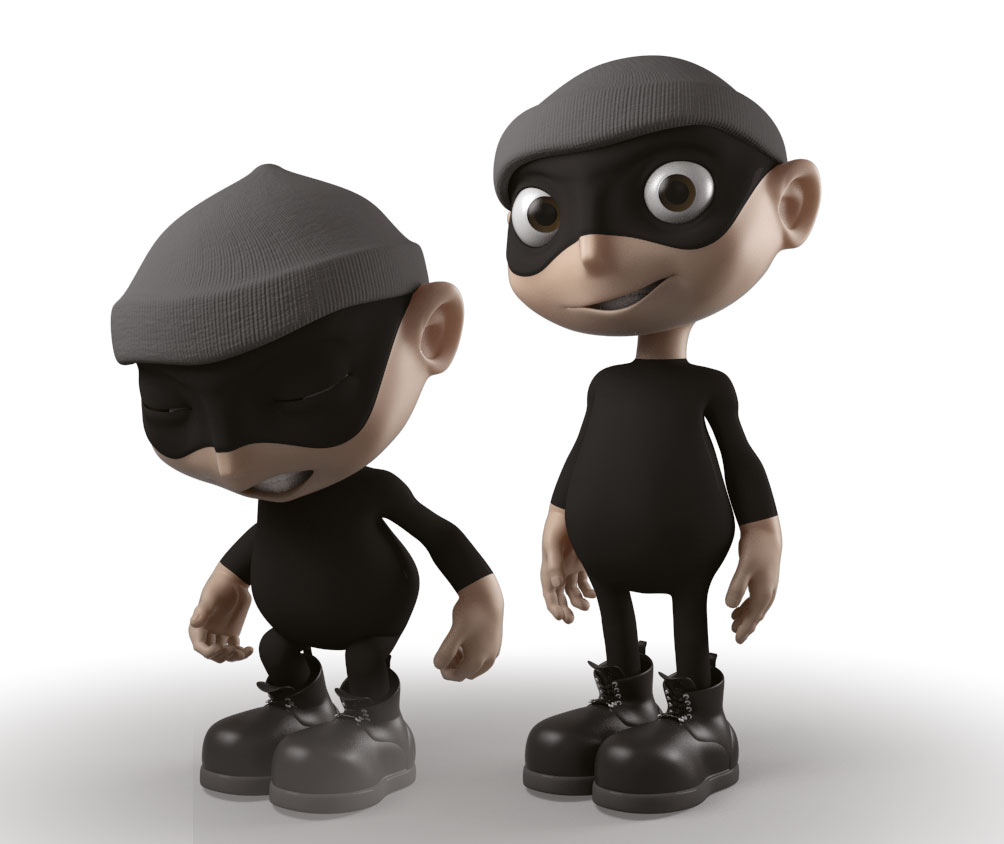
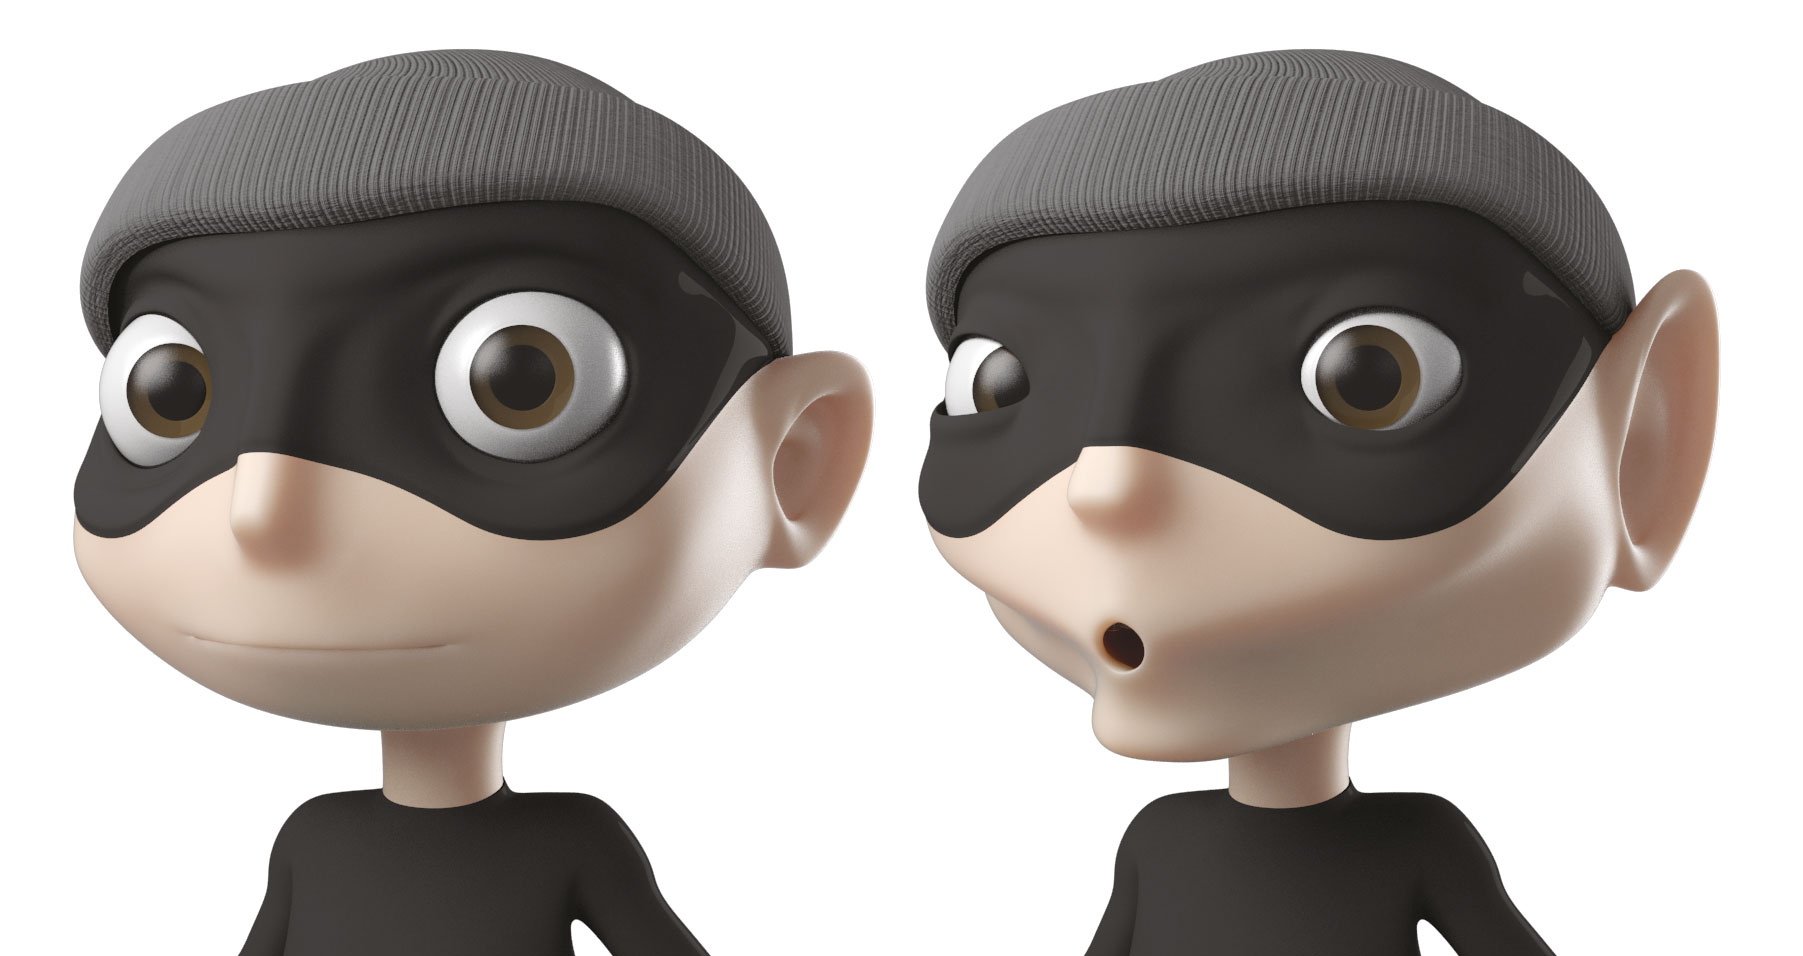
Building a facial rig that can do everything is a tall order, so it’s usually a good idea to know what your characters are going to do and tailor it to these specific movements. With that in mind, you can implement controls to help mould and distort the face, like it’s a lump of clay.
My personal approach is to use both joints and blendshapes. The joints help shift the main volumes of the face, whereas the blendshapes help to retain correct shapes.
06. Flexible Mouth
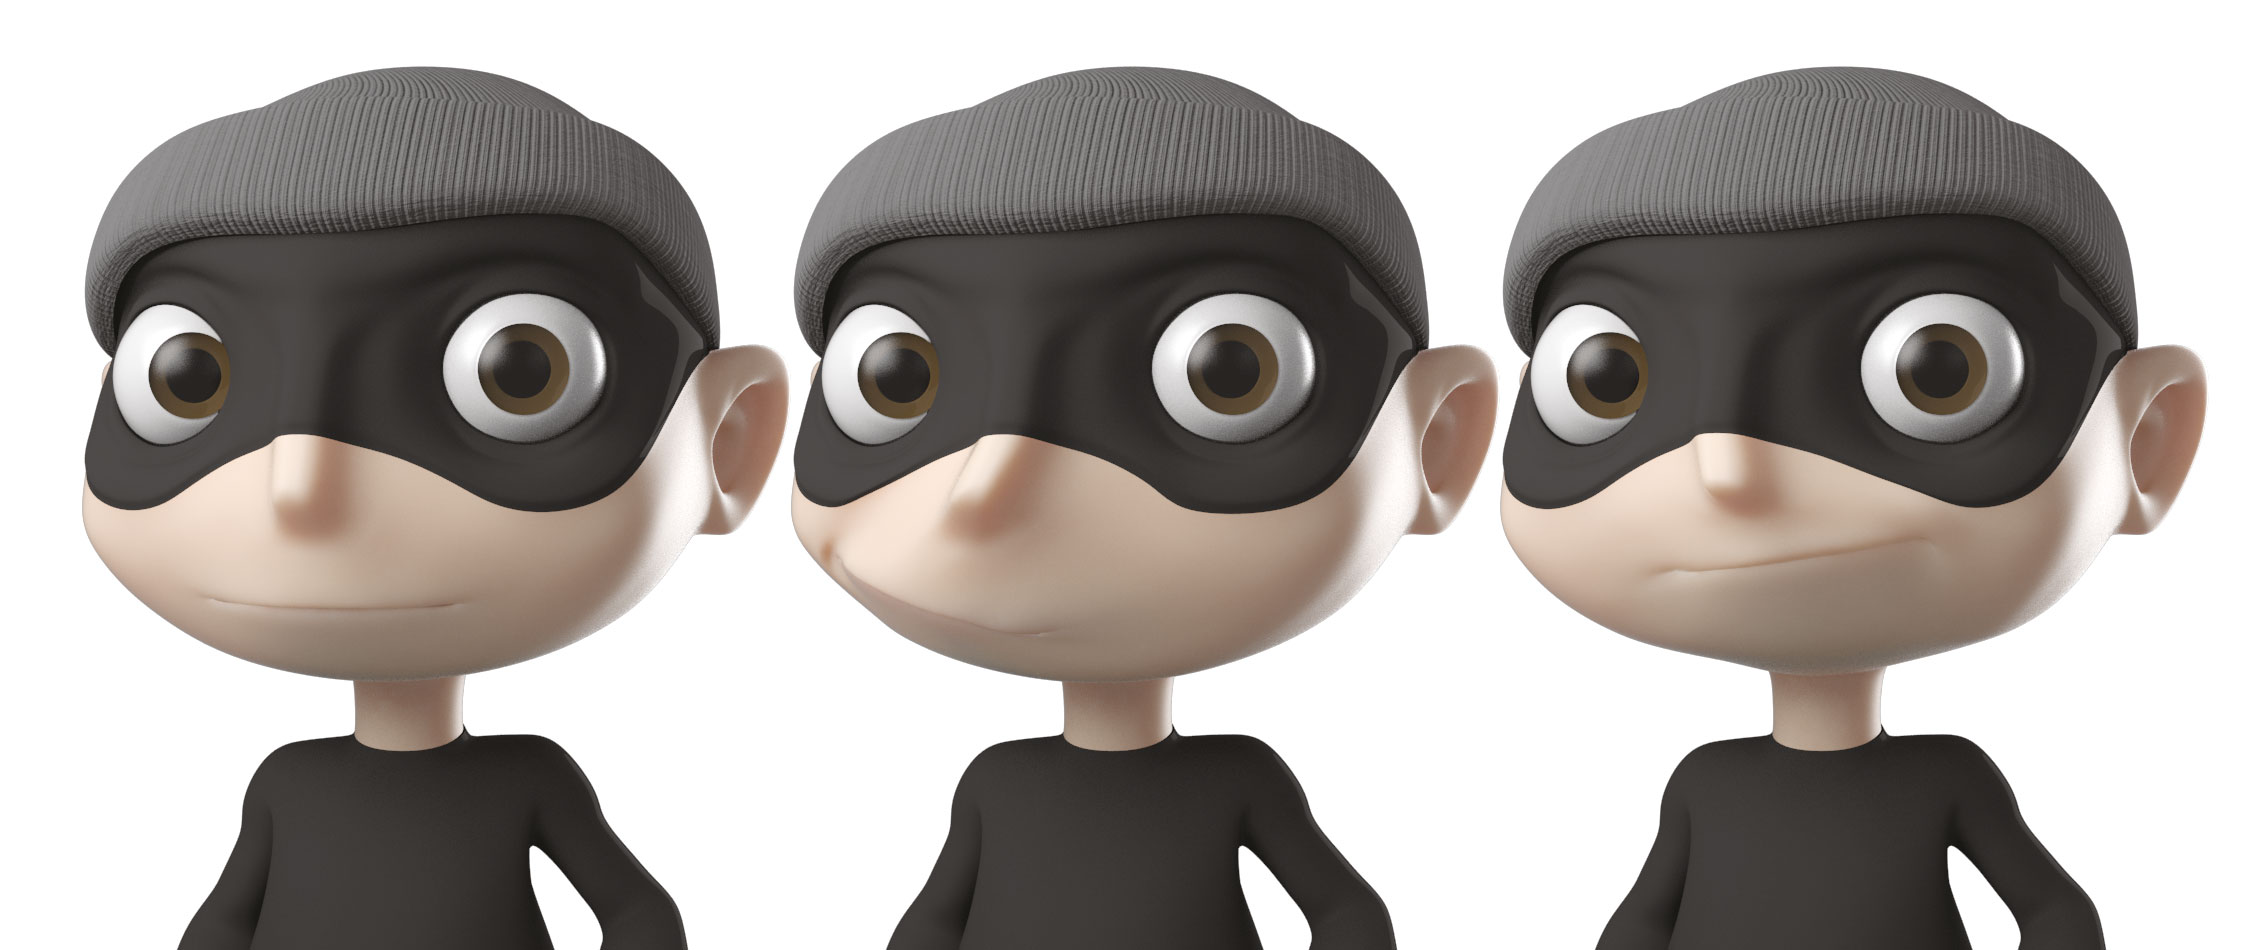
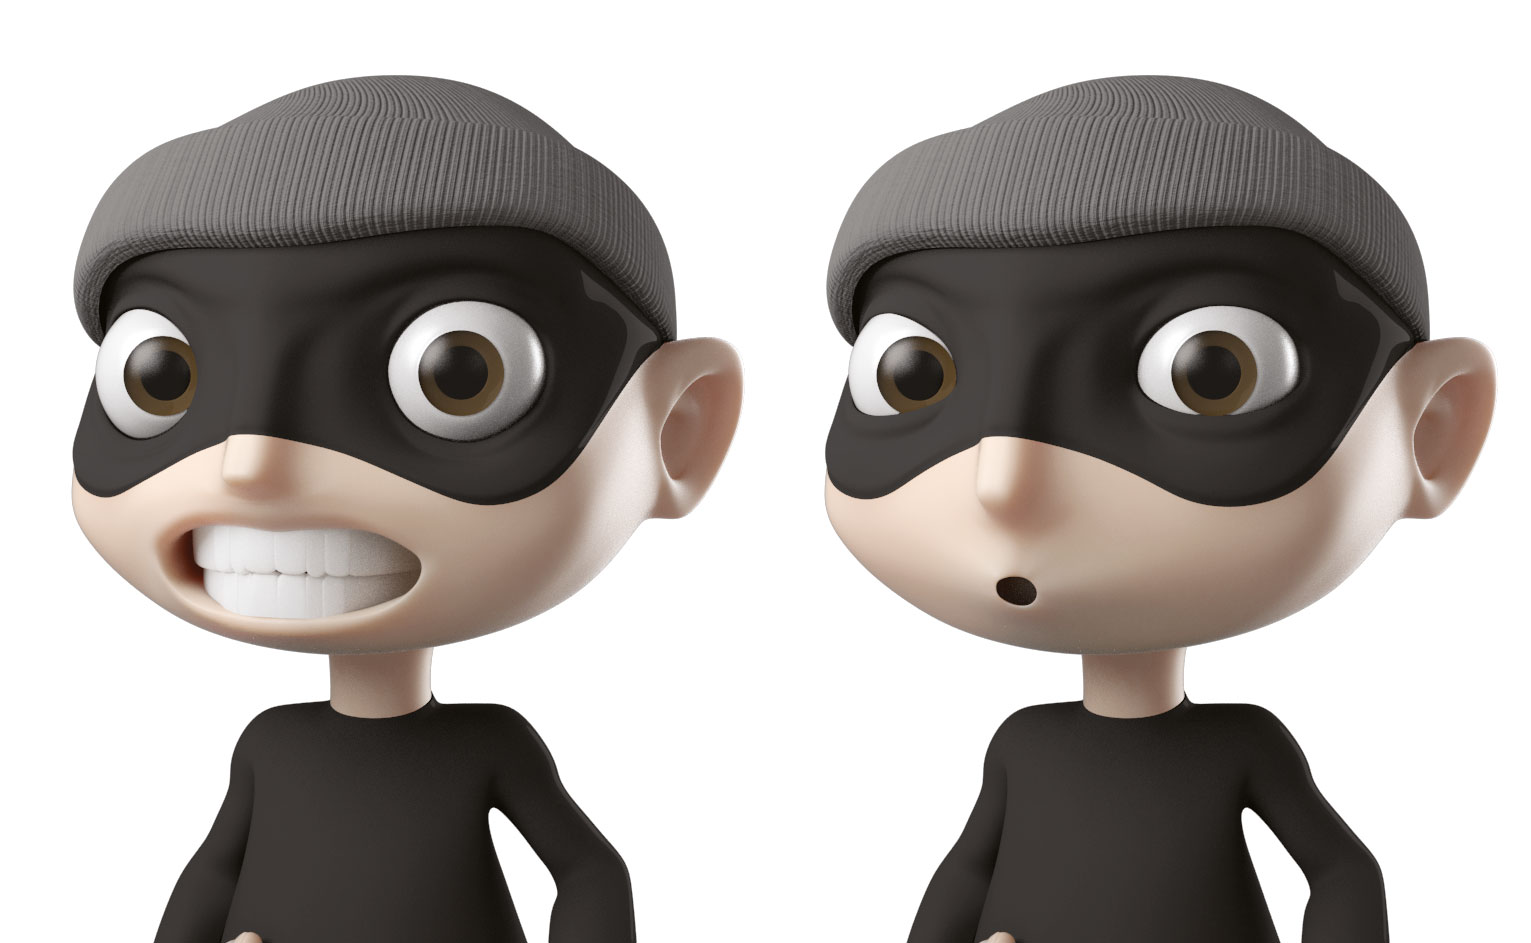
Another area to give the animator more control over is the mouth. Now I don’t just mean the lips, but the whole mouth area. Adding an extra joint or parent control to move the mouth will allow the animators to shift the whole mouth up or down and also rotate it to create new, fun and more extreme expressions.
07. Posable Lips
The lips themselves are an important area to get right as they are key to most expressions and also allow the character to talk and emote. Again, there are numerous approaches to rigging the lips, with most using either joints or blendshapes. Just like with the mouldable features, I like to combine the two – so the joints give you the main mouth shapes with the blendshapes being implemented
to make sure the lips deform correctly and for the right shapes.
08. Expressive EyeLids
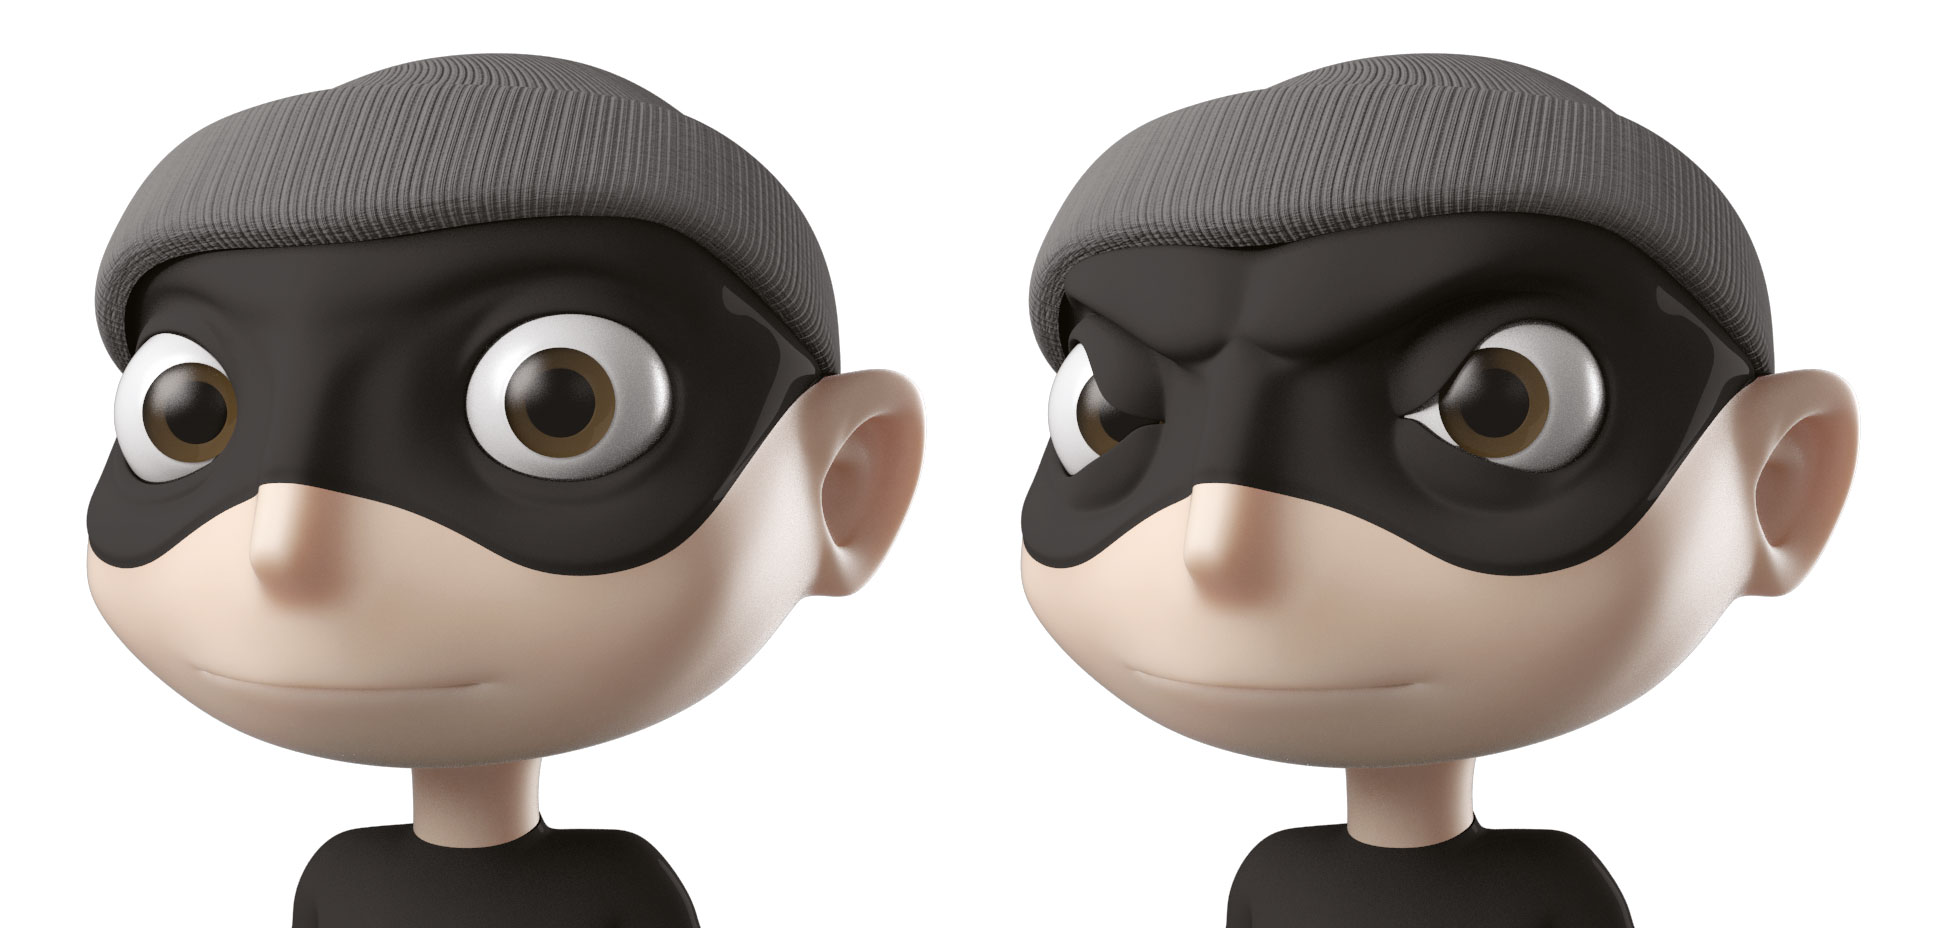
The standard eyelid approach is to add in a simple blink along with controls to open and close each
lid – and that’s usually all that’s needed. With expressive characters you also need to pose the eye lids to help convey emotions. Again, this setup could utilise blendshapes alone depending on the shape of the eye, but I find joints which are made to move over the surface of the eye a great approach.
09. Irregular Eye Shapes
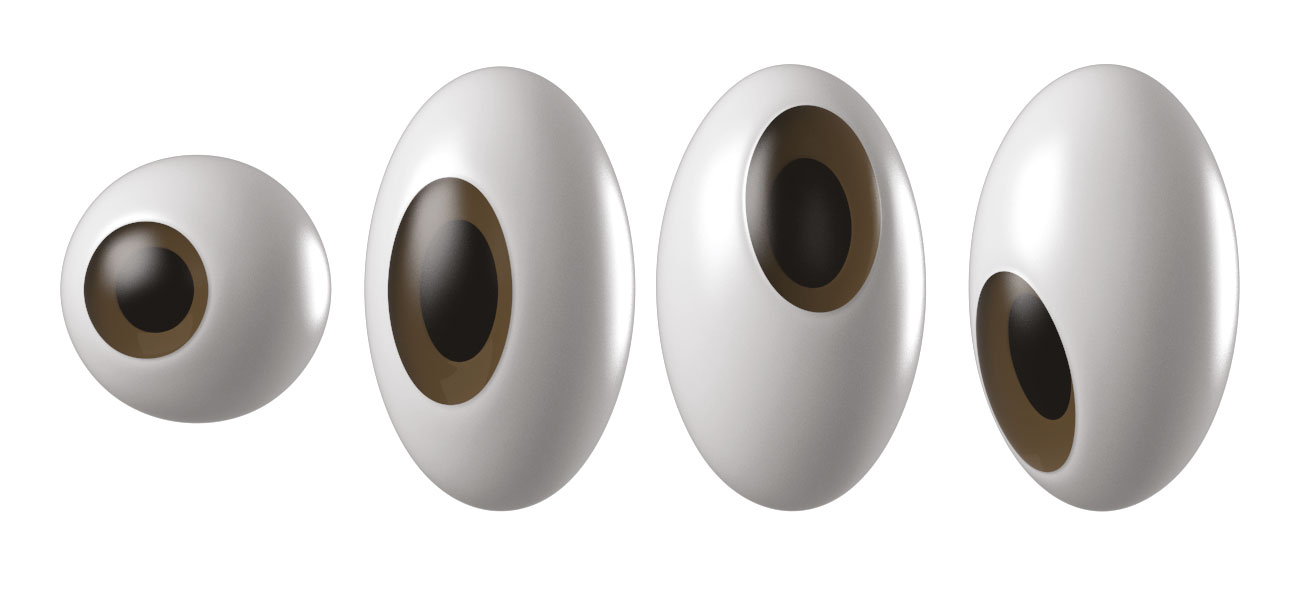
When it comes to stylised characters, one eye shape does not fit all. So how do we deal with an oval or other types of eye shape and ensure it still rotates as if it was spherical? Simple really, begin with a spherical eye and bind that to your skeleton. Next, use a Lattice deformer to adjust the eye back to the desired shape. Now it will rotate and keep its shape.
10. Keep Things Under The Hood
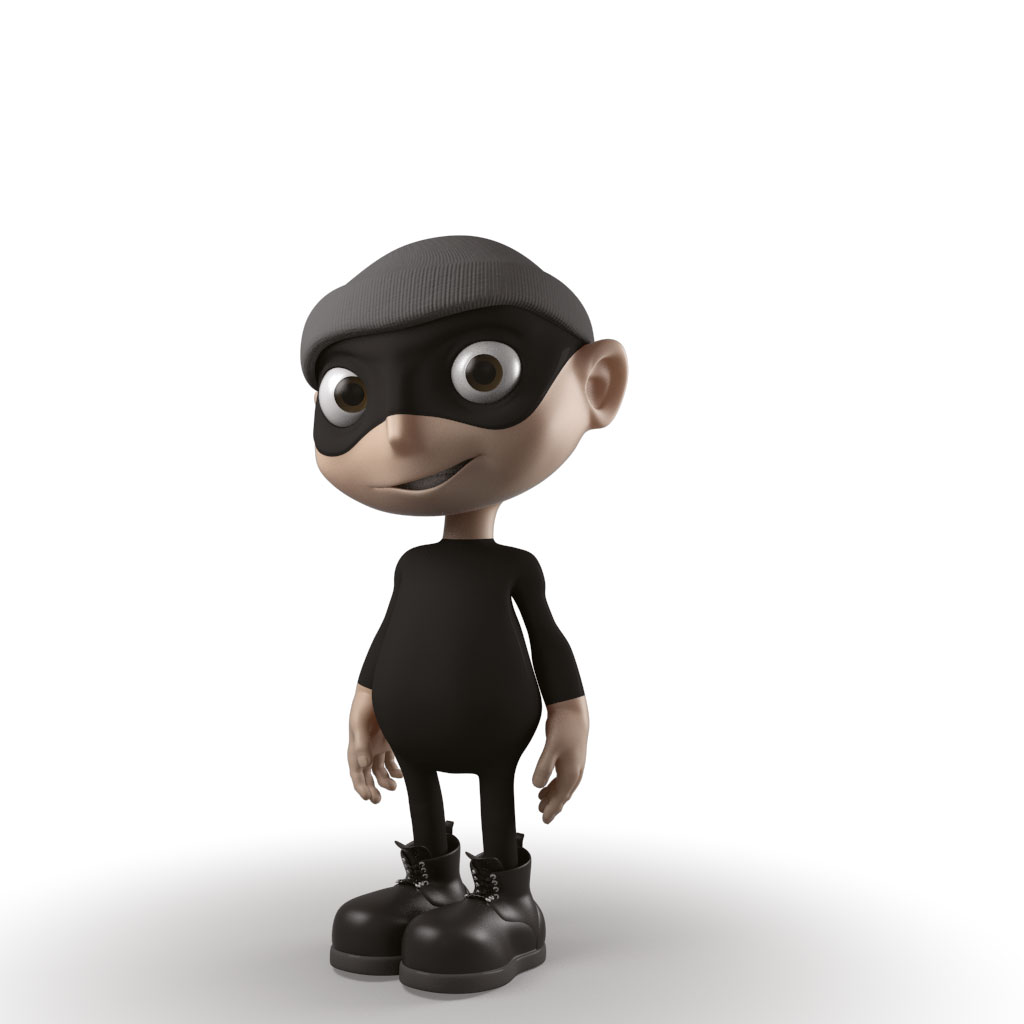
High-end rigs like these can be quite complicated. You have joints, blend shapes, Utility nodes and all sort of other things working together to create movement. All this however should be kept hidden and not be accessible to the animator. Ideally all they will see are a small selection of controls which allow them to pull and pose the character intuitively and easily.
This article originally appeared in 3D World issue 209; buy it here.
Sign up to Creative Bloq's daily newsletter, which brings you the latest news and inspiration from the worlds of art, design and technology.
