Nick Stath explains how he made the eerie, atmospheric environment for the sci-fi horrors of Alien: Romulus.
(Image credit: 20th Century Studios)
This tutorial will break down the process I followed for designing the conveyor hall and hive setting in Alien: Romulus. The aim is to show you how I apply architectural thinking when designing a feature-film set, and use methods of proportions, scale, lighting, composition and materiality to develop a dramatic environment that matches perfectly with the Alien universe.
My workflow will be broken up into four phases: sketching a plan and section to break hesitancy and get ideas onto paper; blocking out in Blender to explore the initial idea in 3D; applying details, lighting and materials to ensure the design ties into the aesthetic of the first two Alien films; and finally painting over the render to add details, atmosphere and hive elements that would have been too time-consuming in 3D.
By the end of this tutorial you should have a good understanding of the thorough, planned process that allowed me to be efficient in designing under time constraints, while also creating a detailed interior that can provide a high level of production value for development in a major science fiction film. See more Blender tutorials here, as well as the best laptops for CAD.
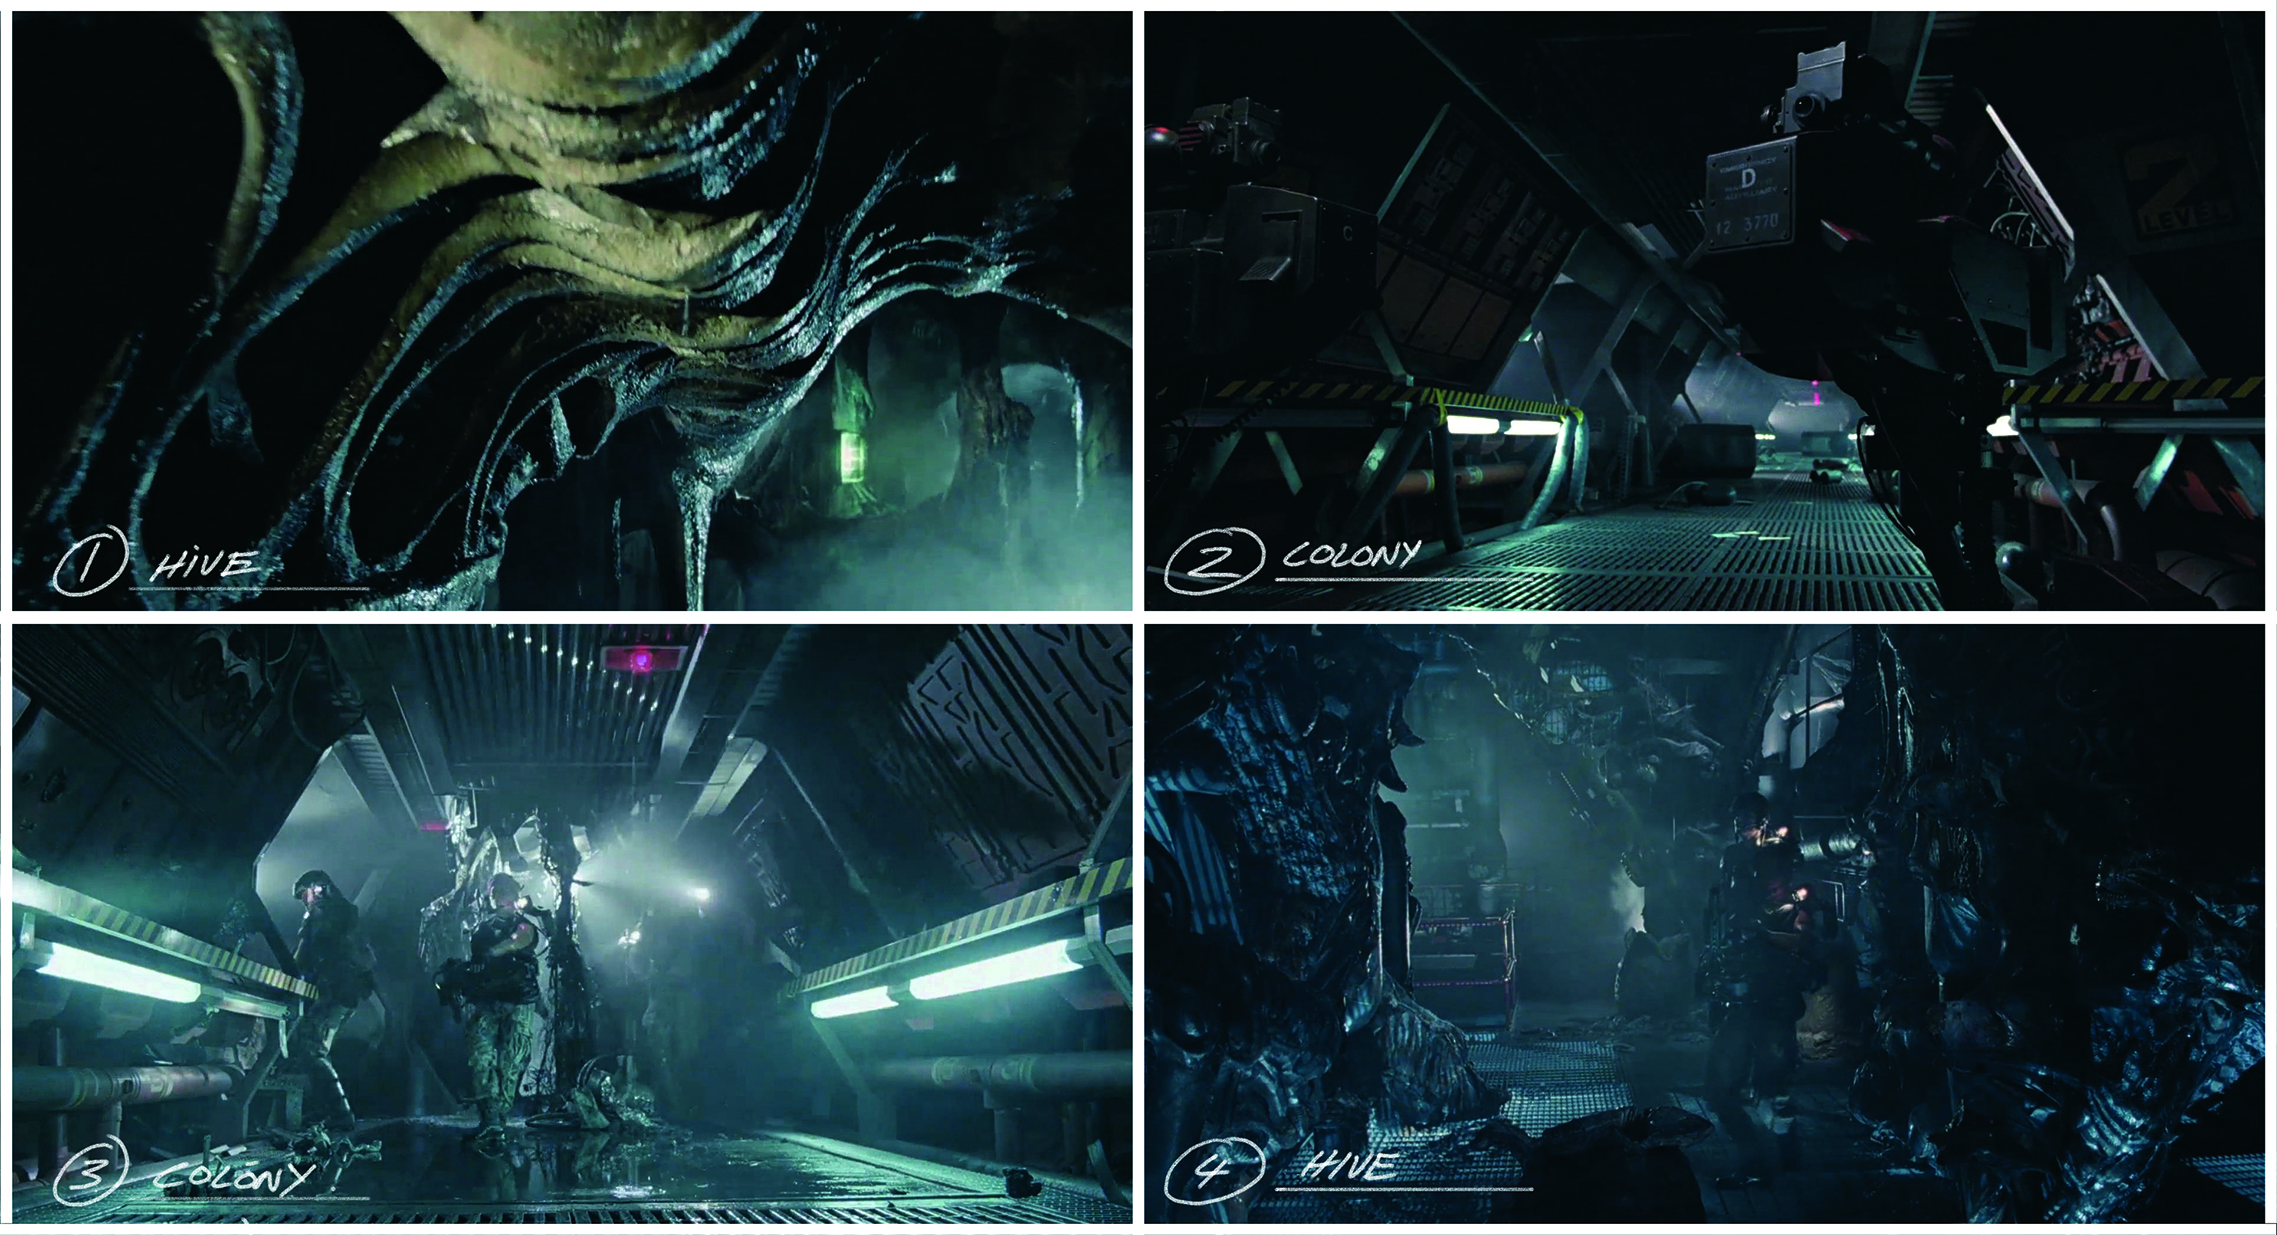
The brief I was given for the conveyor hall/hive environment was for it to have the look and feel of Aliens, the second film from the series (which has some of the best CGI moments ever). The most important part of the process is to have a sheet of screen grabs that are the most suitable for the design task. These references help you to get a quick understanding of the shapes, angles, lighting and materiality that were used in the film.
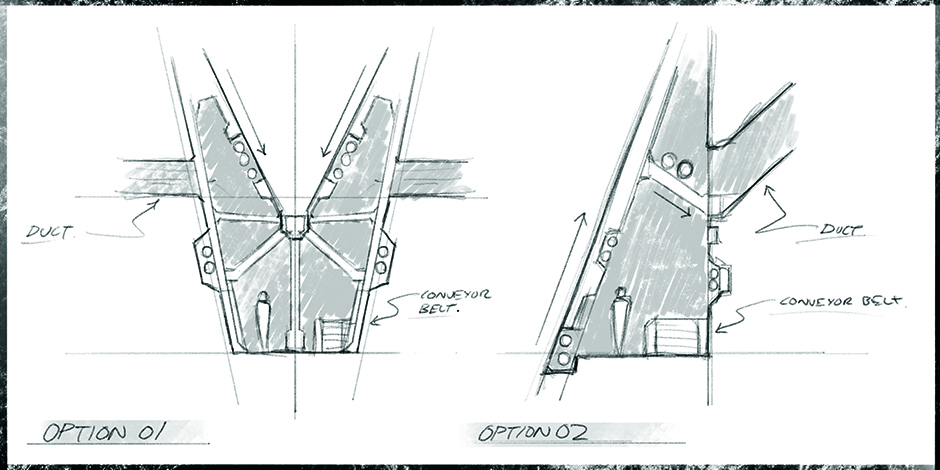
The production designer’s brief was for the corridor to be a tall, narrow space with a “back alley, industrial” feel. To get started, quickly sketch out some silhouettes. I felt as though mine could have an interesting shape language that references the dramatic angles in the colony hallways from Aliens. As tensions are rising at this point in the movie, I thought it was important for the architecture to lean over the protagonists and create a feeling of weight and discomfort.
To help start the 3D process, I drew a layout based off a sketch the production designer handed me. The intent here is to capture all the key functional requirements that form part of the brief, including an area in the floor plan that’s split across two levels, a conveyor belt, and the hive entry. Spending 10 minutes sketching a plan helps to keep the design process efficient.
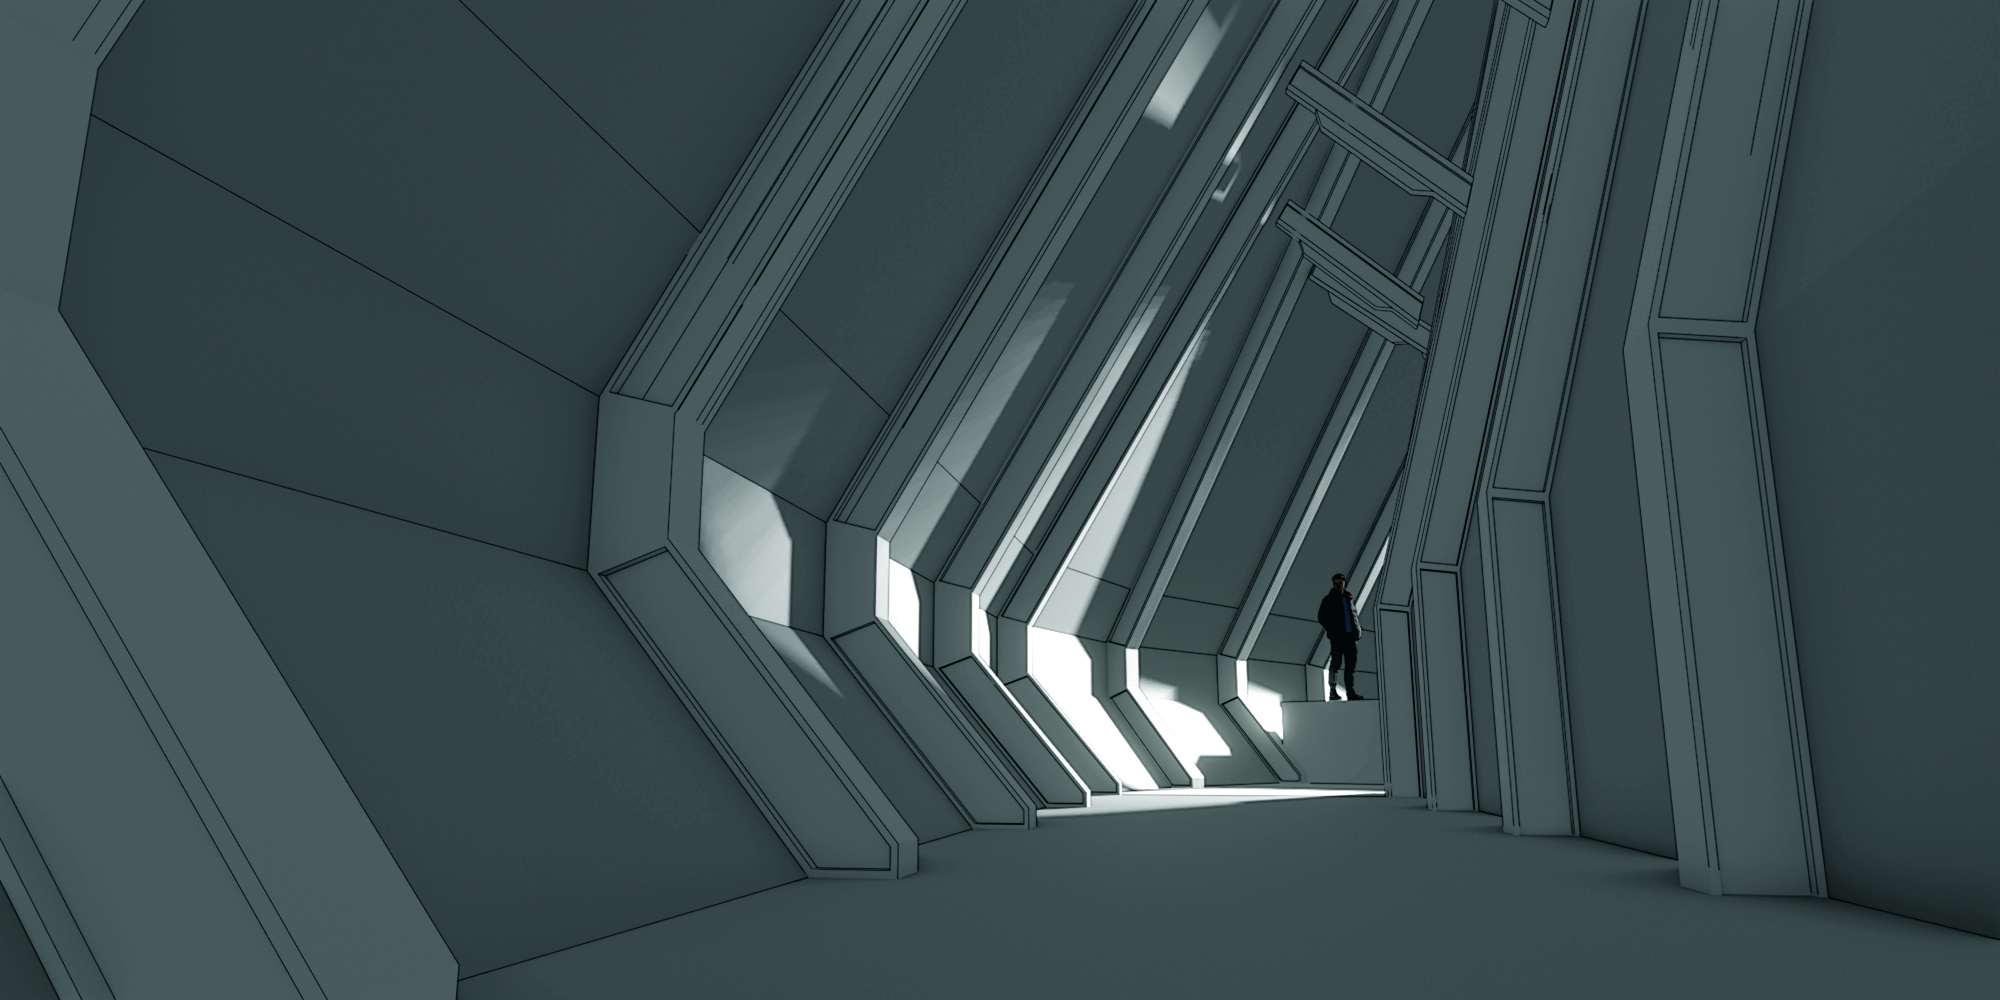
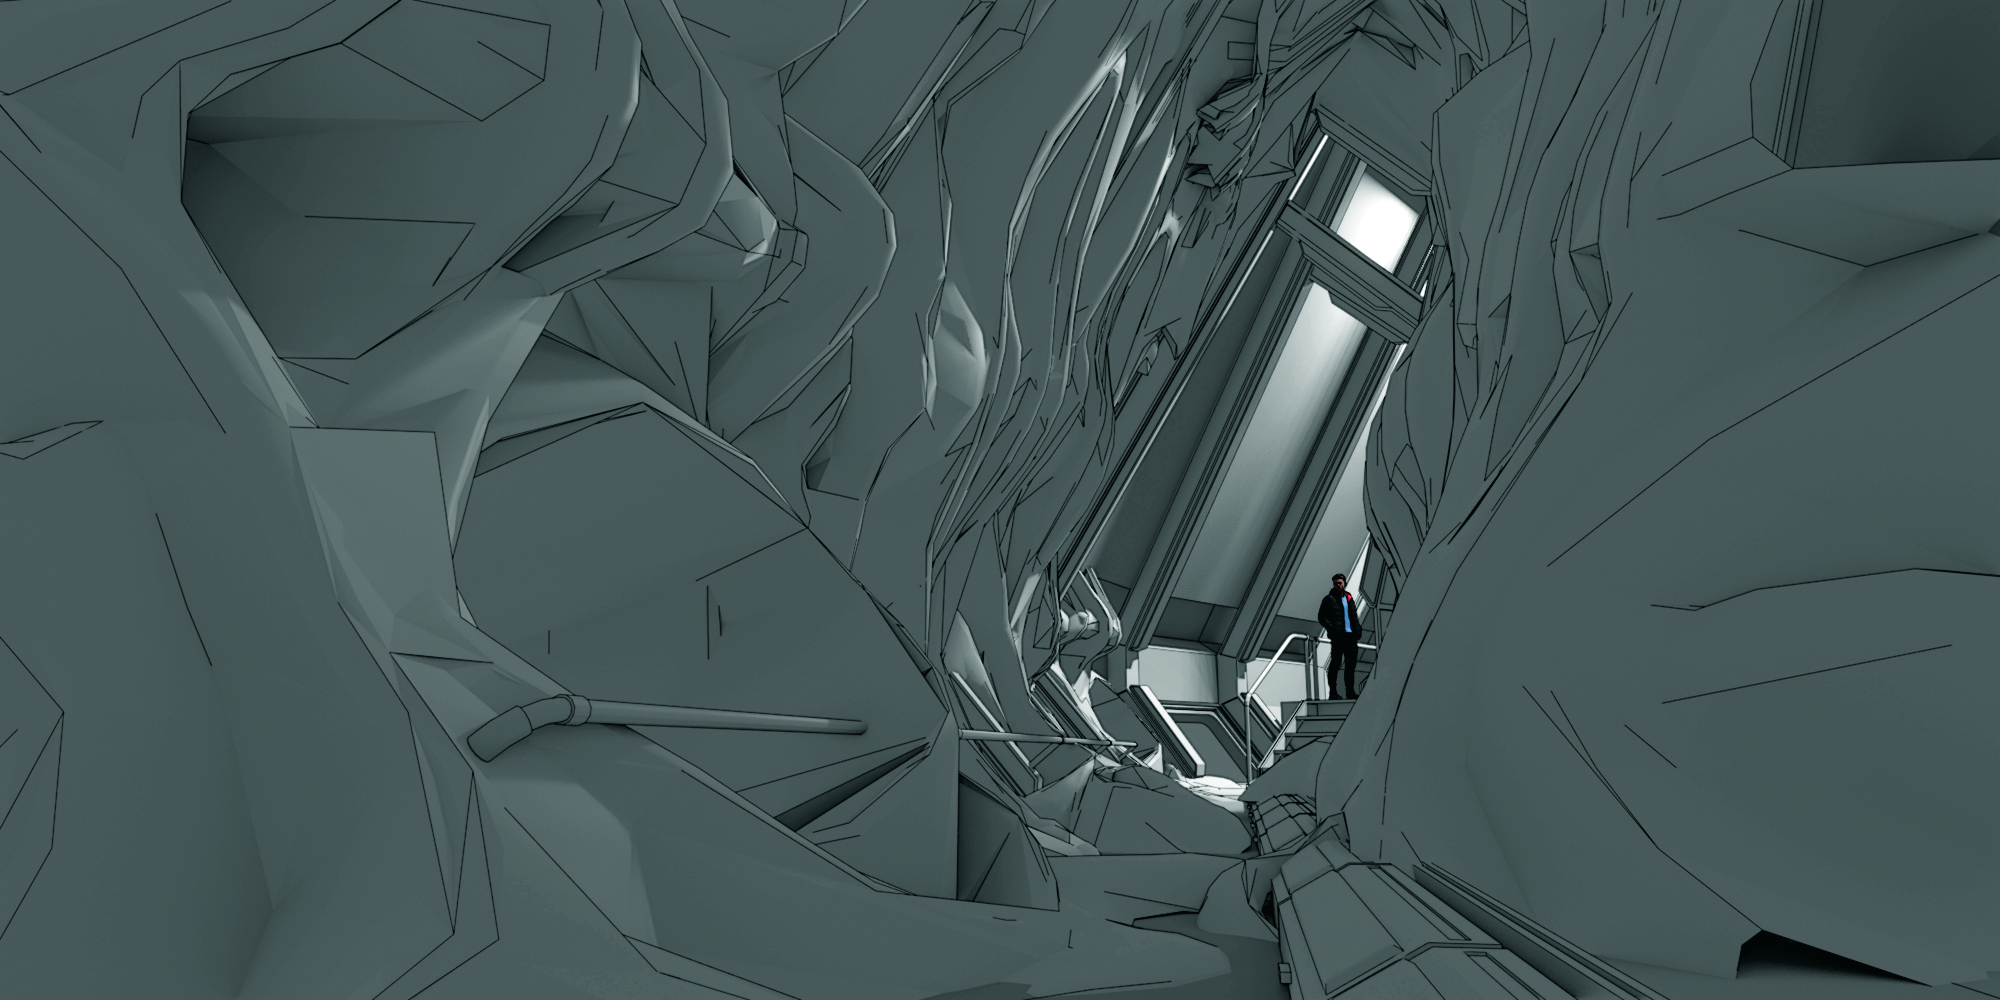
First, use simple polygonal modelling tools to create basic geometry based off your sketches. Starting with a character for scale, push and pull the width and height of extruded surfaces until you get proportions that look right. Once the basic shape for the environment is blocked in, add a light to define the space, followed by a series of columns that bring an element of repetition to the scene for some preliminary details.
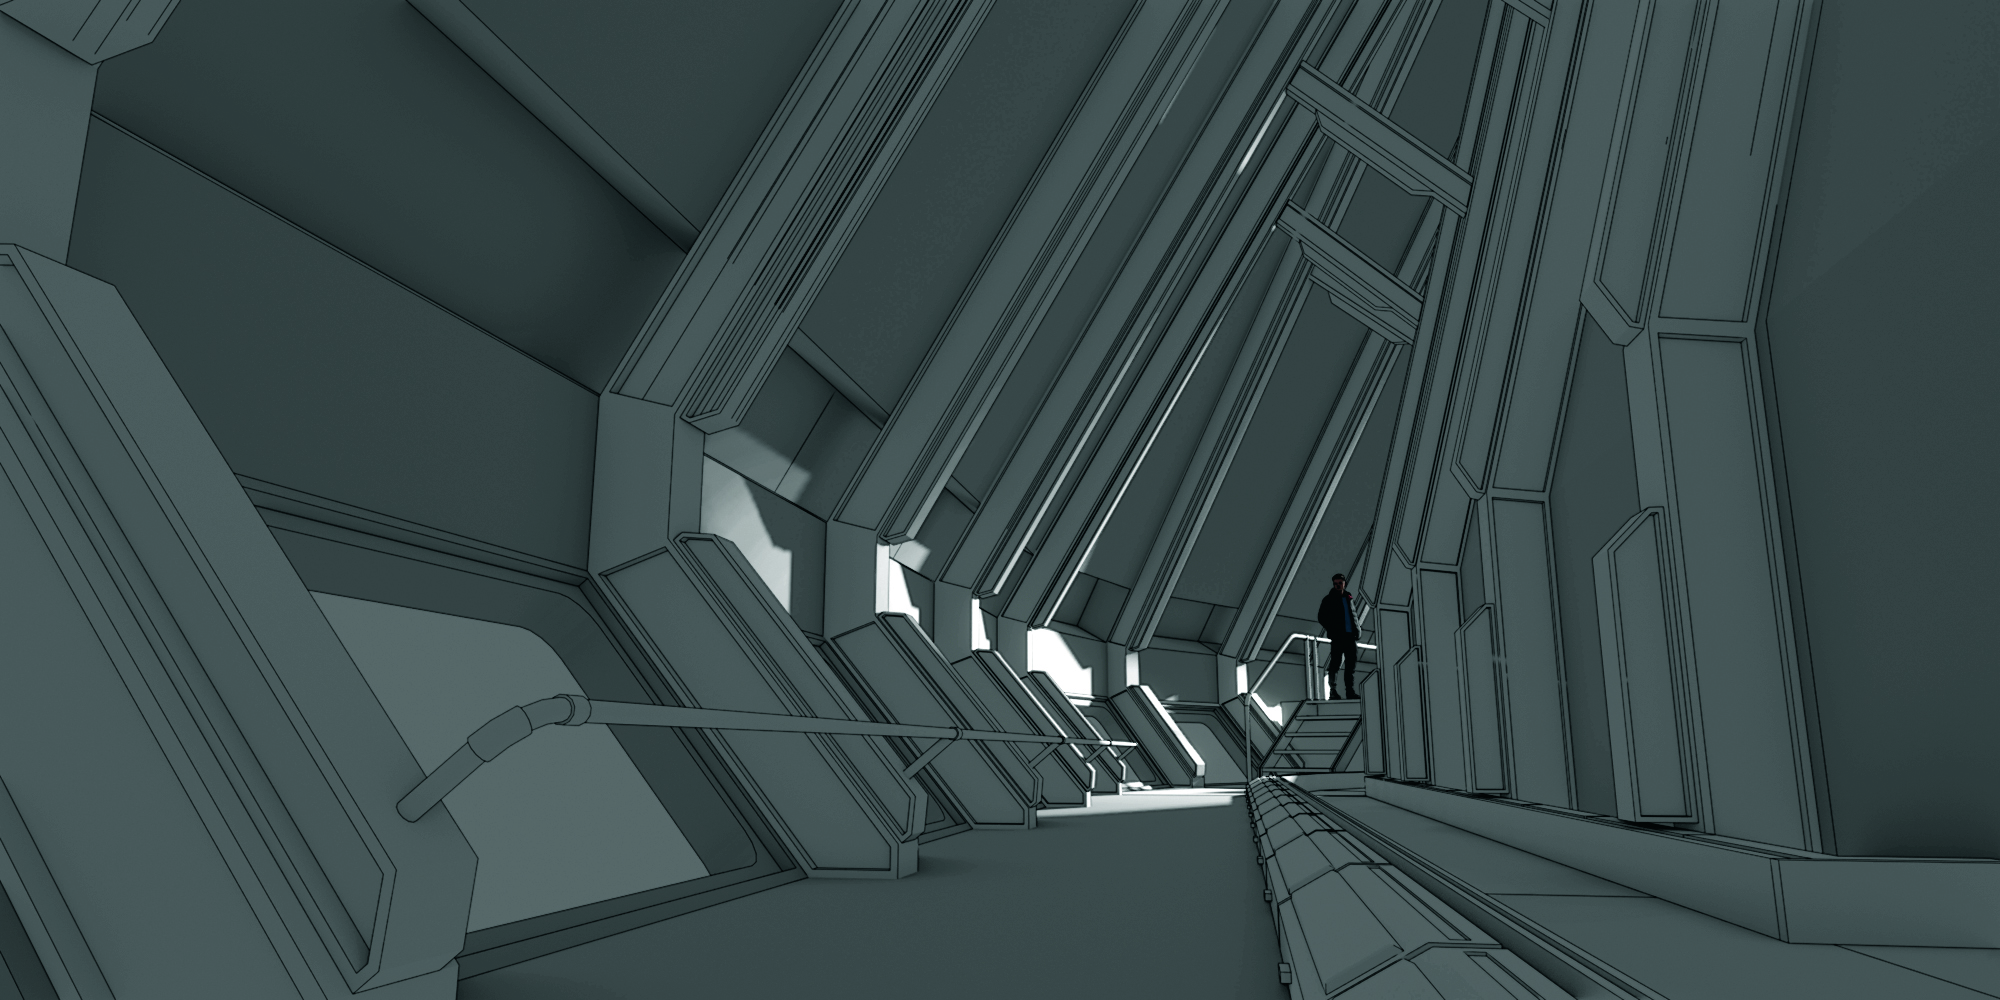
I believe that functional elements are some of the most important aspects of a good design, as they are what makes a space believable and helps tell a story. In my scene, I brought in a simple conveyor belt to the right of the frame, as well as windows, stairs and a handrail. The low-lying nature of these elements help to accentuate the height of the space, while the handrail and steps introduce relatable, everyday architectural elements that aid us in better understanding its use.
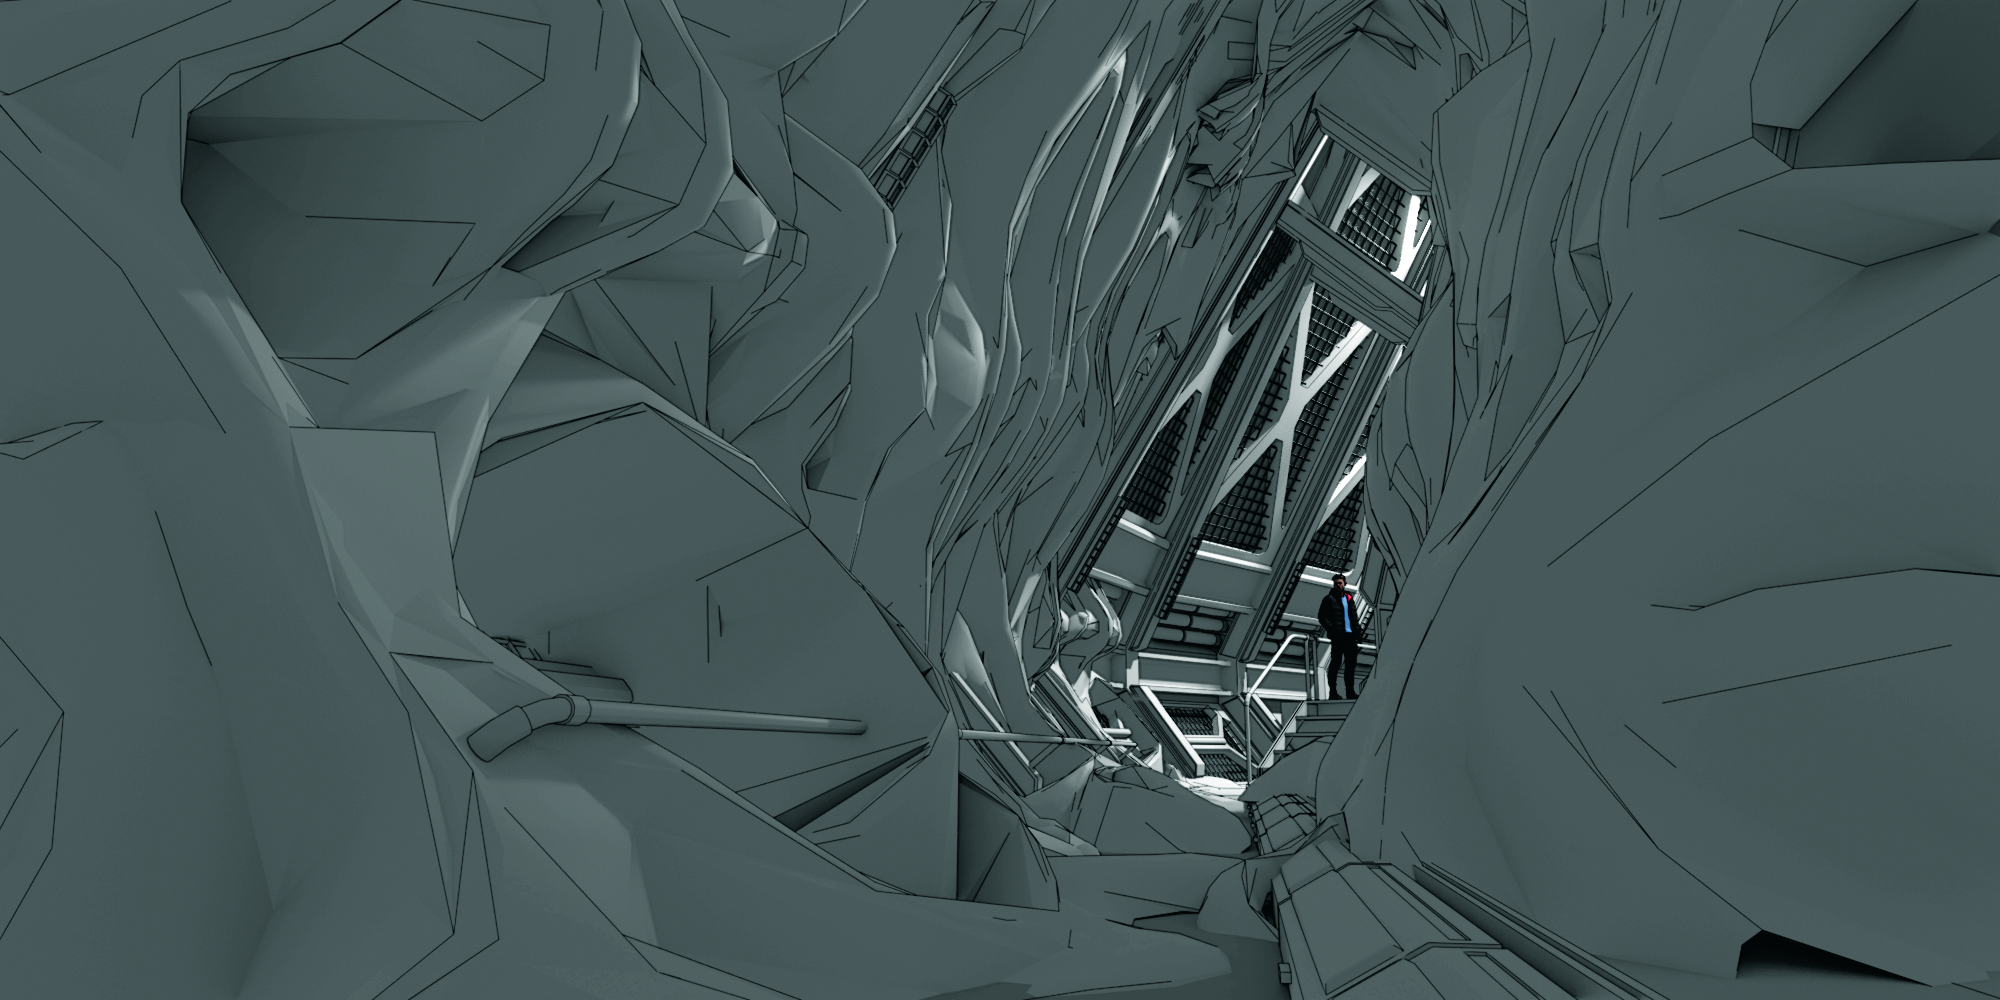
Organic geometry isn’t particularly my forte, so to keep progressing with my design I used a 3D model that was provided to me by the director. In order to make the asset fit in, I used the Snake Hook sculpting tool in Blender to warp and stretch the geometry to match with the interior. Don’t be concerned with how accurate or low-poly the mesh appears during this process, as we’ll be painting over it later down the line.
Tertiary details come next and are crucial in helping the space feel like it belongs in the wider world. Start to treat the bare architectural surfaces by adding pipe work, cross bracing and mesh panels to help the space feel industrial and utilitarian, drawing from the details in your references.
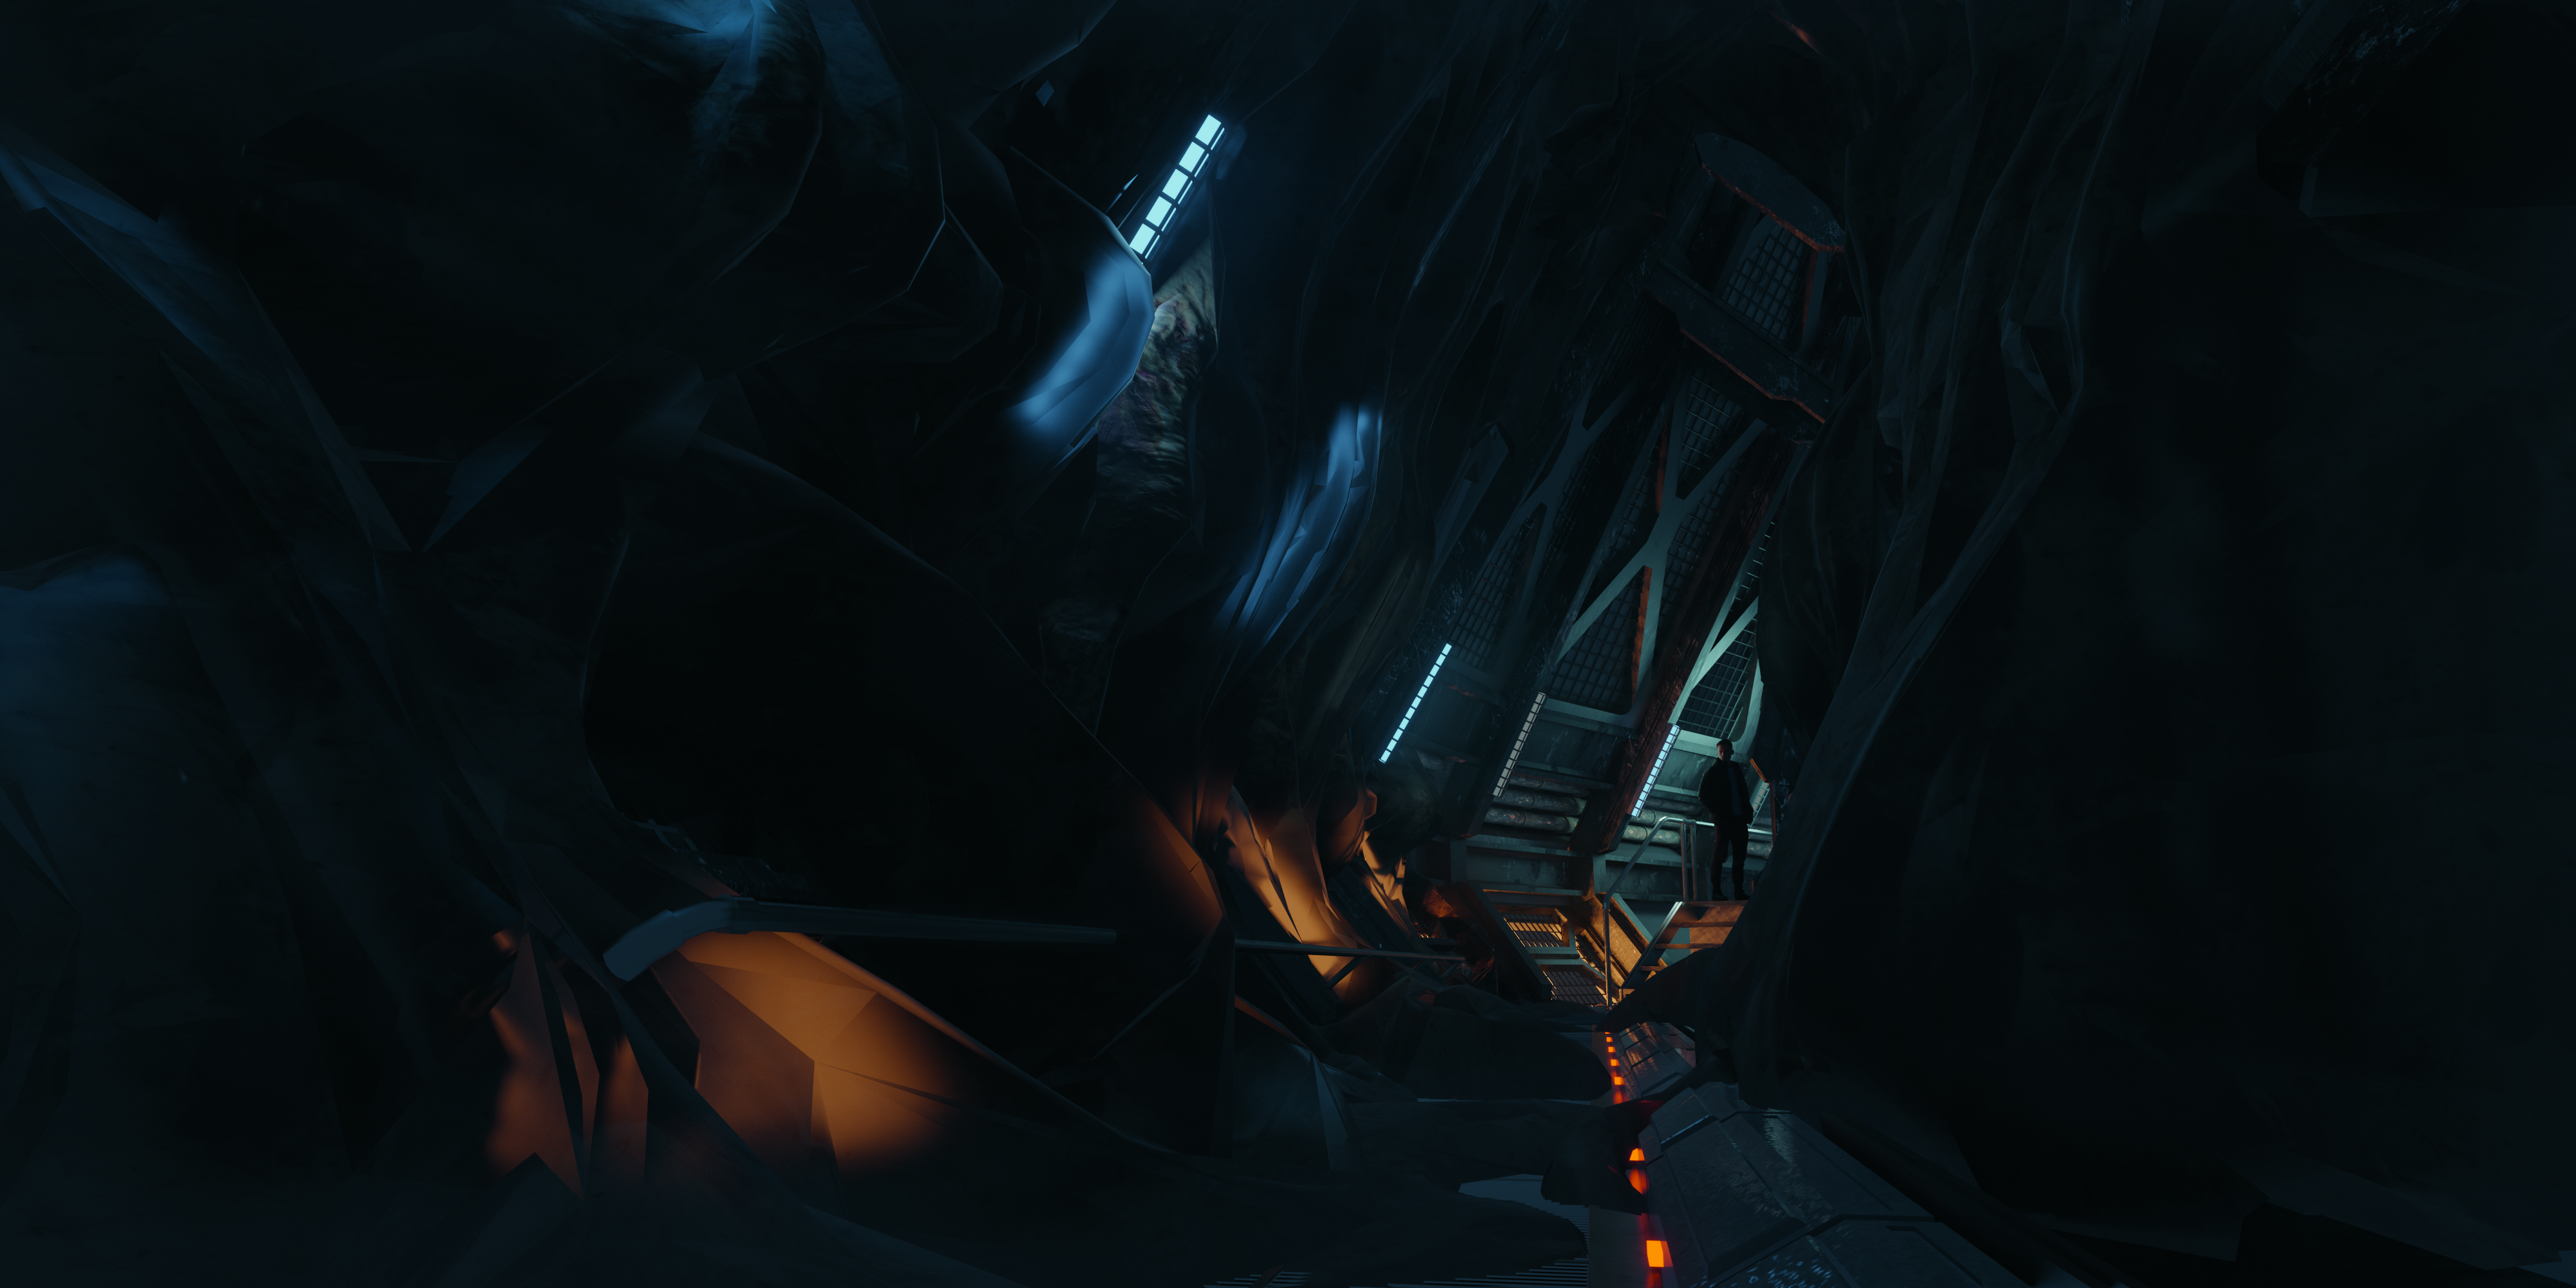
08. Develop the lighting to push the eerie feeling
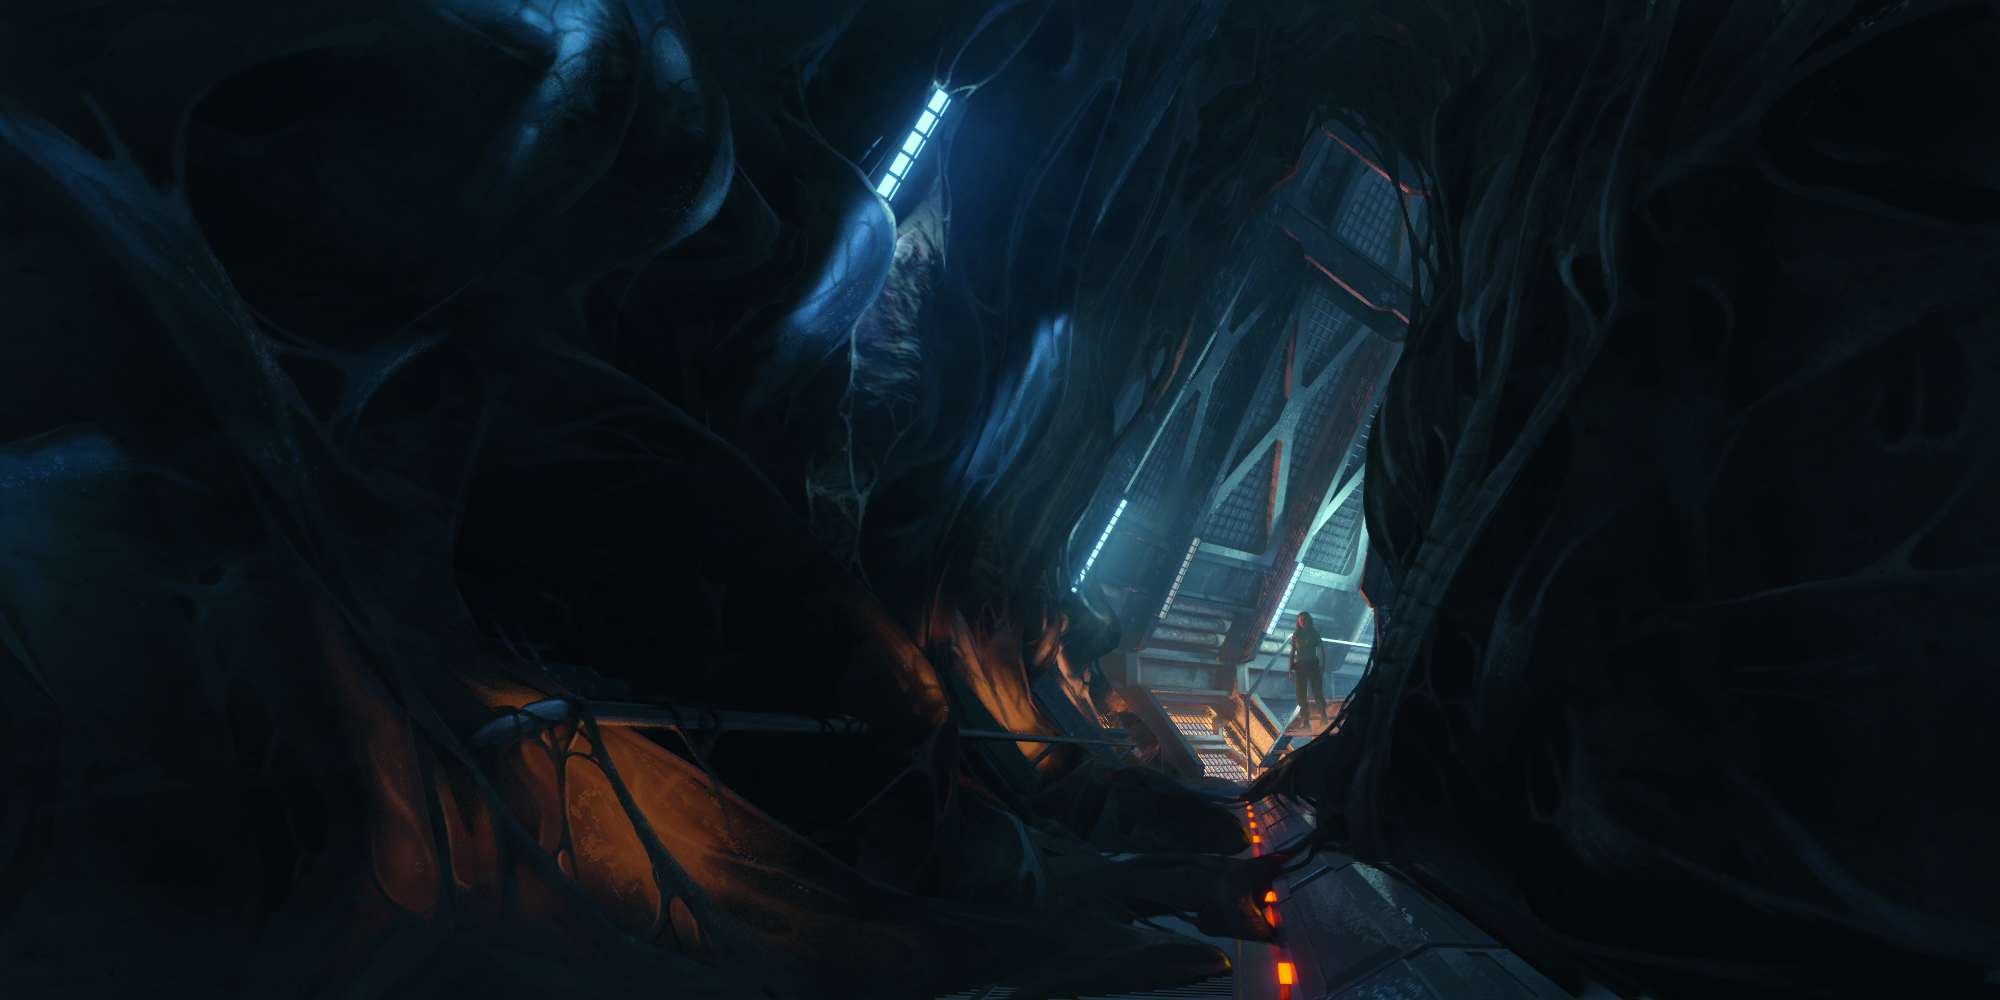
I changed the environment from grey to a deep blue reminiscent of the atmosphere in Aliens, and designed a series of fluorescent lights that sit vertically on each column and add a warm exterior uplight projecting through the windows and into the space. I also strategically included a series of small orange LEDs along the conveyor belt that contrast against the cooler tones and guide the eye toward the focal point.
For the hive, I used a skin material from Quixel Megascans to get an extra layer of detail for the complex surface. As my brief was for the corridor to feel industrial, I ensured the surfaces would read as highly reflective metalwork with a scratched and worn aesthetic. Always keep the amount of the materials in the frame to a minimum so that the image can be read clearly.
Render out the image along with three key render passes to help add depth to the shot: Volume, Mist and Bloom. Over in Procreate, the Volume layer is applied on a Screen layer at 100%, while the Mist pass is set to Screen on 40%. I adjusted the hue of the Mist layer to a cooler tone. Finally, Bloom is also applied on Screen at 100% to give a soft glow to all the lighting.
11. Create extra depth and atmosphere in the scene
To further enhance the depth of the image, let’s mask out the end of the hive using the Selection tool, set to Freehand. By using a large airbrush with a hint of texture, we can gently paint in a light, cool tone to make the character’s portion of the corridor stand out
Begin the painting process by smoothing out unwanted edges, surfaces and triangulation visible on the low-res hive. Using Procreate’s Nikko Rull brush, I targeted the areas that are most visible in light, such as the orange glow in the bottom-left corner. On top of this, I painted in finer webbed details, and then repeated the process across the rest of the hive structure. (See more Procreate tutorials here).
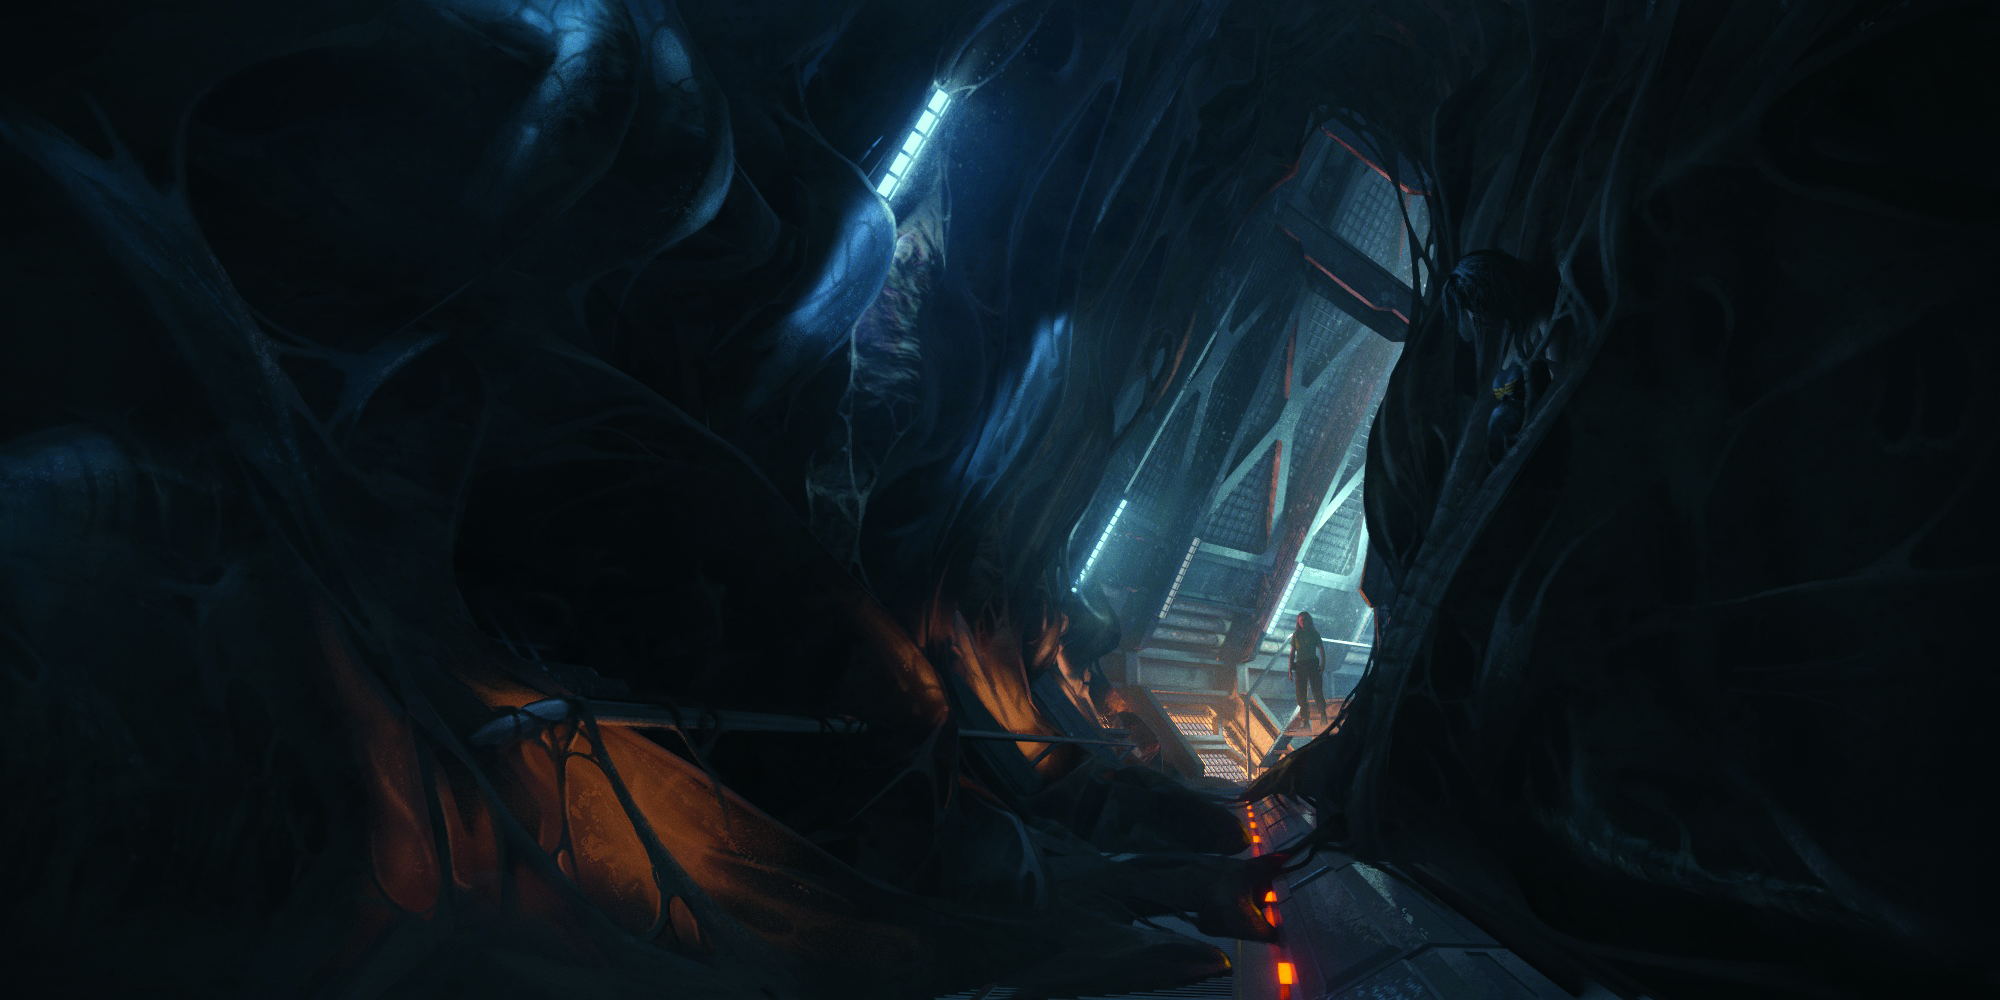
Using the airbrush, subtly paint in a vignette at the edges of the frame to enhance contrast. To increase the atmosphere, you can paint a soft glow to all the light sources, followed by a hint of particles using the Driven Snow brush. Finally, I added a screenshot of the character Kay to the Hive in my piece and adjusted her Hue, Brightness and Contrast to match
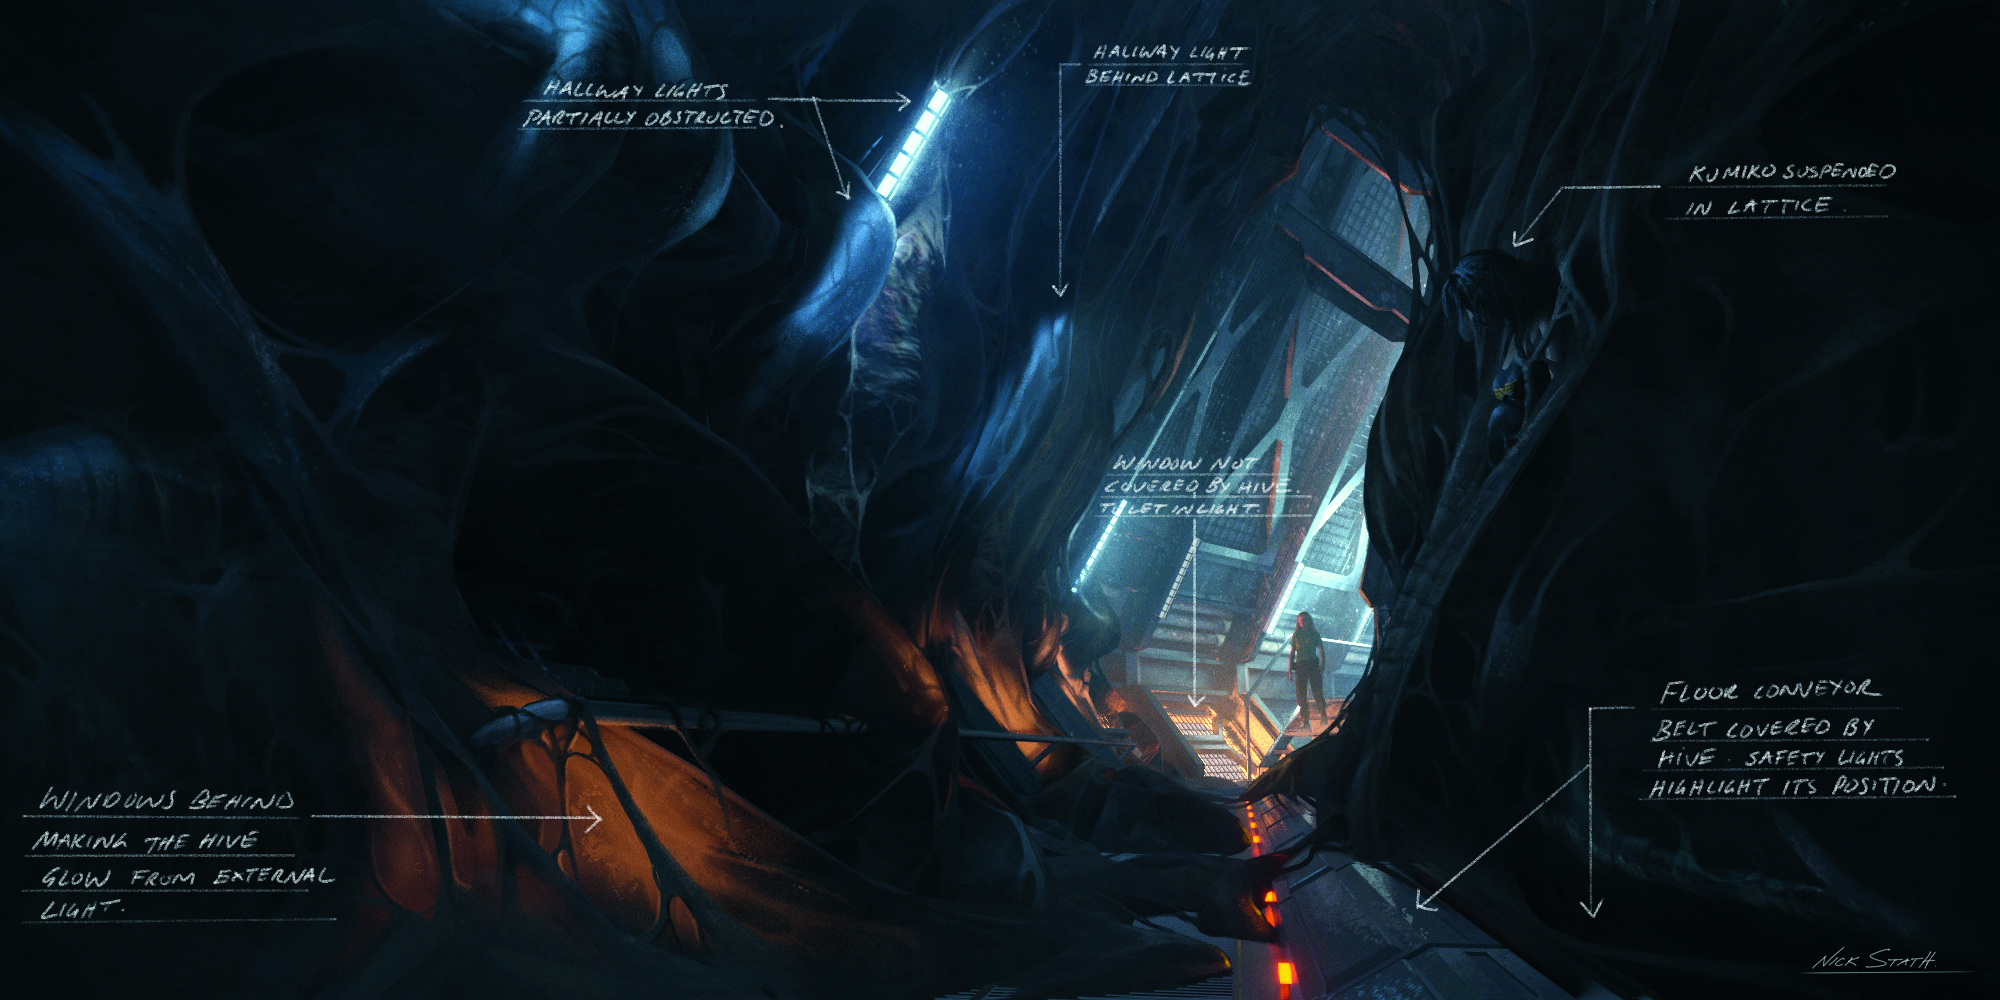
Export the image and take it into Photoshop for final touches, adding a Levels adjustment layer to increase the dark and light values of the image. On top of this, I decided to add a 50% grey layer with a Noise filter set to 3%. This layer is set to 30% opacity on Overlay. The final part of the process is to write up notes that capture all the key ideas of the design, and then you’re ready to present your concept.
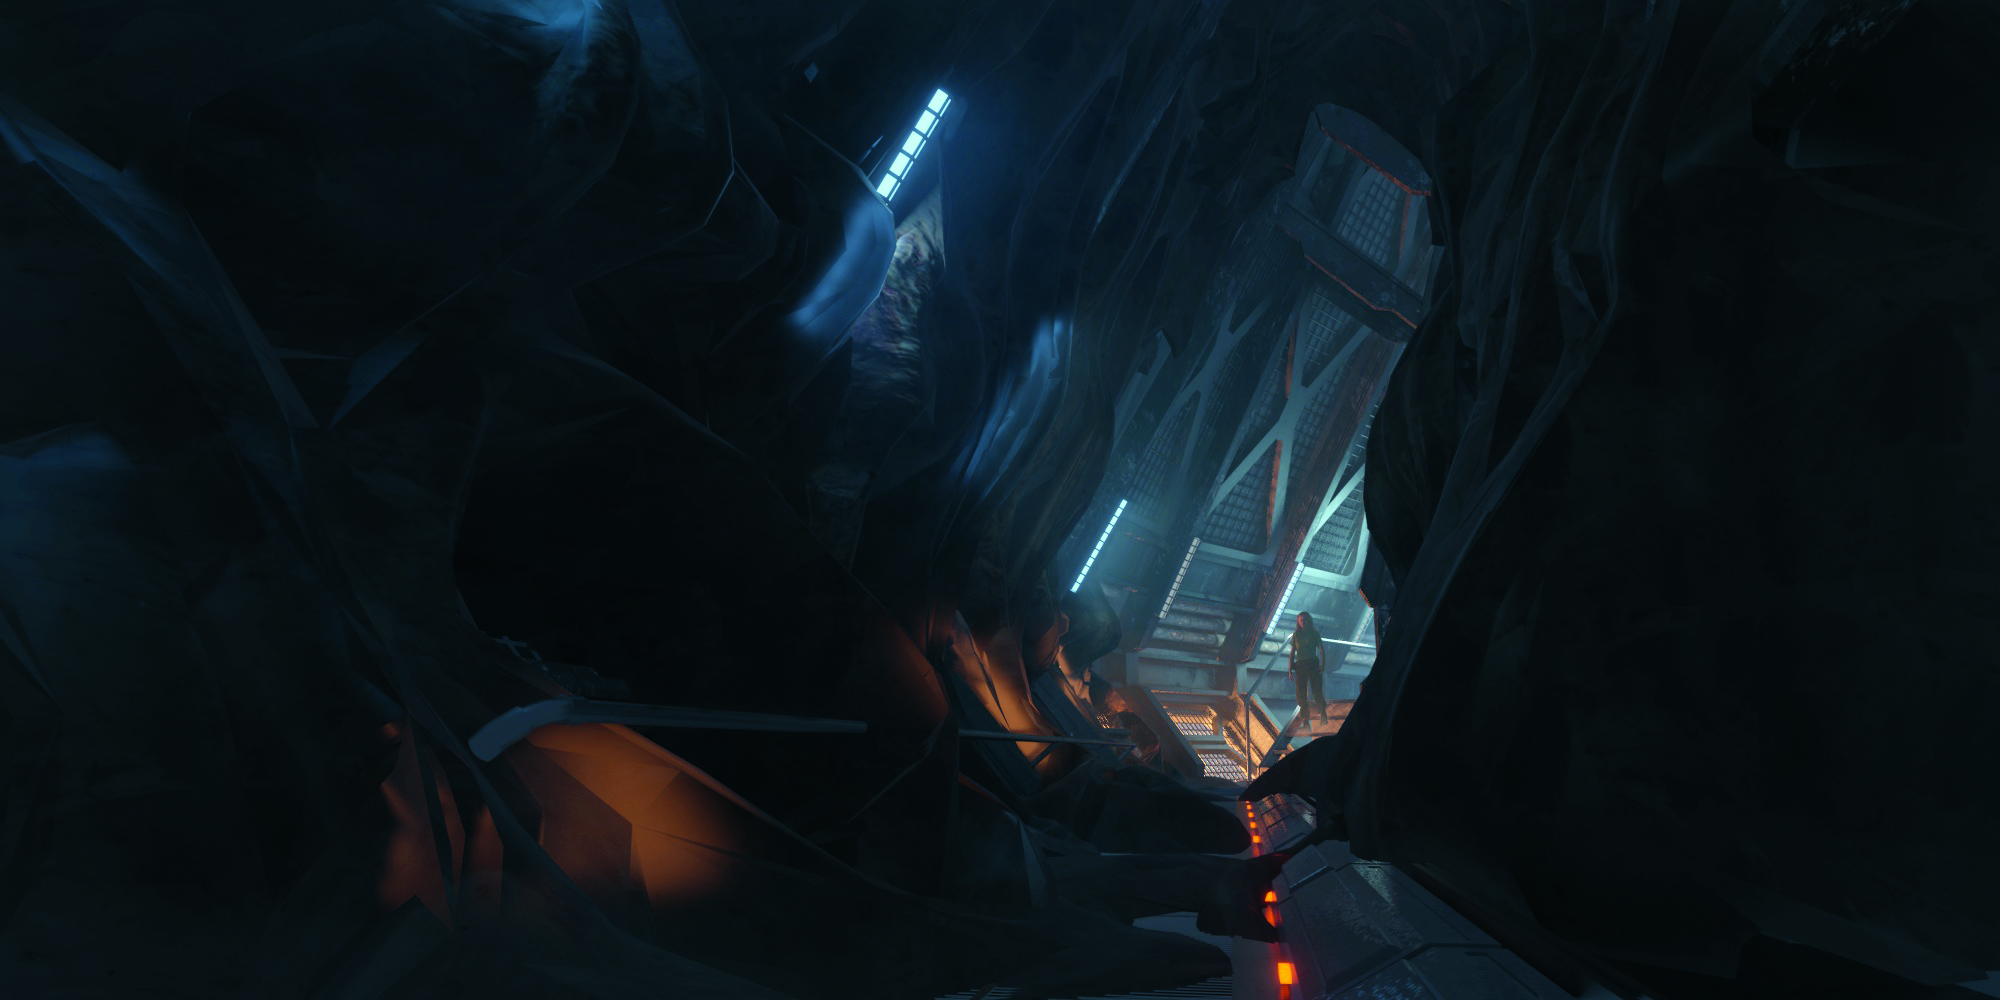
The final piece (Image credit: 20th Century Studios)
This content originally appeared in ImagineFX magazine, the world's leading digital art and fantasy art magazine. ImagineFX is on sale in the UK, Europe, United States, Canada, Australia and more. Limited numbers of ImagineFX print editions are available for delivery from our online store (the shipping costs are included in all prices)
Alternatively, you can access us instantly through our digital options: