How to bring snow to your scenes in with the help of a neat built-in plugin.
(Image credit: Rob Redman)
Using a particle system can be computationally expensive, especially when incorporated into a full 3D scene. Sometimes that’s unavoidable and render times just have to take a hit, but in many situations you can get away with doing it in post. This will depend on factors like objects in the scene or camera placement, but if you can get away with it, turning to something like Fusion or After Effects can be a real time-saver, and even a little easier than the best 3D software like Houdini or Maya.
Snow is a hard effect to achieve, it's much more difficult than adding rain, for instance, as it has more detail and density, both in the flakes you use as particles and in the motion itself.
In order to get the best blend of realism – or stylisation if that’s your goal – and efficiency, we're going to use one of After Effects' built-in plugins. This will give us some depth, controllable motion and the ability to design our own custom snowflake. Read our list of the bestAfter Effects plugins for more, and our round of the best After Effects tutorials for more advice.
This is where you can have some fun and tune your snow for the exact look you desire. You can either go down the realistic route, with nice soft-looking snowflakes, or maybe something more stylised for a kids’ show or cartoony project. Either way, it’s easy to set up and also highly versatile, so you can make it fit your needs. The underlying process to follow is just the same, with only a few details that need to change to get the look you’re after.
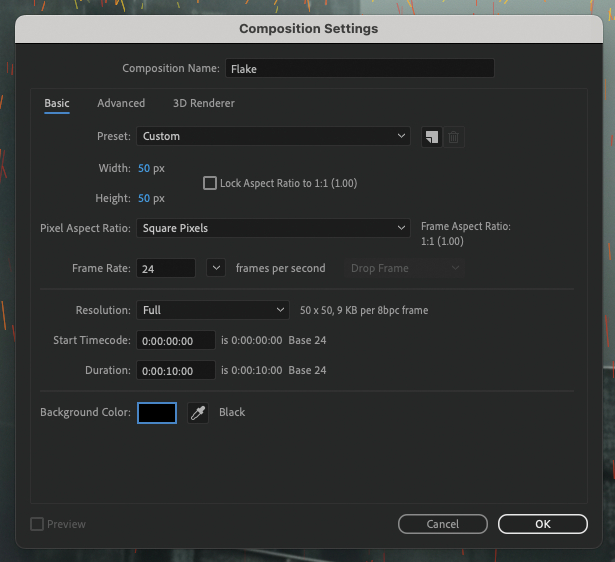
Just like you would with any project, you’ll need to create a new comp. Set this to full HD, so 1,920 x 1,080 pixels, and set a suitable frame rate. I’m using 24 fps for my example, but also using a still image. If you’re using a video file, match the comp to that file’s frame rate. Next set the colour to black, give the comp a length and a name so you stay organised, and hit Enter. You can then drag your image or footage onto the timeline. Set your working area to the length of the comp, in my case 10 seconds.
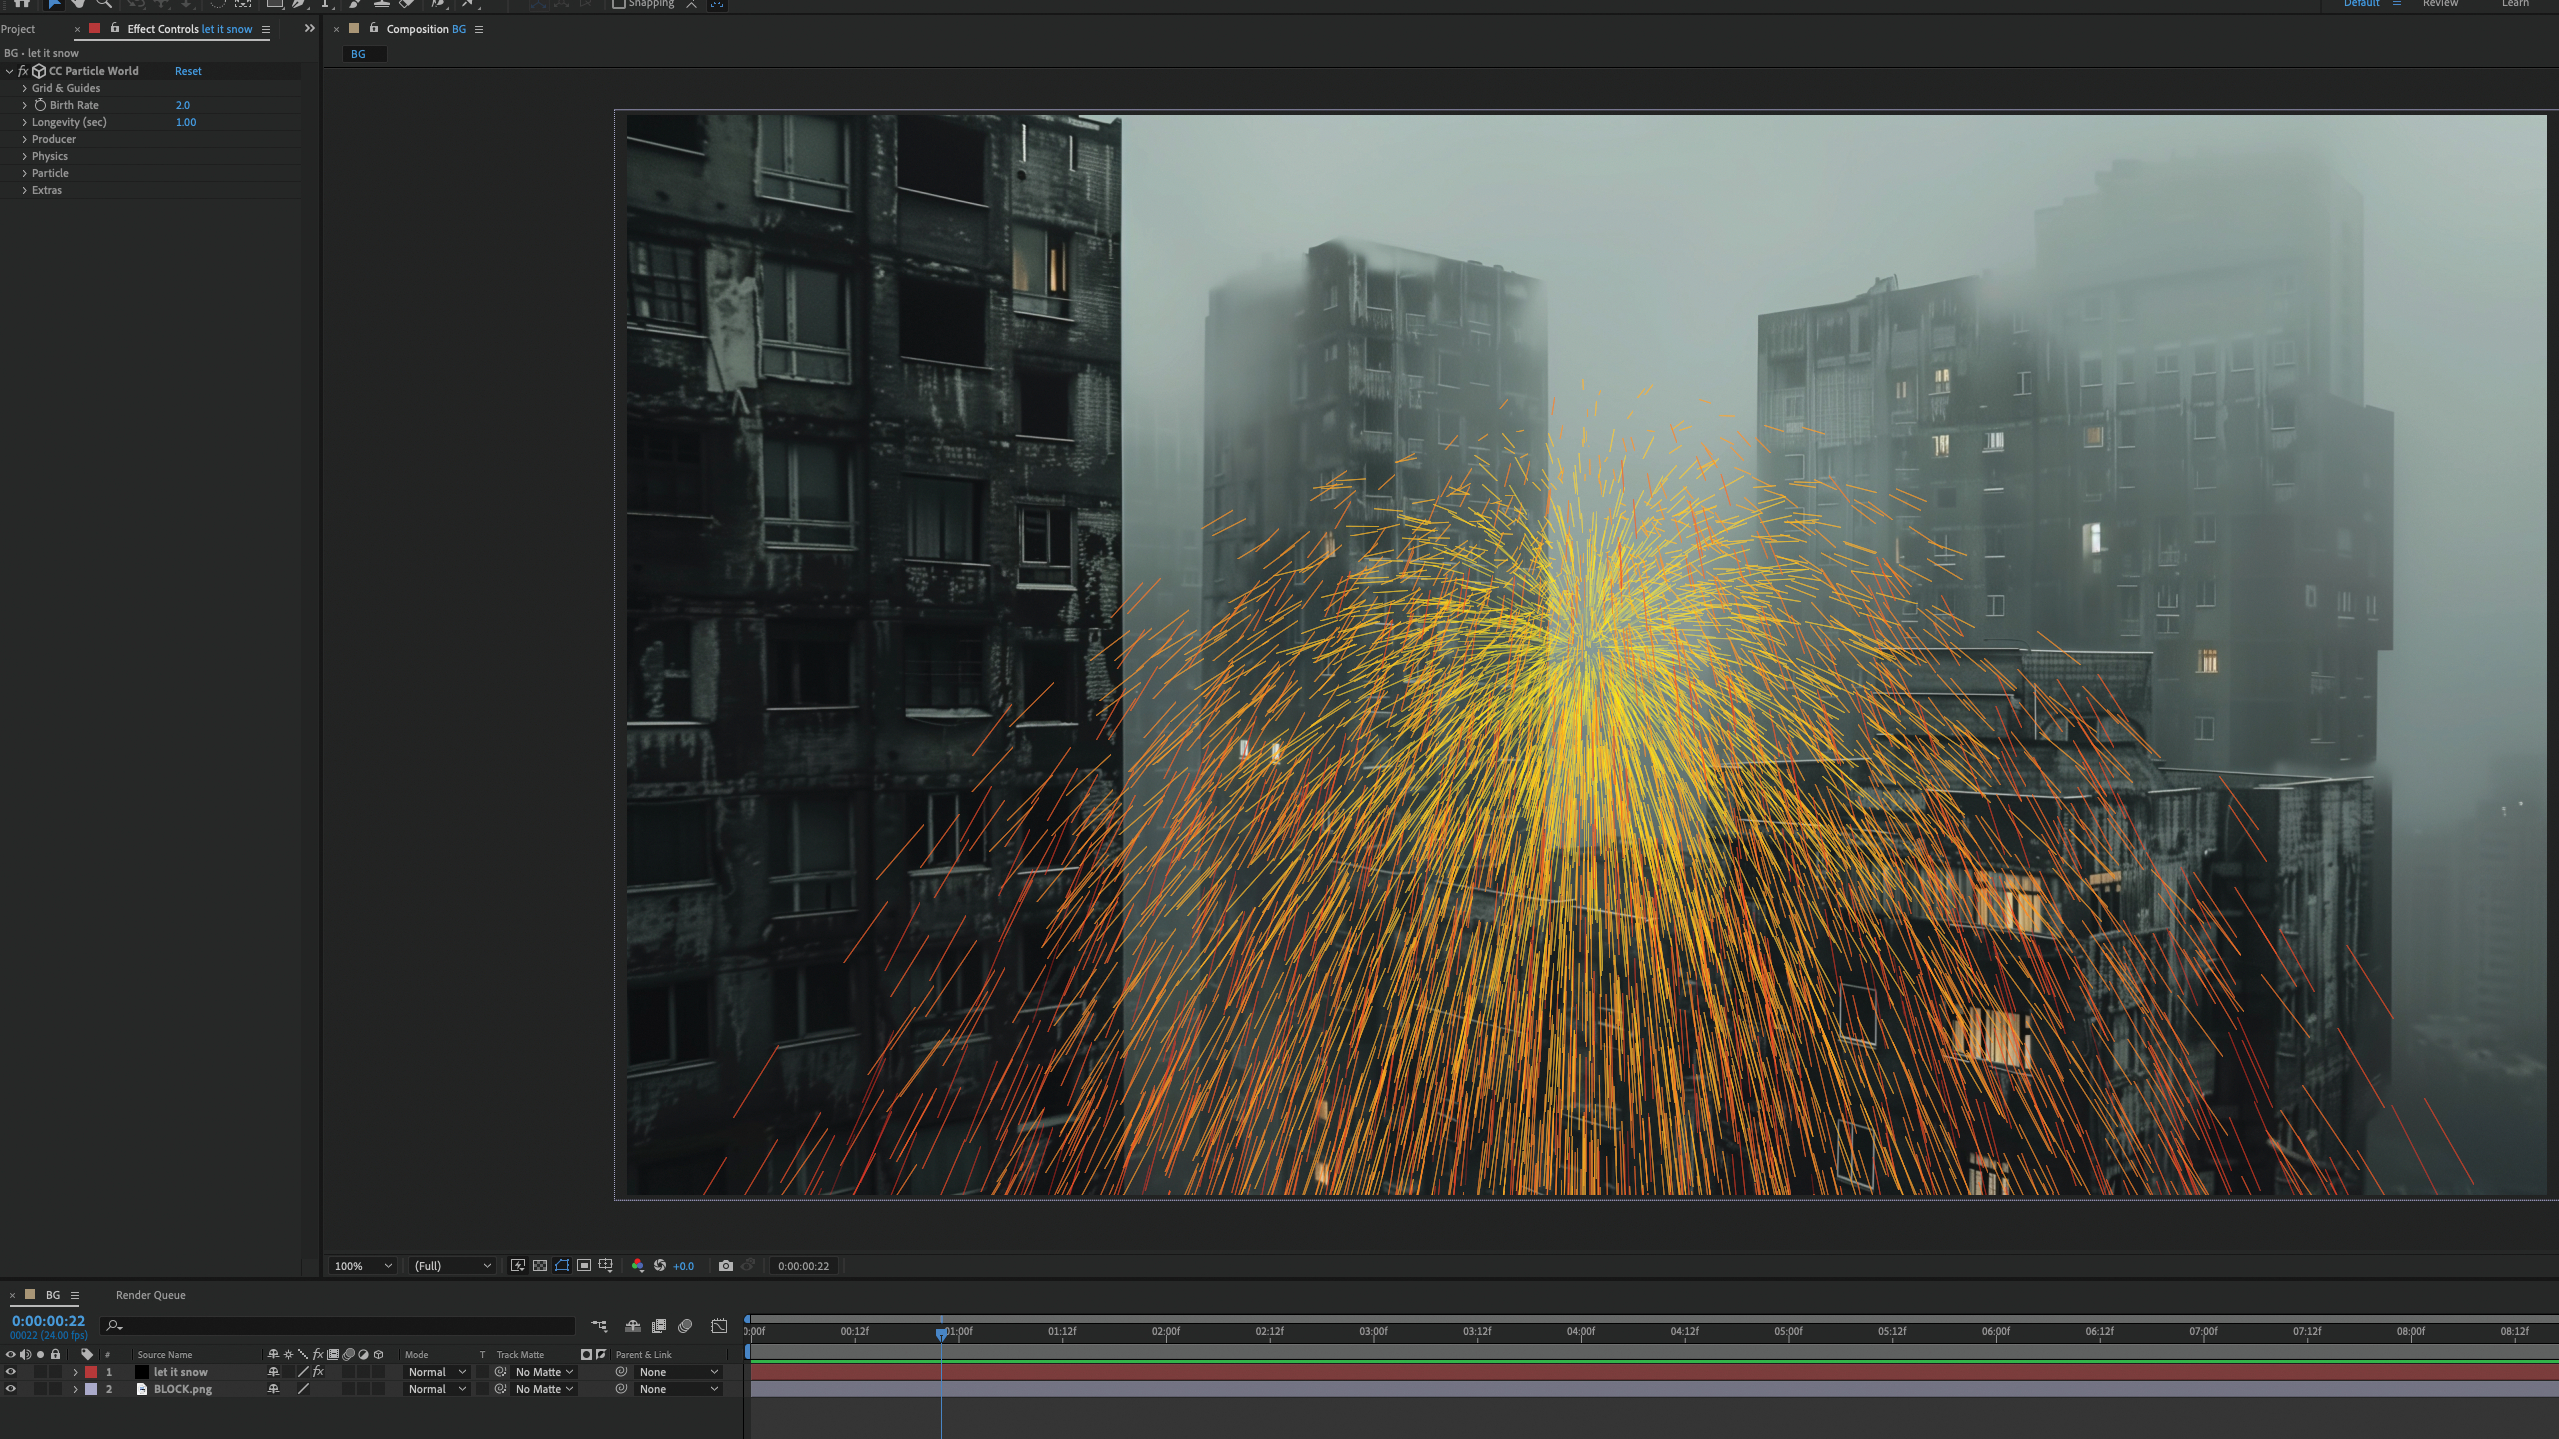
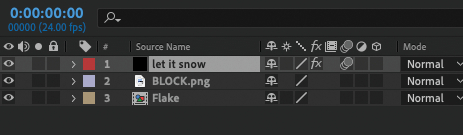
Add a new solid by hitting Ctrl+‘Y’. When the dialogue opens, give it a sensible name (I went with ‘let it snow’), make it black and click the Make Comp Size button. With that solid layer selected go to Effects > Simulation > Particle World to add a particle system to your scene. Some versions of After Effects will fail if you try to add this from the Effects and Presets panel, so don’t worry if that happens and just go via the menus instead. You can now scrub through the timeline to see the results.
As it stands this snow effect is good, but has one drawback: the snow starts to fall at the beginning of the timeline. That may work for some shots, but you may want to start with falling snow in the frame. That’s an easy fix. Simply drag the ‘let it snow’ layer to the left in the timeline until you get full coverage at frame 0. You can then extend the layer to cover the rest of the shot by clicking and dragging on the end of the colour bar for that layer.
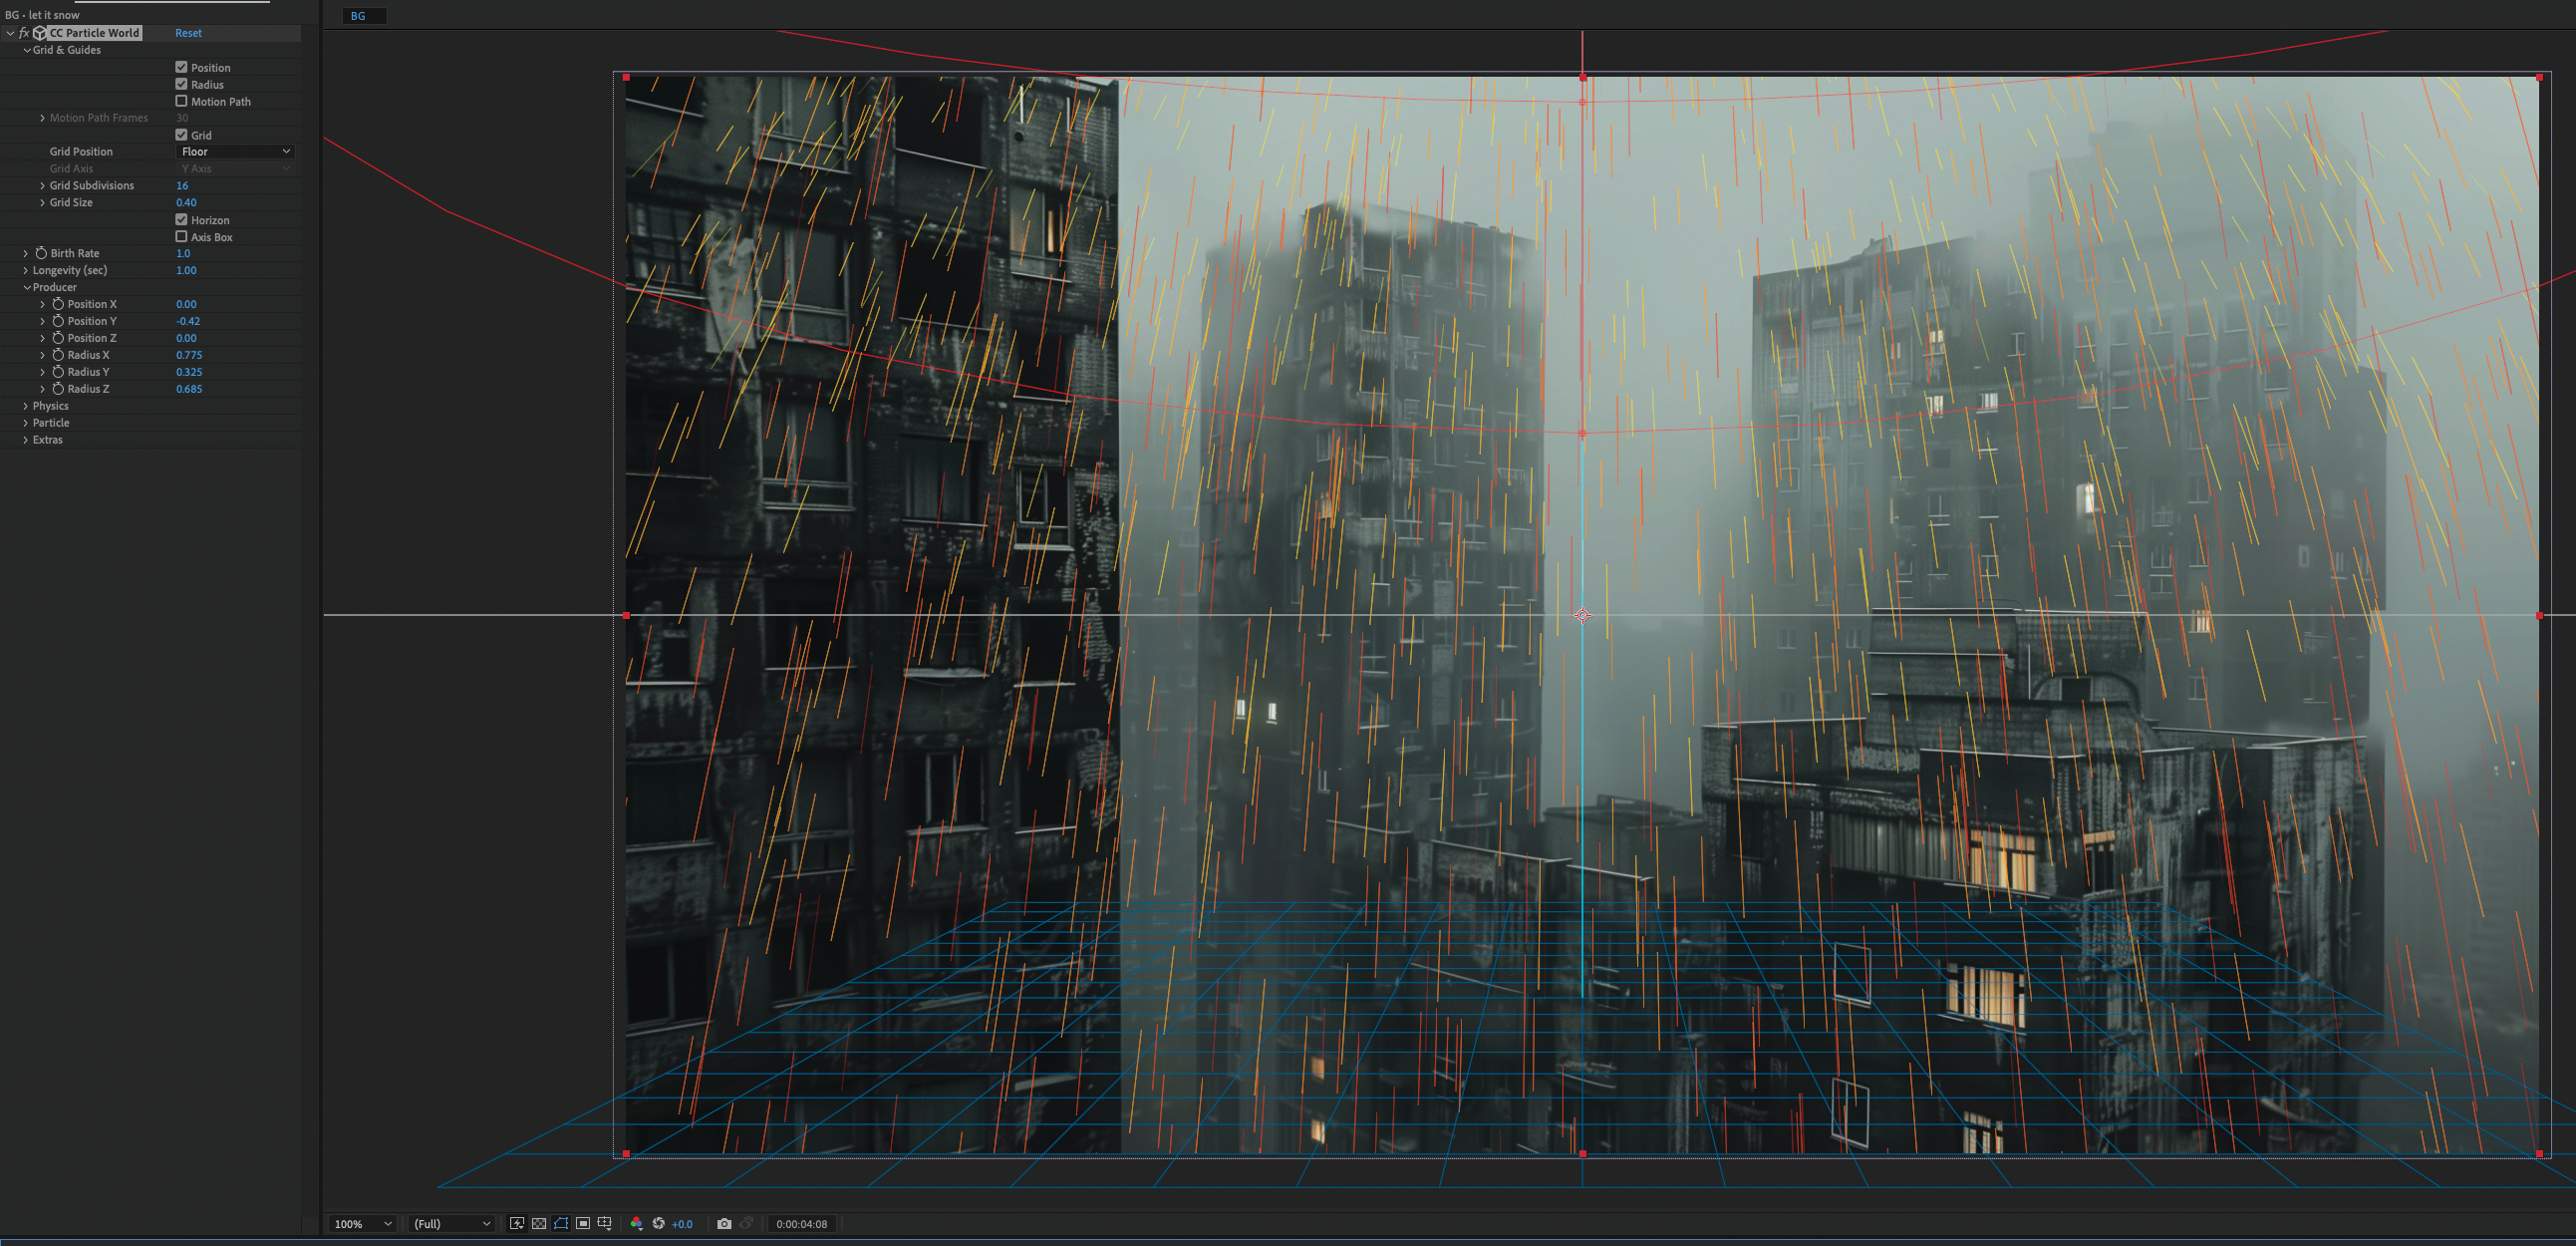
Well, that doesn't look like snow, does it!? Let’s tackle this step by-step. First of all, each particle is being emitted from a single point, so in the Effect controls, scroll down and open the Producer section. Increase the Radius in all three axes to something that fills your scene. Of course, this is scene dependent, so you can use my settings as a guide, but may want to adjust them. The Z axis is what gives us some depth, though it’s likely we’ll need to tweak that later. Also, move the Y Position so the Producer sits just above your frame.
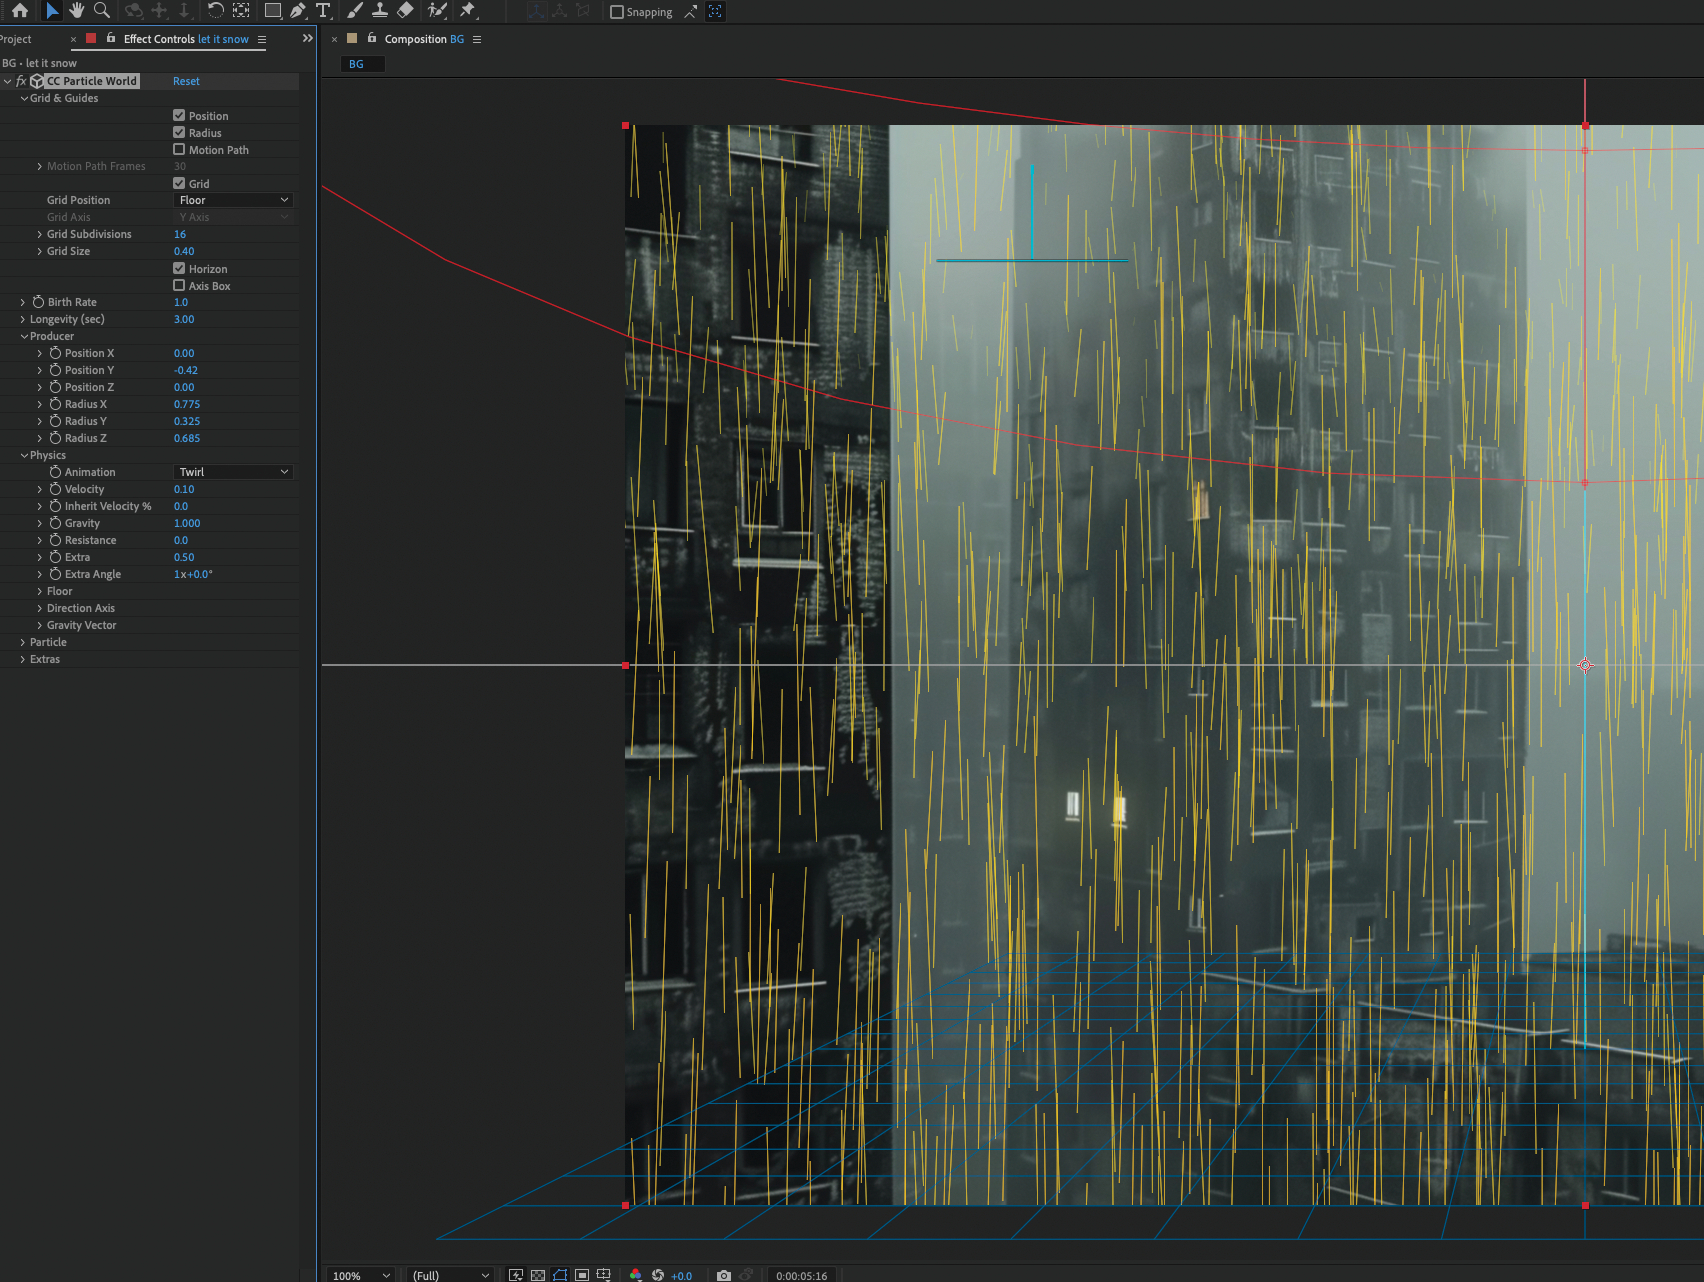
If you play your timeline now you’ll notice that everything is too fast and dense; it's certainly too fast to pass as realistic snowfall. To combat this, go to the ‘Longevity (sec)’ parameter and set it to 3.00. You’ll want this to fall across the frame for the most part, but not much longer. Next, open up the Physics dropdown and select Twirl as the Animation type. You could use Twirly instead, but I find that can look a little too aggressive for snowfall.
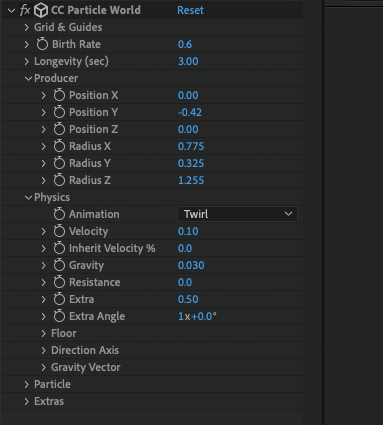
We’re getting there, but it's still looking too heavy and not quite 'drifty' enough. To add some lightness we need to play with the Gravity parameter. I opted for a setting of 0.03, but tweak it to your liking. The lower the number, the more drift in the snow. I also reduced the Birth Rate to 0.6 as I felt there was just too much snow. This may need tweaking later on, once we get the flakes in and can see a more finished result.
Any parameter where you see a stopwatch icon can be animated. There are lots of expressions available for automating this, but a popular one is Wiggle, where you can randomize the animation by value and time. Explore and experiment with this to achieve some lovely organic motion and variation.
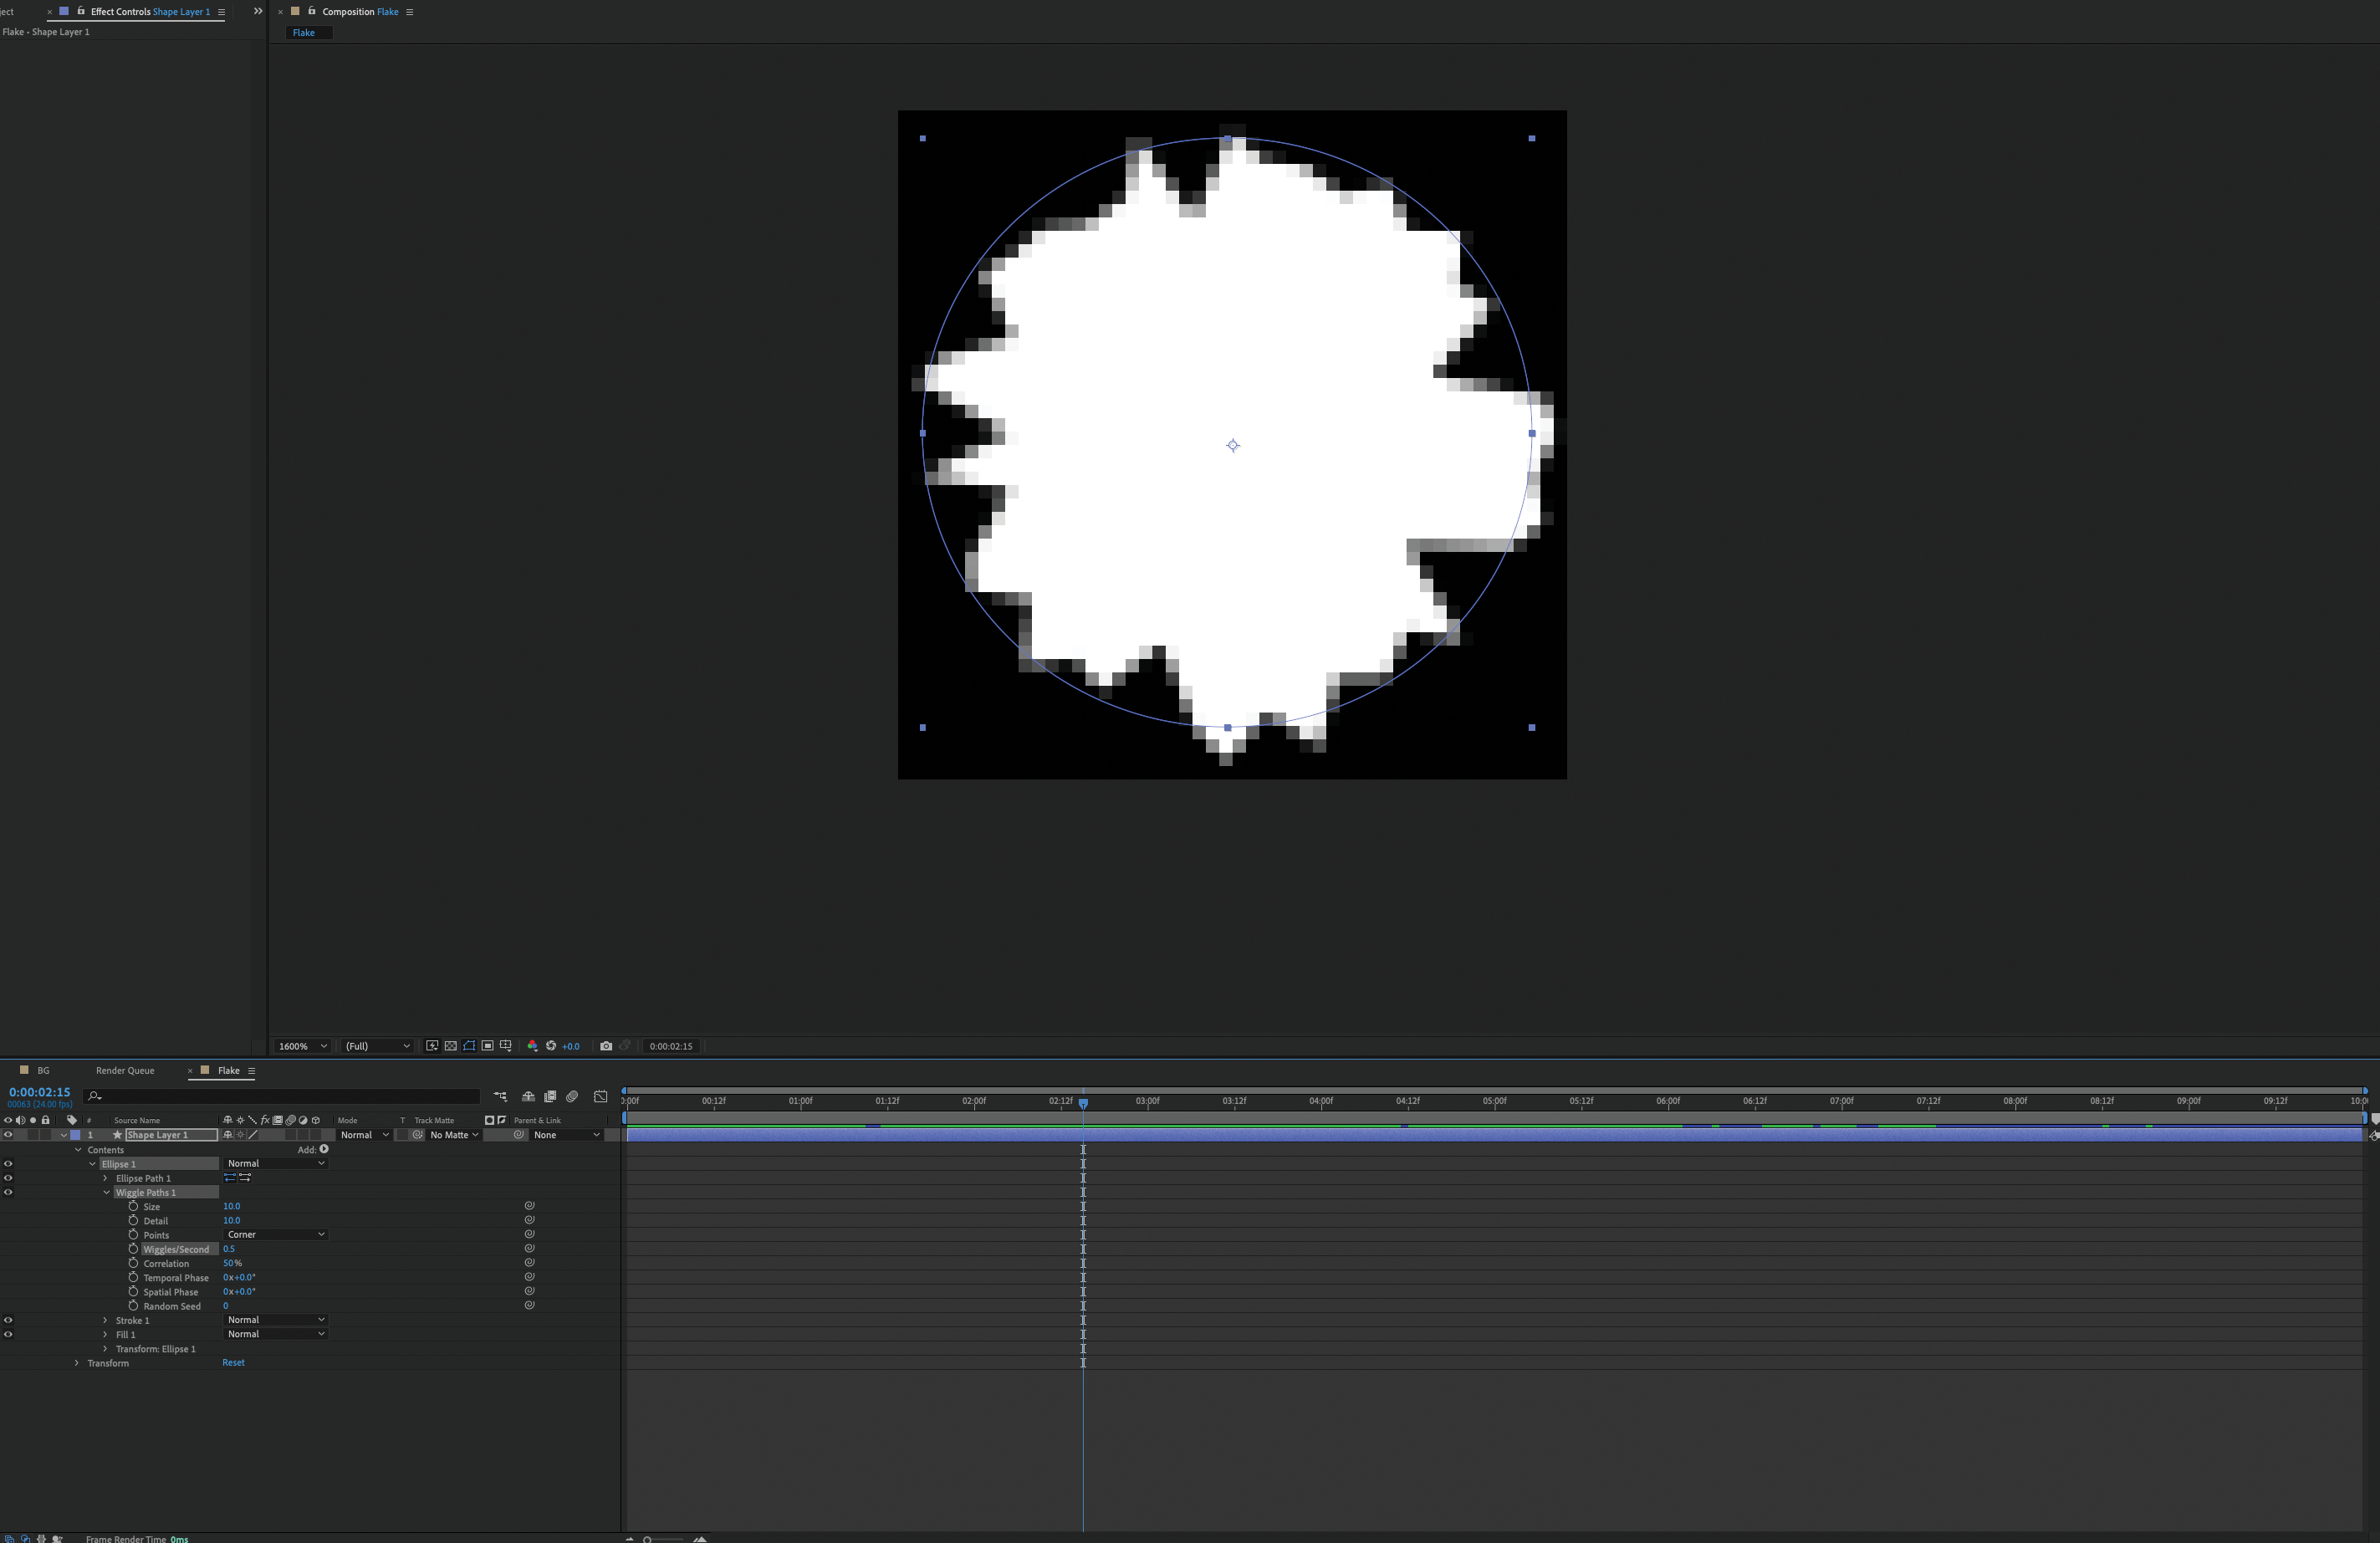
Create a new comp, make it black and 50 x 50 pixels, and then hit OK. Add a new Shape Layer from the Layer menu and add a white ellipse from the Add dropdown on the top toolbar. You can leave it here, or draw your own custom shape; whatever works for you. This is where you could add a more cartoon-like image, or go wild and have it snowing frogs. In this tutorial, I am going for something a little more realistic.
With the shape still selected, go back to the Add dropdown and add a Wiggle Path. You’ll see your shape now gets distorted. You can spend ages tinkering with these settings, but try to avoid doing that as the flakes will be small in the main comp, plus they will be moving, so you won't see too much. The Wiggle does animate over time though, and the default is a little strong, so reduce that by around half and play the timeline so you can double check the result.
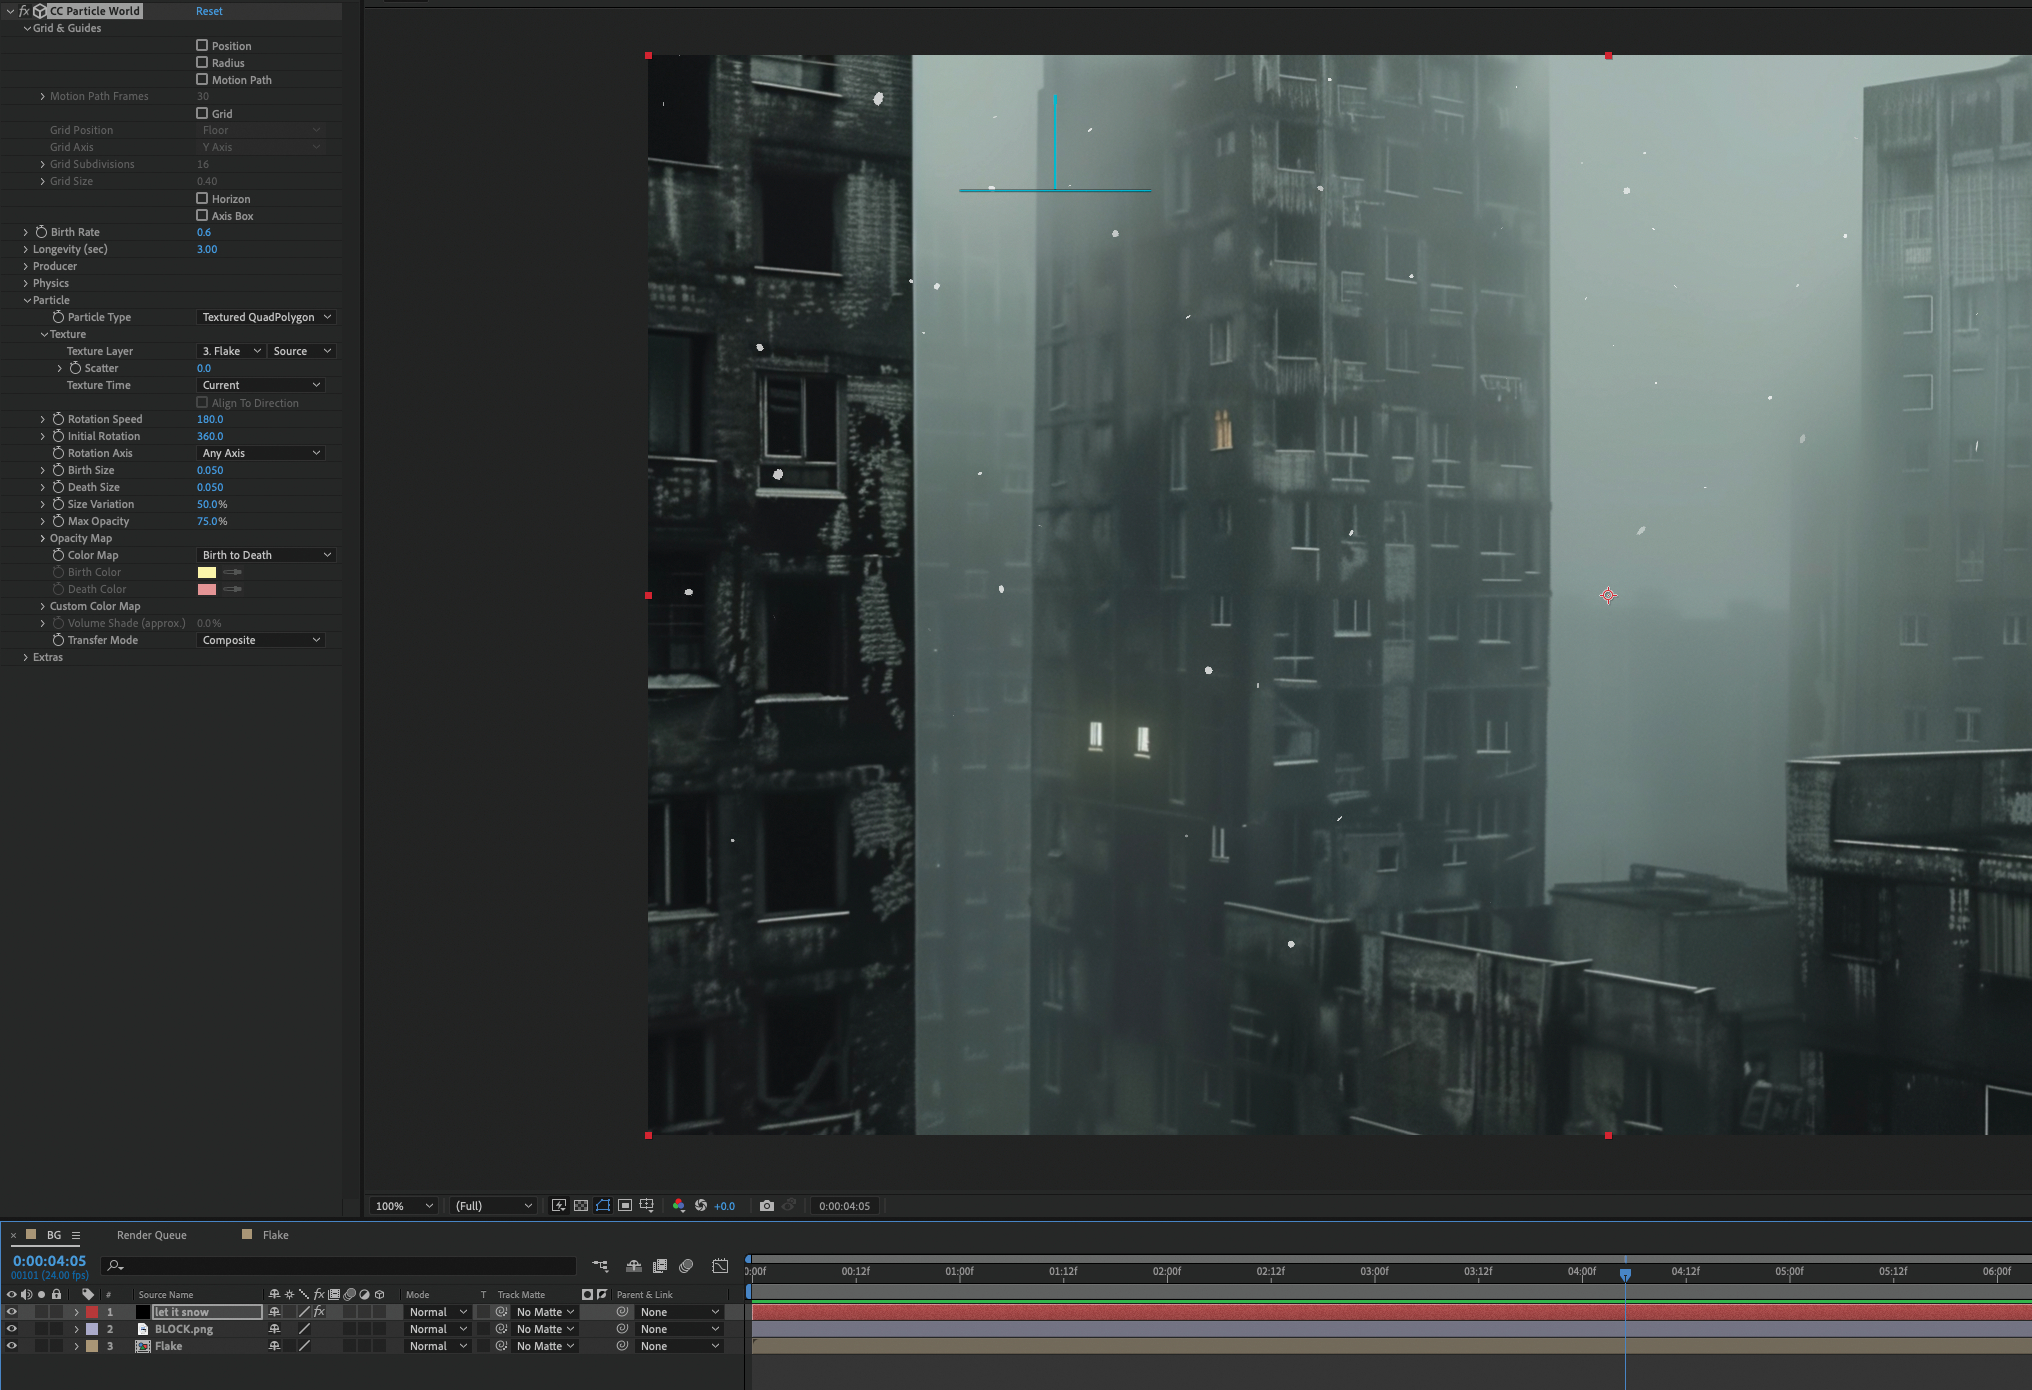
Now go back to the main scene and drag your flake comp into it. Select the ‘let it snow’ layer and head to the Effects controls. Here you can open the particle foldout and change the Particle Type to Textured QuadPolygon. In the Texture section, also change the layer to Flake, then play through the timeline to check. For my liking, the flakes were too big: This can be changed in the Flake Comp Shape layer, or stick here and change the Birth and Death sizes for the particles. I also turn off the stroke of the Shape Layer to remove the ugly outline.
After seeing the results, I decided to add in more flakes, so I increased the Birth Rate again. I actually went quite high, with a setting of 8.00, as it matched up with my initial intentions better. To get a more realistic result, I also activated Motion Blur on my ‘let it snow’ layer.
Do you have a 3D trick or hack? Share your advice in the comments below.
Get the Creative Bloq Newsletter
Daily design news, reviews, how-tos and more, as picked by the editors.
Thank you for reading 5 articles this month* Join now for unlimited access
Rob Redman is the editor of ImagineFX magazines and former editor of 3D World magazine. Rob has a background in animation, visual effects, and photography.
You must confirm your public display name before commenting
Please logout and then login again, you will then be prompted to enter your display name.