How to make an atmospheric lunar creation in After Effects with Red Giant VFX plugins
Discover Red Giant Geo’s handy tools.
April this year saw Maxon release a new Red Giant tool with Geo. It’s partly for artists who want to render 3D files in After Effects while skipping the step of rendering an object as a sequence of stills with alpha channels in rendering software, then adding these into their motion graphics software.
But there’s another aspect to Geo too: it performs the playback and rendering of thousands of objects, at speed, and is well worth considering if you need to create a potentially dangerous and expensive scene like a rockfall or underwater setting. (For more inspiration, check out our collection of After Effects tutorials).
Geo performs the playback and rendering of thousands of objects at great speed
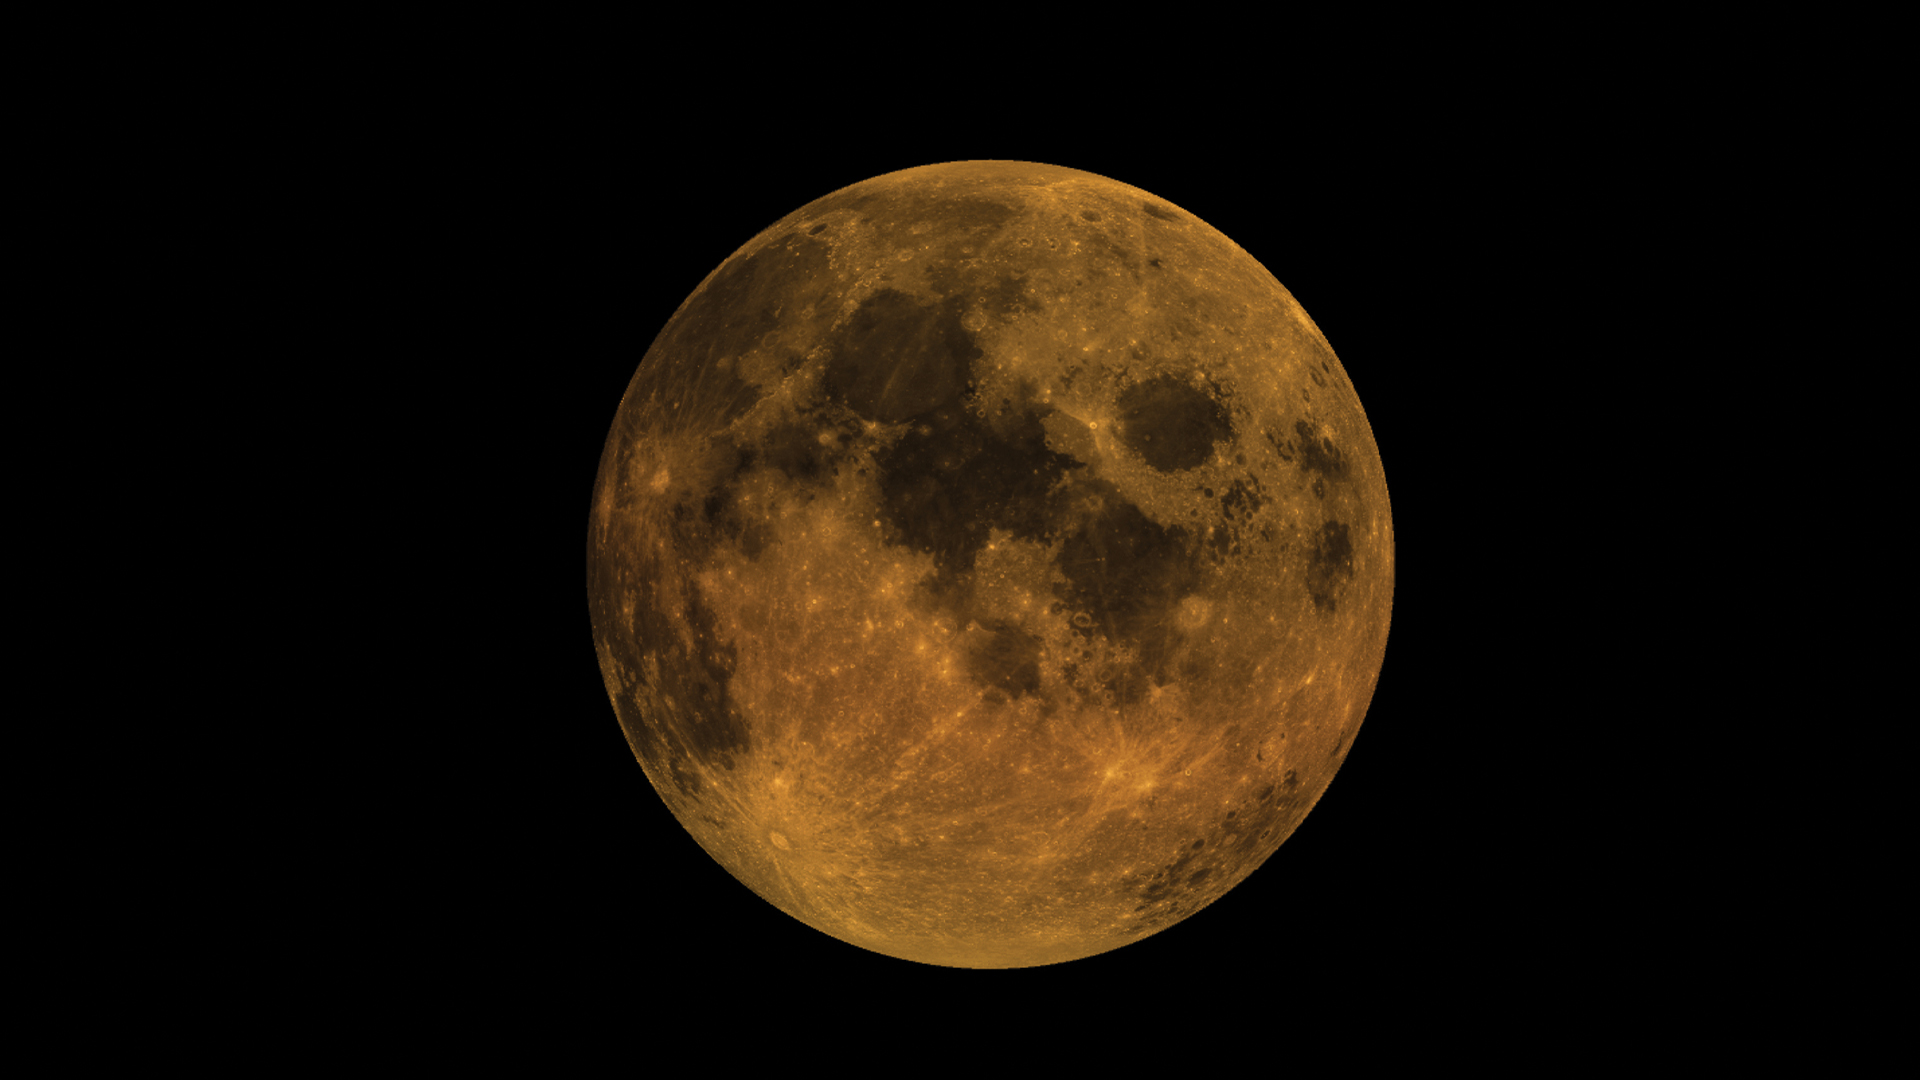
In this tutorial, we’ll be creating the Moon using Geo, with a little help from a UV map from NASA, and adding a rain shower in the foreground using Geo’s Clone tool. In the first four steps we’ll make the rotating Moon, followed by creating the rainfall. For me, Geo’s best selling point is its Clone tool, which can clone a 3D object thousands of times, handle it well and render it fast, as we’ll see with the raindrops; but they could easily be snow or rocks too.
One tool that won’t be covered is the Shadow Catcher, which is well worth exploring once you’re familiar with Geo. If you’re using a Red Giant trial, take the time to add native After Effects effects such as camera lens blur or lens flare to the scene, or test out the Bokeh Transition added to Red Giant Universe and Real Lens Flares in the Red Giant VFX set. This includes Obscuration layer ability so a flare can be calculated by reacting to obscuring shapes you place in front of the light.
01. Import a sphere across from Geo

Open a new composition in After Effects at either 1,920 x 1,080 or 3,048 x 2,040 as you prefer. Create a new solid, go to the Effects panel and select ‘RG Trapcode’, then Geo. Open up the Geometry, select your sphere, and resize it to suit your needs.
02. Grab the Moon Maps
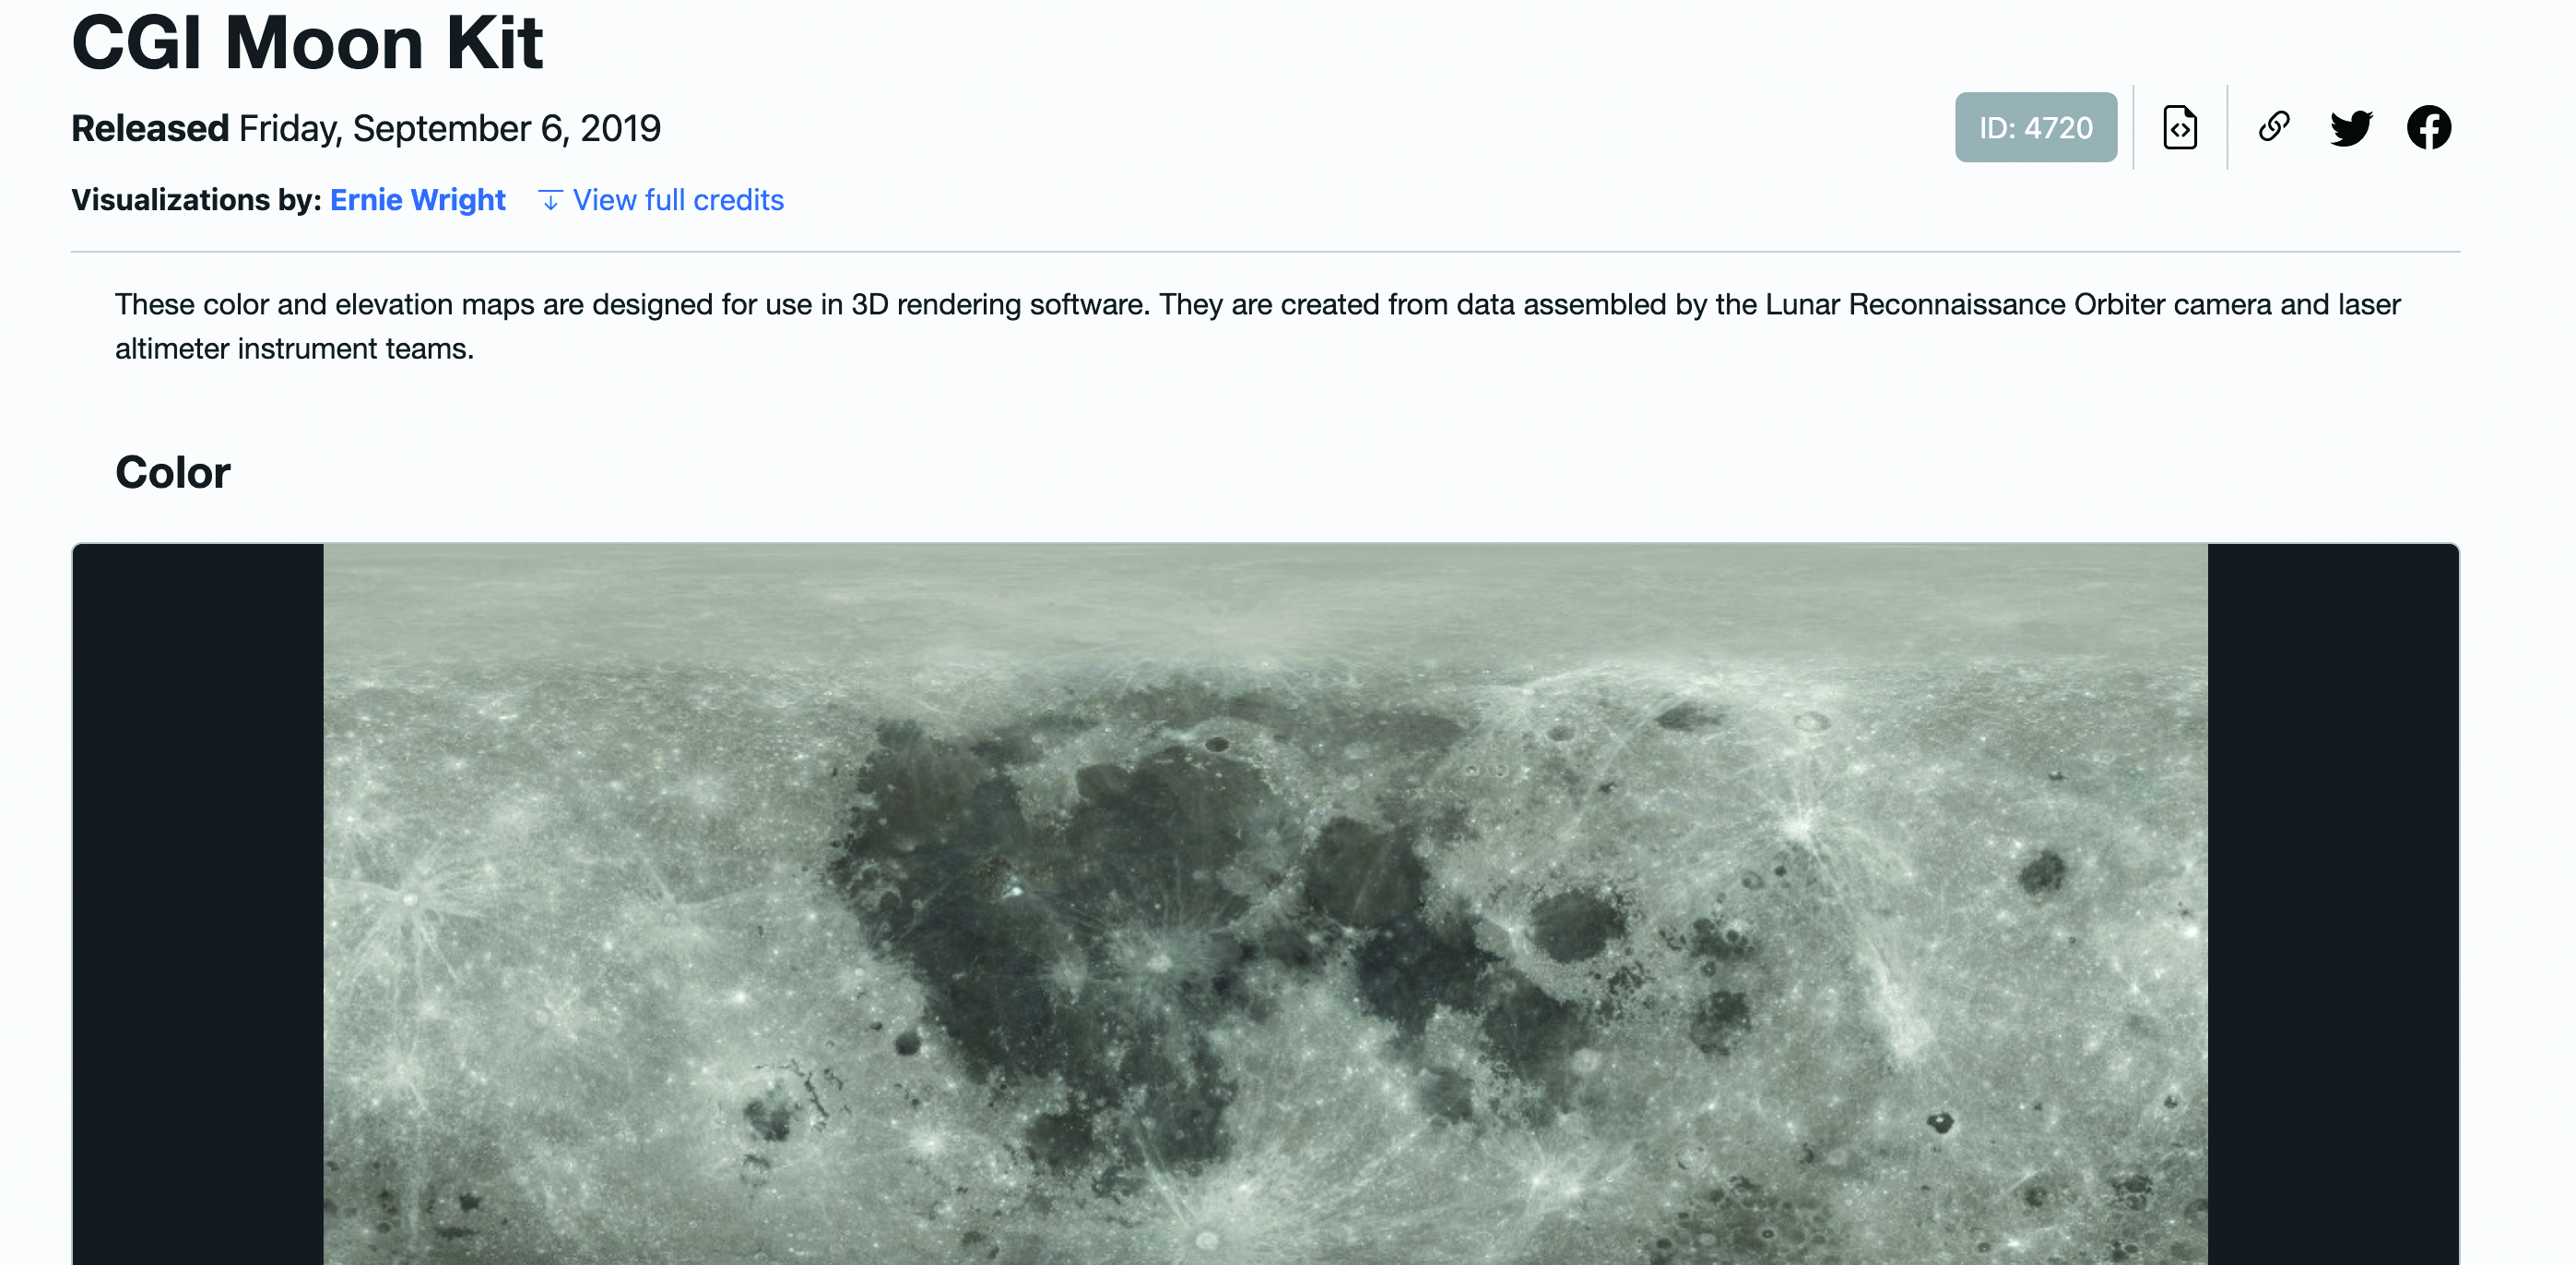
For this project we’re going to use a UV map of the Moon from NASA, which you can download here. There are two maps in the kit: one Colour map and one Displacement map. Each has been made using the Lunar Reconnaissance Orbiter camera and laser altimeters. Import these maps and we can move on.
03. Link the bump and emission maps
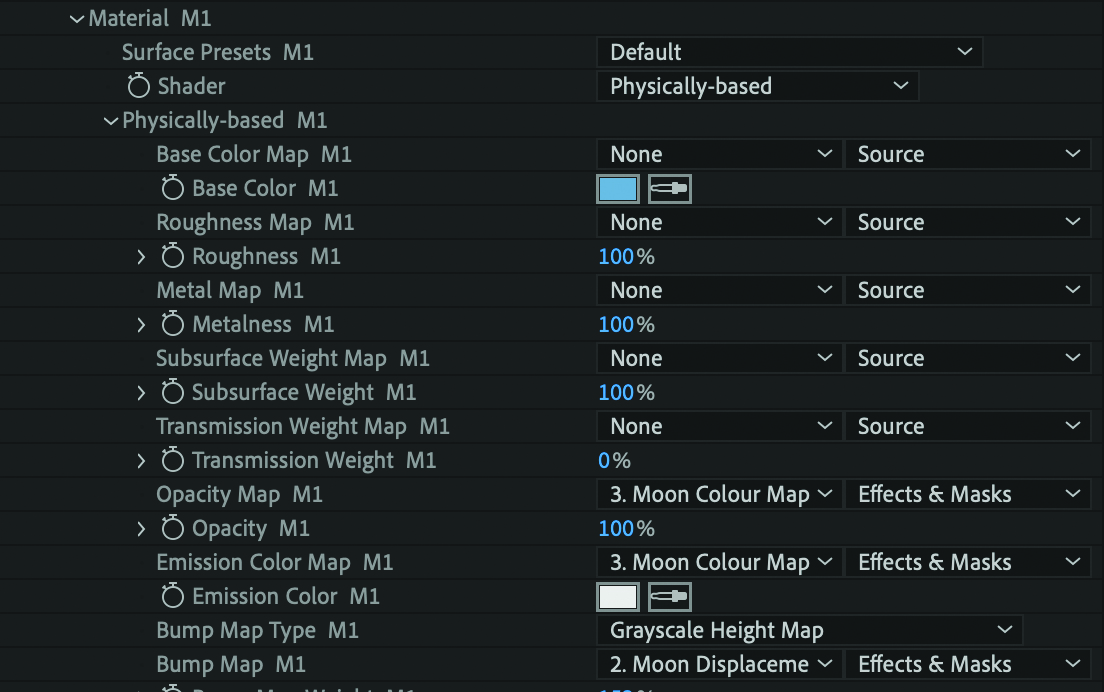
Drag the imported maps into the composition. Back in the Geo Effects panel, link both the Bump and Emission maps to the files you’ve just dragged into the composition. You’ll see the sphere change from looking plain to having the surface texture and pattern of the Moon. Change the colour in Geo to get the Moon’s usual grey complexion, or choose a red or yellow hue if you’re going for a blood moon.
04. Rotate and export
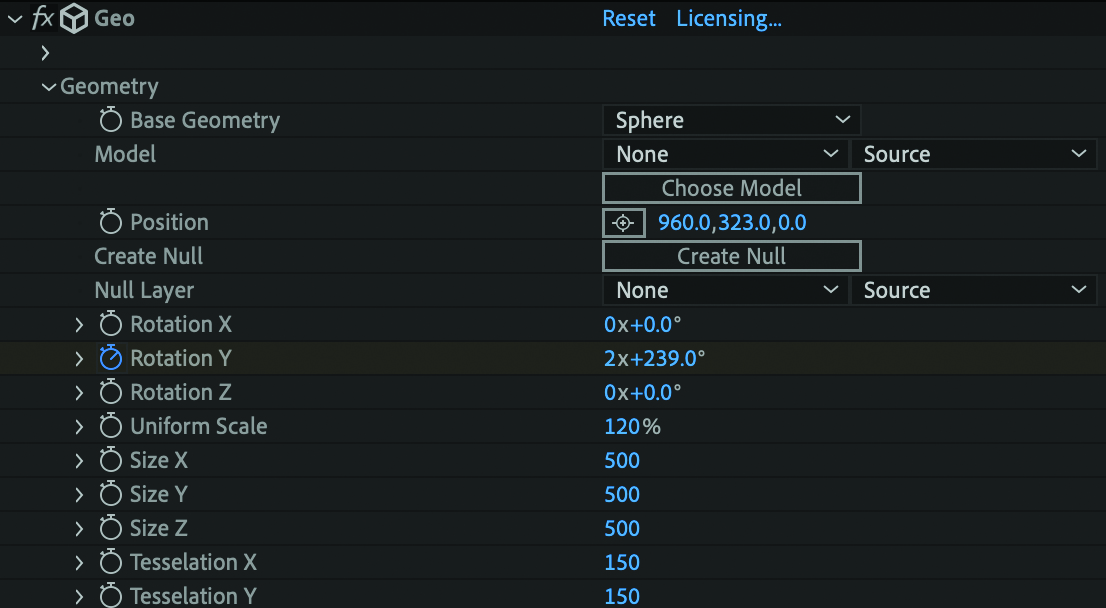
Now rotate the Moon using the Stopwatch in the Geometry part of the Geo tool, then go back to the Geometry settings and activate the Stopwatch. Set the degree and number of rotations, and slide the marker along the timeline as appropriate. When finished, add your composition to the Adobe Media Encoder Queue and export it as desired. Settings that work well are H.264 and HD 1080p, as well as high-resolution JPEGs.
05. Bring in raindrops and pick a material
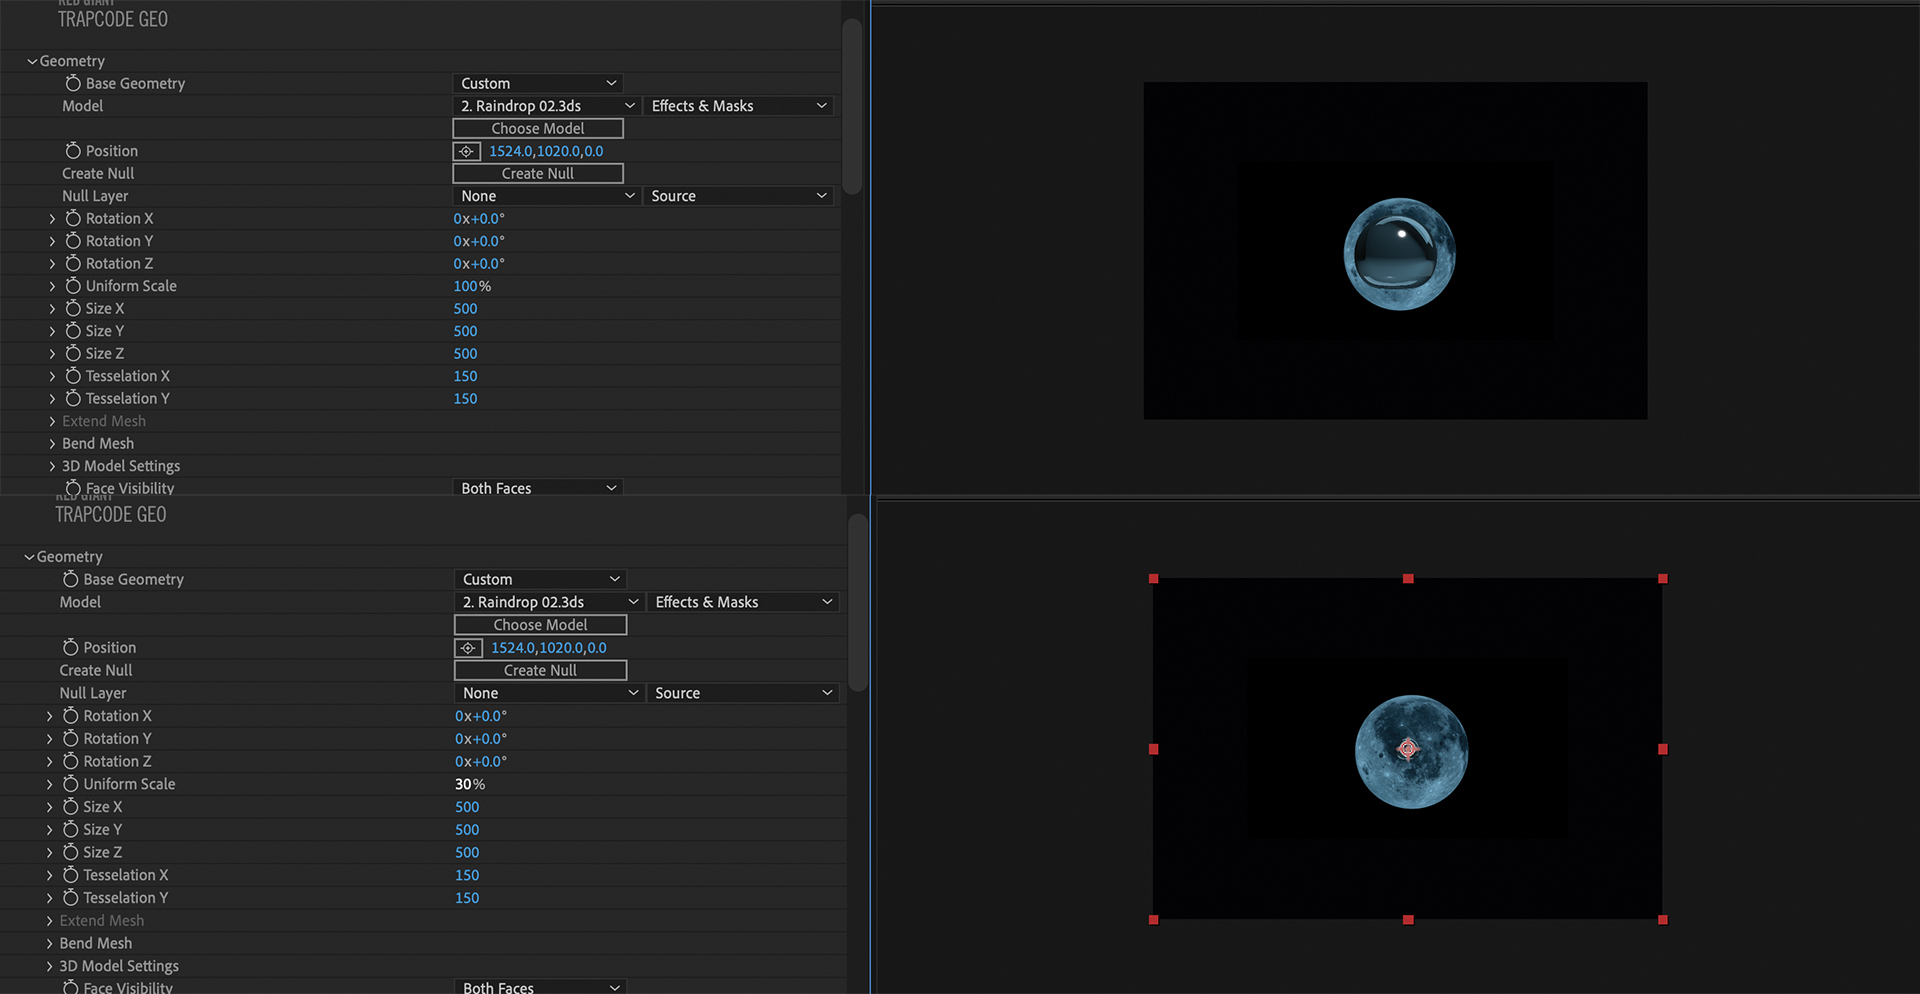
For the rainfall I used several 3D raindrops made in Rhino3D for variation, given that falling raindrops aren’t the commonly depicted teardrop shape and the scene needs a little variety. Drag the 3D file of the raindrop into the composition. As before, create a new solid and add the Geo effect to it. Link Geo to the newly imported raindrop, and in the Geometry section change its Uniform Scale to around 30% to prepare for cloning.
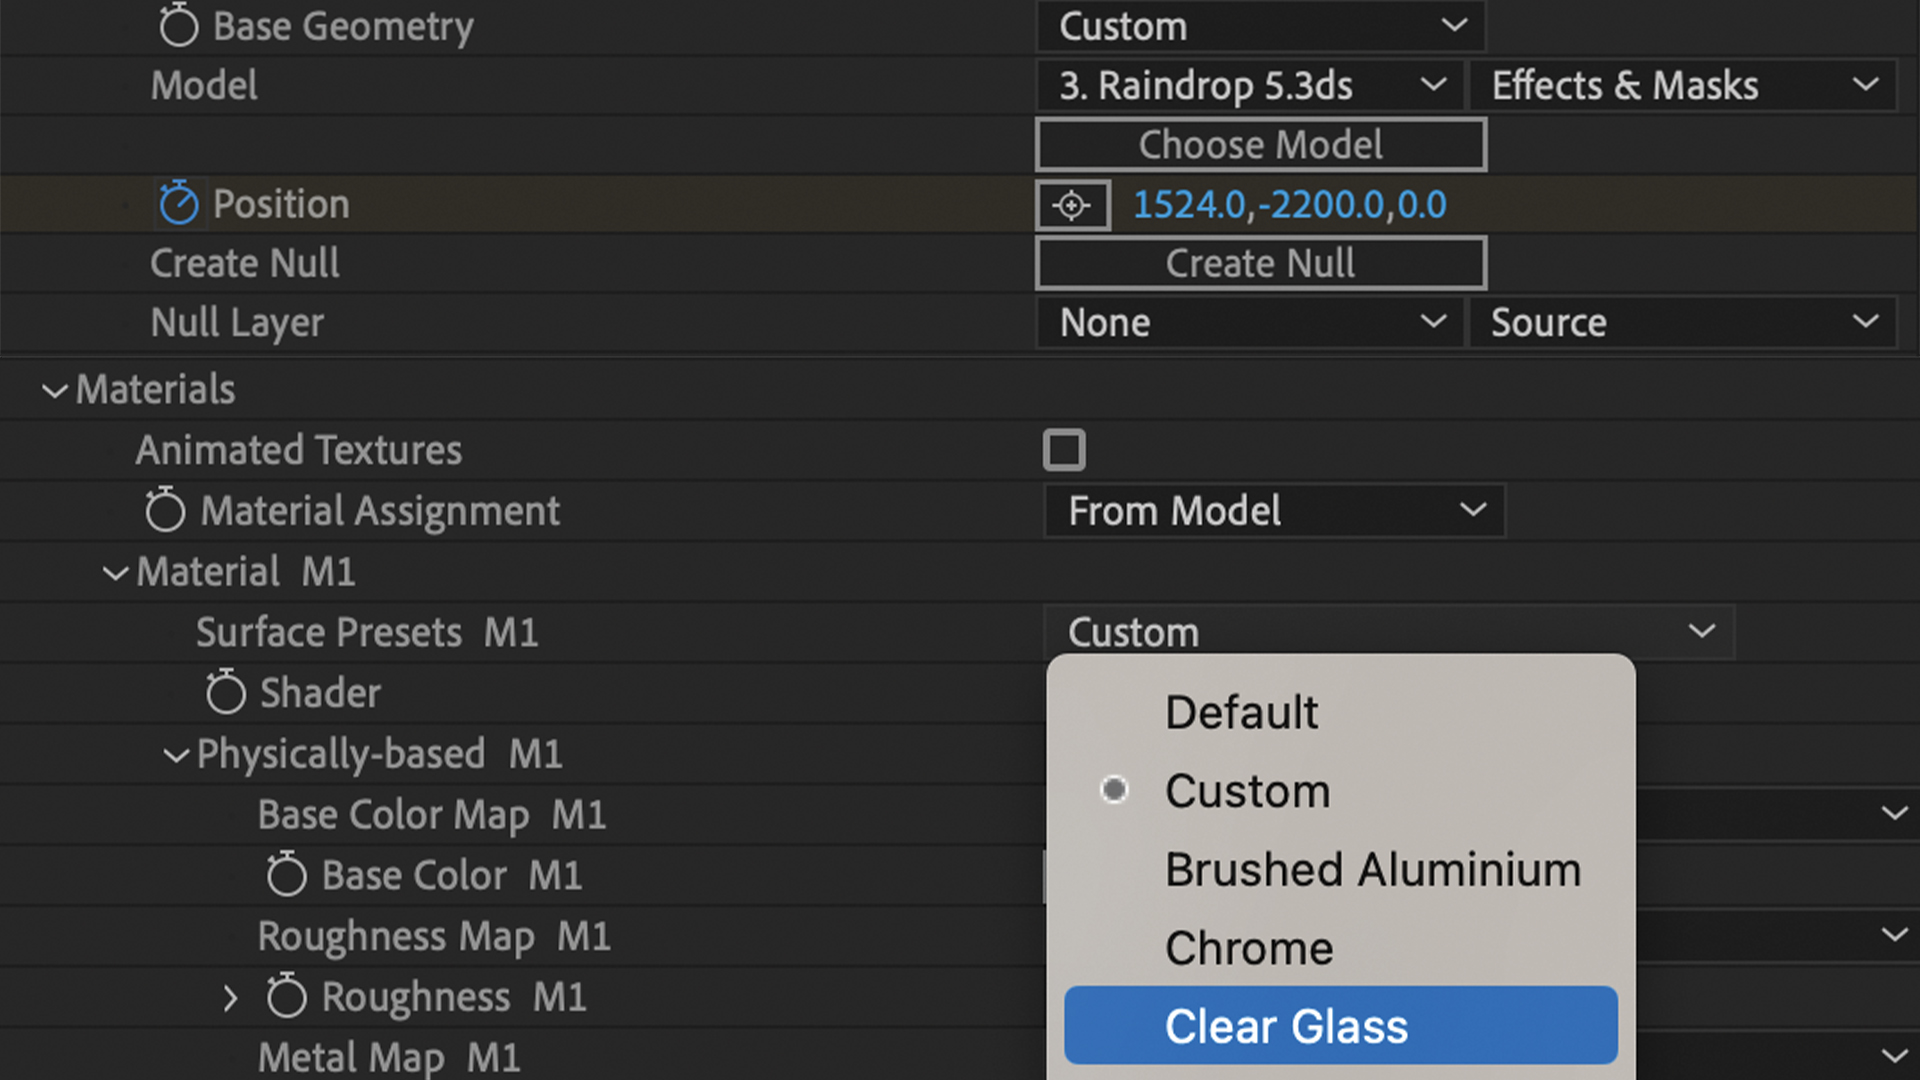
Once that’s done, go to the Material settings in Geo and select Clear Glass under the preloaded materials. Either keep the Refractive Index setting at its default of 1.55 or adjust it to 1.33, which is the true refractive index of water.
06. Start up the Cloner
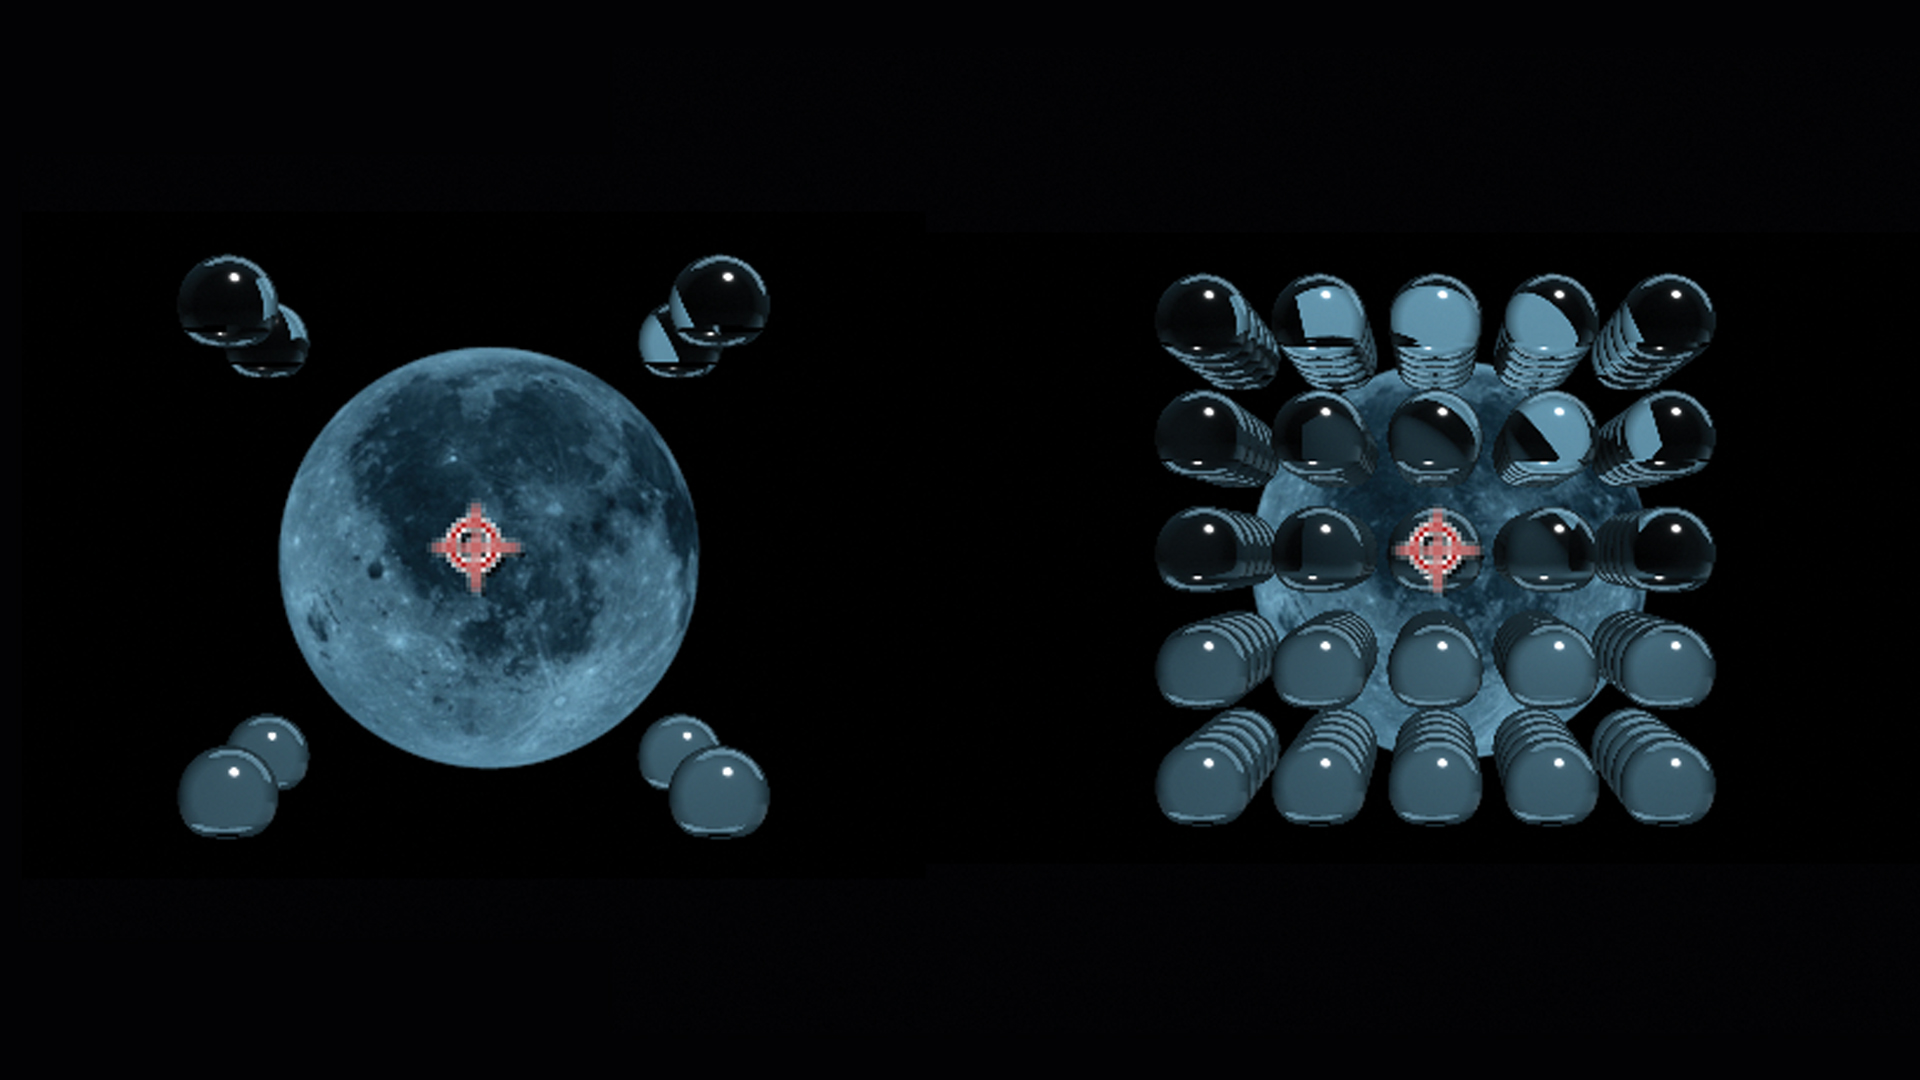
Enable Geo’s Cloner and increase the total number of raindrops as you desire. The total is calculated by multiplying the number in the X axis by the number in the Y and Z axes to create a matrix. The Shape field refers to the overshare of all the clones seen as a whole. For this step, the Shape can simply be kept as a Box.
07. Randomise the drops

The distribution of the raindrops across the X axis can be randomised using the Clone Randomizer part of the tool. Set the Position to around 1000, or as large as you think you need to get rid of the regular spacing of the initial matrix shape. The same can be done for the Y and Z axes.
08. Create depth

When creating 3D rain, you usually need closer, larger drops to move through the frame faster than the smallest distant raindrops to create the illusion of depth. Geo does this automatically, as the raindrops have already been distributed along the Z axis and into the distance. Drag the raindrops layer to an out-of-frame position above the frame, start the Stopwatch, and then drag it to below the frame so that the drops enter and exit.
09. Make last adjustments
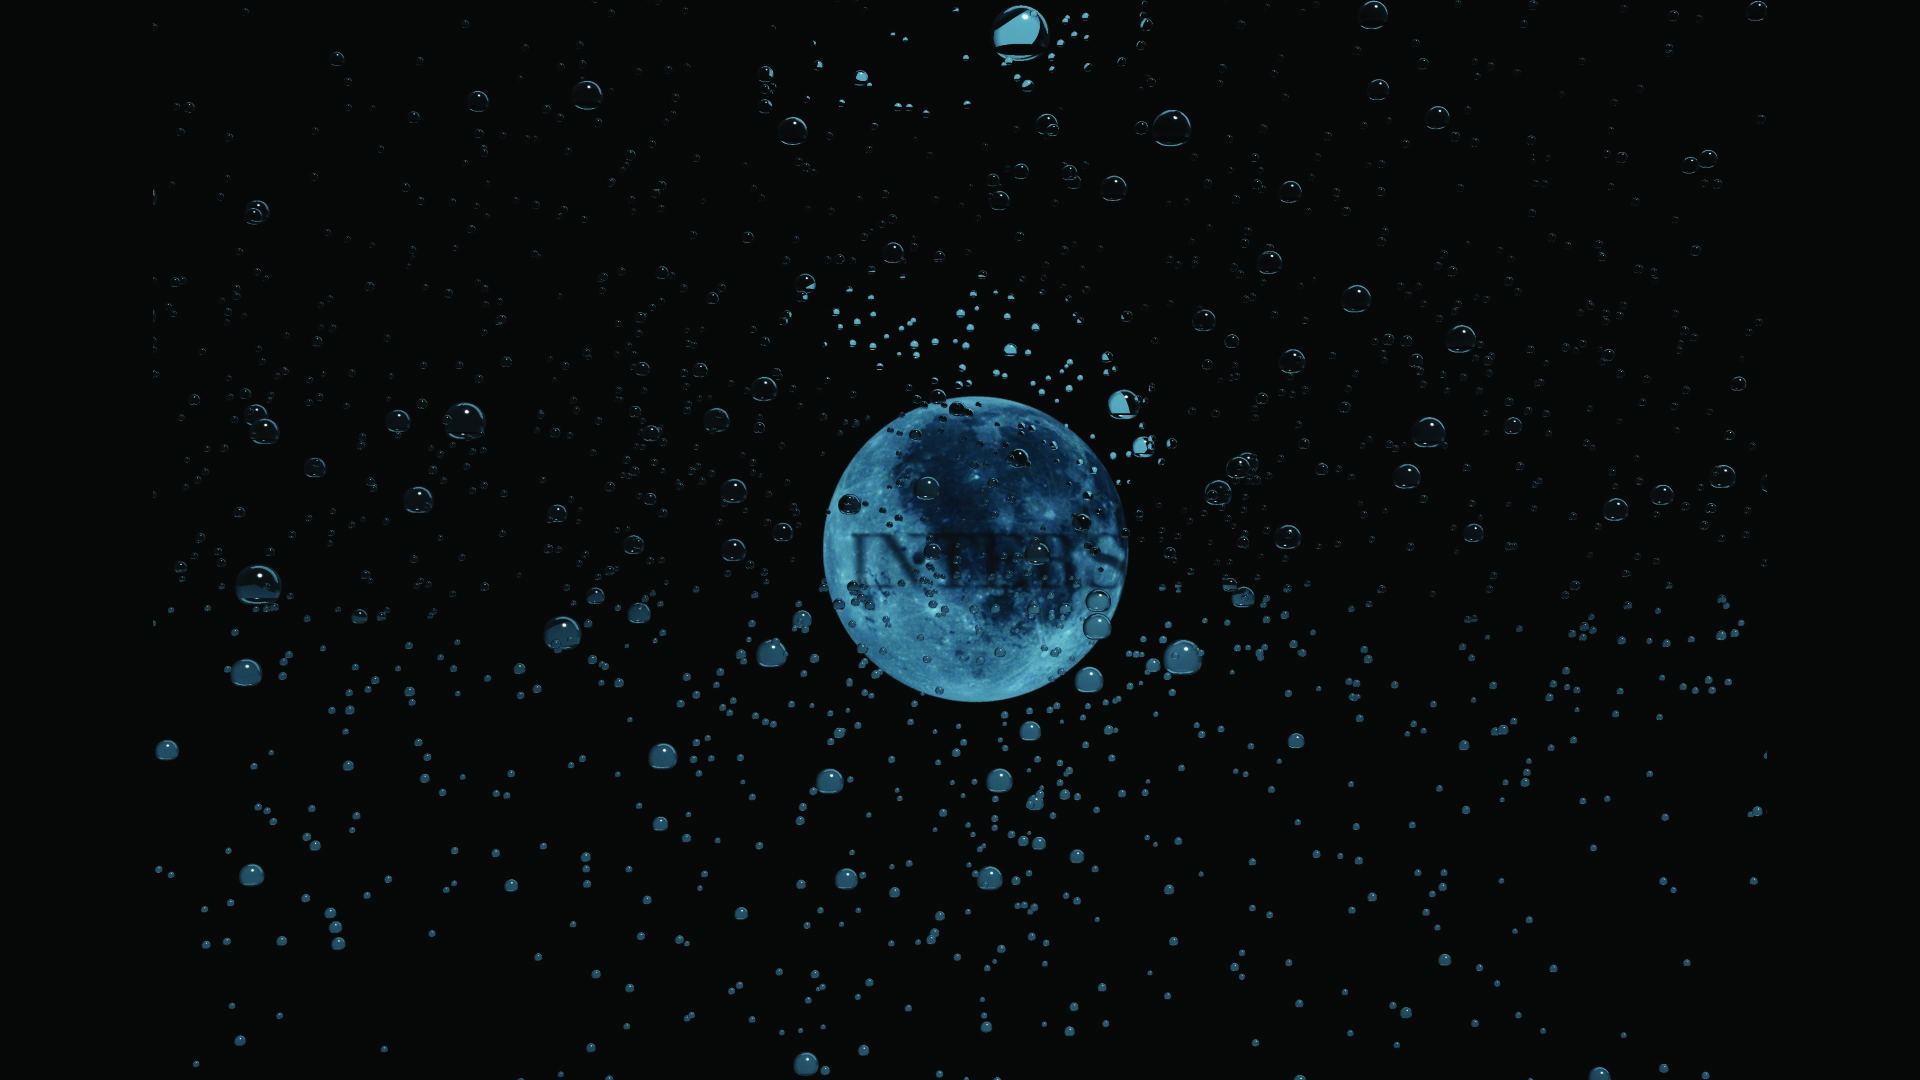
Finally, adjust the number of raindrops in the Clone tool. The more you add, the more distant drops you’ll have, but you’ll also get more foreground drops. What you really want is many, many more background drops to add to that sense of depth. To do this, duplicate layers as necessary to create sheets of varying sizes of raindrops. This develops the depth field necessary to create a much more immersive 3D feel within the scene.
This content originally appeared in 3D World magazine, the world's leading CG art magazine. 3D World is on sale in the UK, Europe, United States, Canada, Australia and more. Limited numbers of 3D World print editions are available for delivery from our online store (the shipping costs are included in all prices). Subscribe to 3D World at Magazines Direct.
Get the Creative Bloq Newsletter
Daily design news, reviews, how-tos and more, as picked by the editors.

Thank you for reading 5 articles this month* Join now for unlimited access
Enjoy your first month for just £1 / $1 / €1
*Read 5 free articles per month without a subscription

Join now for unlimited access
Try first month for just £1 / $1 / €1
Heather creates SFX for Shear Rock and Interstellar Duo, and reports on 3D modelling and rendering software.
