How to create an amber material in Blender
Modelling a realistic material.

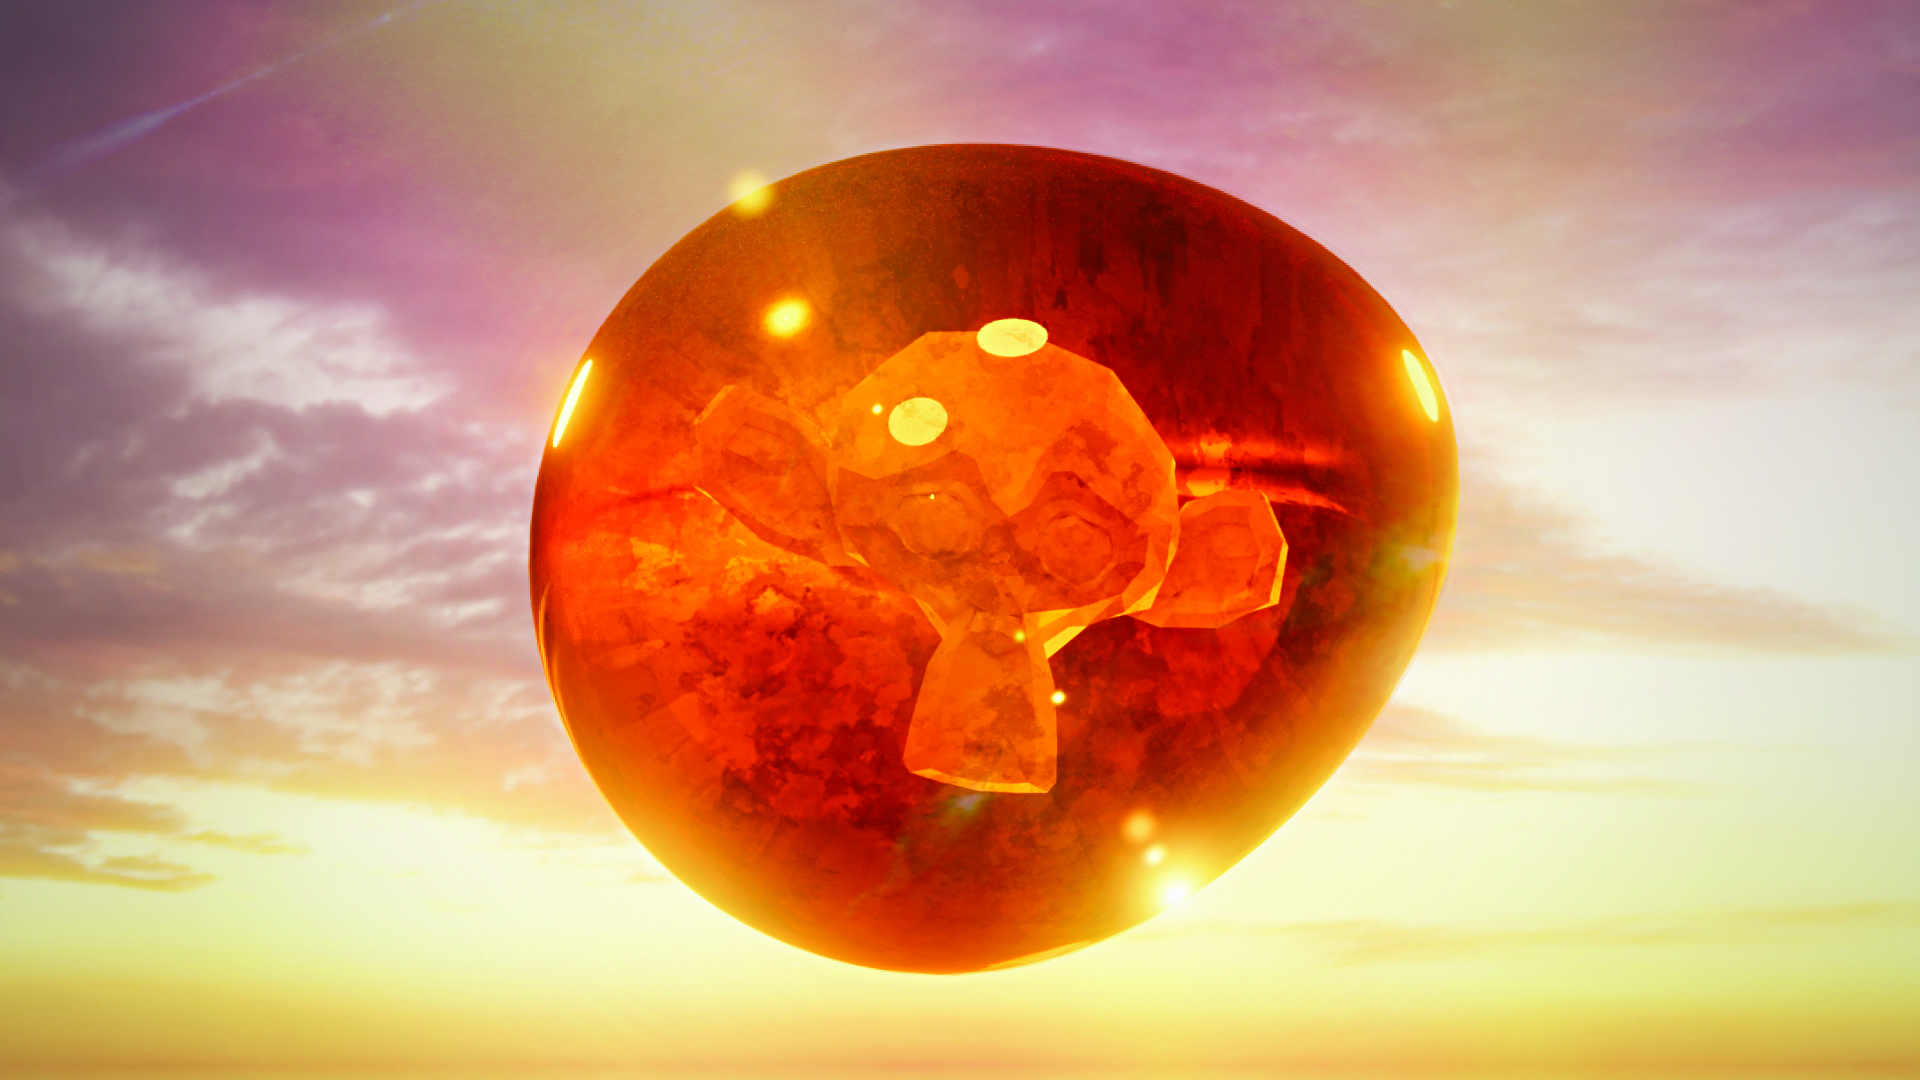
I’m sure we’ve all seen amber fossils, famous for preserving ancient plants, insects and more just as much as their own gorgeous orange tint. It’s absolutely possible for us to create a digital reconstruction of amber too, taking no more than five minutes in Blender with this swift workflow. (Read our more detailed Blender tutorials to create complex projects.)
Before we get going, make sure the Blender render engine is set to Cycles. After that we can create a new sphere and modify the shape a little to look like an amber gem, before creating a new material to apply to the model. Give your new material a recognisable name such as ‘Amber material’, which can be useful for keeping your own material library well managed. As always for materials, enable the Use Node option on the Shader panel, and we’re good to get going with the material set-up.
As this is an amber material, it looks best when there’s something placed inside it. This could be a mosquito, a flower or something else. Personally I went for Suzanne, Blender’s mascot.
To create this material we’ll need the following nodes in order: Texture Coordinate, Mapping, Noise Texture, Mix Color, Voronoi Texture, Color Ramp, Gamma and Glass BSDF. Begin connecting them up by linking the Texture Coordinate’s Generated output to the Mapping node. Next up, the Mapping node’s Vector output is linked to the Noise Texture and the A input of the Mix Color node. Meanwhile, the Noise Texture should be connected to the B input.
Now change the Mix Color’s Blend mode to Linear Lights and connect the Result to the Voronoi Texture, which in turn is hooked up to the Color Ramp. The Color Ramp is then linked to Gamma, and Gamma to Glass BSDF, which should be connected directly to Material Output.
With all the connections complete, we need to start setting a few parameters, which is one of the fun jobs as we get to experiment with procedural materials! The setup I found best was to have the Noise Texture’s Scale at 10.000, Detail at 5.000 and Roughness at 0.500. For the Linear Light I set the Factor to 0.750, while the Voronoi Texture’s scale was 2.000, with the other parameters matching the Noise Texture. The Color Ramp was given a yellow/orange colour, and the Gamma set to 1.100. For the Glass BSDF meanwhile, the IOR was changed to 1.500 and the Roughness to 0.030.
If you're new to 3D art, then read up on the best laptops for 3D modelling as a start, and read our guide to the best 3D modelling software and best render software.
Sign up to Creative Bloq's daily newsletter, which brings you the latest news and inspiration from the worlds of art, design and technology.

Pietro is a freelance 3D artist and YouTuber with more than 10 years of experience in different fields of 3D production, from animated movies to VFX and game production. He shares many of his creations on his YouTube channel @PietroChiovaro.
