How to master the art of UV unwrapping
Overcome the mental barrier to UV unwrapping with this essential guide from 3D World technical editor Rob Redman.
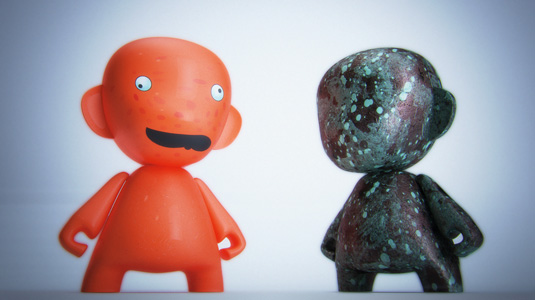
Unless your job involves only creating greyscale clay renders of your models, you will at some point need to apply materials and textures to your work. At first this will probably consist of adding simple colour and reflection, and maybe some bump, but sooner or later you will need to add more detail to specific areas of your models.
While there are some techniques you can use to help do this simply, the time will come when you need to learn how to UV unwrap your own meshes, so you can have total control over your texture placement. Many people find the whole idea of UV unwrapping a daunting prospect, but, in reality, it isn't difficult.
The important part of the process is to plan ahead and think about the best places to put seams. If your character has hair, then hiding a seam there is a good idea, as is following any natural folds in the character's clothing or in the geometry.
Included here is a simple toy model that you can download to practise on. The model is in separate parts and each part is fairly low resolution, which should make it easy to work with. Adding smoothing in your chosen application should be easy enough. In this case I am using Cinema 4D, with the model's constituent parts grouped
under a null and then placed inside a NURBS object. For the UV unwrapping I am using Maxon's BodyPaint.
- Download the source files for this tutorial here
01. Clean up your mesh
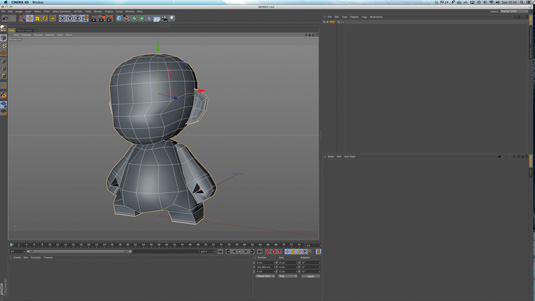
The first part of the process is to clean up your mesh. Ensure you don't have any points that aren't attached to polygons, or holes in your mesh. Moving points around later isn't too problematic, but adding or removing can be tricky.
To remove points that don't form polygons, select your geometry in the object manager, right-click and choose Optimise. (You can right-click and choose Run With Menu to set some options, but the defaults should be fine.)
02. Choose your seams
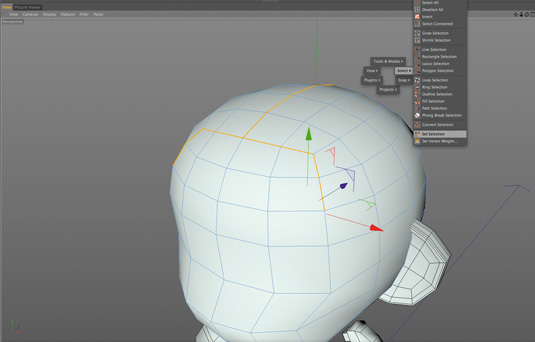
Make a selection set of the edges that you want to be the seams of your unwrapped mesh. It's usually best to try to hide them away if possible, to avoid having to paint over them later on in the process.
Get the Creative Bloq Newsletter
Daily design news, reviews, how-tos and more, as picked by the editors.
As well as choosing edges that are less prominent or that will be hidden, you can also select entire edge loops, which is helpful if you want to separate an ear (or any other complex piece of geometry) that may not otherwise unwrap so easily.
03. Paint wizard
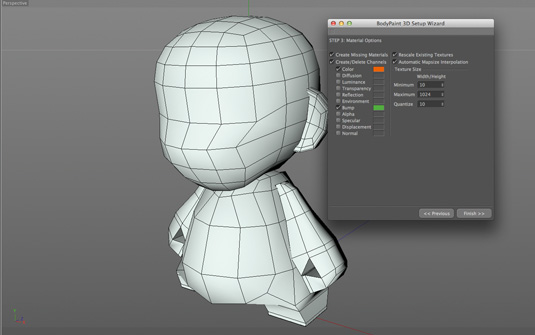
Swap to the BodyPaint interface and run the paint wizard, which will set up materials for you based on your choices. I went with simple colour and bump, with default texture sizes.
The texture size options are really going to be based on your final output, so keep in mind the memory overheads, as larger textures will take up substantially more space. You can create textures for all channels, but remember that you don't have to use them
04. Painting textures
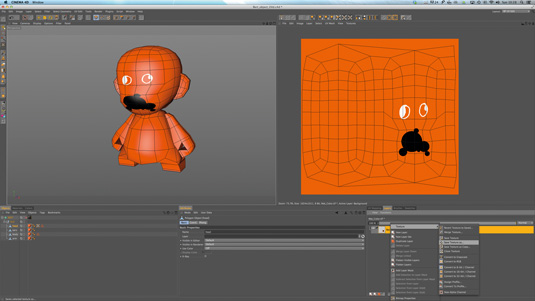
At this point in the process you can start painting textures. You can use the built-in tools for 3D painting, like I did for the quick scribbles pictured here, or you can open the scene in an image editor (after saving the textures, of course).
BodyPaint ships with numerous preset brushes -- some arty, others more technical -- while others even paint across channels to give the look of rivets that have colour bump simultaneously.
05. Texture painting
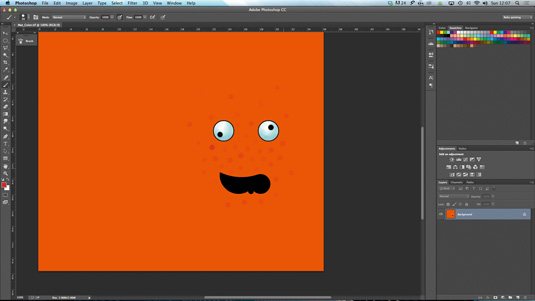
At this point, you can open the textures in your image editing program and paint whatever you choose using the tools you are most familiar with. I use Photoshop for most of my texture work.
For this tutorial, I drew the details quickly to demonstrate the technique. Once you have painted your textures, save and then you can reload the textures again in BodyPaint, to continue working in 3D.
06. Back in 3D

Once you are back in your 3D program, you can carry on with your project. Load your textures back into your material and from then on it's a case of working as normal.
All the other material channels will work as you expect, so you can easily change settings without needing to create a texture for each. In the end I used a large-scale noise texture to add some subtle bump, along with fresnel reflections.
This article originally appeared in 3D World issue 180.

Thank you for reading 5 articles this month* Join now for unlimited access
Enjoy your first month for just £1 / $1 / €1
*Read 5 free articles per month without a subscription

Join now for unlimited access
Try first month for just £1 / $1 / €1

Rob Redman is the editor of ImagineFX magazines and former editor of 3D World magazine. Rob has a background in animation, visual effects, and photography.
