How to create a realistic digital portrait
Top tips for creating a realistic likeness in ZBrush and Maya.
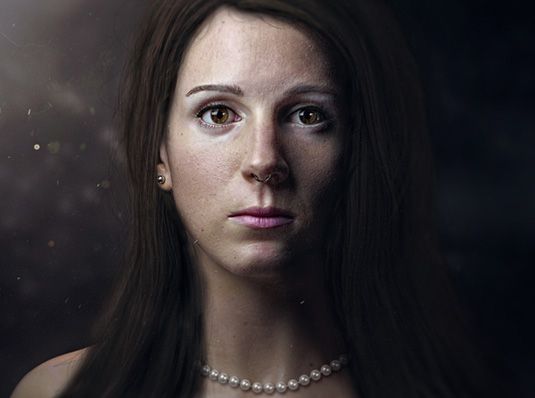
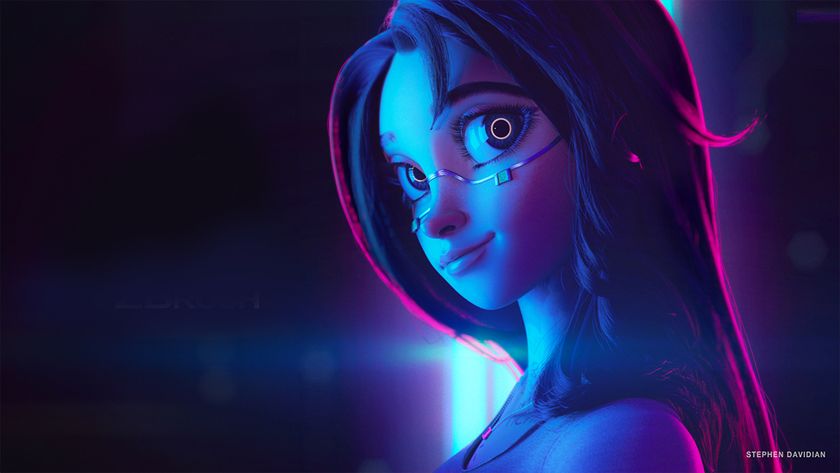
Creating any 3D art is a complex and time-consuming process, but developing a realistic digital double is one of the most complicated – yet rewarding – tasks in the CG world.
The planned pipeline for this realistic 3D portrait was: mood study, measurements, likeness sculpts, detailed sculpt, retopology, UV unwrapping, texturing, initial shader creation, hair/grooming, final shader creation, lighting, rendering, and compositing. Overall, it was a great study and an experience.
Leaving your comfort zone to try sculpting/painting someone you know, rather than a celebrity or an imaginary figure, is the ultimate exercise for traditional and digital artists. Since my model is my wife, I had the chance to examine her face in person. This experience is quite different to what you would see on digital reference images.
01. Start with a base mesh

This first stage is very important; examine your model, take notes, and notice asymmetrical differences. Start with a base low-poly female head mesh – you might have one already, or you might like to use the free one featured in our free 3D models list. Keep your polygons low from the beginning, as it will make everything go faster and smoother.
Before you start modelling, match your focal length settings in Maya with ZBrush and lock your settings for consistency. Otherwise, whenever you bring your model into Maya, you will see a difference on your measurements. Adding a spotlight will show you the forms and planes change on your model's face.
02. Build up the face with shadows
Shadows will give you the best hint about the transition of the planes. Gradually start building up the details. Another key thing at this stage is to keep measuring and double checking everything. Make sure to work on every facial zone at the same time.
The key thing is not to go too far in details and get lost. Keep it simple and get the likeness right at the start.
03. Keep checking your references
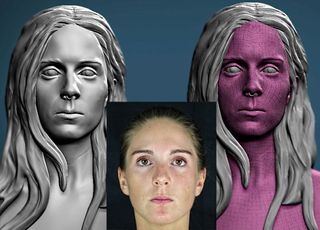
At this stage there might be a lot of going back and forth with forms, planes and proportions to get the likeness of your model right. Using many reference photographs of your model's face from different angles will help get it right.
04. Add fine skin details
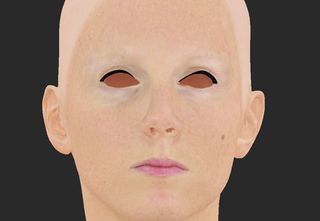
Use surface mimic displacement maps to get fine facial details. It's important not to rely on stamp brushes, alpha maps and repeating the brush strokes on the sculpt too much, as each plane is different.
You can fine-tune this and use specific sculpt details unique to your model. At this stage, the slightest detail will bring so much more realism to the sculpt.
05. Understand the anatomy of the eye
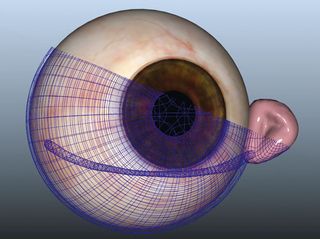
It's very important to understand the anatomy of the eye in order to make it look real. Sculpt the cornea, iris, sclera, pupil, caruncle and tear line that sits between your lower lid and cornea.
Use physically accurate shaders in V-Ray to paint the sclera and iris in Mari. Using both projection and painting methods can help you to get rich eye details.
06. Finish up with careful texturing
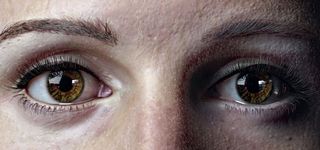
Skin texture is done in Mari and shaded in V-Ray. Projecting images onto the 3D model provides a base texture layer, which you can add to by painting all the details layer by layer.
Rembrandt's portraits and the dramatic lighting in his paintings was a big inspiration, so here we tried to create a similar look and feel in the final image.
This article originally appeared in 3D World magazine. Subscribe today.
Liked this? Read these:

Thank you for reading 5 articles this month* Join now for unlimited access
Enjoy your first month for just £1 / $1 / €1
*Read 5 free articles per month without a subscription

Join now for unlimited access
Try first month for just £1 / $1 / €1
Get the Creative Bloq Newsletter
Daily design news, reviews, how-tos and more, as picked by the editors.
