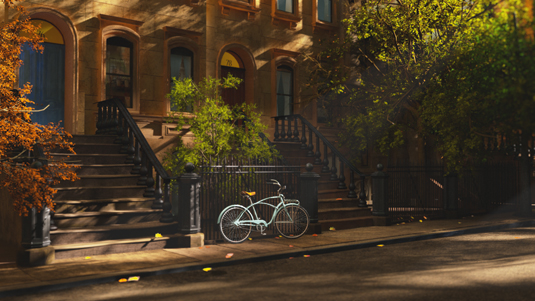
Creating different environments is exciting, but to make them believable it's key to study your references. In my Maya tutorial below I'll show I made this project based on Vivienne Gucwa's photo Summer on Perry Street, NYC. It's also an opportunity to explore new production workflows and to improve your future projects.
I used V-Ray to render the scene; working with the VRay2sidedmtl makes beautiful textures for leaves. The trees presented a new challenge for me and I experimented with many different ways to create them using SpeedTree – and was impressed by how easy it was to customise.
I found I could draw and design the individual branches of each tree the way I wanted. I did a lot of research on trees and cannot stress how important references are throughout any project!
Good workflows for importing assets are also important. Rendering got very expensive on a laptop during the process of this project. I'd recommend for independent artists to use the new cloud-based rendering from Google Zync!
It saved me huge amounts of time and the cost of investing in servers or a powerful machine. It offers great flexibility in choosing the power and quantity of machines you require for your renders.
What is really awesome is you can send renders to Zync while you work on another project, as all the hard work is done on the cloud not using up your local hardware resources. Zync is a simple plug-in for a supported 3D package such as Maya and even Nuke. You would set up your render as usual – and I did a test render first on my local machine to check for mistakes.
Once ready, fire up the Zync plug-in and choose your cores and quantity to give you a rough estimate cost. Then select your layers and render! Zync created a really user-friendly integration and can definitely enrich the future for rendering.
01. Research and References
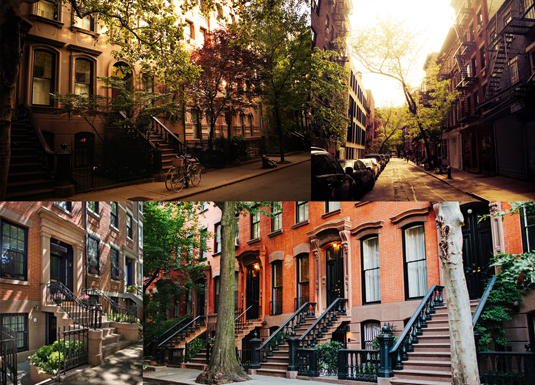
Spend time gathering as much reference material as possible – you'll thank yourself later. The closer to real world references the better! I sourced references of trees, leaves, the Greenwich Village area in NYC – from streets to building materials. I even used Google Maps for looking at streets and neighbourhoods.
02. Modelling and Layout
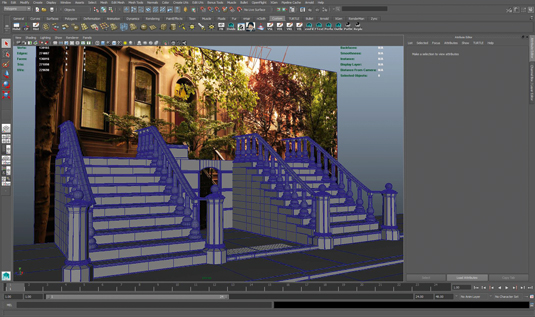
After gathering references, I took the original photo concept into Maya and began blocking out my model for the general layout. I started with the buildings, sectioning each apartment and naming the objects. Blocking out the largest areas first is good for the layout. Make sure to use real world scale and measure things with the Distance tool.
03. Make Trees in SpeedTree
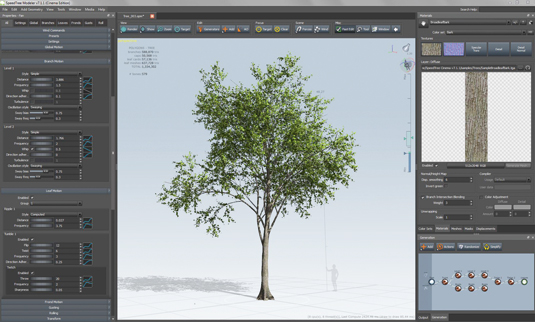
I originally used Maya's PaintFX, but SpeedTree is far better, especially for designing and making your own trees. The advantage is being able to draw each branch individually, which helps with accuracy. You can customise the tree trunks and work with the dynamic of the leaves. My favourite part was the animation: making the leaves and trees sway.
04. Adding Details and Block Lights
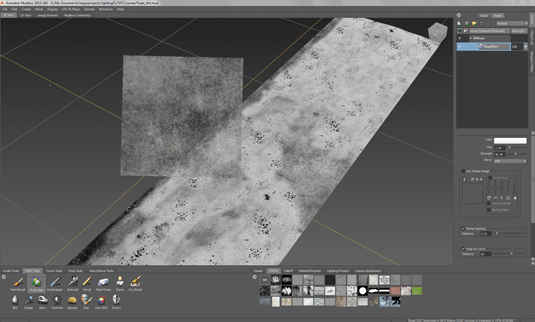
I started adding details to my model on the buildings and used Mudbox for the bumps on the ground. To create a closed set feeling and to help with blocking the lights a bit, I usually use simple plane polygons. Blocking out lights with no textures is the best way to see your light values and set the scene.
This article was originally published in 3D World magazine issue 204.

Thank you for reading 5 articles this month* Join now for unlimited access
Enjoy your first month for just £1 / $1 / €1
*Read 5 free articles per month without a subscription

Join now for unlimited access
Try first month for just £1 / $1 / €1
Get the Creative Bloq Newsletter
Daily design news, reviews, how-tos and more, as picked by the editors.
