Tips for creating a 3D brick texture in Photoshop
Get some advice for creating a realistic 3D brick texture with the help of photography.

Before we create a free texture for our 3D art project, we have to choose what approach to take. There are two main ways: The first is to sketch the texture entirely – this is the more difficult solution and is principally used to create textures for cartoons.
The second is to take a photo of the real object that we want to create, and then edit the photo with photo-editing software, such as Photoshop. The latter solution is used to achieve a photorealistic result.
A photo that is destined to become a texture is not simple to take; we have to consider two essential elements, symmetry and light
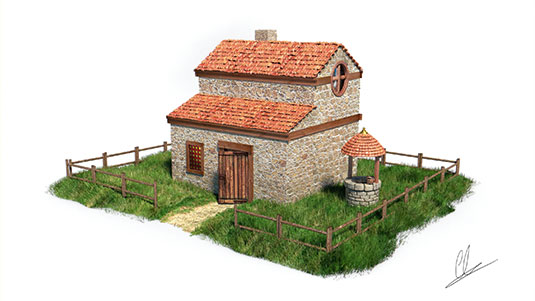
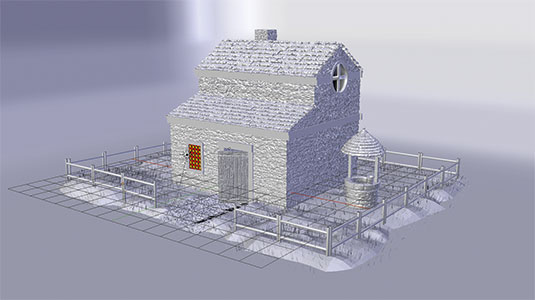
For the creation of this house's brick texture, I started by using a photo I had taken, that I then edited in Photoshop. During the editing process, essentially you just want to adjust the colour of the texture, but first of all, you have to take the photograph!
A photo that is destined to become a texture is not simple to take; we have to consider two essential elements, symmetry and light. Starting with symmetry; it's important that we take a photo from the correct position, so if we want to create a brick texture from a photo, it's important that we put the camera parallel to the wall.
The second element that we need to consider during this process is the lighting. It's very important that light in the scene is homogenous. For this reason I recommend that you do not use the flash when taking your shot.

Now that you have taken the photo, you can move on to the process of editing it in Photoshop, for example. Here, essentially, you are going to fix the colour of the photo and, in particular, the colour saturation, the contrast, the colour temperature, the shaders and the sharpness.
All of the values of these elements depend on the photo that you have taken. There are not specific values to follow, in every case the advice I'd give you is to not exaggerate, but instead, try to keep the values close to the default values of the software that you are using.
Now that you've completed this photo-editing process, the brick texture is ready to use in your CG work, try the process for yourself.
Expert tip: Keep an eye out for imperfections
When you're taking the photograph of the brick wall that you want to turn into a texture, make sure you choose one that hasn't got too many imperfections, as these can lead to problems when we come to trying to unwrap it later.
This article was originally featured in 3D World magazine issue 207. Buy it here.

Thank you for reading 5 articles this month* Join now for unlimited access
Enjoy your first month for just £1 / $1 / €1
*Read 5 free articles per month without a subscription

Join now for unlimited access
Try first month for just £1 / $1 / €1
Get the Creative Bloq Newsletter
Daily design news, reviews, how-tos and more, as picked by the editors.

Pietro is a freelance 3D artist and YouTuber with more than 10 years of experience in different fields of 3D production, from animated movies to VFX and game production. He shares many of his creations on his YouTube channel @PietroChiovaro.
